Mother’s Day DIY Craft for Kids
Looking for something for kids to make for their Mom, Grandma or Aunt for Mother’s Day? Moms and Grandmas are sure to LOVE a handmade gift, especially from the people they love the most! It means so much to them and is something they are sure to cherish through the years. This simple Mother’s Day craft for kids is so easy to make and only requires a few supplies. What I love is that you can buy all the pieces just about ready to go, and all you need to do is a few simple steps and it is done!
With a quick run to Hobby Lobby, I was ready to start crafting in no time!
:: pin this Mother’s Day craft for kids ::
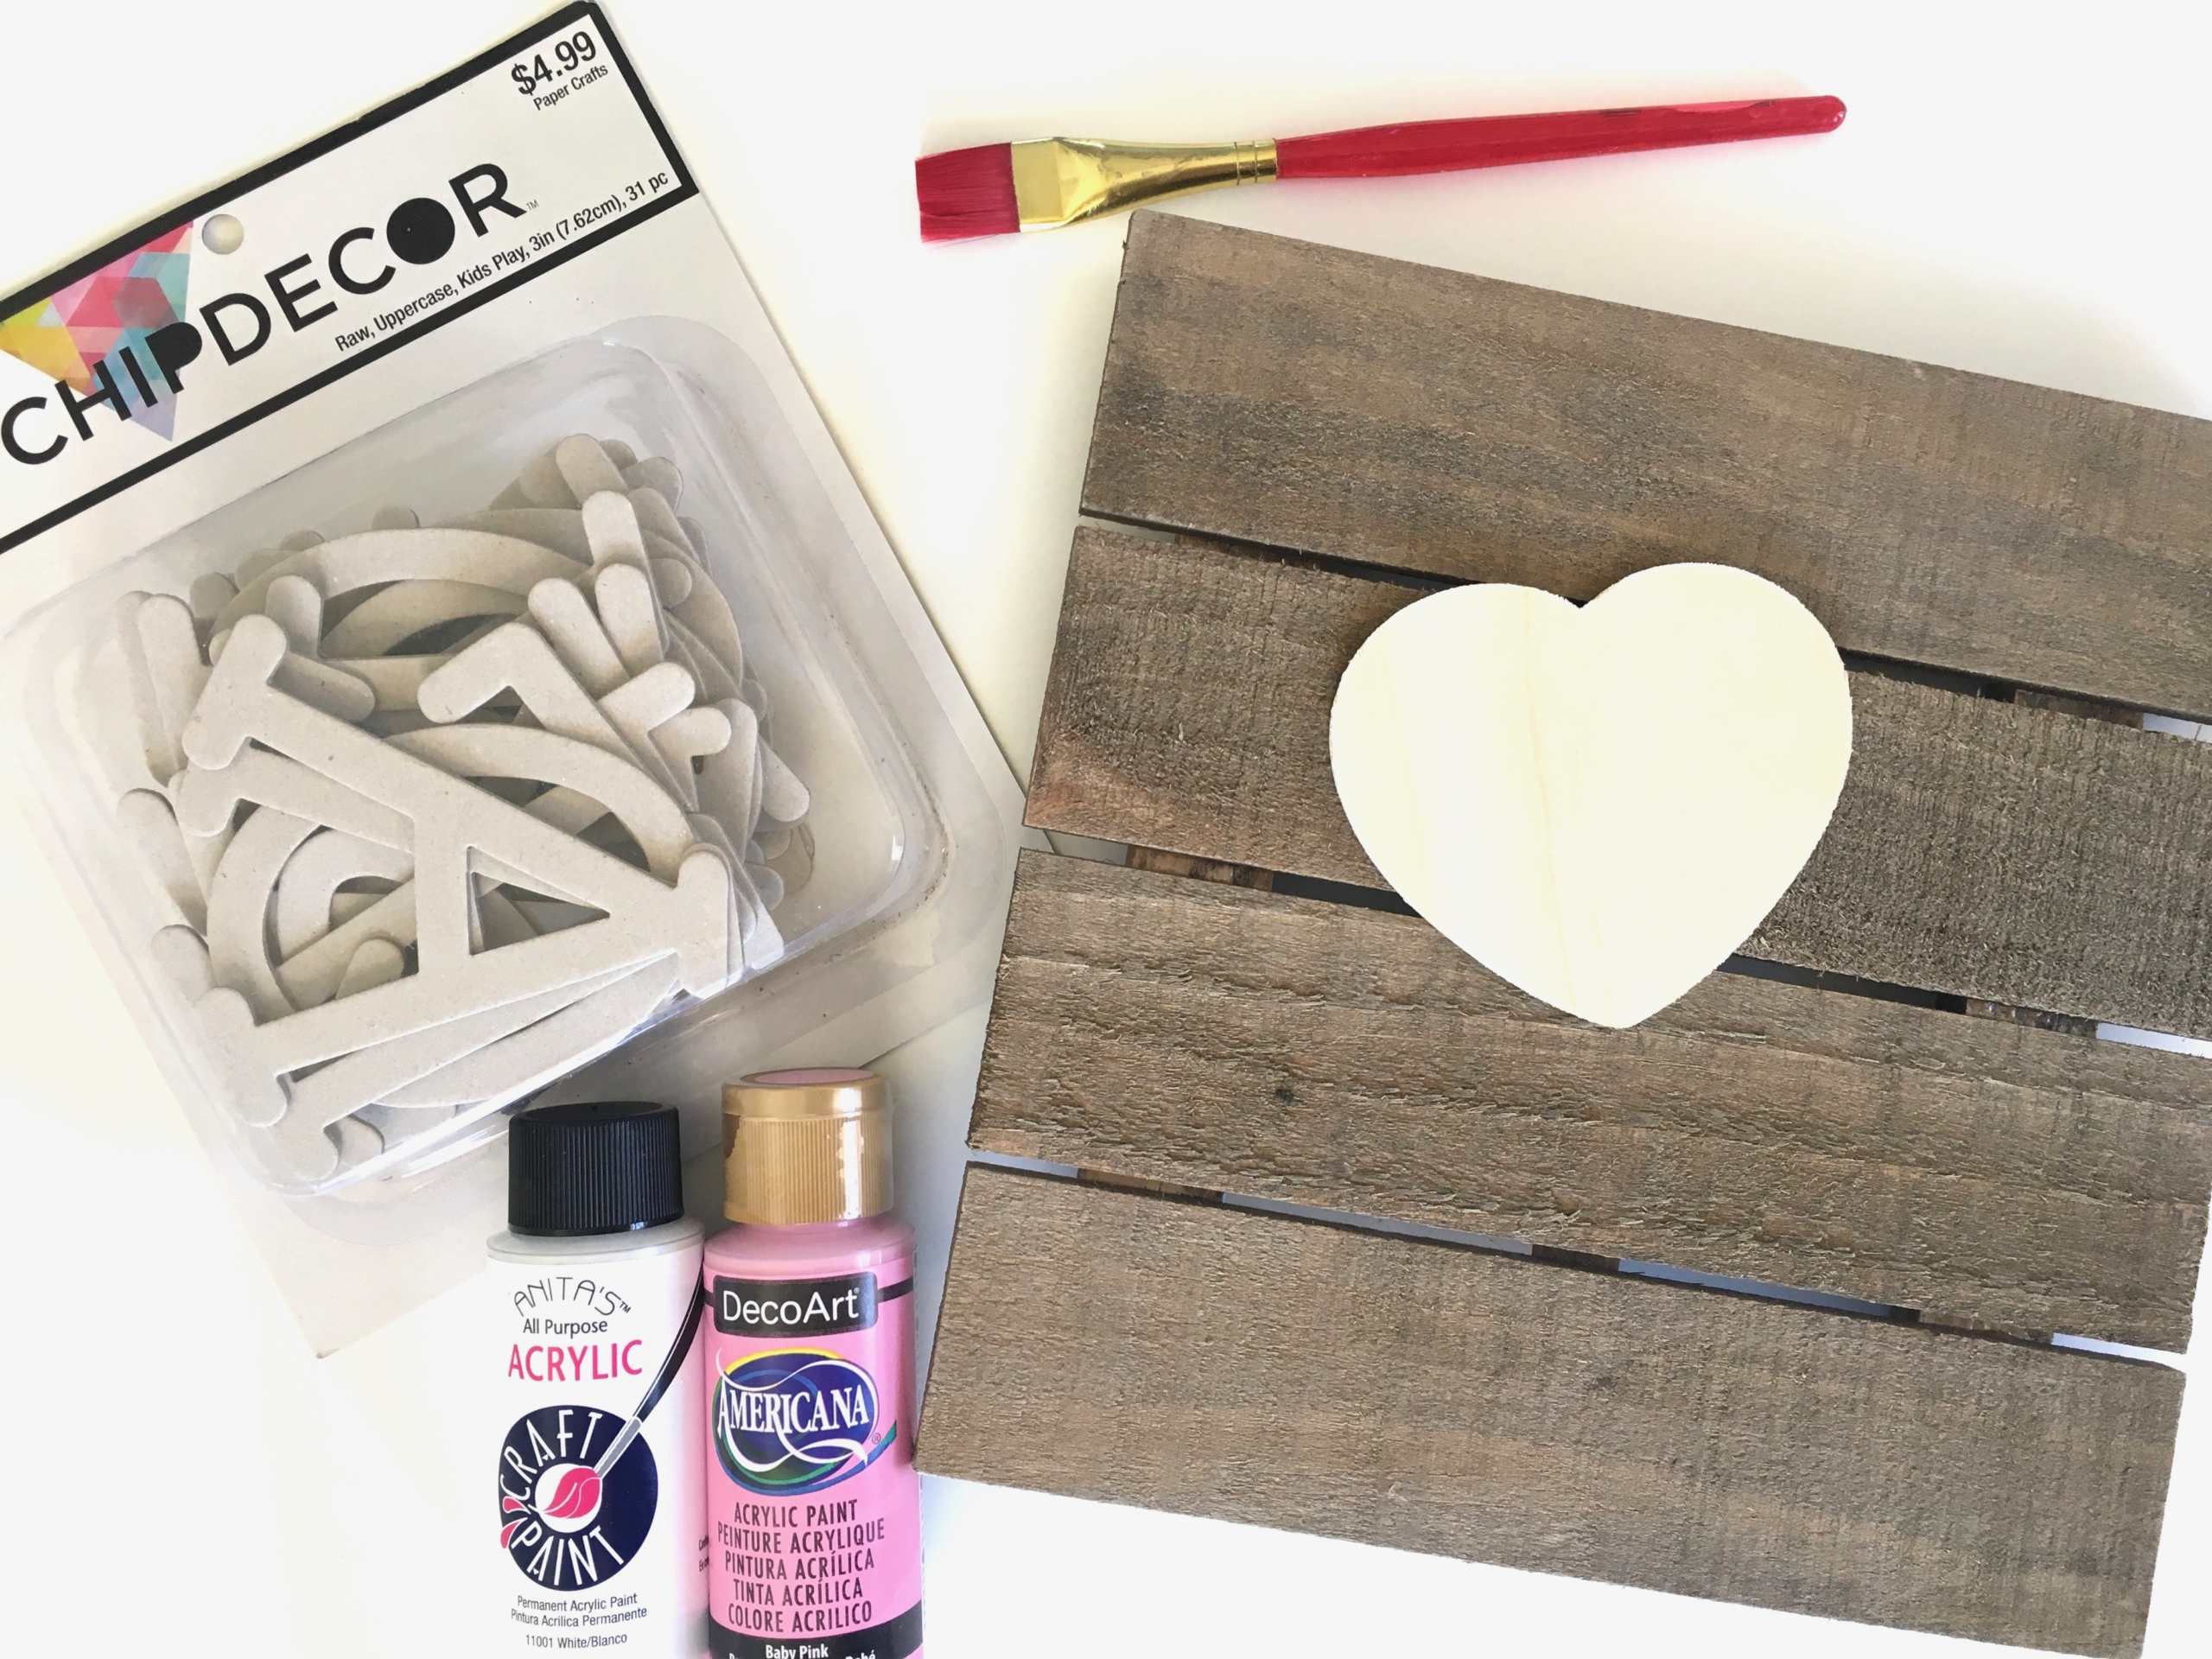
Here’s what you need for this diy Mother’s Day craft:
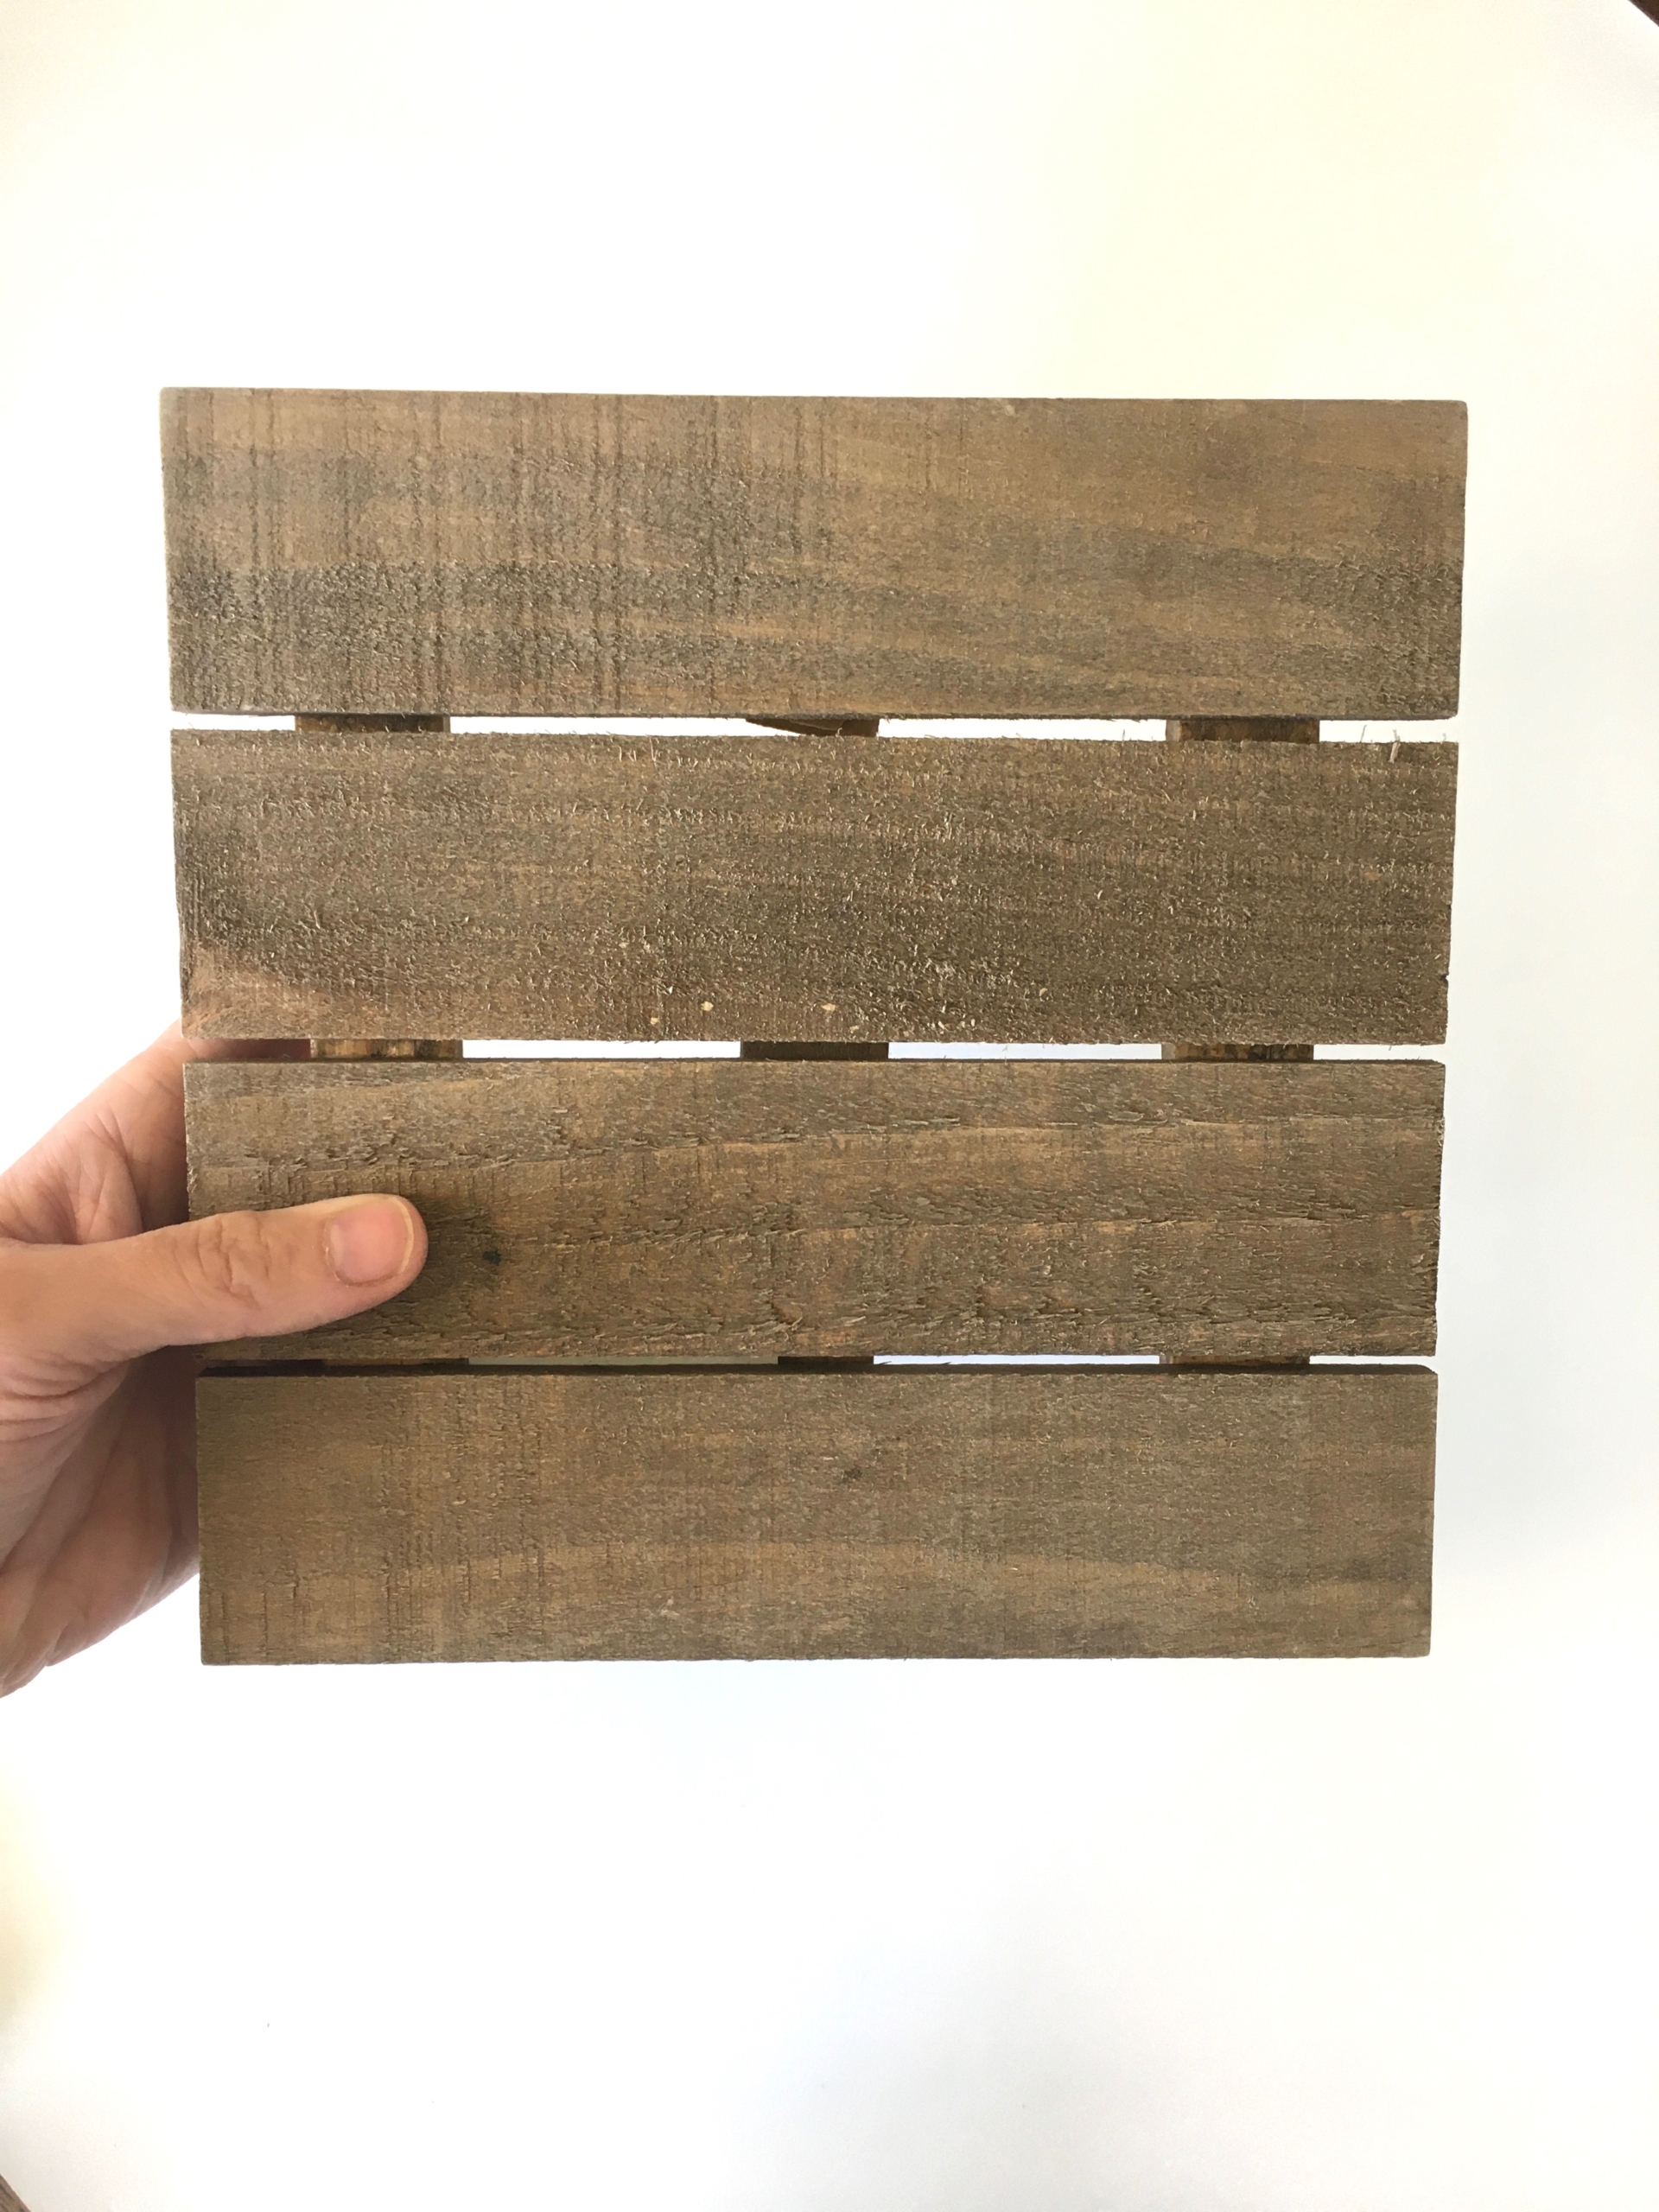
- slatted wood panel sign with easel back
- 3″ chipboard letters
- wood heart
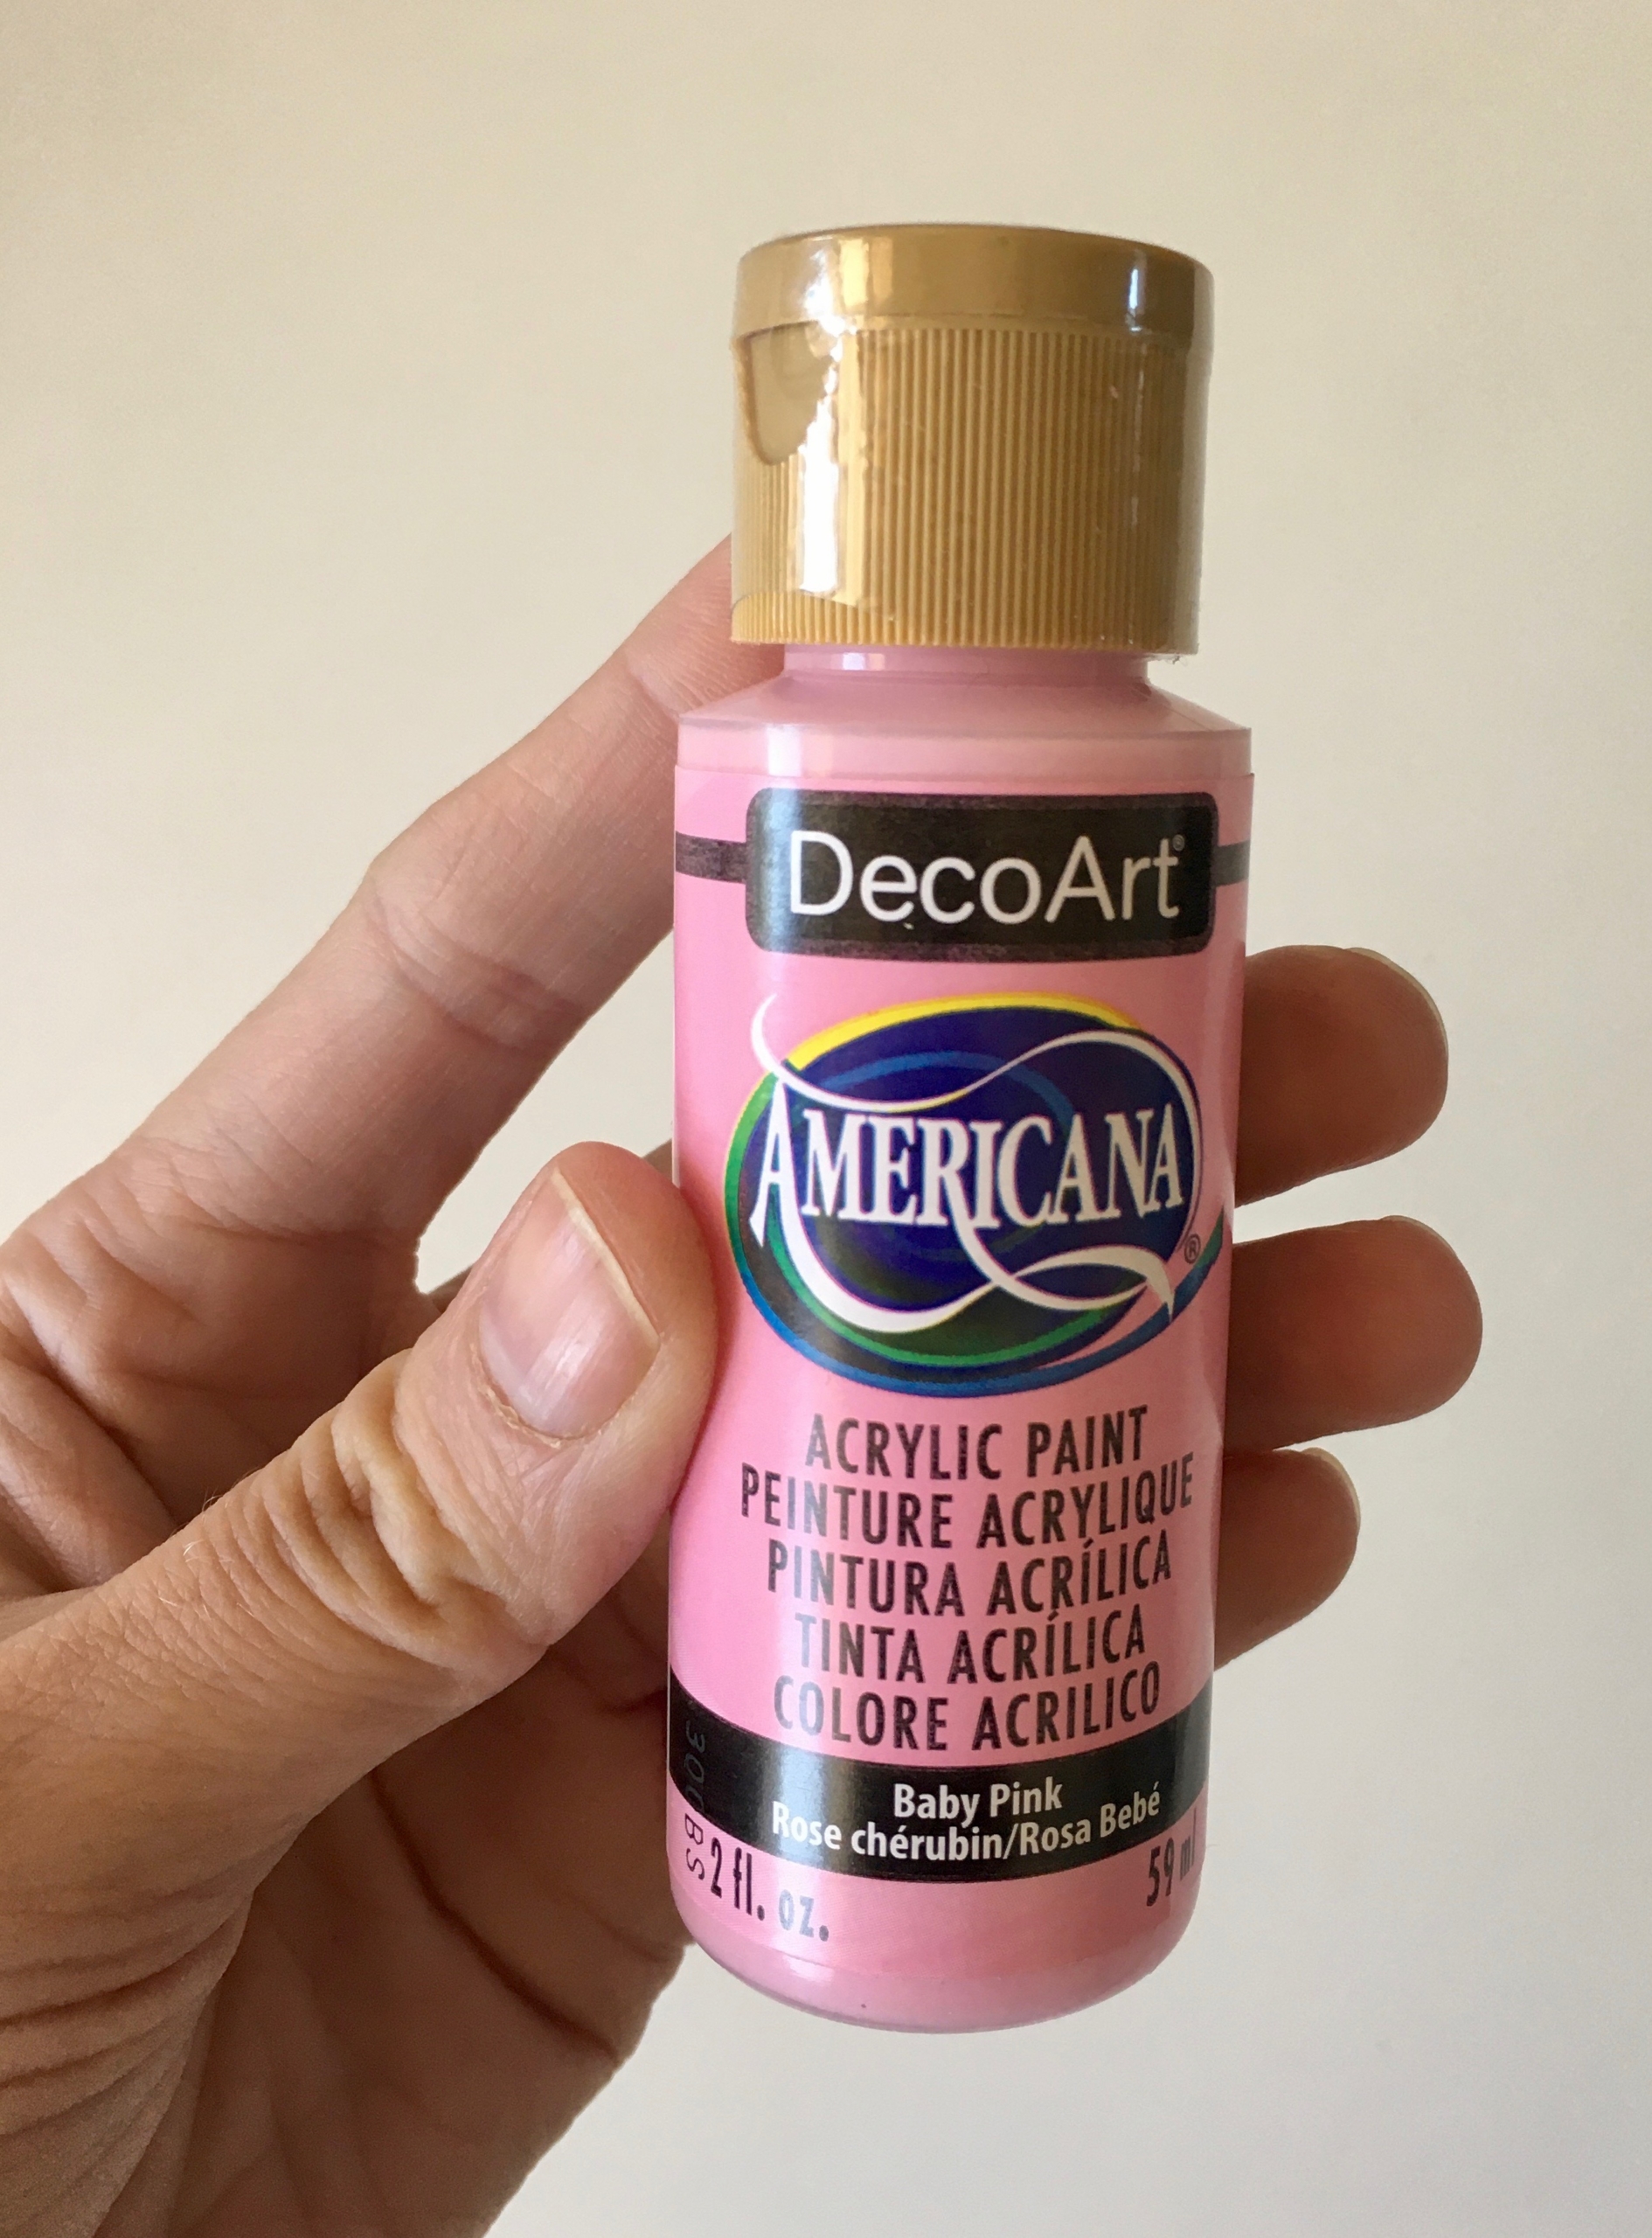
- acrylic paint (whatever color you choose!)
- mod podge (I like the matte look, but glossy would work just as well!)
- a picture to use on the heart
- hot glue gun and glue sticks
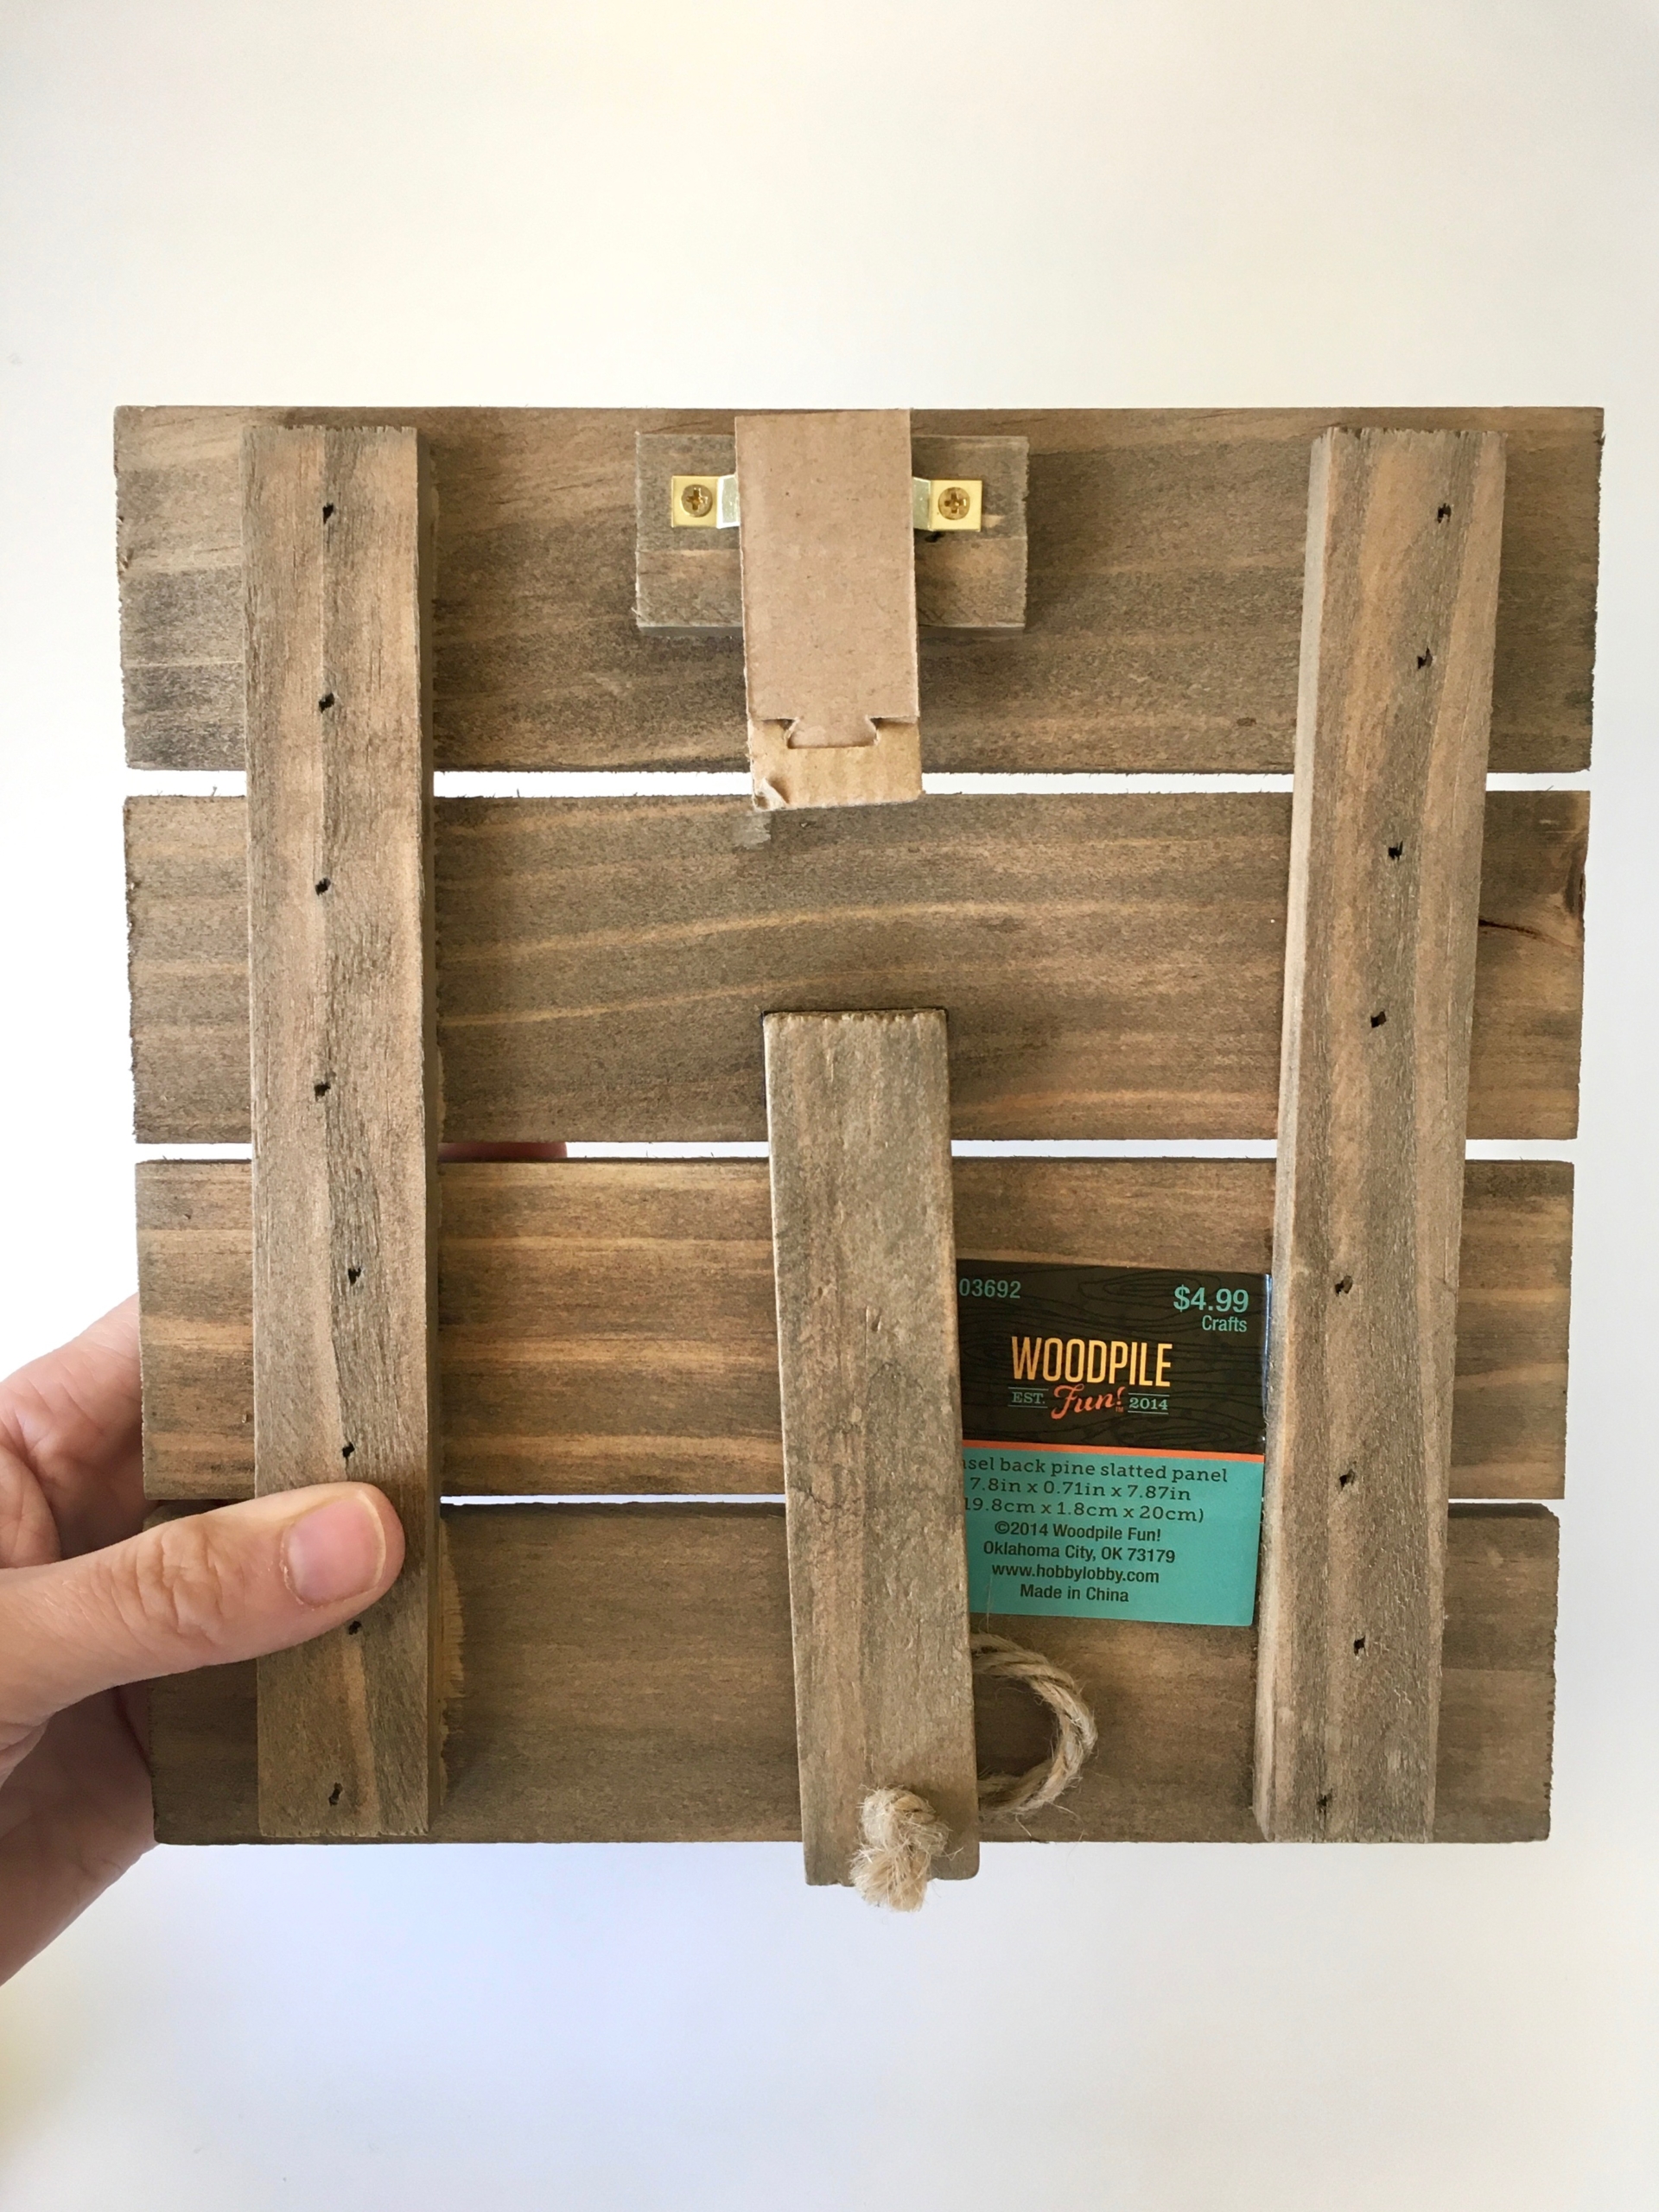
I am really liking Hobby Lobby’s new, ready-to-craft signs. This makes it super convenient, especially with a craft like this! And the 3″ chipboard letters come in a few different font sizes, so you can choose whatever suites you.
At only $4.99 and either using a 40% off coupon or getting it 50% off, this is a steal of a deal for a wood piece all ready to go!
I decided to do the I Love Mom one and then the I Love You one; that way you could give it to Grandma or to just someone you love anytime of the year! And if you have 2 children making these, Mom could get one that is a little different from the other.
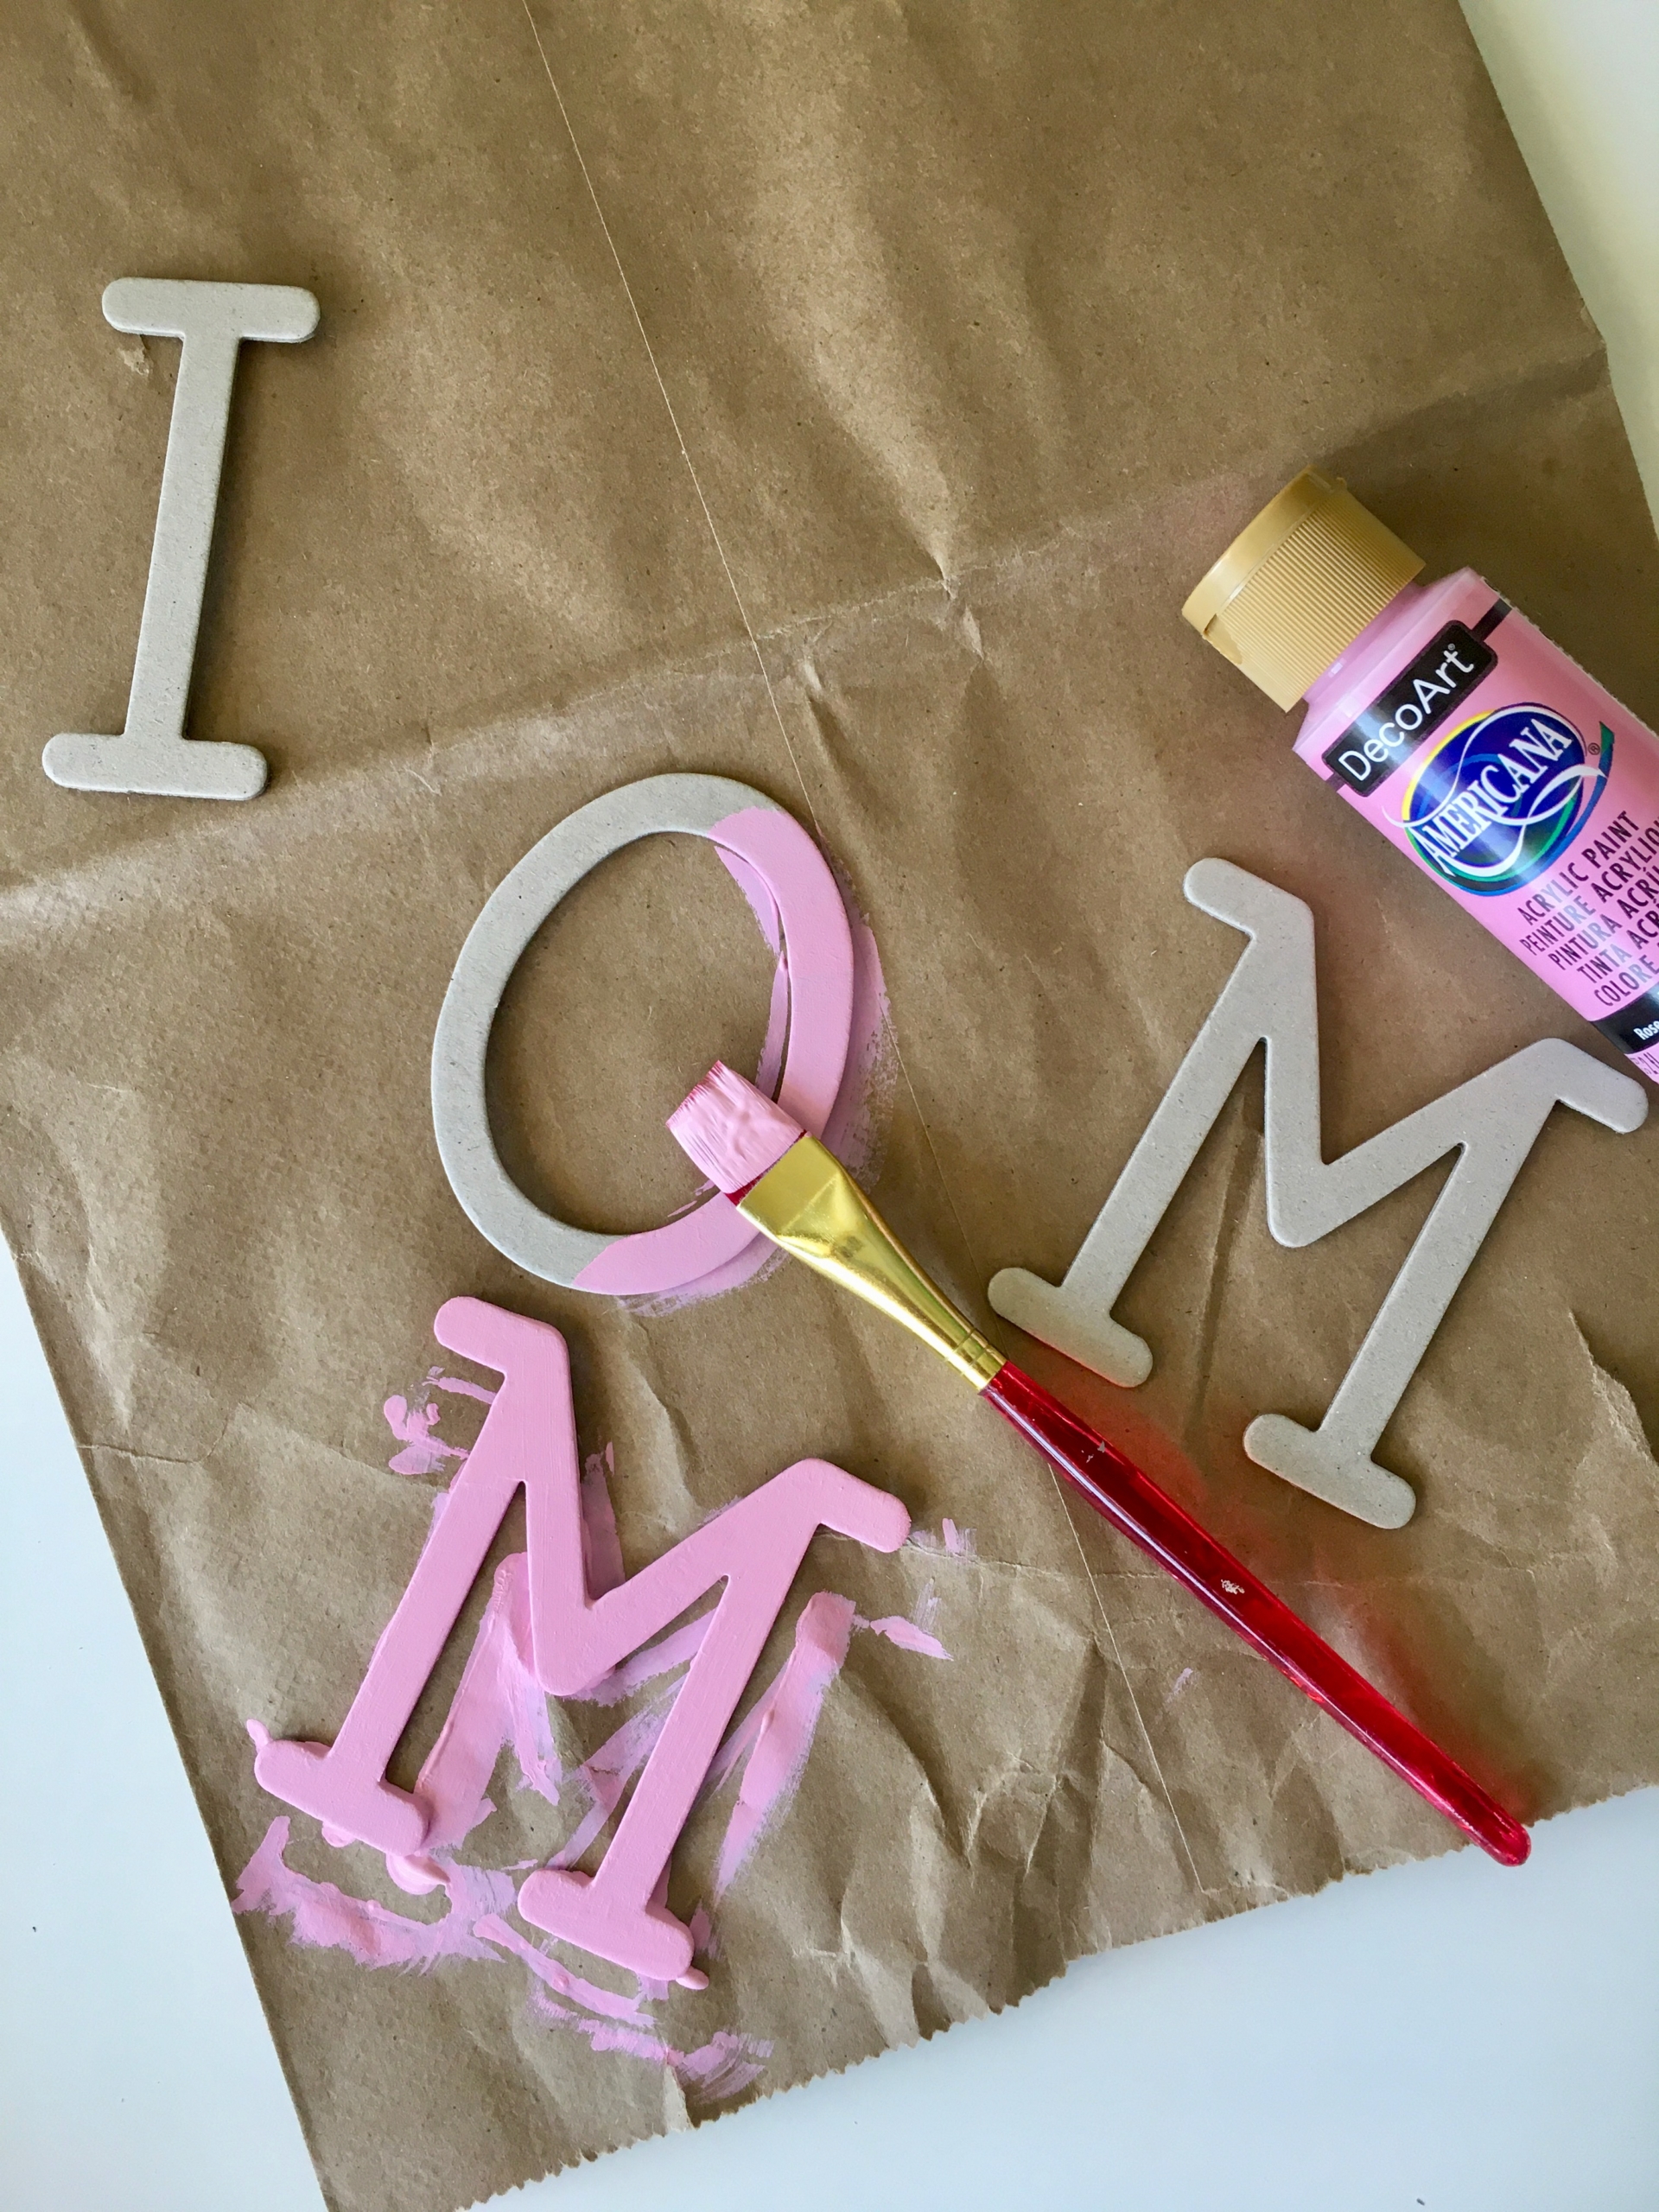
For the I Love Mom one, I decided on pink letters in this paint. Again, you can do whatever you want to with the paint color!
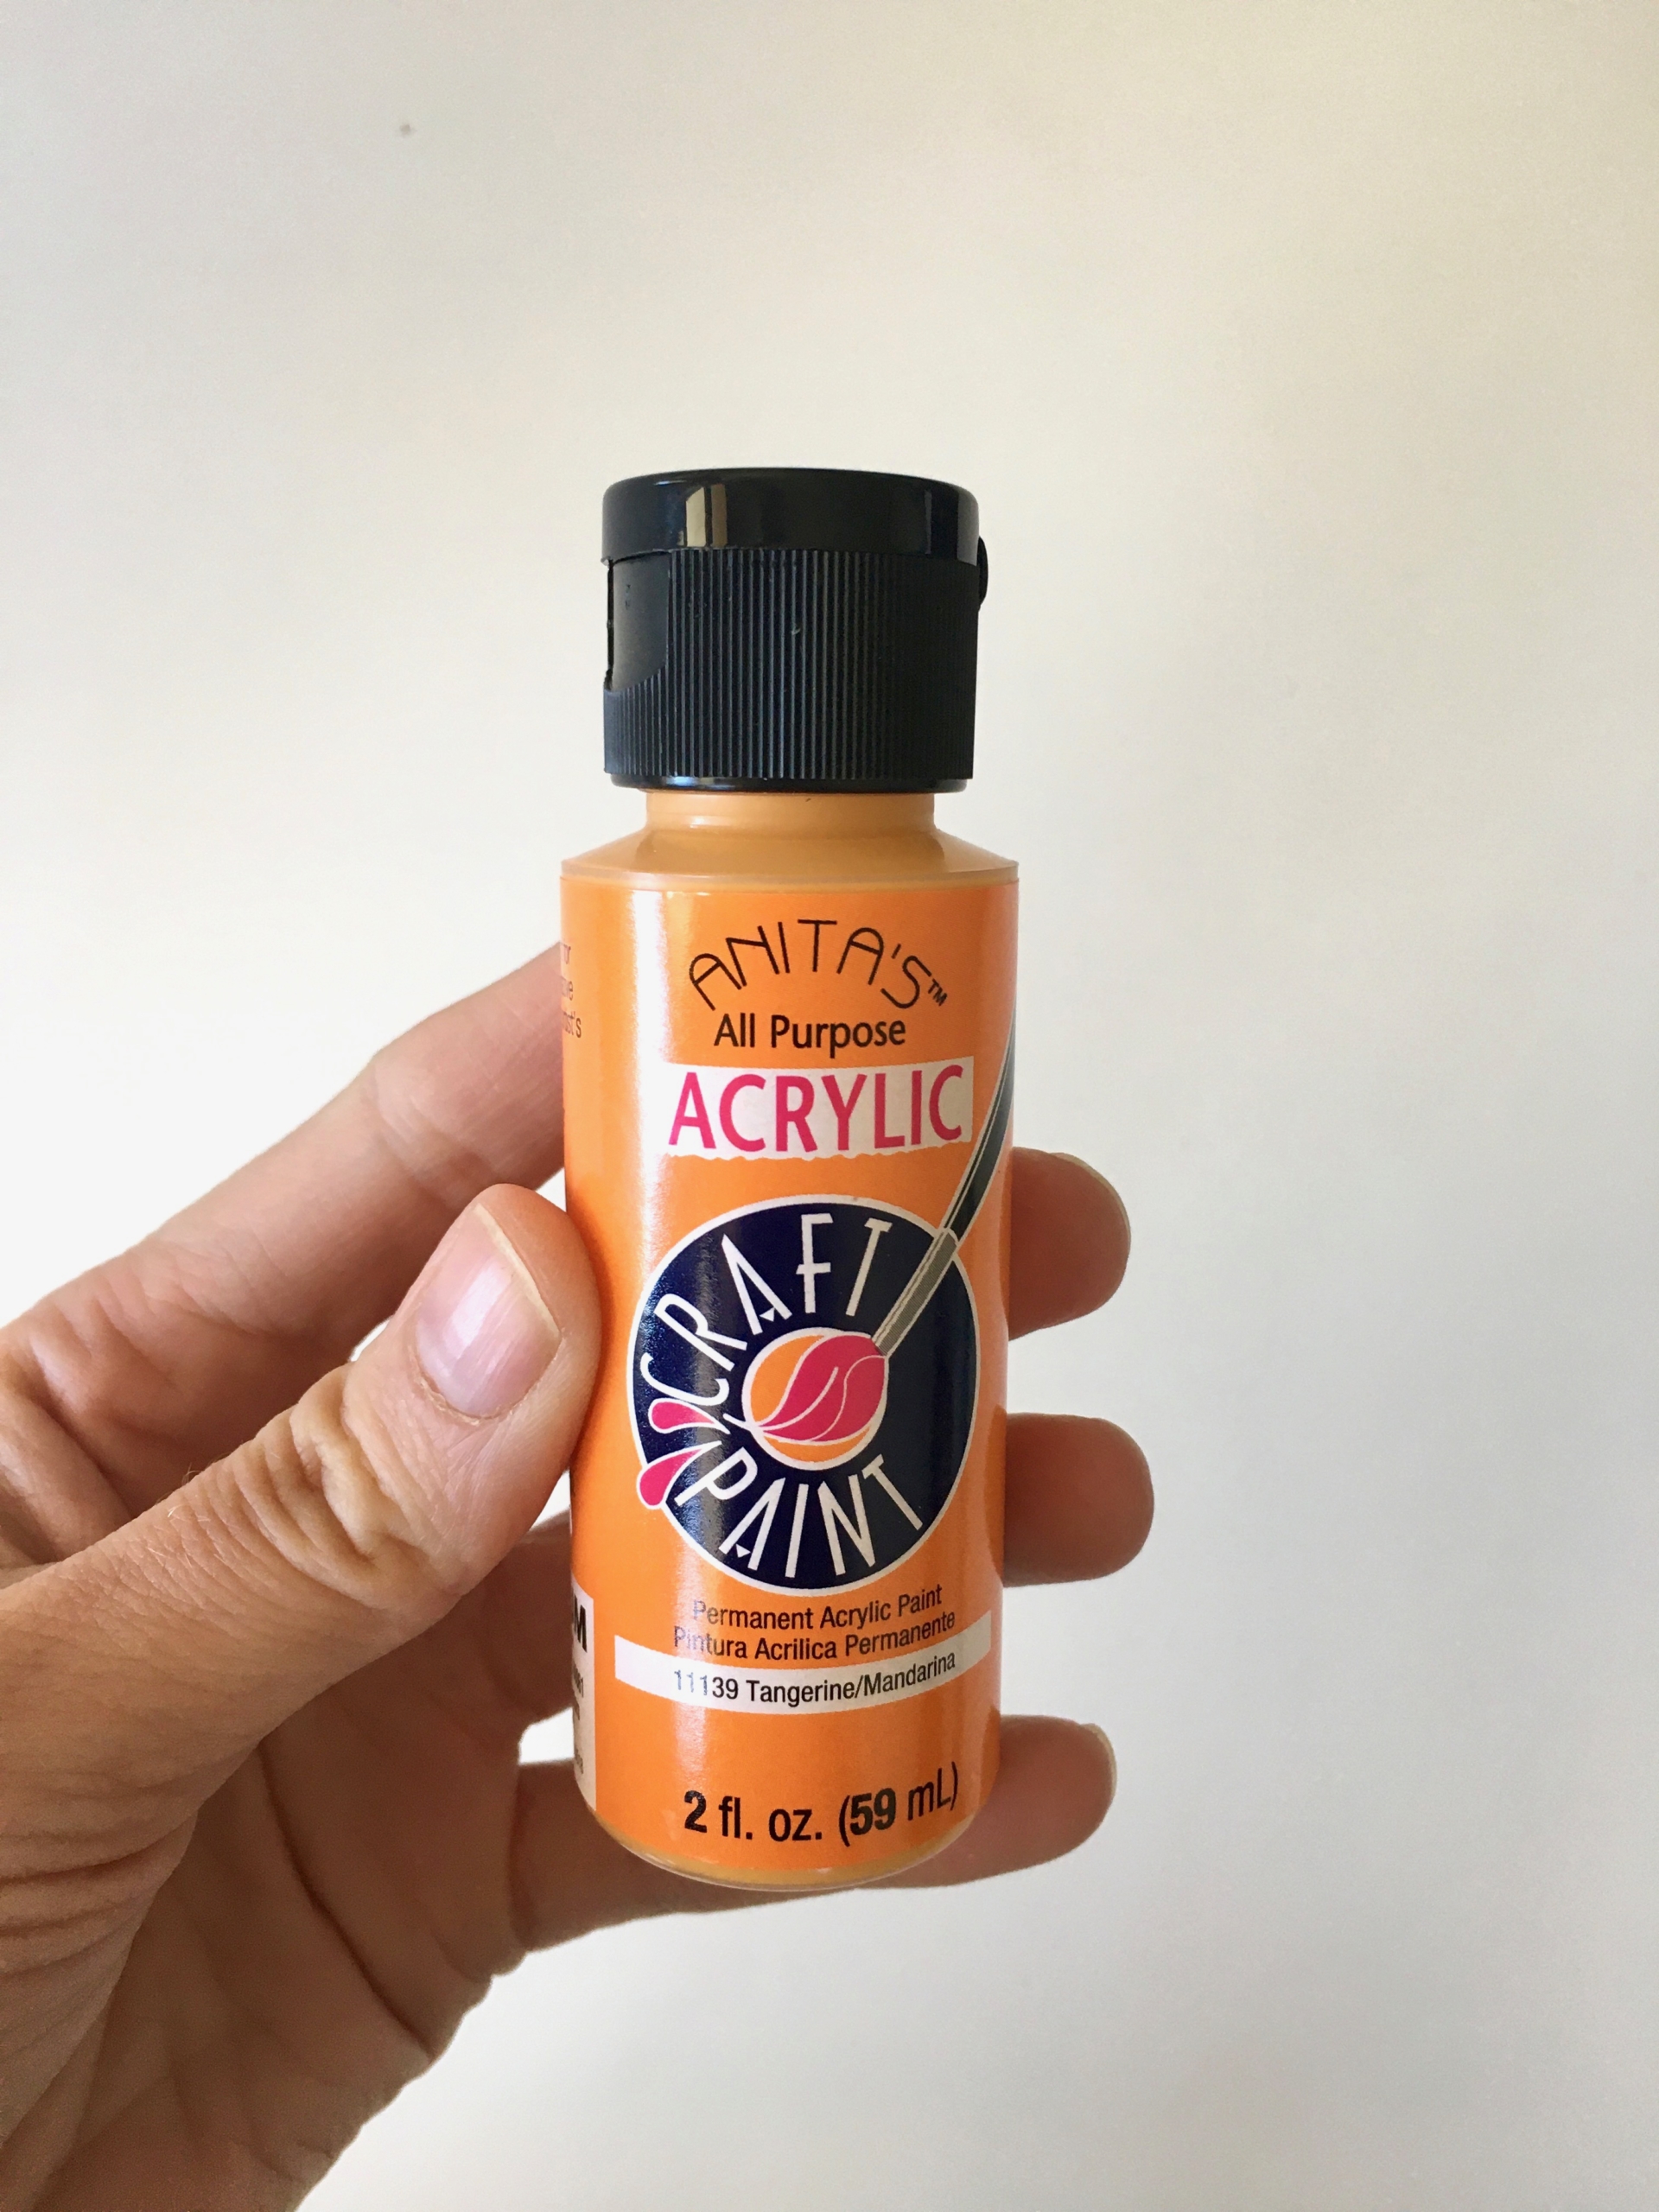
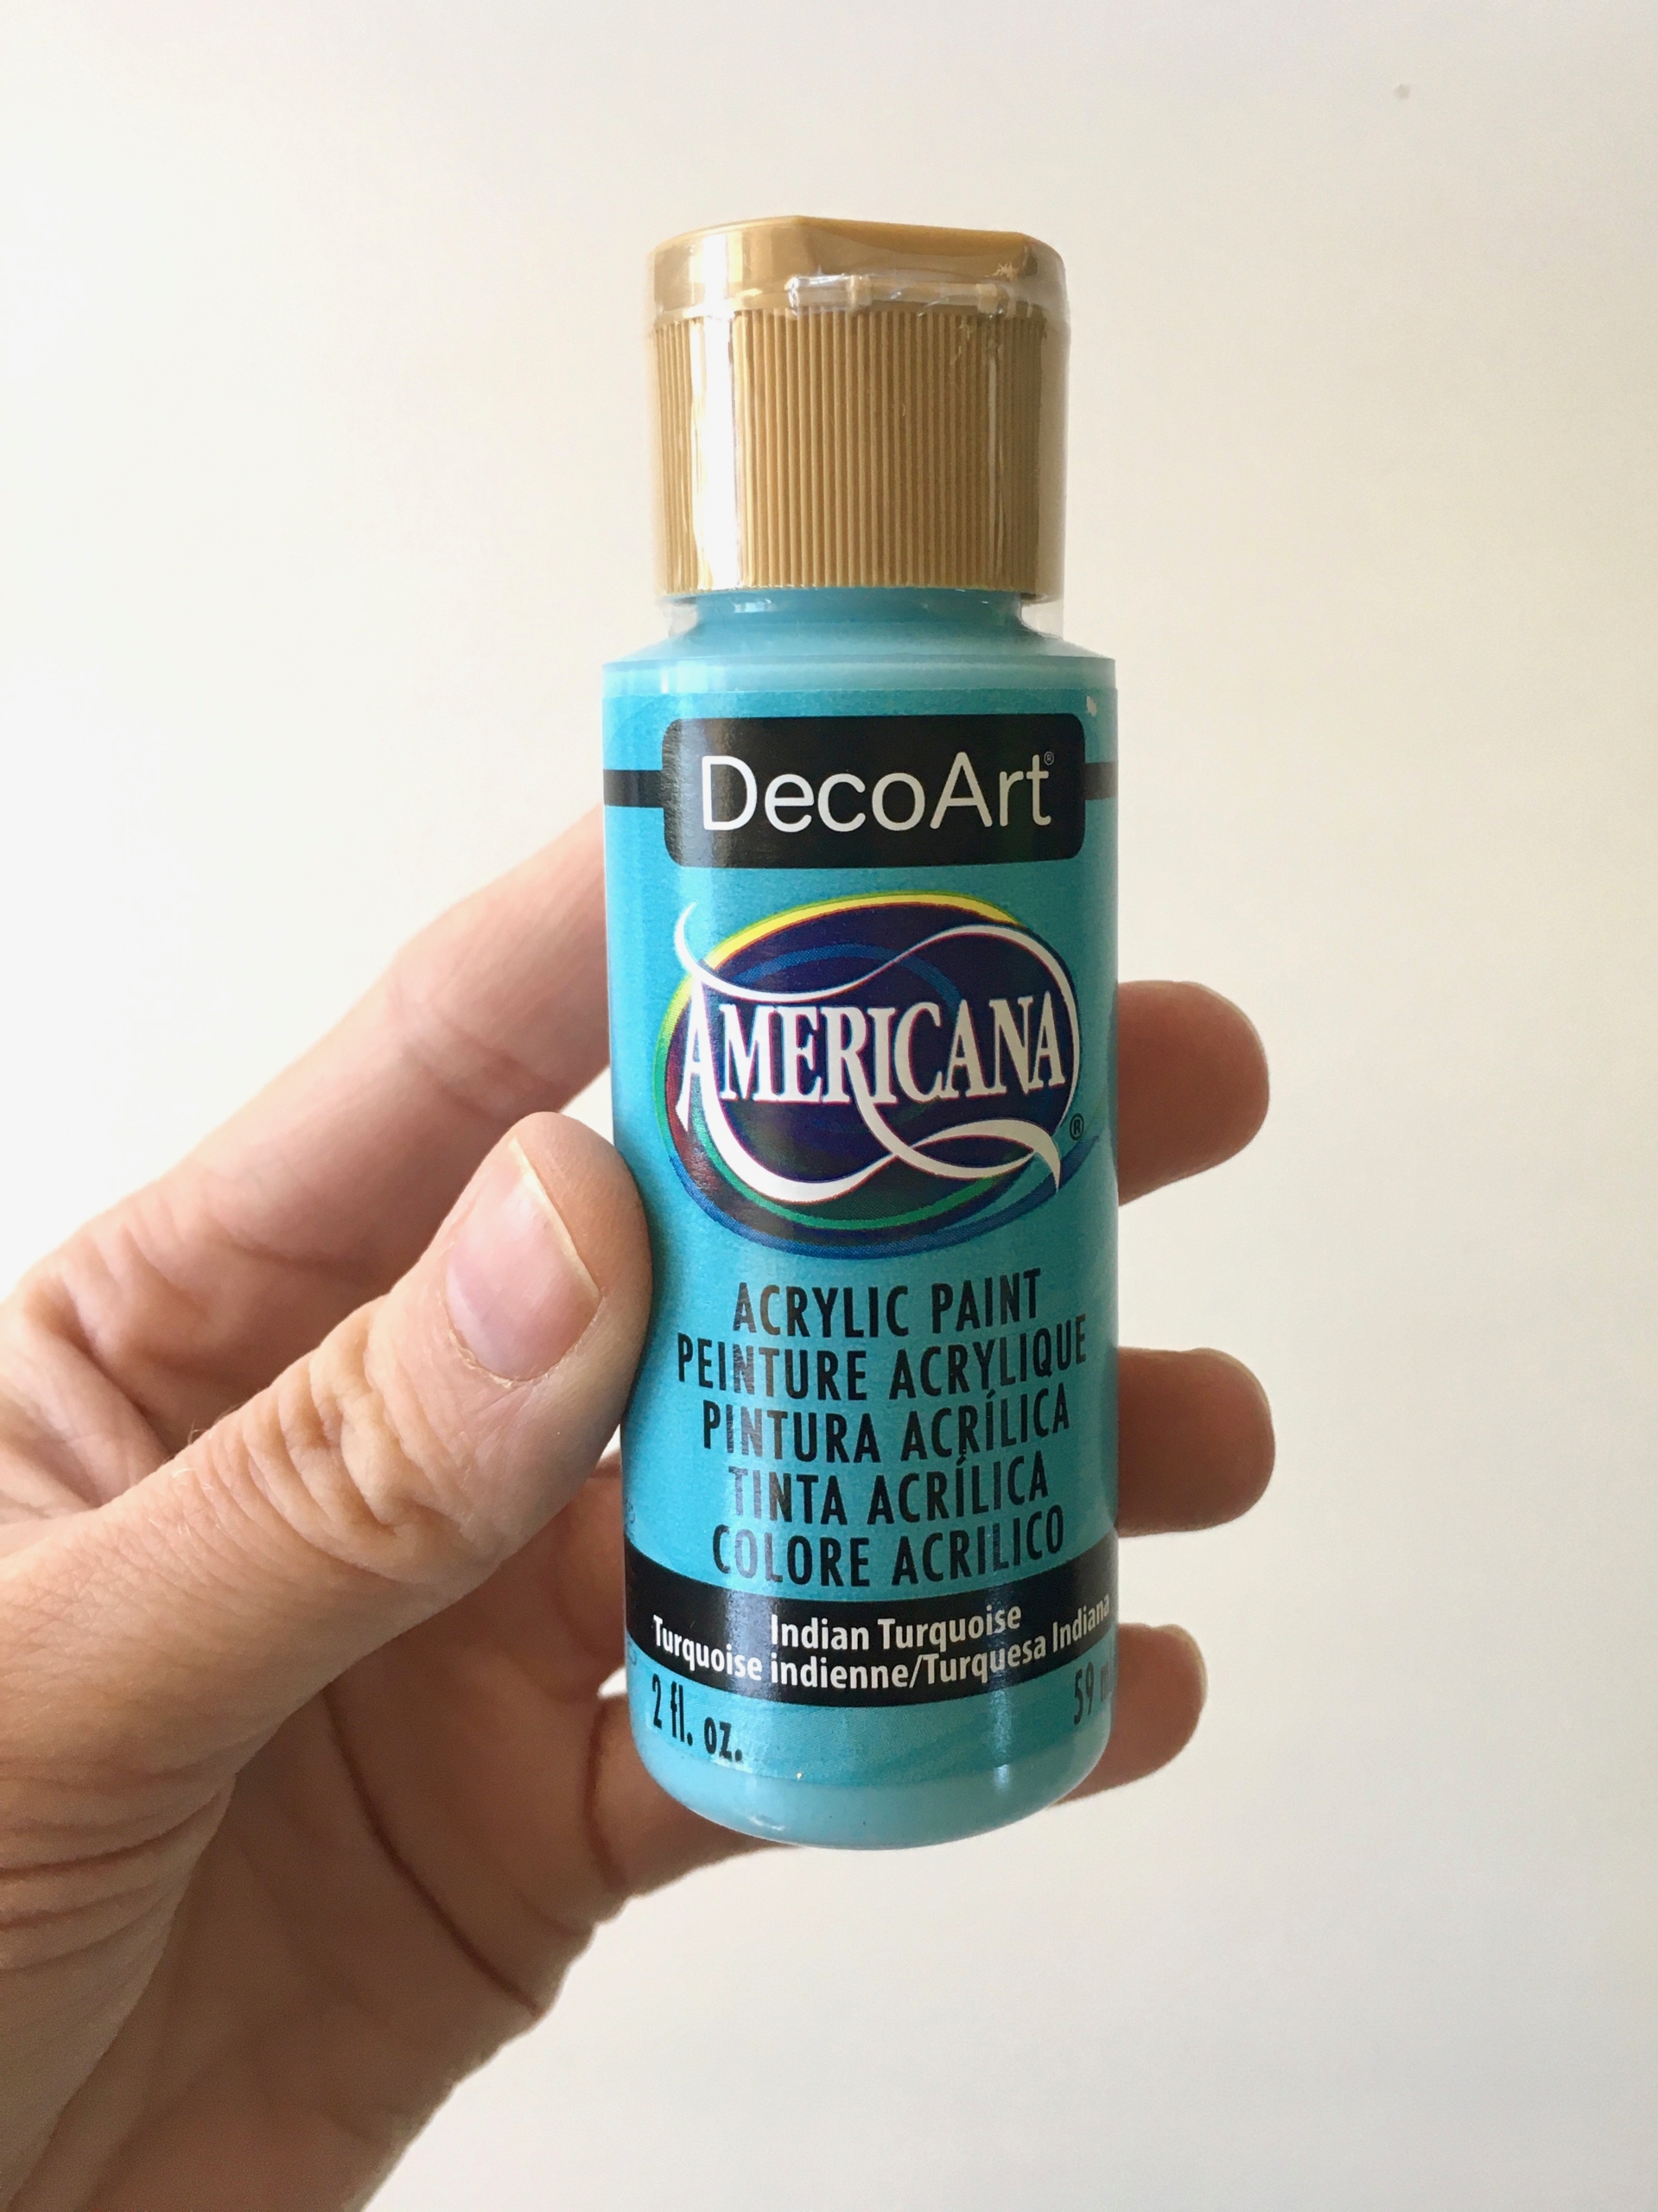
And for the I Love You one, I went with this tangerine acrylic paint and this turquoise acrylic paint.
Start by letting the kids paint the letters. They will dry pretty quickly! I painted mine on a paper bag but later realized a plastic garbage bag would’ve been better since they wanted to stick to that paper bag.
Next, trace the heart shape around the picture you have chosen. (I’ve included a PDF of the heart shape in case you wanted to use that as your template when finding an appropriate sized picture.) No worries if your picture is a bit too small or too big for the heart. After you put the mod podge on and it dries, you can use some basic sandpaper and sand the edges evenly.
(I’ve included a pdf -FIND IT HERE– of the heart shape if you are using these hearts from Hobby Lobby. That way you can use it as a template for a good picture size. I personally like to use Pages on my MacBook and just drag pics into the document making them fit into the shape I’m using. Then, I get the page printed and I am certain the picture size is good.)
Put a thin layer of mod podge on the wooden heart and put the picture on it, smoothing out any wrinkles.
Wait 15 minutes, then put a layer of mod podge over the picture. Do about 4-5 layers of mod podge, waiting 15-20 minutes drying time between each layer. Sand the edges to smooth it.
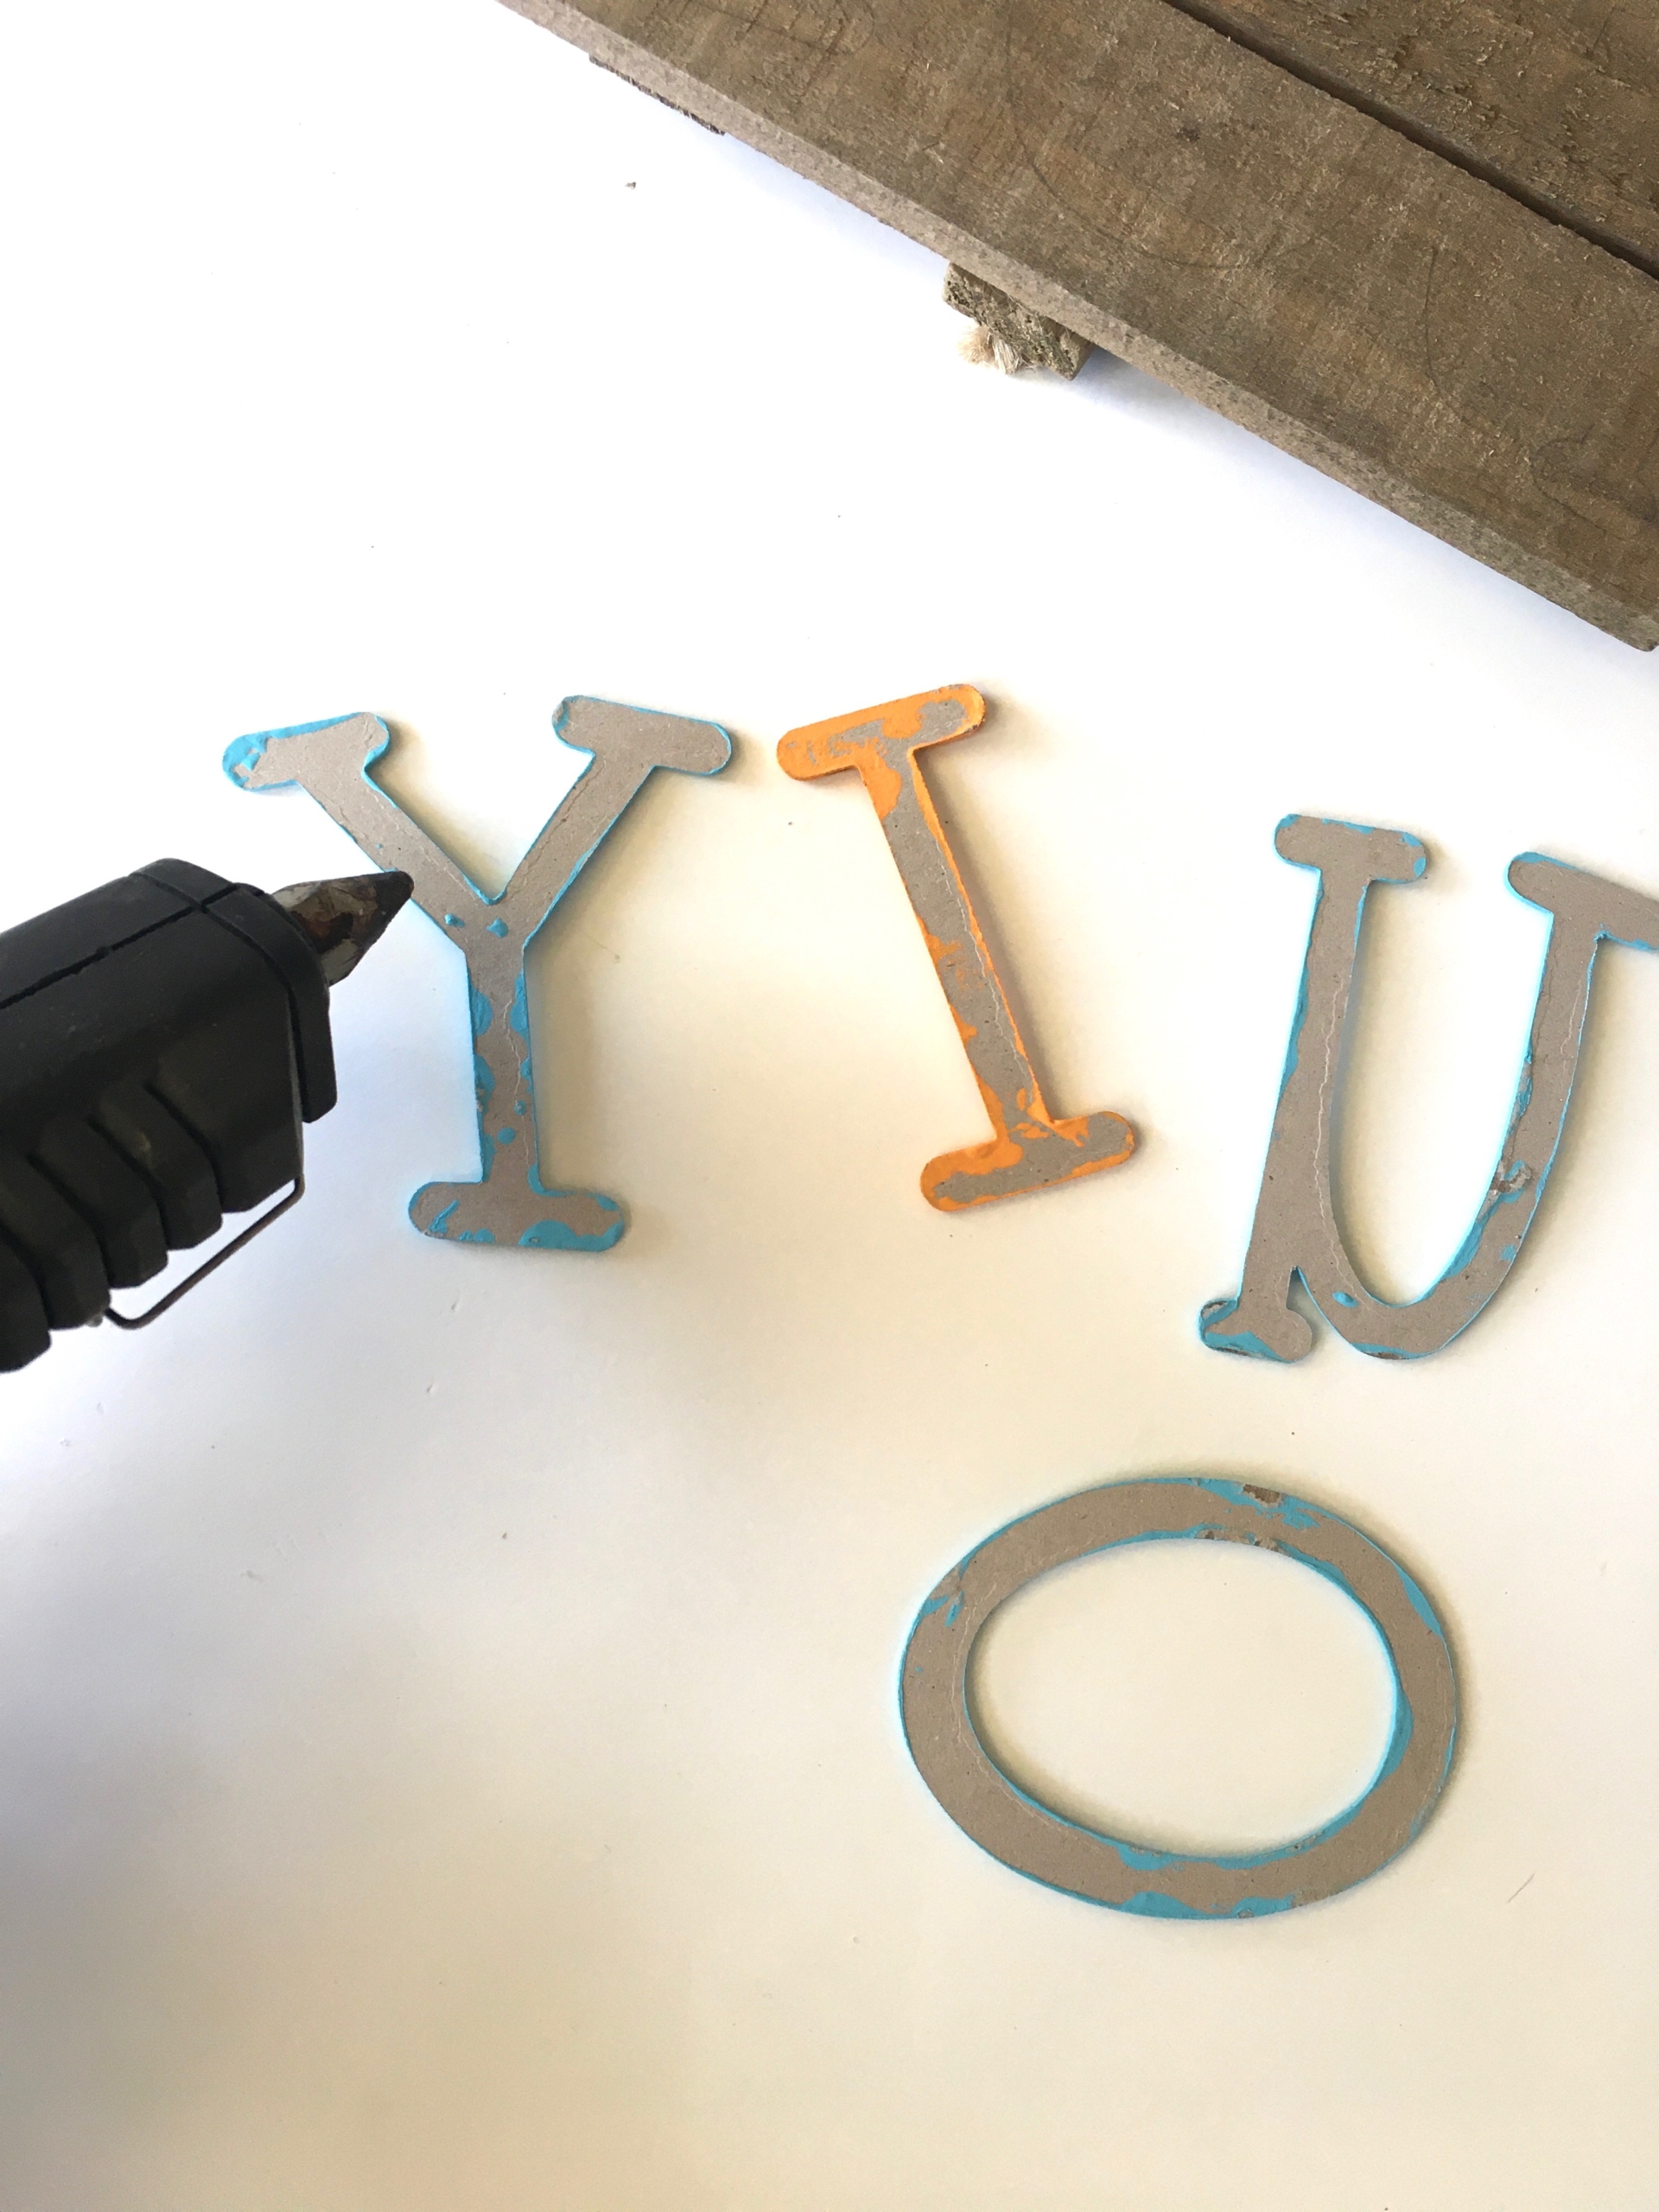
Lay everything out like you want it. I like to put light pencil marks, so that when I am glueing it down I can see where everything is supposed to go.
Using the hot glue gun (an adult should be doing this step!) glue each piece on.
Now, it’s all ready to gift! This slatted wood sign has an easel back and a wall hook, so the person receiving it can display it whatever way they choose!
Mom is sure to love this DIY Mother’s Day Craft!
This Mother’s Day craft looks cute on Mom’s desk!
Looking for more Mother’s Day craft ideas for kids to make?
Check out this post.












canadian pharmacy cialis brand: TadalAccess – tadalafil best price 20 mg
cialis experience forum [url=https://tadalaccess.com/#]TadalAccess[/url] cialis dosis
https://tadalaccess.com/# order cialis canada
https://tadalaccess.com/# generic tadalafil 40 mg
cialis where to buy in las vegas nv [url=https://tadalaccess.com/#]TadalAccess[/url] cialis canada
https://tadalaccess.com/# cialis tadalafil 10 mg
cialis copay card [url=https://tadalaccess.com/#]cialis superactive[/url] cialis pharmacy
cialis buy online canada: cialis dosage 40 mg – tadalafil with latairis
https://tadalaccess.com/# cialis generic timeline 2018
https://tadalaccess.com/# cialis prices
cialis softabs online [url=https://tadalaccess.com/#]cialis over the counter usa[/url] generic tadalafil in us
https://tadalaccess.com/# is there a generic cialis available in the us
canadian pharmacy cialis 40 mg: TadalAccess – tadalafil eli lilly
https://tadalaccess.com/# achats produit tadalafil pour femme en ligne
cialis free trial offer [url=https://tadalaccess.com/#]TadalAccess[/url] walmart cialis price
cialis free trial 2018: cialis 20 mg from united kingdom – where can i buy cialis over the counter
order cialis online: cialis buy online – mint pharmaceuticals tadalafil reviews
paypal cialis no prescription [url=https://tadalaccess.com/#]Tadal Access[/url] cialis commercial bathtub
https://tadalaccess.com/# cialis side effect
is tadalafil peptide safe to take: TadalAccess – cialis not working anymore
https://tadalaccess.com/# cialis manufacturer coupon lilly
generic cialis available in canada: cialis cost per pill – cialis 10mg price
cialis without a doctor prescription canada: cialis for daily use side effects – cialis bodybuilding
https://tadalaccess.com/# wallmart cialis
super cialis: TadalAccess – cialis generic timeline 2018
cheap cialis pills: cialis generic for sale – does tadalafil lower blood pressure
https://tadalaccess.com/# tadalafil eli lilly
cialis difficulty ejaculating: cialis for daily use dosage – tadalafil tablets 20 mg global
tadalafil dapoxetine tablets india: Tadal Access – tadalafil cheapest price
buy cheap tadalafil online [url=https://tadalaccess.com/#]Tadal Access[/url] overnight cialis delivery
https://tadalaccess.com/# tadalafil lowest price
cialis online pharmacy australia: cialis not working first time – what is cialis used to treat
generic cialis vs brand cialis reviews: TadalAccess – cialis for sale online in canada
tadalafil online canadian pharmacy [url=https://tadalaccess.com/#]Tadal Access[/url] how long does it take cialis to start working
https://tadalaccess.com/# cialis indications
find tadalafil: Tadal Access – cialis super active vs regular cialis
cialis street price: TadalAccess – cialis alternative
cialis for sale over the counter [url=https://tadalaccess.com/#]TadalAccess[/url] cialis 10mg price
when does cialis go generic: what does generic cialis look like – cialis 5mg how long does it take to work
cialis indien bezahlung mit paypal: cialis side effects forum – cheap cialis online tadalafil
cialis 20mg for sale [url=https://tadalaccess.com/#]TadalAccess[/url] cialis 10mg reviews
https://tadalaccess.com/# cialis patent expiration 2016
brand cialis with prescription: TadalAccess – cialis difficulty ejaculating
https://tadalaccess.com/# tadalafil 5mg generic from us
when does cialis go off patent: tadalafil citrate powder – cialis 10 mg
stendra vs cialis: Tadal Access – cialis active ingredient
cialis once a day: does cialis really work – cialis time
cialis lower blood pressure: TadalAccess – where can i get cialis
https://tadalaccess.com/# canada cialis
take cialis the correct way: Tadal Access – best price on generic tadalafil
cialis manufacturer coupon free trial: cialis samples – where can i buy cialis online
cialis without prescription: TadalAccess – ordering tadalafil online
https://tadalaccess.com/# cialis overnight shipping
cialis price per pill: Tadal Access – cialis cheap
cialis dosage reddit [url=https://tadalaccess.com/#]cialis pills[/url] tadalafil dapoxetine tablets india
order generic cialis online 20 mg 20 pills: TadalAccess – order cialis canada
https://tadalaccess.com/# purchase brand cialis
over the counter cialis 2017: Tadal Access – cialis soft tabs
cialis reviews photos [url=https://tadalaccess.com/#]Tadal Access[/url] compounded tadalafil troche life span
https://tadalaccess.com/# cheap cialis online tadalafil
cialis 5mg side effects: Tadal Access – combitic global caplet pvt ltd tadalafil
tadalafil canada is it safe [url=https://tadalaccess.com/#]Tadal Access[/url] purchasing cialis online
purchase cialis: cialis definition – buy cialis pro
https://tadalaccess.com/# cialis next day delivery
buy tadalafil reddit: Tadal Access – buy cialis canada paypal
difference between sildenafil and tadalafil: Tadal Access – cialis patent expiration date
tadalafil (tadalis-ajanta): maximum dose of tadalafil – brand cialis with prescription
cialis for bph insurance coverage [url=https://tadalaccess.com/#]tadalafil (megalis-macleods) reviews[/url] cialis 20 mg coupon
https://tadalaccess.com/# cialis black 800 mg pill house
cialis mit paypal bezahlen: cialis generic best price – tadalafil tablets side effects
https://tadalaccess.com/# buy cialis without a prescription
buy generic tadalafil online cheap: TadalAccess – cialis price canada
buy cialis generic online 10 mg: Tadal Access – tadalafil and ambrisentan newjm 2015
https://tadalaccess.com/# cialis canada prices
cialis soft tabs canadian pharmacy [url=https://tadalaccess.com/#]Tadal Access[/url] cialis strength
tadalafil generic cialis 20mg: Tadal Access – maximum dose of cialis in 24 hours
cialis patent expiration date: Tadal Access – cialis overdose
https://tadalaccess.com/# tadalafil dapoxetine tablets india
recreational cialis: Tadal Access – wallmart cialis
https://tadalaccess.com/# cialis for daily use cost
cialis stories [url=https://tadalaccess.com/#]Tadal Access[/url] best price for tadalafil
cialis free trial offer: cialis timing – cialis online canada ripoff
https://tadalaccess.com/# cialis overnight deleivery
cialis drug: buy cialis canadian – cialis strength
buy cialis no prescription australia [url=https://tadalaccess.com/#]cialis 50mg[/url] is there a generic equivalent for cialis
cialis generic versus brand name: cialis after prostate surgery – when will generic cialis be available
https://tadalaccess.com/# is there a generic cialis available in the us
stendra vs cialis: best place to buy tadalafil online – pastilla cialis
is tadalafil available at cvs [url=https://tadalaccess.com/#]is cialis a controlled substance[/url] cialis canada pharmacy no prescription required
cialis canada free sample: TadalAccess – is generic tadalafil as good as cialis
https://tadalaccess.com/# cialis super active reviews
natural cialis: cialis dosage side effects – tadalafil medication
canadian cialis 5mg [url=https://tadalaccess.com/#]Tadal Access[/url] best price cialis supper active
cialis 5mg coupon: TadalAccess – cialis canadian purchase
https://tadalaccess.com/# buy cialis no prescription overnight
best time to take cialis: Tadal Access – tadalafil buy online canada
cialis generic purchase: letairis and tadalafil – is generic tadalafil as good as cialis
tadalafil 40 mg with dapoxetine 60 mg [url=https://tadalaccess.com/#]Tadal Access[/url] order cialis canada
https://tadalaccess.com/# best research tadalafil 2017
cost of cialis for daily use: cialis voucher – pastilla cialis
does cialis shrink the prostate: can tadalafil cure erectile dysfunction – cialis daily dosage
cialis mit paypal bezahlen [url=https://tadalaccess.com/#]cialis online reviews[/url] sunrise remedies tadalafil
https://tadalaccess.com/# where to buy cialis online for cheap
maximum dose of tadalafil: buy cialis shipment to russia – cialis and cocaine
cialis headache: buy cialis pro – is tadalafil from india safe
cialis one a day: Tadal Access – prices on cialis
cialis price: where to buy tadalafil online – printable cialis coupon
https://tadalaccess.com/# buy cialis free shipping
best price for tadalafil [url=https://tadalaccess.com/#]is tadalafil from india safe[/url] tadalafil lowest price
cialis daily review: Tadal Access – where can i buy cialis online
cialis generic name: buy cialis no prescription – cialis from india
https://tadalaccess.com/# what does cialis cost
cialis 100mg review: uses for cialis – cheap cialis pills uk
cialis package insert: cialis one a day – para que sirve las tabletas cialis tadalafil de 5mg
https://tadalaccess.com/# cialis free samples
buy cialis in canada [url=https://tadalaccess.com/#]Tadal Access[/url] is tadalafil available at cvs
buy generic cialis online: Tadal Access – cialis from mexico
stendra vs cialis: cialis black – is generic cialis available in canada
https://tadalaccess.com/# ordering tadalafil online
active ingredient in cialis: Tadal Access – cialis black
special sales on cialis: TadalAccess – adcirca tadalafil
https://tadalaccess.com/# how to buy cialis
https://amohealthcare.store/# amoxicillin online without prescription
prednisone pill 20 mg: prednisone 4mg – PredniHealth
Amo Health Care: Amo Health Care – purchase amoxicillin online without prescription
where to buy generic clomid tablets [url=https://clomhealth.shop/#]Clom Health[/url] where to get clomid now
https://amohealthcare.store/# Amo Health Care
PredniHealth: prednisone for dogs – prednisone 10mg for sale
prednisone in mexico [url=https://prednihealth.shop/#]PredniHealth[/url] 50 mg prednisone tablet
buy generic clomid: Clom Health – buy cheap clomid without prescription
https://clomhealth.shop/# how to get cheap clomid tablets
buying cheap clomid without insurance: where can i buy cheap clomid pill – buying generic clomid prices
where to buy generic clomid without prescription [url=https://clomhealth.shop/#]how can i get cheap clomid[/url] can i buy cheap clomid
Amo Health Care: Amo Health Care – buy amoxicillin 500mg usa
https://prednihealth.com/# PredniHealth
how to buy clomid no prescription: can i purchase clomid price – how to buy clomid without prescription
buy generic clomid prices [url=https://clomhealth.shop/#]how to get generic clomid price[/url] cost of generic clomid without dr prescription
drug prices prednisone: PredniHealth – prednisone 3 tablets daily
https://amohealthcare.store/# Amo Health Care
PredniHealth: prednisone 40 mg – PredniHealth
can i buy prednisone over the counter in usa: prednisone 30 mg daily – PredniHealth
https://clomhealth.com/# how to get clomid pills
PredniHealth: PredniHealth – PredniHealth
prednisone 20mg tab price: PredniHealth – prednisone 12 tablets price
https://amohealthcare.store/# Amo Health Care
how to get cheap clomid prices: how to get clomid – how to get clomid without rx
clomid without a prescription: Clom Health – buy cheap clomid no prescription
buying generic clomid without a prescription: can i order clomid pill – where to buy generic clomid pill
https://amohealthcare.store/# Amo Health Care
where can i order prednisone 20mg [url=https://prednihealth.com/#]PredniHealth[/url] PredniHealth
buy amoxicillin from canada: Amo Health Care – buy cheap amoxicillin
modafinil legality: safe modafinil purchase – purchase Modafinil without prescription
http://modafinilmd.store/# legal Modafinil purchase
modafinil legality: legal Modafinil purchase – legal Modafinil purchase
discreet shipping: same-day Viagra shipping – cheap Viagra online
buy modafinil online: Modafinil for sale – modafinil pharmacy
generic sildenafil 100mg [url=https://maxviagramd.shop/#]no doctor visit required[/url] secure checkout Viagra
http://maxviagramd.com/# trusted Viagra suppliers
same-day Viagra shipping: order Viagra discreetly – trusted Viagra suppliers
same-day Viagra shipping: secure checkout Viagra – discreet shipping
cheap Viagra online [url=https://maxviagramd.shop/#]discreet shipping[/url] no doctor visit required
https://maxviagramd.com/# generic sildenafil 100mg
fast Viagra delivery: trusted Viagra suppliers – same-day Viagra shipping
buy modafinil online: doctor-reviewed advice – purchase Modafinil without prescription
https://maxviagramd.shop/# cheap Viagra online
buy generic Viagra online [url=https://maxviagramd.shop/#]cheap Viagra online[/url] fast Viagra delivery
modafinil pharmacy: Modafinil for sale – safe modafinil purchase
verified Modafinil vendors: purchase Modafinil without prescription – buy modafinil online
http://maxviagramd.com/# best price for Viagra
no doctor visit required [url=https://maxviagramd.shop/#]generic sildenafil 100mg[/url] secure checkout Viagra
modafinil 2025: modafinil legality – modafinil pharmacy
doctor-reviewed advice: purchase Modafinil without prescription – doctor-reviewed advice
http://maxviagramd.com/# discreet shipping
safe modafinil purchase [url=https://modafinilmd.store/#]doctor-reviewed advice[/url] doctor-reviewed advice
legal Modafinil purchase: modafinil pharmacy – purchase Modafinil without prescription
modafinil pharmacy: verified Modafinil vendors – Modafinil for sale
https://modafinilmd.store/# modafinil 2025
cheap Cialis online [url=http://zipgenericmd.com/#]generic tadalafil[/url] secure checkout ED drugs
same-day Viagra shipping: buy generic Viagra online – no doctor visit required
Viagra without prescription: cheap Viagra online – legit Viagra online
modafinil 2025: verified Modafinil vendors – modafinil 2025
http://maxviagramd.com/# no doctor visit required
discreet shipping ED pills: discreet shipping ED pills – FDA approved generic Cialis
best price Cialis tablets: generic tadalafil – discreet shipping ED pills
no doctor visit required: same-day Viagra shipping – Viagra without prescription
http://modafinilmd.store/# purchase Modafinil without prescription
verified Modafinil vendors: verified Modafinil vendors – modafinil 2025
online Cialis pharmacy [url=https://zipgenericmd.com/#]secure checkout ED drugs[/url] cheap Cialis online
buy generic Cialis online: cheap Cialis online – discreet shipping ED pills
cheap Viagra online: generic sildenafil 100mg – same-day Viagra shipping
http://modafinilmd.store/# modafinil legality
best price for Viagra: order Viagra discreetly – discreet shipping
safe modafinil purchase [url=https://modafinilmd.store/#]Modafinil for sale[/url] Modafinil for sale
buy generic Cialis online: best price Cialis tablets – online Cialis pharmacy
https://maxviagramd.shop/# no doctor visit required
no doctor visit required: buy generic Viagra online – buy generic Viagra online
Viagra without prescription [url=http://maxviagramd.com/#]safe online pharmacy[/url] safe online pharmacy
affordable ED medication: discreet shipping ED pills – best price Cialis tablets
same-day Viagra shipping: order Viagra discreetly – legit Viagra online
https://zipgenericmd.shop/# order Cialis online no prescription
pin up вход: пинап казино – пин ап казино
https://vavadavhod.tech/# vavada casino
pin up: pin up casino – pin-up casino giris
вавада официальный сайт [url=https://vavadavhod.tech/#]вавада казино[/url] вавада казино
пин ап казино: пин ап казино – пин ап казино
https://vavadavhod.tech/# вавада
pin-up [url=http://pinupaz.top/#]pin up[/url] pin-up casino giris
vavada: вавада казино – vavada casino
pin up az: pinup az – pin up
пин ап вход: пинап казино – пин ап вход
http://pinuprus.pro/# пин ап зеркало
пин ап зеркало: пин ап казино – пин ап вход
пин ап казино: pin up вход – пин ап зеркало
pinup az: pin-up – pin-up
pin up az: pinup az – pin up
вавада зеркало: вавада зеркало – vavada
http://pinupaz.top/# pin up az
вавада официальный сайт: вавада зеркало – вавада официальный сайт
вавада официальный сайт: вавада казино – vavada
http://pinuprus.pro/# пин ап казино официальный сайт
вавада: vavada – vavada casino
pin-up: pin up azerbaycan – pin up az
pin up вход: пин ап казино – pin up вход
pin up casino: pin-up casino giris – pinup az
pinup az: pin up casino – pin up az
пин ап казино [url=https://pinuprus.pro/#]пин ап зеркало[/url] пинап казино
pin up casino: pin up azerbaycan – pin up casino
http://pinuprus.pro/# pin up вход
пинап казино: пин ап вход – пин ап вход
pin up: pin up casino – pin-up casino giris
https://vavadavhod.tech/# вавада зеркало
пинап казино: пин ап казино – пин ап казино официальный сайт
vavada: vavada casino – vavada
pin up вход: пинап казино – пинап казино
vavada casino: vavada вход – vavada вход
http://pinuprus.pro/# пин ап казино официальный сайт
pin-up casino giris: pin up casino – pin up azerbaycan
вавада [url=http://vavadavhod.tech/#]вавада официальный сайт[/url] vavada вход
пин ап зеркало: pin up вход – пинап казино
пинап казино: pin up вход – pin up вход
http://vavadavhod.tech/# vavada casino
вавада официальный сайт: вавада зеркало – вавада зеркало
pinup az: pin up azerbaycan – pin up azerbaycan
https://pinupaz.top/# pin-up casino giris
пин ап вход [url=http://pinuprus.pro/#]пинап казино[/url] пин ап зеркало
pinup az: pin-up – pin up az
https://pinupaz.top/# pin up azerbaycan
пин ап казино: пинап казино – пин ап казино официальный сайт
http://pinuprus.pro/# пинап казино
вавада: vavada casino – vavada вход
пин ап казино [url=http://pinuprus.pro/#]пинап казино[/url] пин ап зеркало
пин ап казино: pin up вход – пин ап казино
https://vavadavhod.tech/# вавада официальный сайт
pin-up: pin up – pin-up
вавада казино: vavada вход – вавада казино
http://pinuprus.pro/# pin up вход
pin-up: pin-up – pin up az
pin up вход: pin up вход – пин ап казино официальный сайт
https://pinuprus.pro/# пин ап казино официальный сайт
вавада зеркало: вавада официальный сайт – vavada
пинап казино: pin up вход – пин ап вход
http://pinuprus.pro/# пин ап казино
вавада официальный сайт: vavada – vavada
vavada вход [url=http://vavadavhod.tech/#]вавада казино[/url] вавада официальный сайт
https://pinuprus.pro/# пин ап казино официальный сайт
пин ап вход: пин ап казино официальный сайт – пинап казино
http://vavadavhod.tech/# vavada casino
пинап казино: пин ап казино официальный сайт – пин ап казино
пинап казино: пин ап казино – пин ап вход
вавада казино [url=https://vavadavhod.tech/#]вавада[/url] vavada
пин ап вход: пин ап вход – пин ап казино официальный сайт
pin up azerbaycan: pin-up casino giris – pin-up casino giris
https://vavadavhod.tech/# вавада зеркало
пин ап зеркало: пин ап казино – пин ап казино
pin up вход: пин ап казино – пинап казино
pin-up: pin up az – pin up az
http://vavadavhod.tech/# vavada
пин ап казино: пинап казино – pin up вход
пин ап вход: пинап казино – пин ап вход
пин ап зеркало: пин ап вход – pin up вход
vavada вход: vavada – вавада официальный сайт
vavada casino: vavada вход – вавада официальный сайт
https://pinuprus.pro/# пинап казино
pinup az: pin up casino – pin-up casino giris
вавада казино: вавада – вавада казино
вавада зеркало [url=http://vavadavhod.tech/#]вавада казино[/url] vavada вход
https://vavadavhod.tech/# vavada вход
вавада официальный сайт: vavada casino – вавада казино
пин ап казино: пин ап казино официальный сайт – пинап казино
https://pinupaz.top/# pin-up casino giris
vavada: vavada – вавада
вавада зеркало: vavada – вавада официальный сайт
пин ап вход: pin up вход – пин ап казино
вавада казино [url=https://vavadavhod.tech/#]vavada вход[/url] vavada casino
пин ап зеркало: пин ап казино официальный сайт – пин ап казино официальный сайт
pin-up: pinup az – pin up az
пин ап казино официальный сайт: pin up вход – пин ап казино
pin-up [url=https://pinupaz.top/#]pin up casino[/url] pin-up
http://pinupaz.top/# pin up casino
пинап казино: пин ап зеркало – пинап казино
pin up вход: pin up вход – пин ап казино официальный сайт
вавада зеркало: вавада официальный сайт – вавада казино
https://vavadavhod.tech/# vavada
пин ап зеркало: пинап казино – пин ап вход
вавада: вавада зеркало – вавада зеркало
пинап казино: пинап казино – пин ап казино
pin-up [url=https://pinupaz.top/#]pin up azerbaycan[/url] pin up azerbaycan
пин ап вход: пин ап казино официальный сайт – пин ап казино
пин ап казино: pin up вход – pin up вход
http://pinupaz.top/# pin-up
пин ап вход: пинап казино – pin up вход
pin up вход: пин ап зеркало – пин ап зеркало
https://pinupaz.top/# pin up az
пинап казино: пин ап казино официальный сайт – пин ап казино
vavada casino [url=http://vavadavhod.tech/#]vavada casino[/url] вавада официальный сайт
вавада: вавада казино – vavada
http://pinuprus.pro/# pin up вход
вавада официальный сайт: vavada casino – вавада казино
vavada: вавада официальный сайт – вавада официальный сайт
вавада казино: вавада казино – вавада зеркало
http://vavadavhod.tech/# vavada casino
pin up azerbaycan: pin-up – pin up azerbaycan
https://medicinefromindia.com/# world pharmacy india
medicine courier from India to USA: indian pharmacy online – reputable indian pharmacies
https://medicinefromindia.com/# indian pharmacy online shopping
Medicine From India: indian pharmacy – indian pharmacy online shopping
Rx Express Mexico: mexican rx online – mexico pharmacies prescription drugs
https://rxexpressmexico.shop/# mexican online pharmacy
indian pharmacy online: medicine courier from India to USA – medicine courier from India to USA
mexican rx online: mexican rx online – mexican online pharmacy
https://rxexpressmexico.com/# RxExpressMexico
canada drugs: canadian 24 hour pharmacy – canadian pharmacy meds review
canadian pharmacy review: ExpressRxCanada – cross border pharmacy canada
Rx Express Mexico: mexican rx online – Rx Express Mexico
http://medicinefromindia.com/# indian pharmacy online shopping
mexican online pharmacy: Rx Express Mexico – RxExpressMexico
canadian pharmacies comparison: canadian pharmacies comparison – canadian drugs
top 10 online pharmacy in india: medicine courier from India to USA – medicine courier from India to USA
https://expressrxcanada.shop/# pharmacy canadian
Medicine From India: best online pharmacy india – Medicine From India
canadian pharmacy meds reviews: canadian pharmacy 24 com – my canadian pharmacy reviews
mexico pharmacy order online: mexico pharmacies prescription drugs – Rx Express Mexico
https://expressrxcanada.com/# online canadian pharmacy reviews
mexico pharmacies prescription drugs: mexican rx online – mexico pharmacy order online
canadian pharmacy meds: Generic drugs from Canada – canadian pharmacies compare
indian pharmacy online: indian pharmacy online – indian pharmacy online
http://rxexpressmexico.com/# mexican online pharmacy
canadian online drugs: canadian drugs online – legit canadian pharmacy
canadian pharmacy reviews: pharmacy rx world canada – legit canadian pharmacy online
indian pharmacy online shopping: indian pharmacy online – Medicine From India
https://rxexpressmexico.com/# mexico pharmacy order online
cheap canadian pharmacy: Buy medicine from Canada – canadian pharmacy in canada
acheter kamagra site fiable: acheter kamagra site fiable – Kamagra Oral Jelly pas cher
achat kamagra: kamagra oral jelly – kamagra oral jelly
pharmacie en ligne france fiable: Medicaments en ligne livres en 24h – pharmacie en ligne fiable pharmafst.com
http://kamagraprix.com/# achat kamagra
acheter kamagra site fiable: achat kamagra – acheter kamagra site fiable
Achat mГ©dicament en ligne fiable: pharmacies en ligne certifiГ©es – Pharmacie en ligne livraison Europe pharmafst.com
kamagra 100mg prix: kamagra livraison 24h – kamagra gel
kamagra pas cher: acheter kamagra site fiable – Kamagra pharmacie en ligne
https://pharmafst.shop/# vente de mГ©dicament en ligne
Pharmacie en ligne Cialis sans ordonnance: Tadalafil 20 mg prix sans ordonnance – Tadalafil 20 mg prix sans ordonnance tadalmed.shop
kamagra livraison 24h: Kamagra pharmacie en ligne – Kamagra Commander maintenant
http://kamagraprix.com/# Kamagra Oral Jelly pas cher
Kamagra Oral Jelly pas cher: Kamagra Oral Jelly pas cher – Kamagra Oral Jelly pas cher
https://pharmafst.com/# pharmacie en ligne france livraison internationale
Kamagra Oral Jelly pas cher: kamagra gel – achat kamagra
http://tadalmed.com/# Pharmacie en ligne Cialis sans ordonnance
Kamagra Commander maintenant: Achetez vos kamagra medicaments – achat kamagra
https://pharmafst.shop/# pharmacie en ligne livraison europe
Tadalafil achat en ligne: Acheter Cialis – Tadalafil 20 mg prix en pharmacie tadalmed.shop
vente de mГ©dicament en ligne: pharmacie en ligne sans ordonnance – pharmacies en ligne certifiГ©es pharmafst.com
Acheter Viagra Cialis sans ordonnance: cialis prix – cialis generique tadalmed.shop
kamagra gel: Kamagra Commander maintenant – Kamagra pharmacie en ligne
kamagra livraison 24h: kamagra pas cher – kamagra en ligne
acheter mГ©dicament en ligne sans ordonnance: pharmacie en ligne – п»їpharmacie en ligne france pharmafst.com
http://kamagraprix.com/# Acheter Kamagra site fiable
Kamagra Oral Jelly pas cher: kamagra 100mg prix – acheter kamagra site fiable
pharmacie en ligne france livraison internationale: pharmacie en ligne pas cher – Achat mГ©dicament en ligne fiable pharmafst.com
http://kamagraprix.com/# Acheter Kamagra site fiable
vente de mГ©dicament en ligne: pharmacie en ligne france livraison internationale – acheter mГ©dicament en ligne sans ordonnance pharmafst.com
Acheter Viagra Cialis sans ordonnance: cialis prix – Cialis en ligne tadalmed.shop
Pharmacie Internationale en ligne: Pharmacies en ligne certifiees – п»їpharmacie en ligne france pharmafst.com
http://kamagraprix.com/# kamagra pas cher
pharmacie en ligne fiable: Pharmacies en ligne certifiees – pharmacie en ligne france livraison belgique pharmafst.com
Cialis generique prix: Cialis en ligne – Cialis sans ordonnance 24h tadalmed.shop
http://tadalmed.com/# Achat Cialis en ligne fiable
cialis prix: Acheter Viagra Cialis sans ordonnance – Cialis en ligne tadalmed.shop
Kamagra pharmacie en ligne: acheter kamagra site fiable – kamagra 100mg prix
kamagra oral jelly: kamagra pas cher – kamagra 100mg prix
https://pharmafst.shop/# pharmacie en ligne france livraison internationale
Kamagra Commander maintenant: Achetez vos kamagra medicaments – kamagra livraison 24h
pharmacie en ligne fiable: pharmacie en ligne – acheter mГ©dicament en ligne sans ordonnance pharmafst.com
Tadalafil 20 mg prix en pharmacie: Cialis generique prix – cialis prix tadalmed.shop
pharmacie en ligne sans ordonnance: Pharmacie sans ordonnance – п»їpharmacie en ligne france pharmafst.com
Cialis en ligne: Cialis en ligne – cialis sans ordonnance tadalmed.shop
trouver un mГ©dicament en pharmacie: Medicaments en ligne livres en 24h – trouver un mГ©dicament en pharmacie pharmafst.com
https://tadalmed.com/# cialis generique
cialis prix: Cialis en ligne – Acheter Cialis tadalmed.shop
olympe casino cresus: olympe – olympe casino avis
Can you be more specific about the content of your article? After reading it, I still have some doubts. Hope you can help me.
Good way of describing, and nice article to get data regarding my presentation topic, which i am going to present in university. http://boyarka-inform.com
I loved the idea
Thanks for sharing.