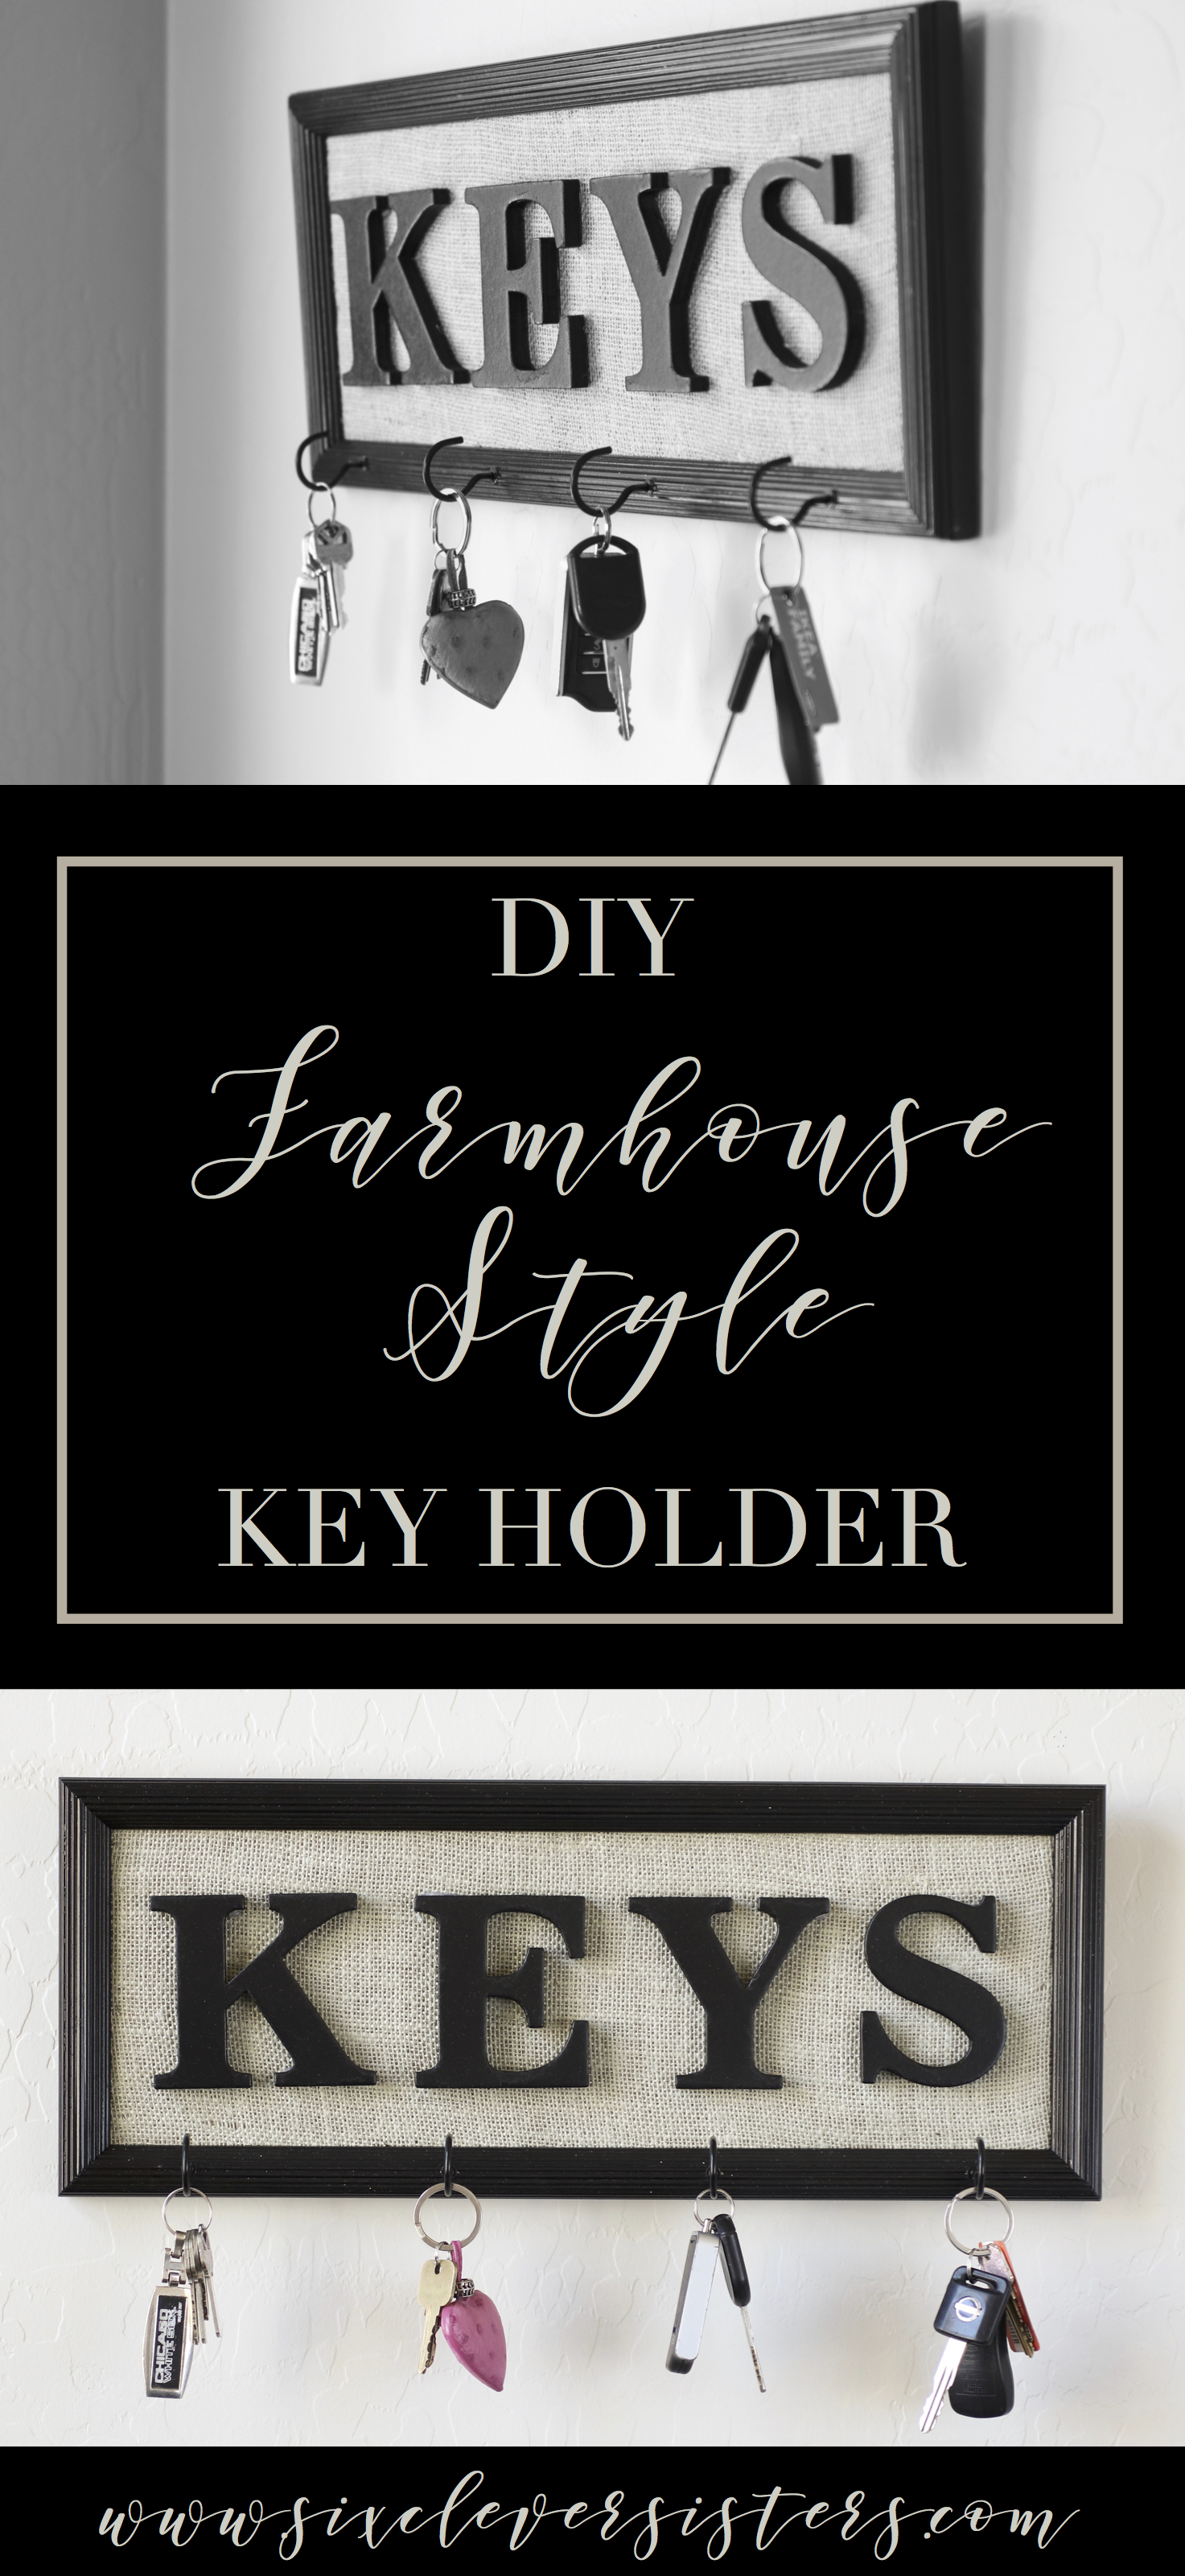
DIY Farmhouse Style Key Holder
Farmhouse decor is all the rage right now, isn’t it? There are some stinkin’ cute farmhouse decorations out there, I do have to say! Recently I saw a farmhouse style key holder that was a bit pricey that inspired me to come up with this post. When we six sisters see something, our first thought is, how can I make that? I mean seriously, sometimes, we can be in a store closely examining something to see how they made it and how easy it would be for us to make ourselves. Ha!! This DIY farmhouse style key holder can be made in no time! And, THIS is DIY farmhouse decor on a budget!
:: IN A RUSH? PIN IT FOR LATER ::

DIY FARMHOUSE STYLE KEY HOLDER

Here’s what you need:
- a frame (your frame size will depend on your letter size; mine is 19″ x 8″ )
- chipboard letters (I love, love these ones from Hobby Lobby and they’re super cheap)
- small piece of burlap
- black spray paint
- hooks
Some basic tools:
THIS IS A SUPER QUICK PROJECT!
The frame I used was from my local Goodwill. It’s a great place to find things for repurposing! I should have taken a picture to share with you of the picture that was in my frame. Um. . . some kind of naked babies. ???????? . . not really sure what they were, but it was awful! It had probably been in someone’s attics since the 1970’s. Hey, it was exactly what I was looking for though!

So, I started by spray painting my letters and frame. I was satisfied with just one coat of paint, but it’s just up to you.

Next, I took the insert from my frame (yes, the naked baby one ????) and cut the same size onto a thicker cardboard. I knew the original insert wasn’t strong enough to hold up my letters, so I wanted something a bit stronger.
Next, I set my cardboard piece down and cut around the burlap, leaving a good 2-3 inches around each edge.

Centering the cardboard on the burlap, lay it down and staple it around one long edge. If your frame doesn’t have much of a lip, you’ll need to staple really close to the edge so you don’t see the staples from the front. Pull it taut (or you’ll end up with a baggy front), and staple around the other edge. Pull taut again and staple the short ends.

After I stapled it, I did place some tape on the raw edges of the burlap on the back. I just didn’t want the raw edges of the burlap to end up fraying.
Place the burlap piece in your ready-to-go frame.
Arrange your letters how you want them. I thought it was easier to do once the burlap was in the frame and I could see exactly how it was going to look. Use your tape measure to center, space, etc. Or if you have a great eye, that works too!
Hot glue the letters to the burlap.

Attach how ever many hooks you desire.
And, as simple as that, your farmhouse decoration is finished!

And the BEST way to hang this is with these large command strips.
HAVE YOU SEEN THESE POSTS?
(click on the images for full tutorials)


