DIY No-Sew Felt Flowers
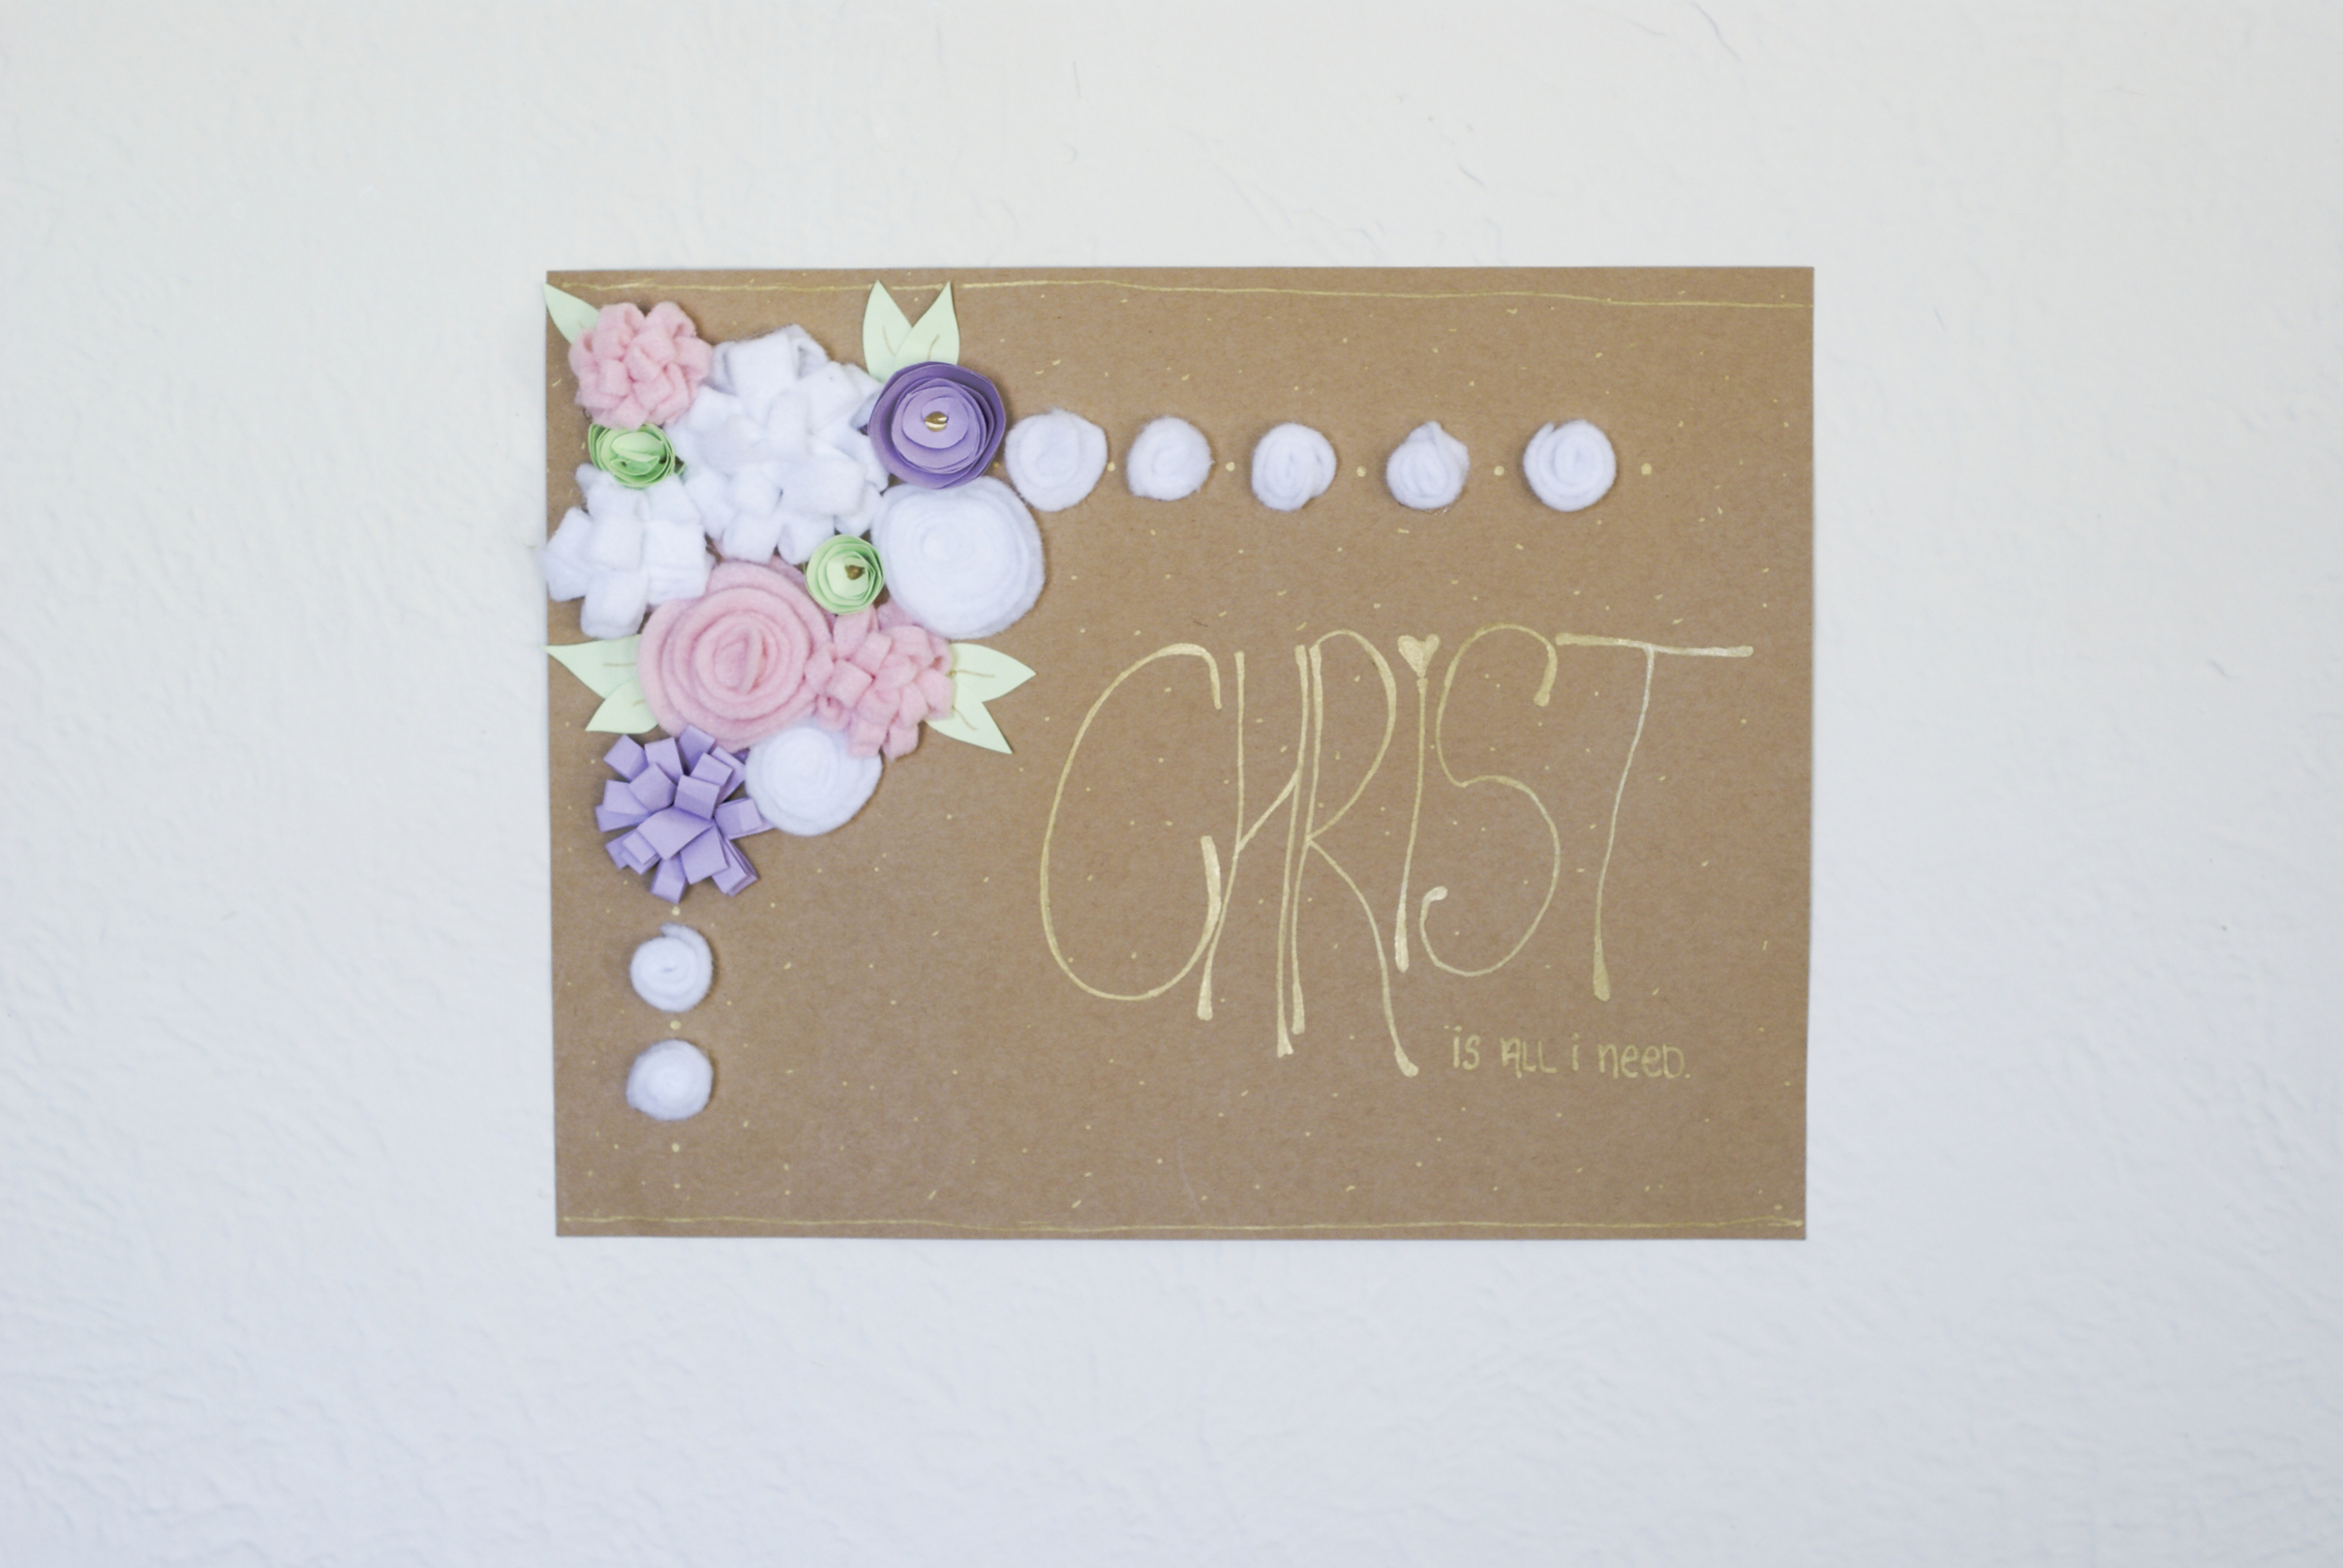
I love making these felt flowers – they’re so easy to make and turn out so pretty! Use these DIY No Sew Felt Flowers to decorate the front of a greeting card, to spruce up an old frame . . . you could even make a little girls’ headband with a few of these on it! How cute would that be???
DIY No Sew Felt Flowers
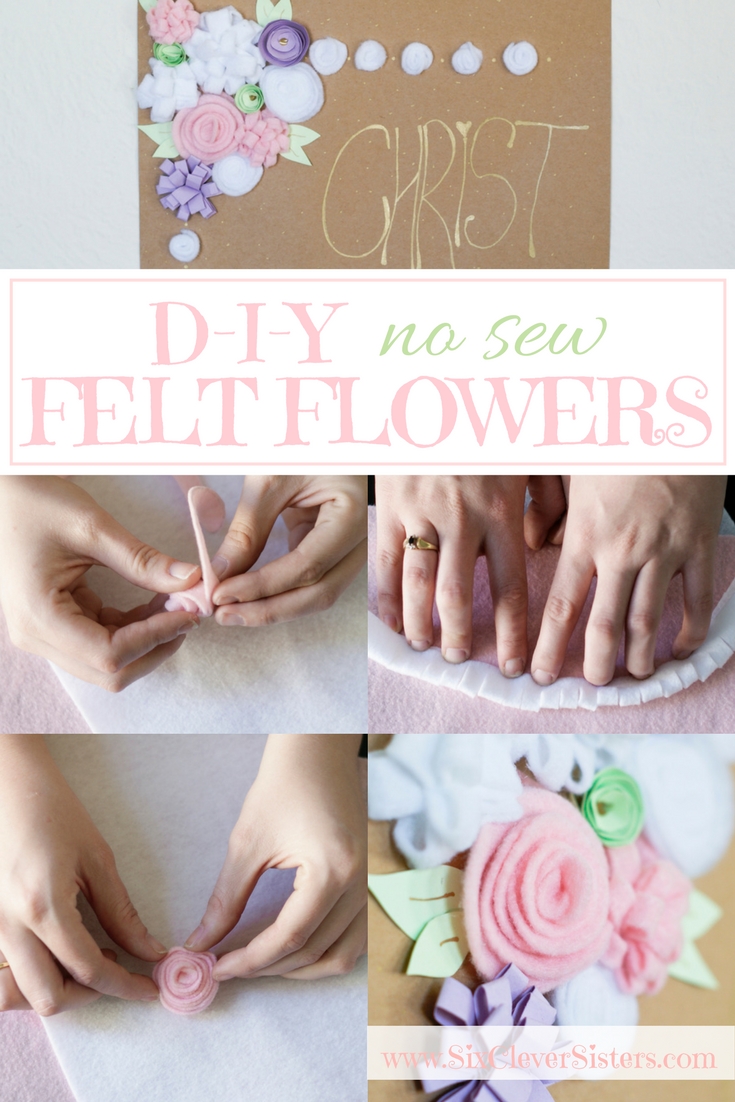
Jo-Ann’s had a huuuuge sale on felt sheets last winter so {of course} I stocked up . . . because the price was too good to turn down 🙂 Pastels are such beautiful colors this time of year, so I decided to go with light pink and white felt. And I decided to throw in some paper flowers and leaves as well! For those, I used light purple and light green.
For these flowers you will need:
- felt sheets (similar here)
- a glue gun
- scissors
- pen or pencil
- cup or circle template (about 3″ diameter)
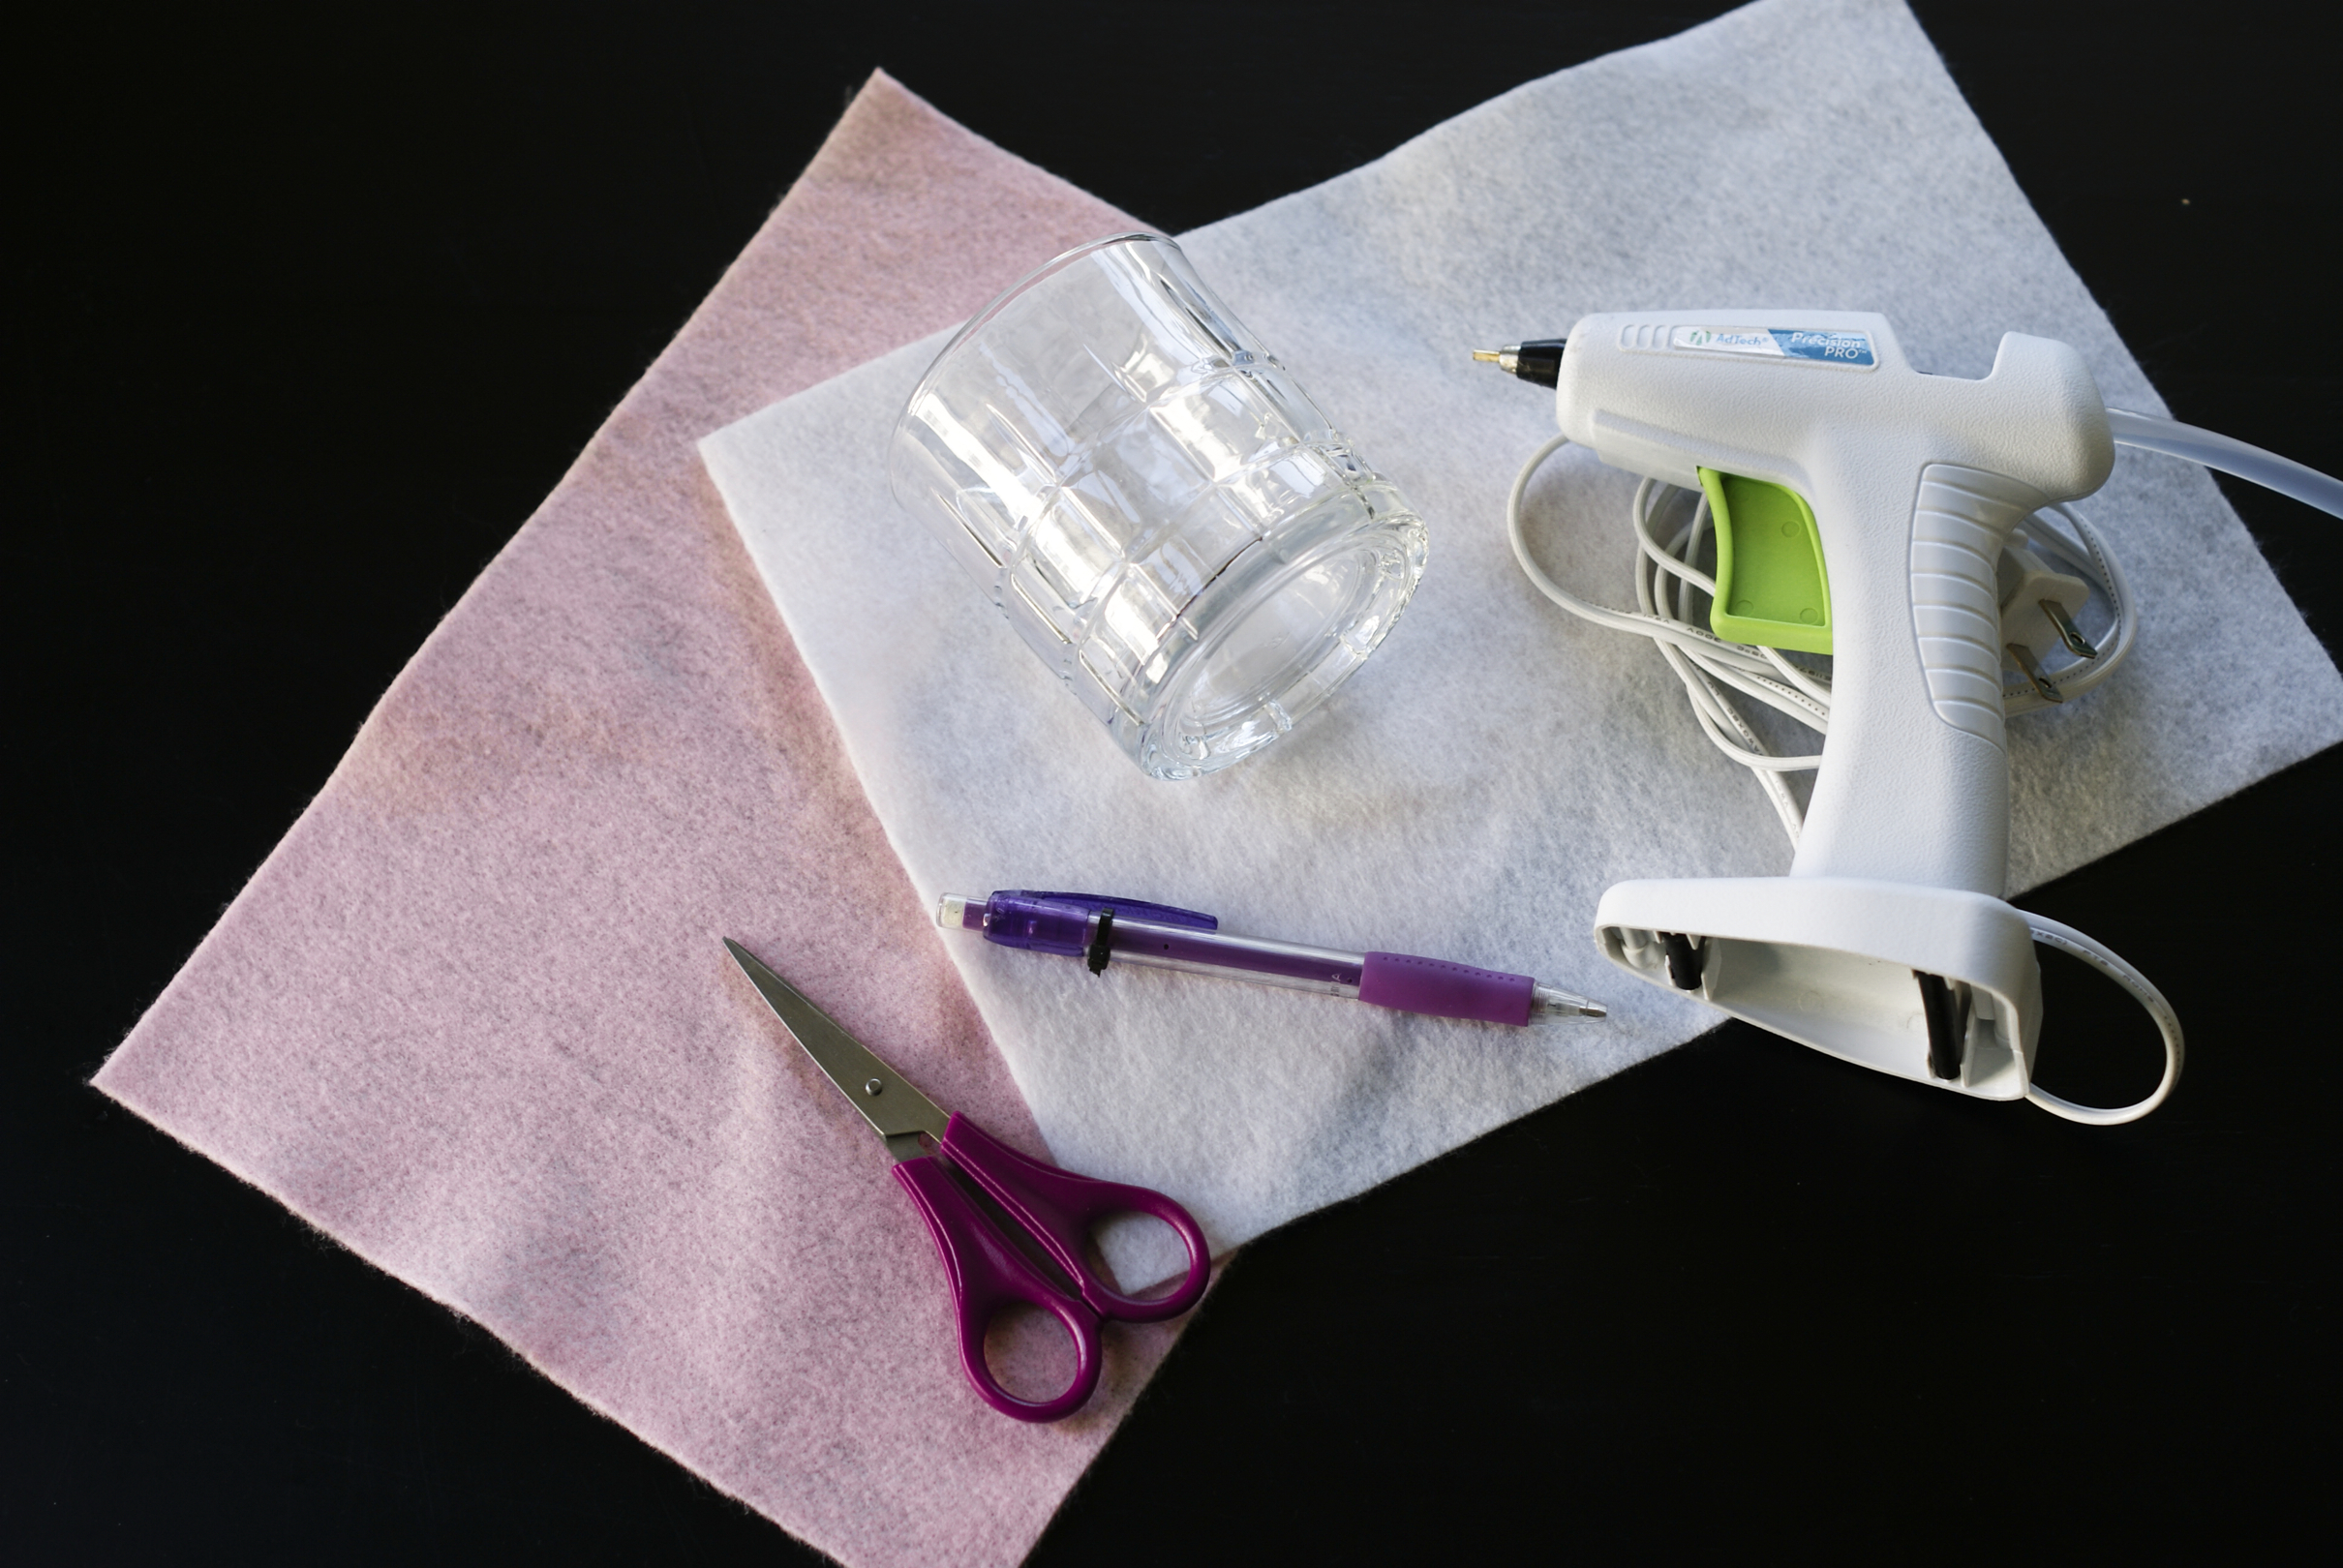
Start by tracing around the cup onto the felt.
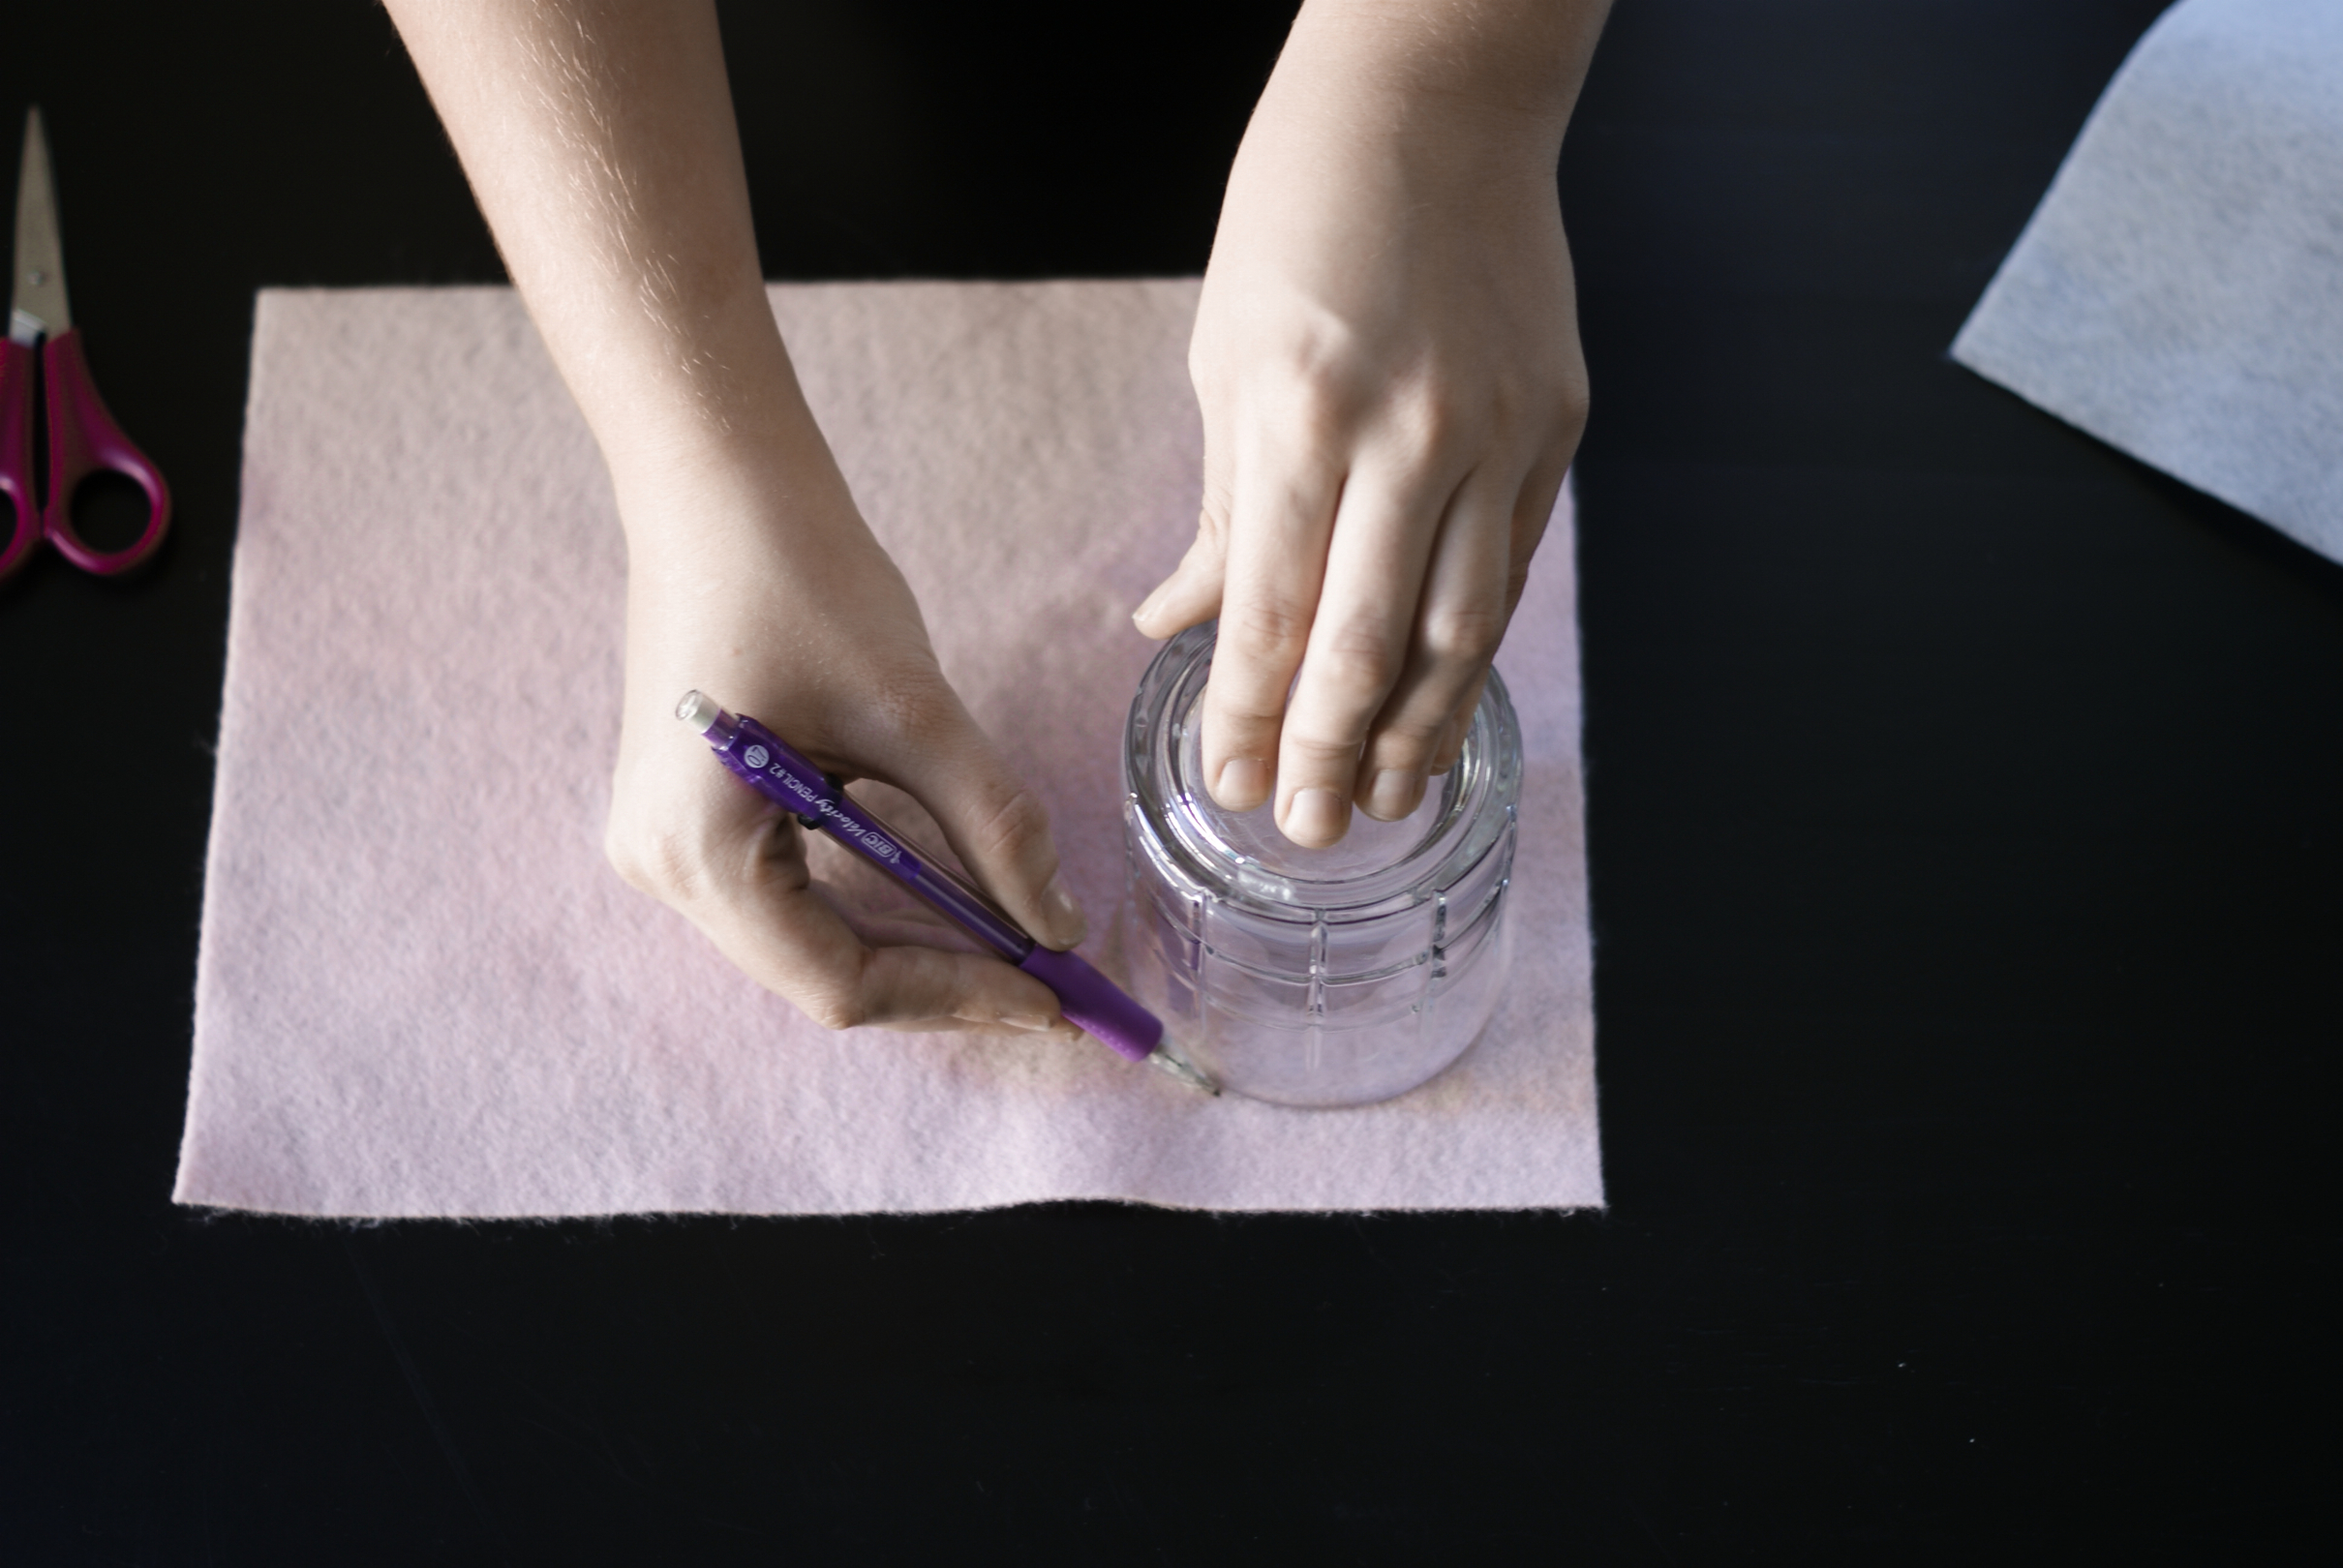
Next, cut out the circle.
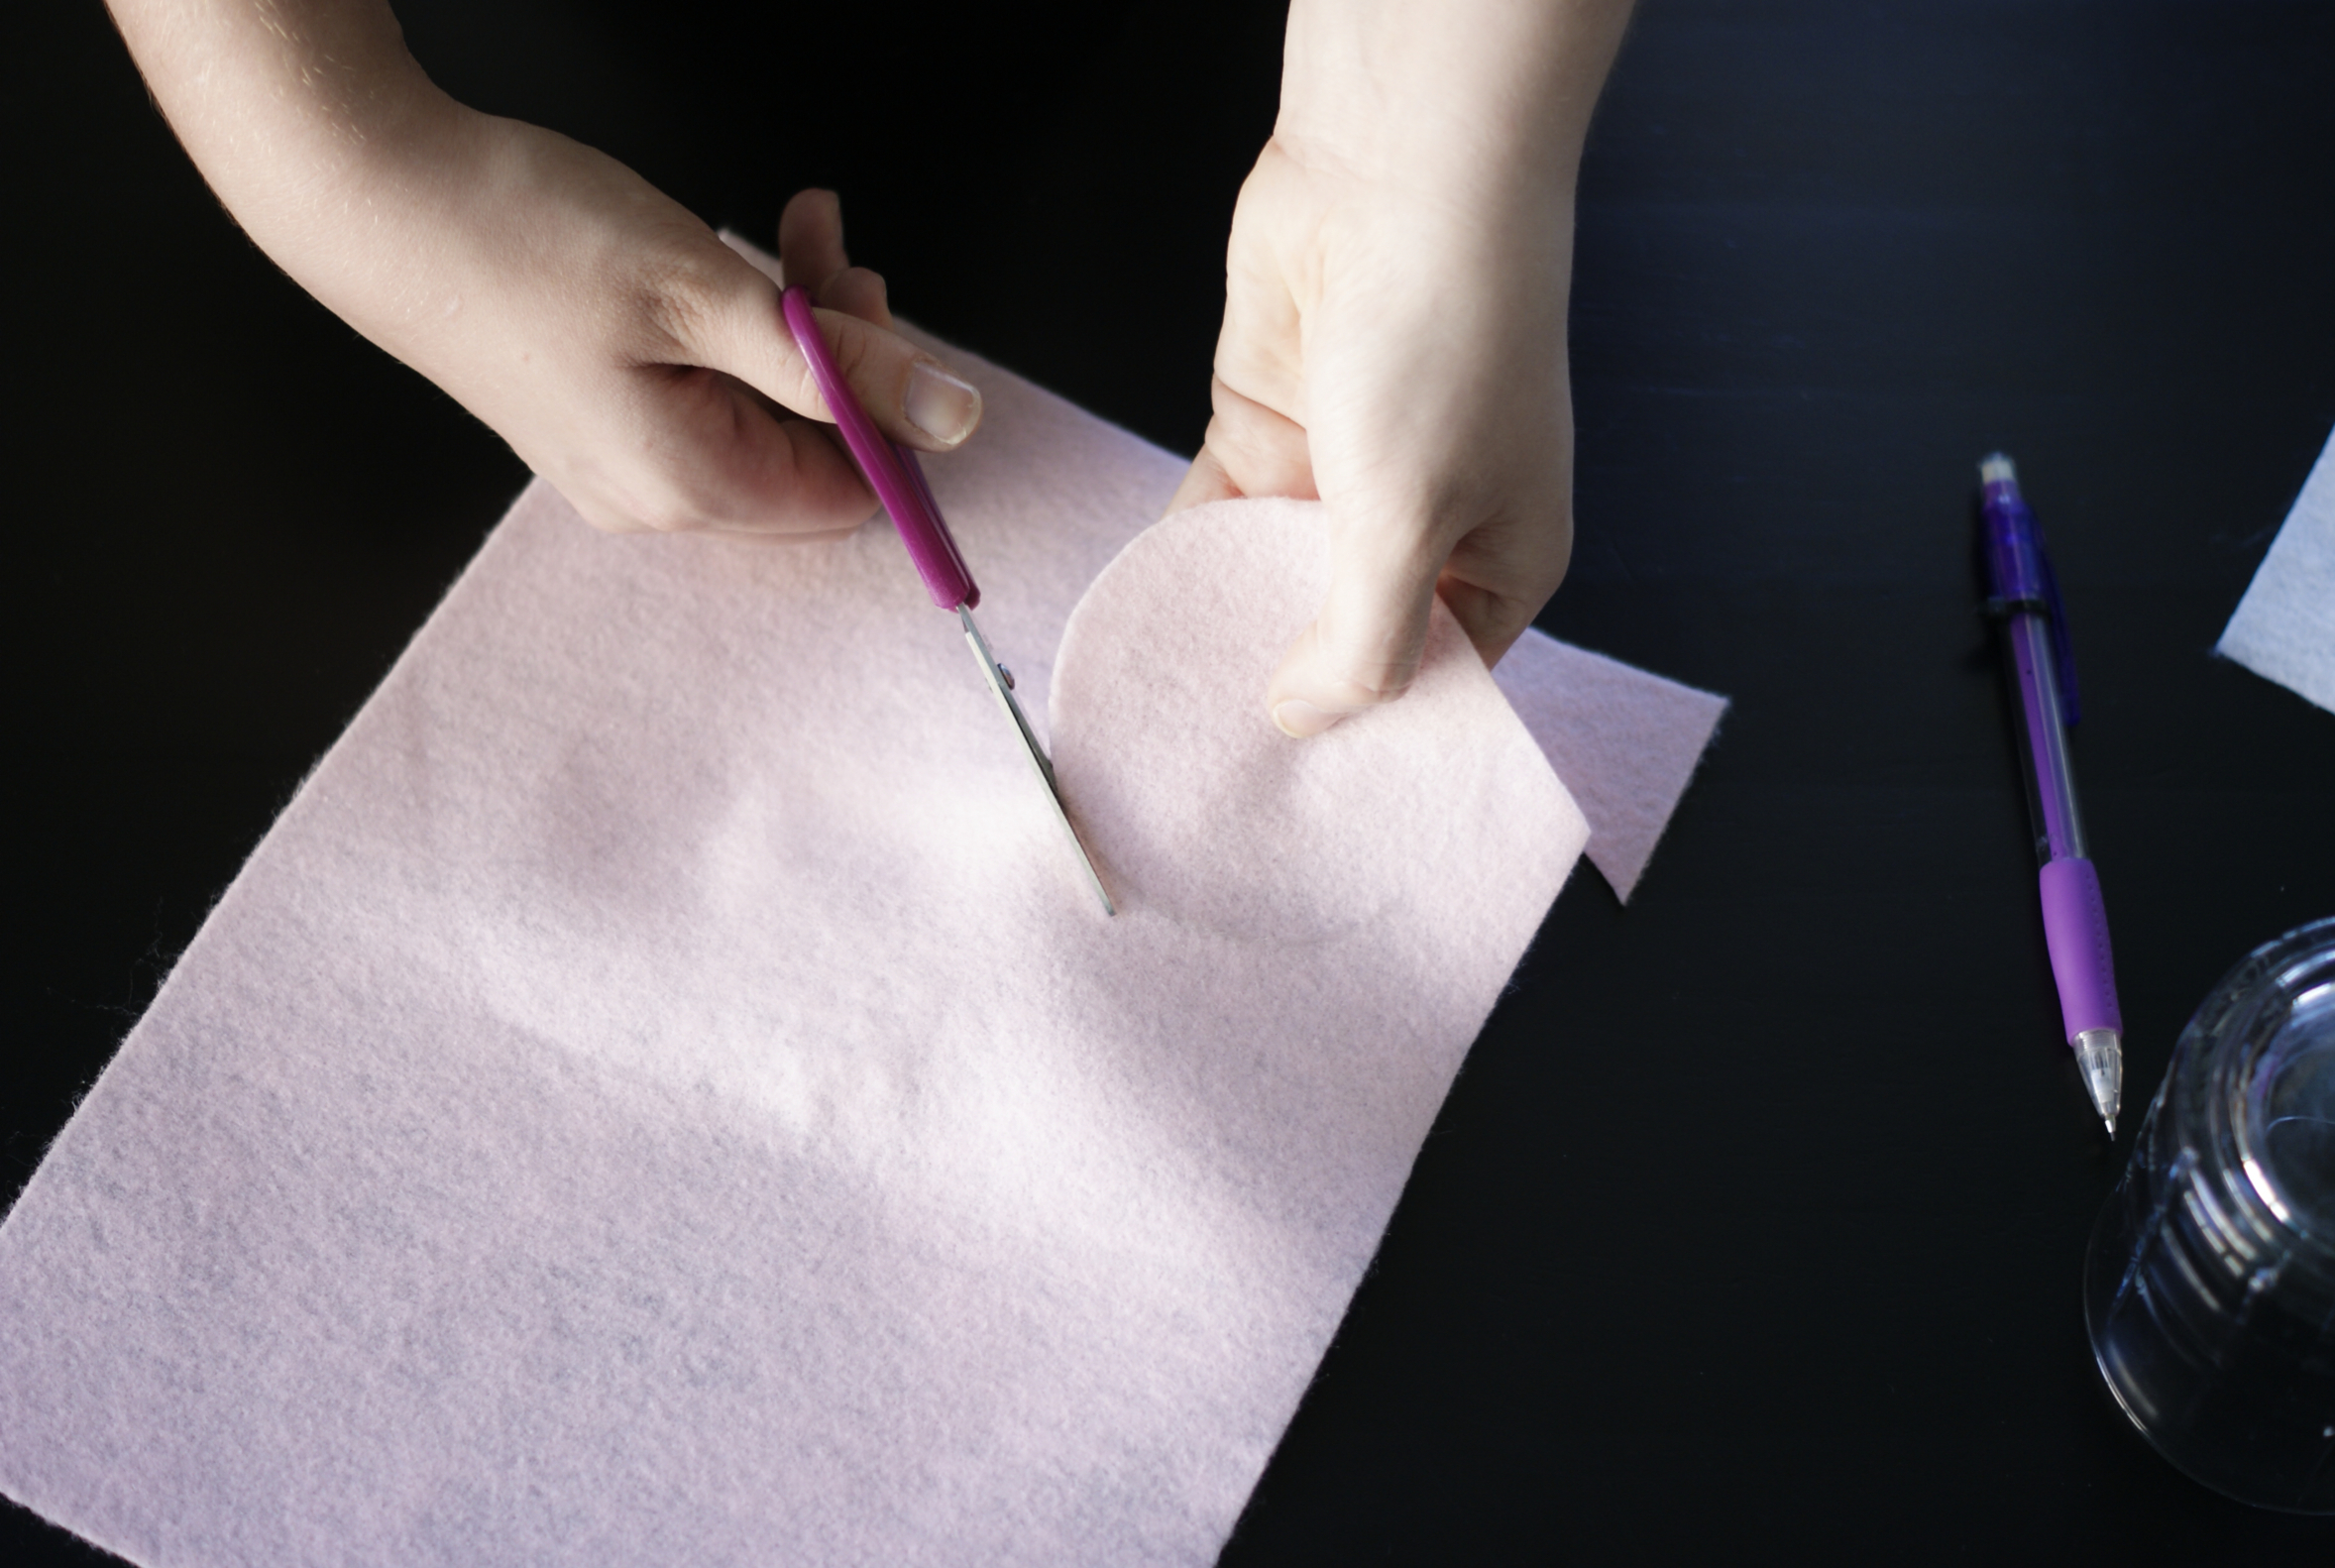
For a rose, spiral cut the circle (as pictured below).
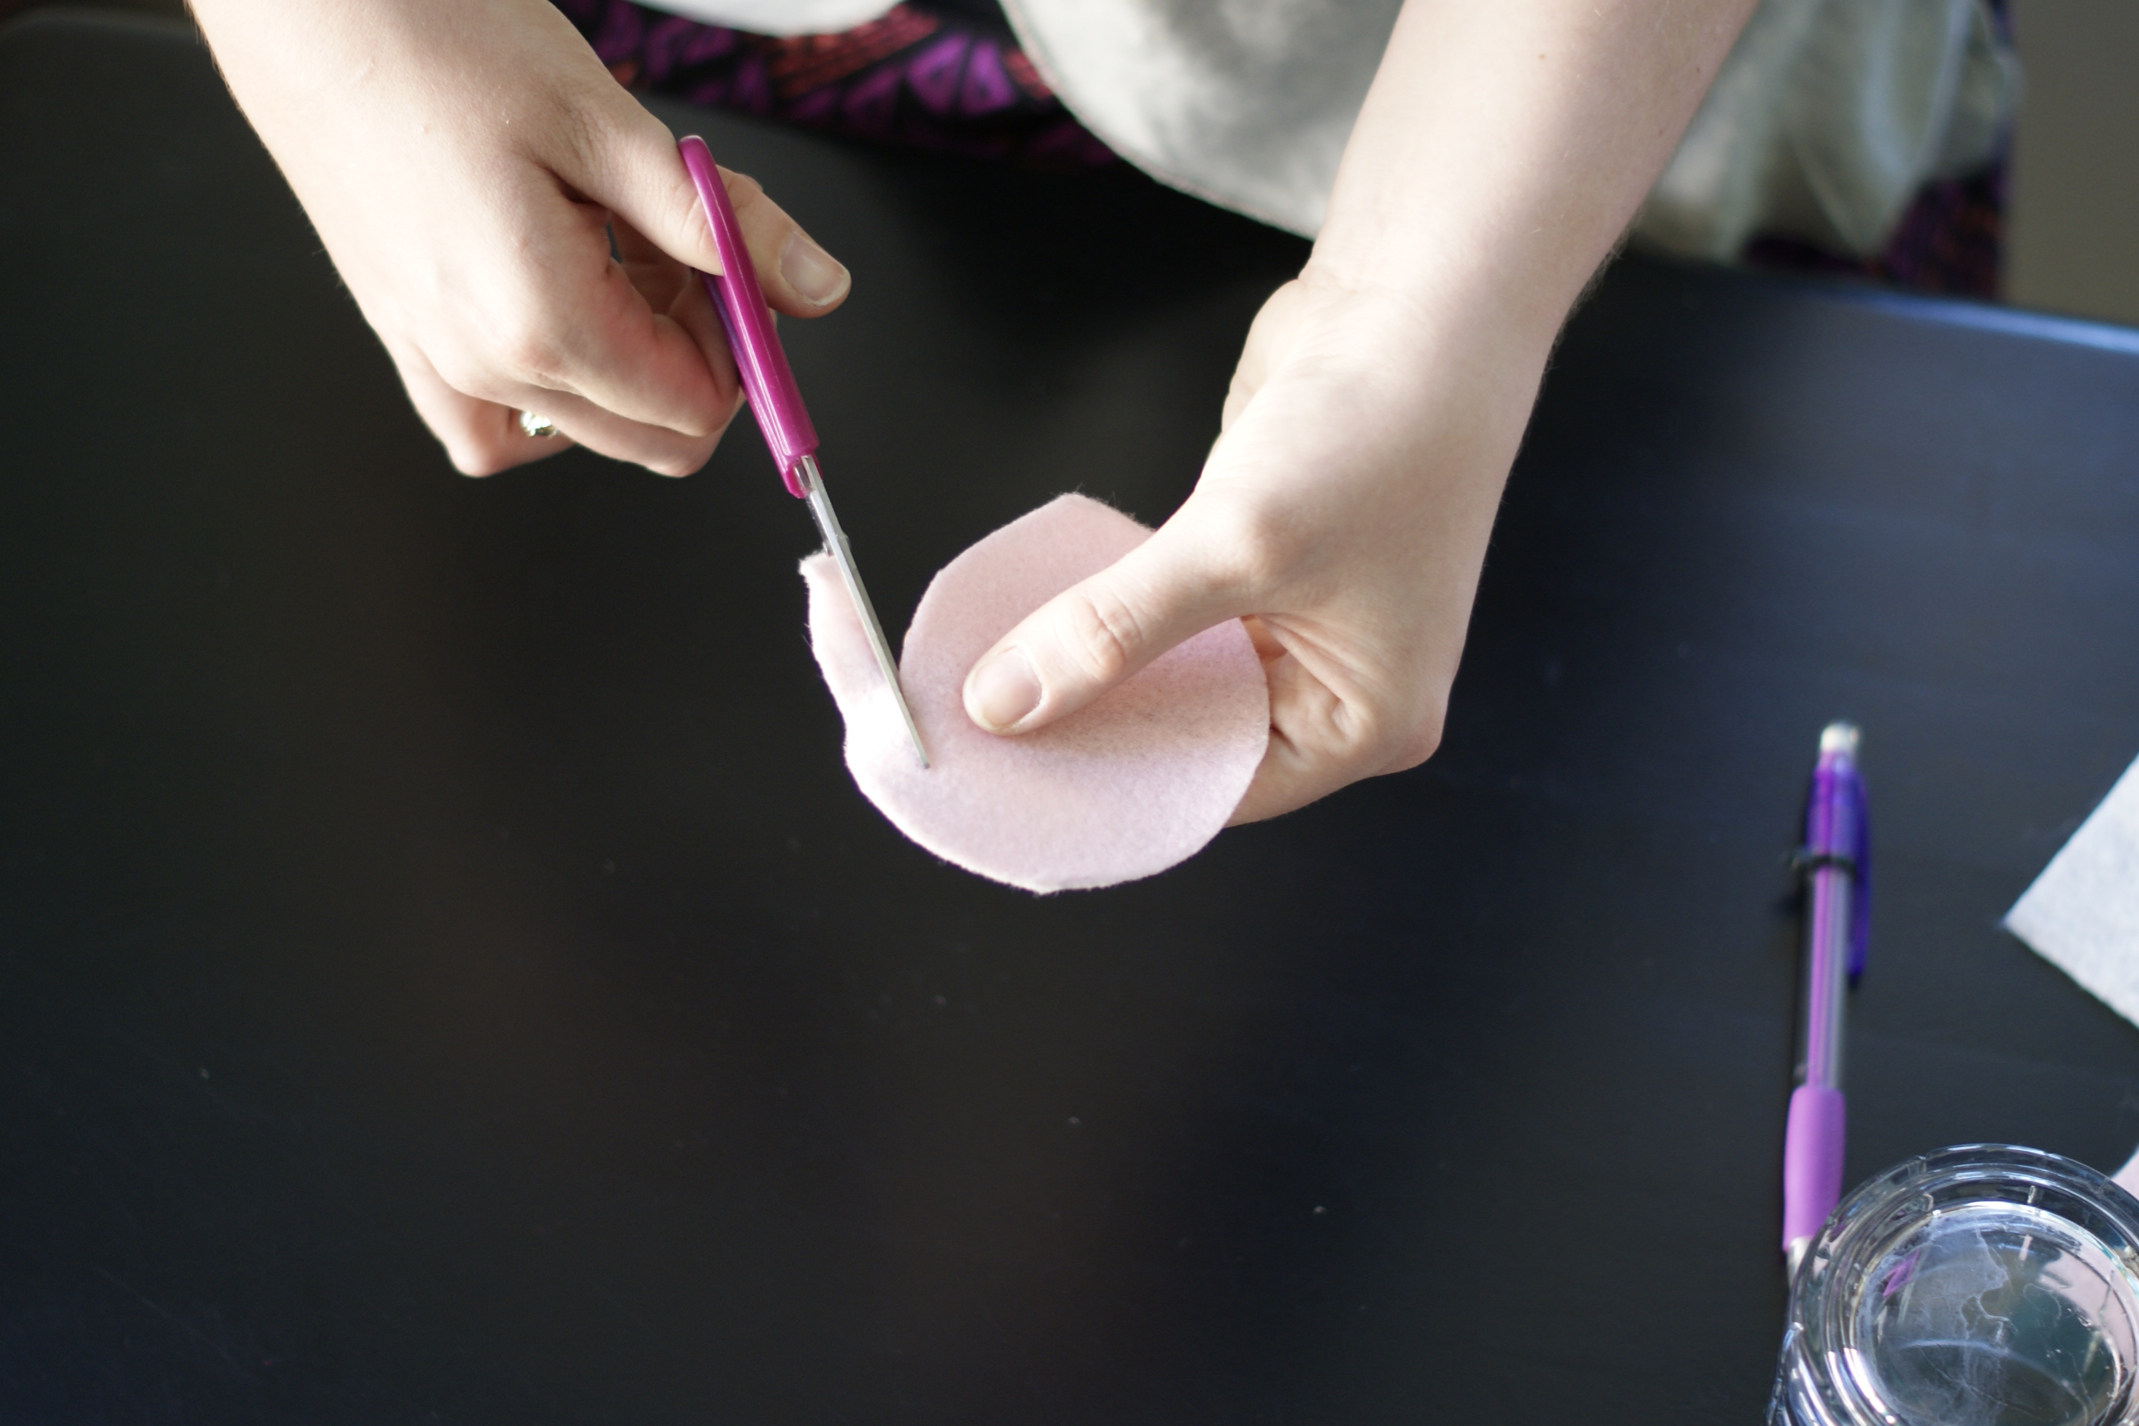
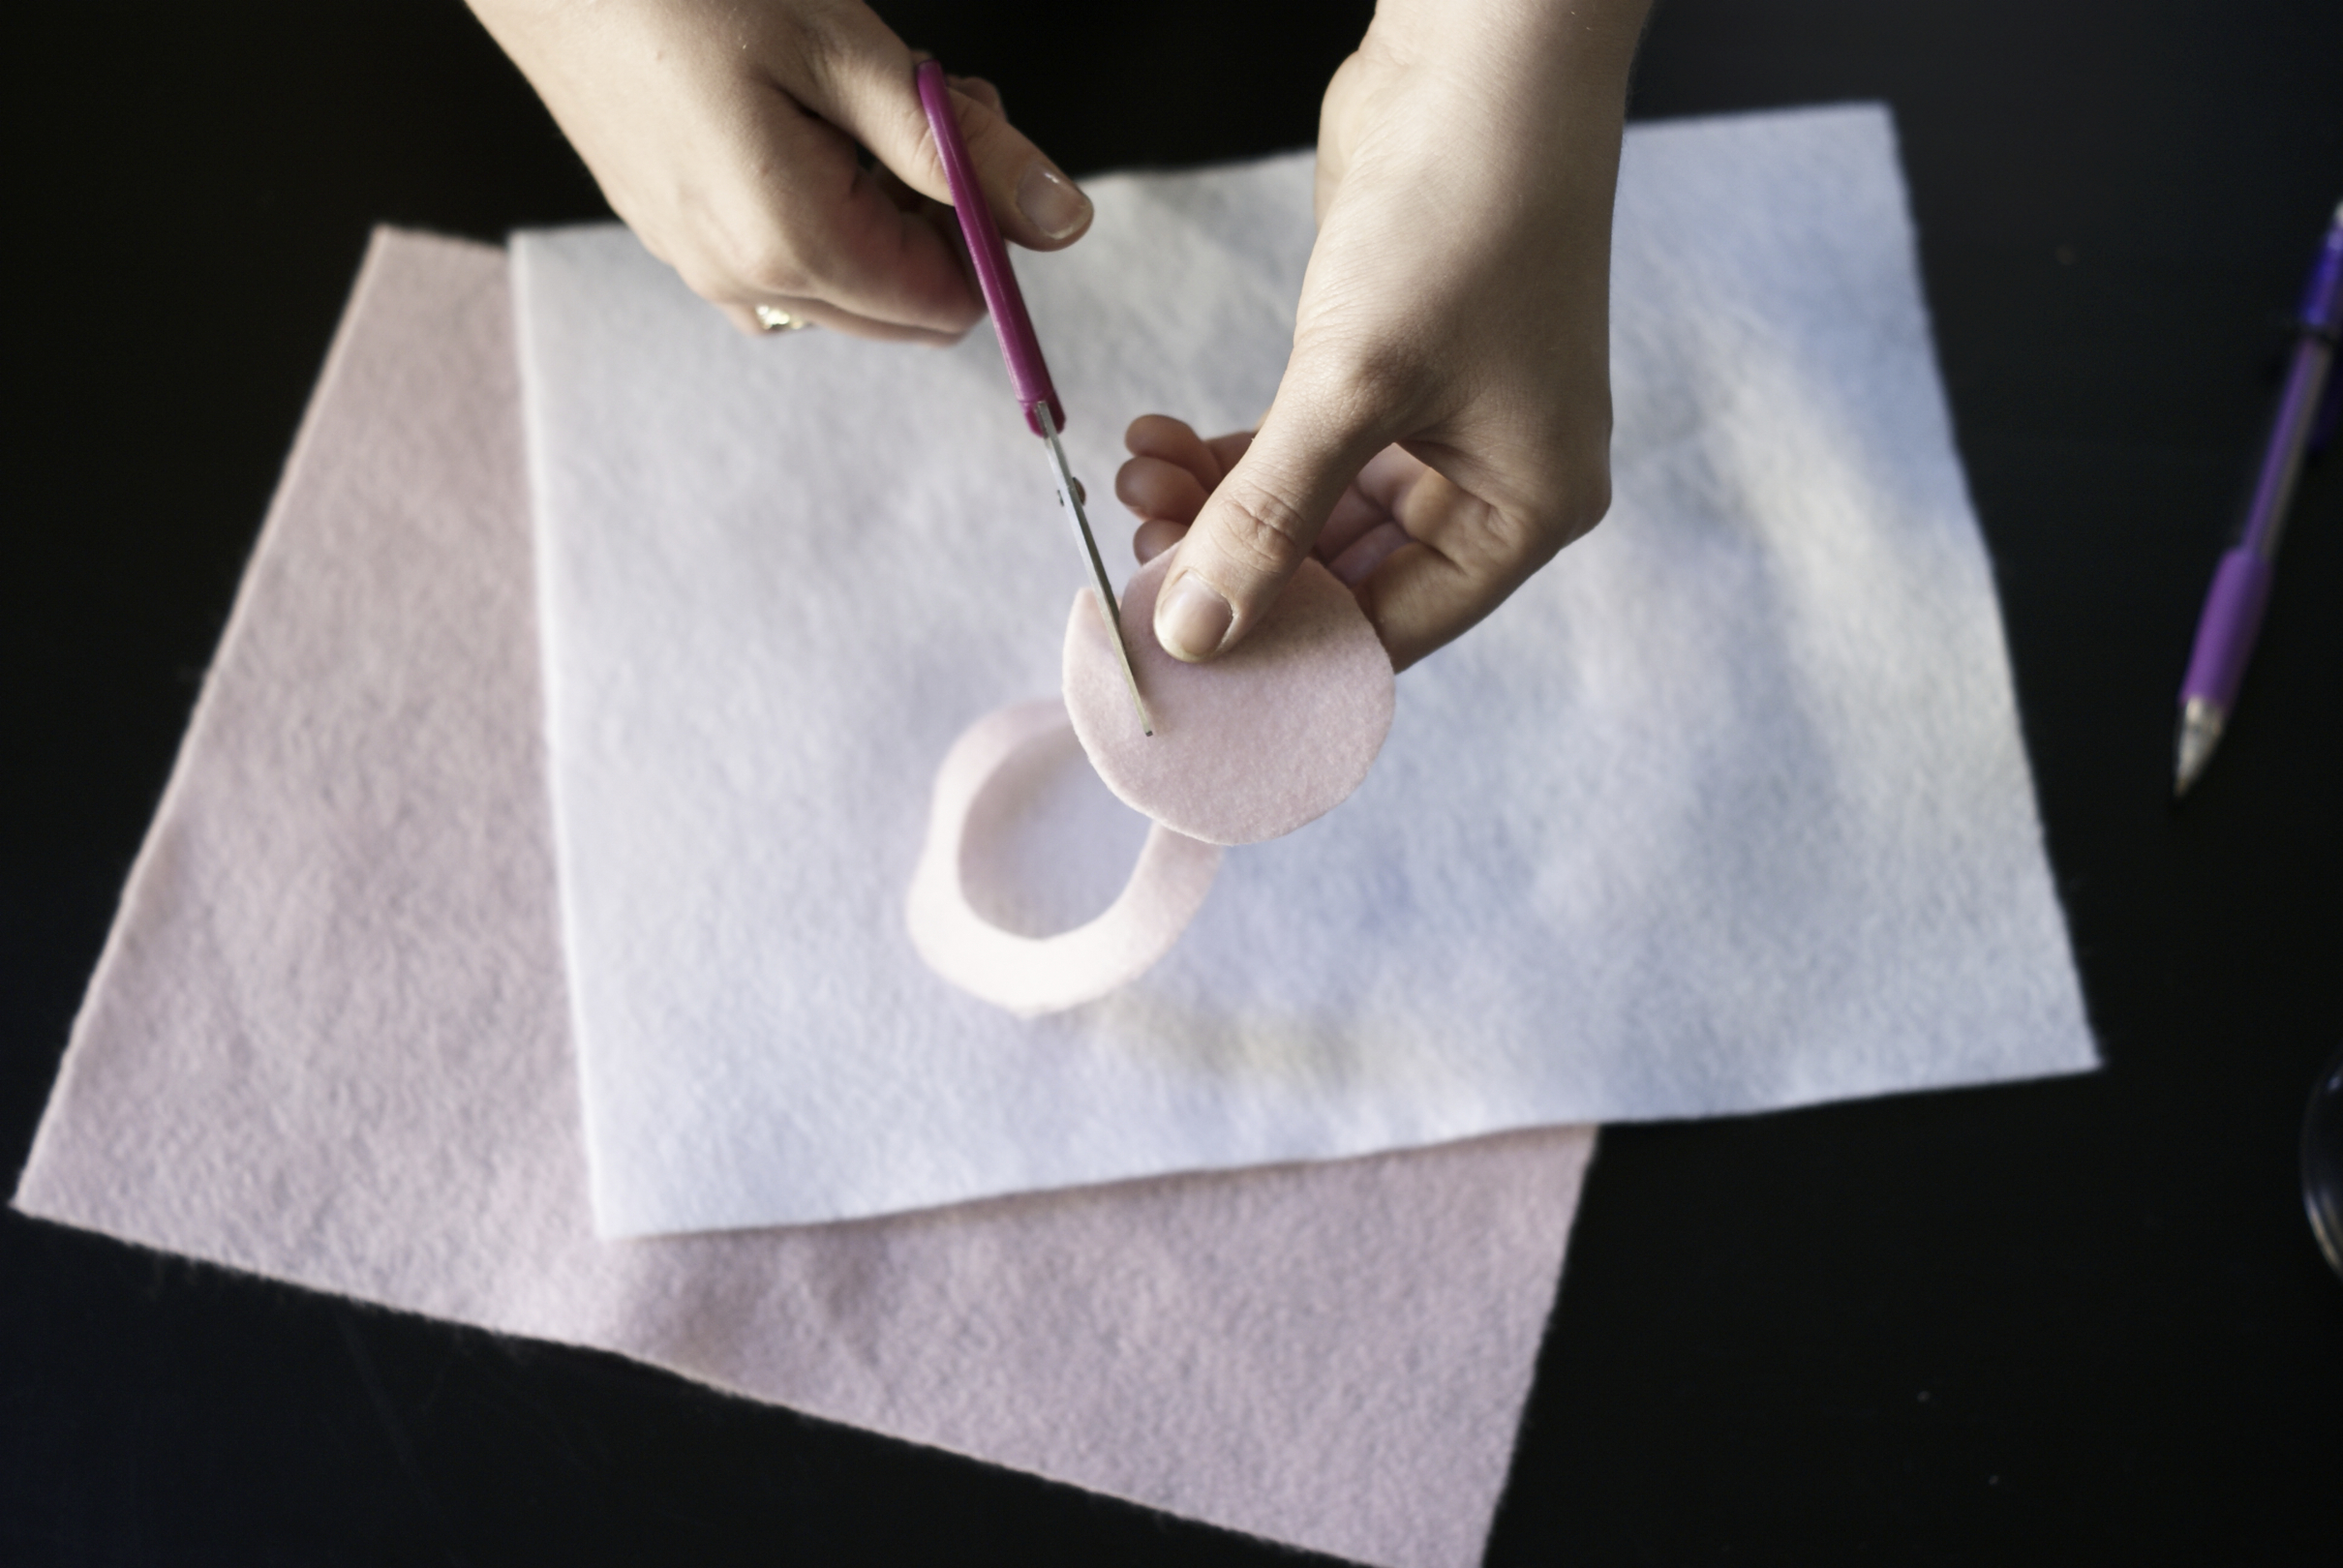
After you have spiral cut the rose, roll it up.
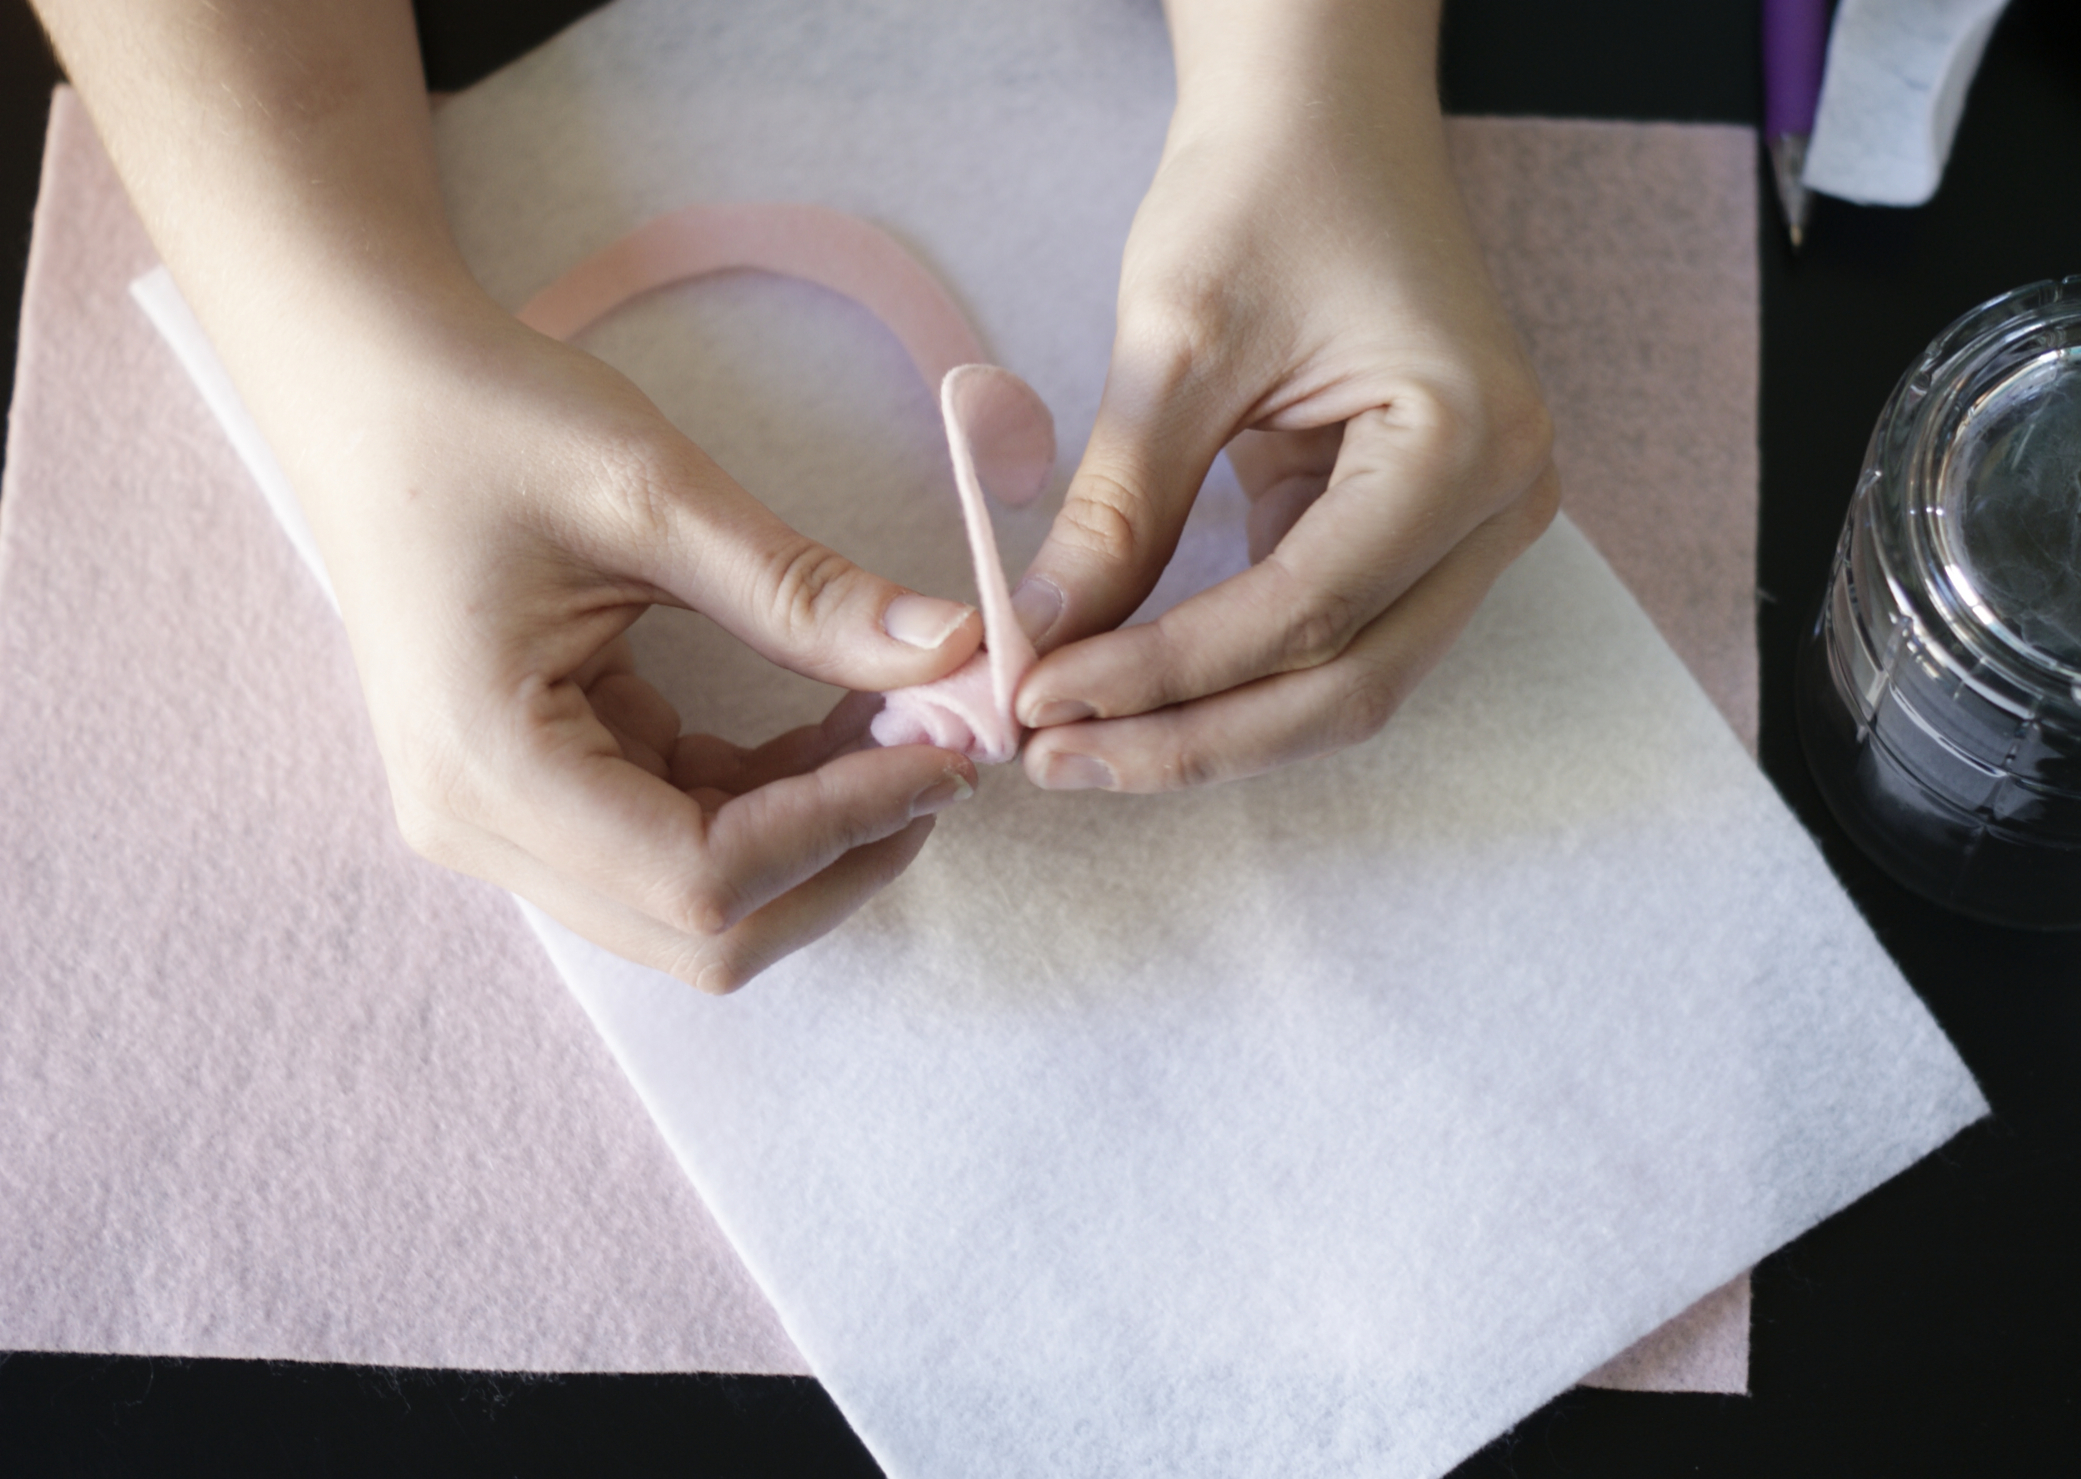
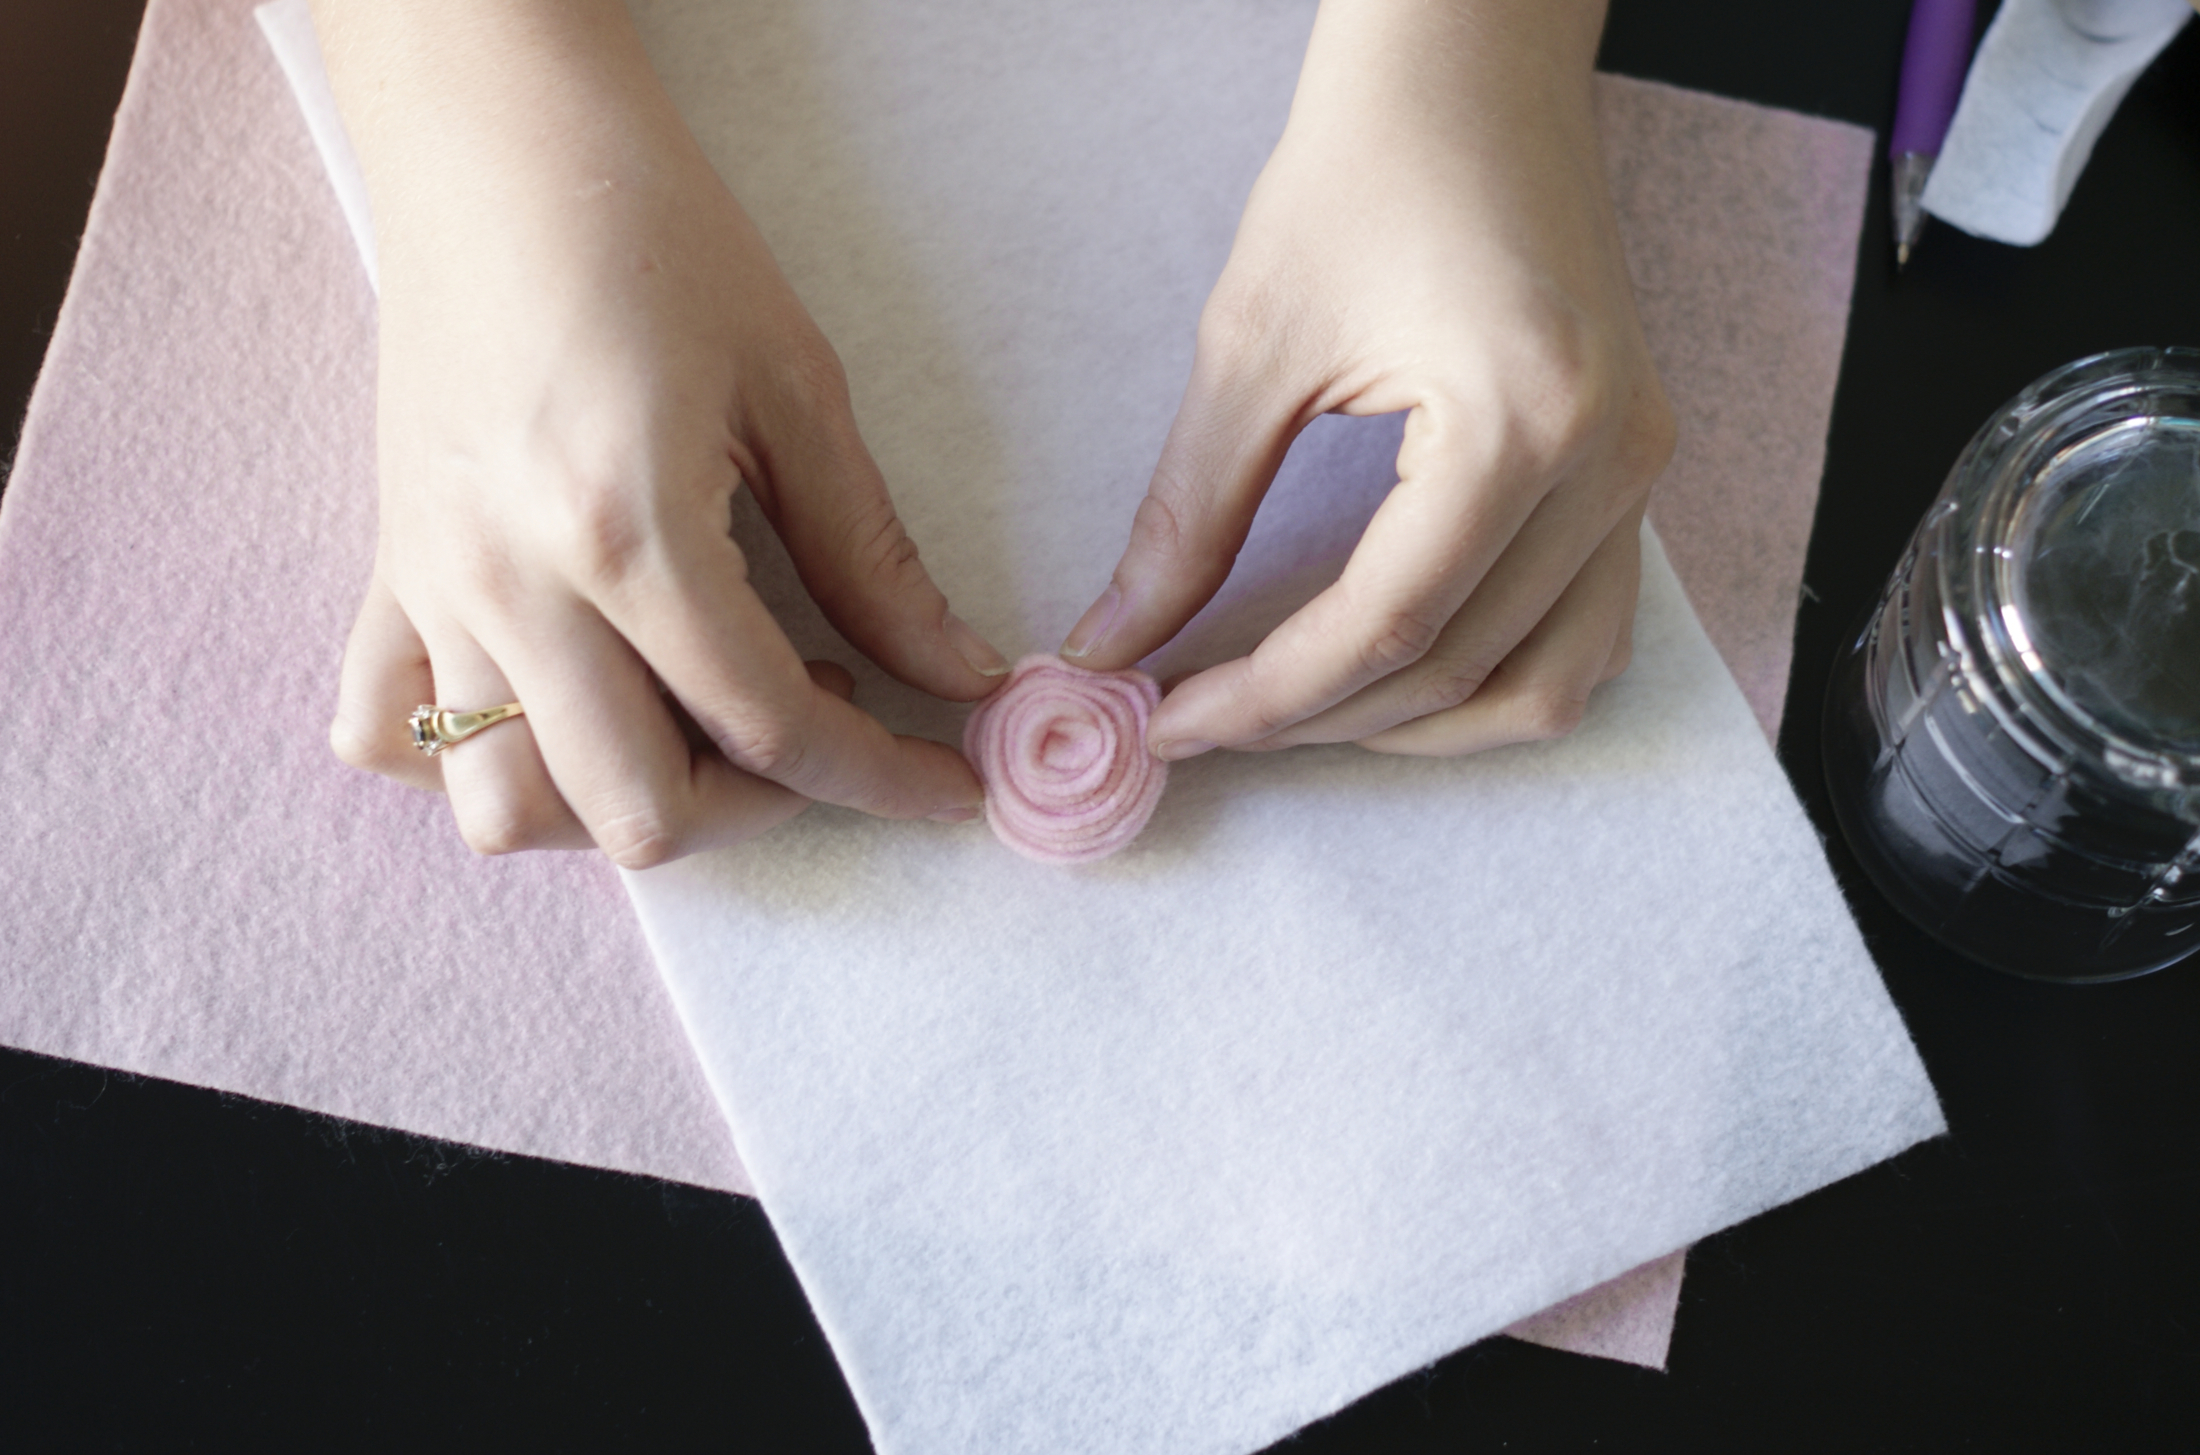
Now you have a cute little rose! Using a hot glue gun, attach the rose to your frame or paper.
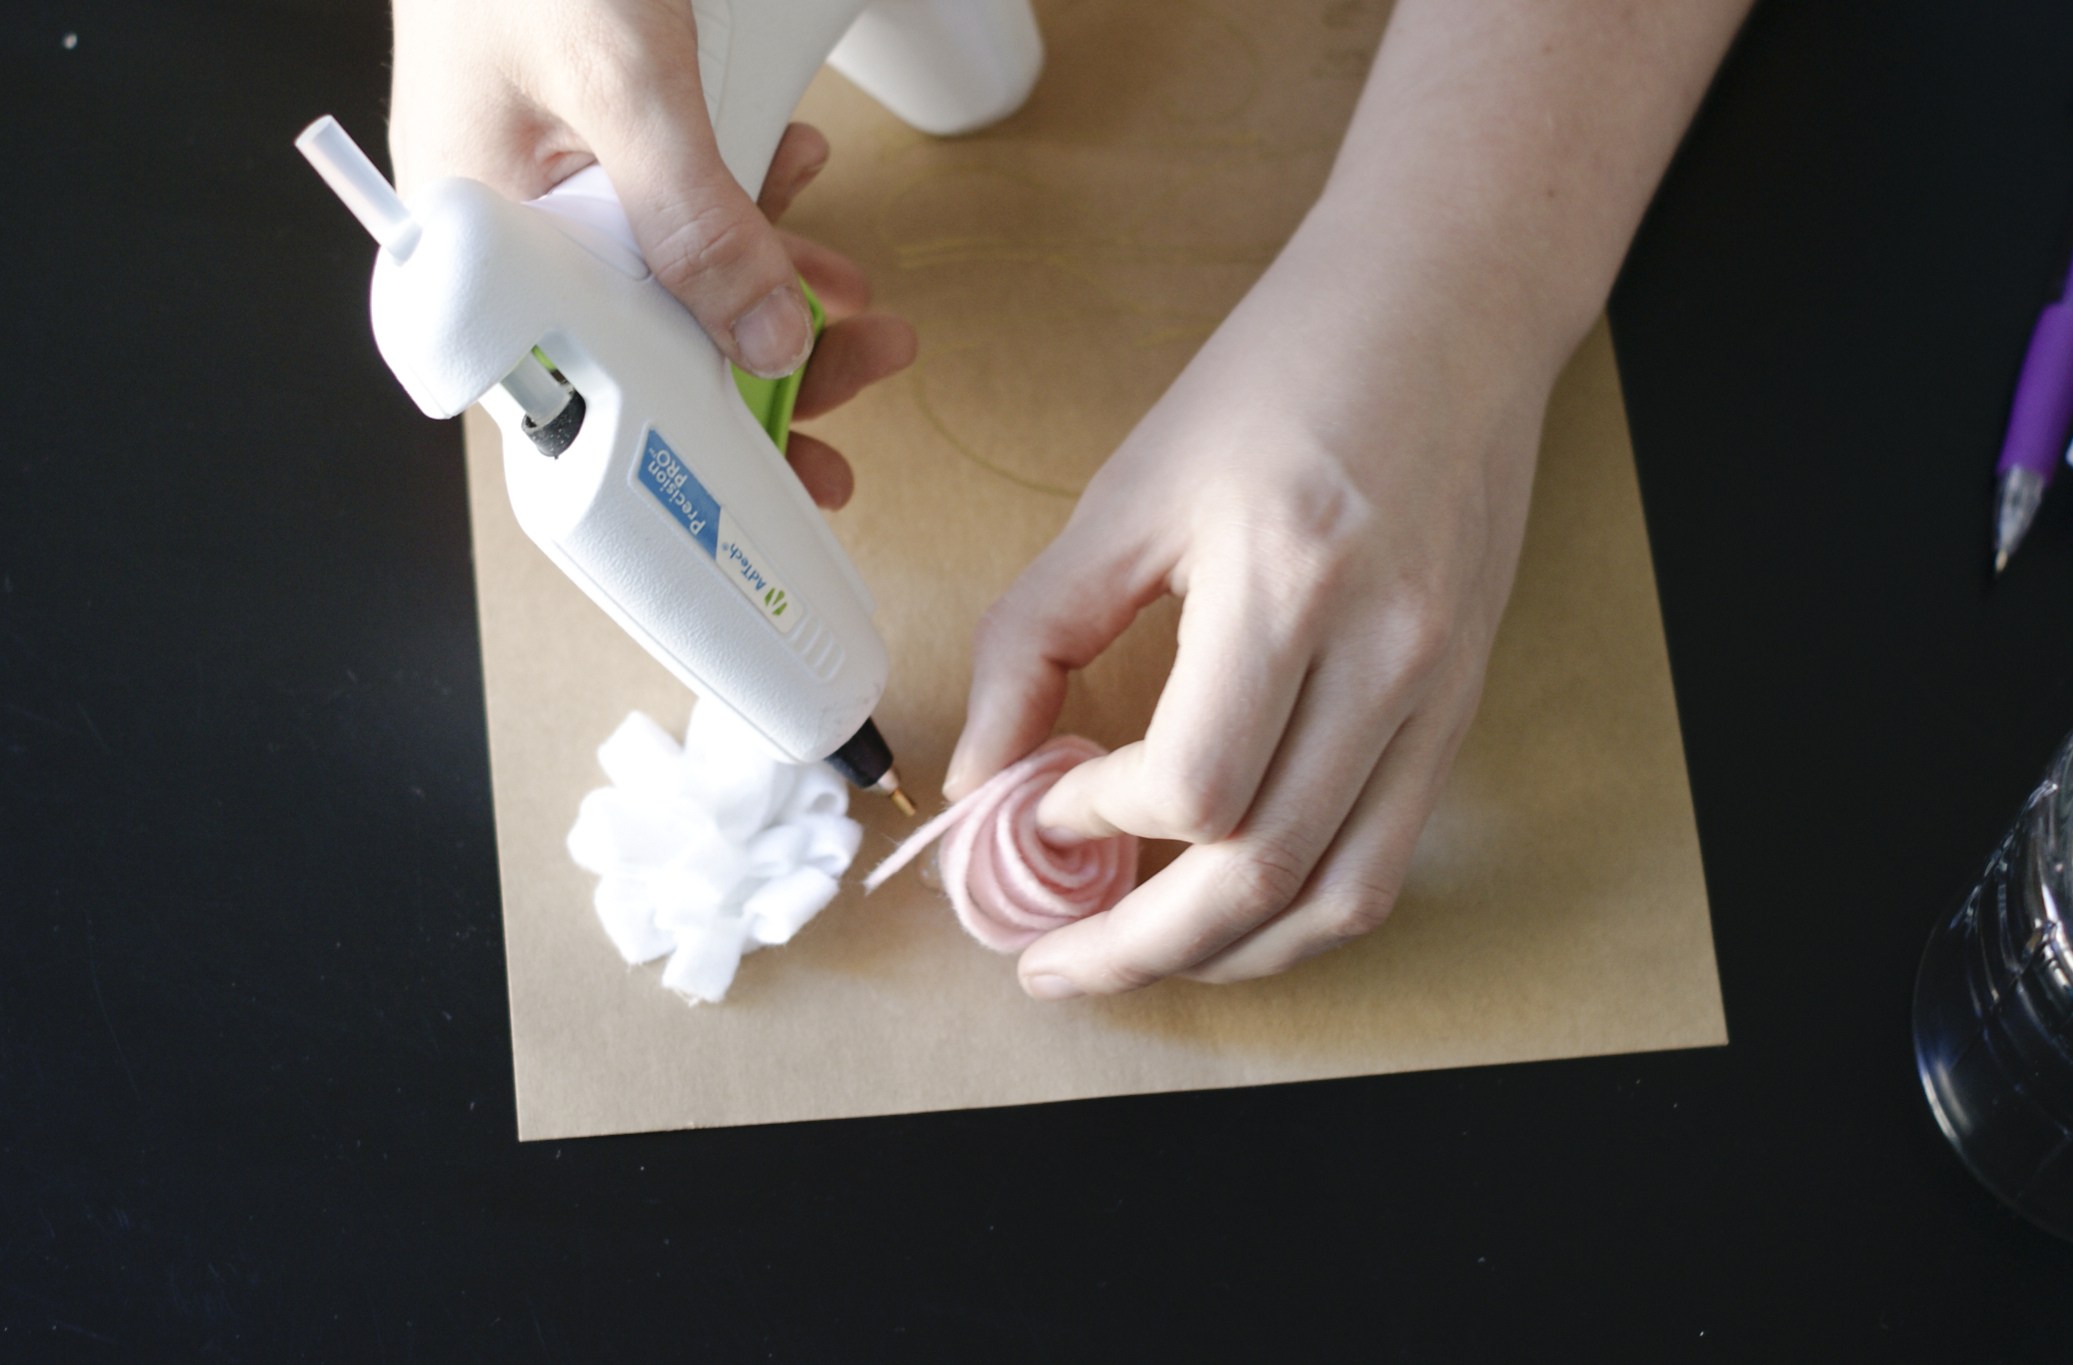
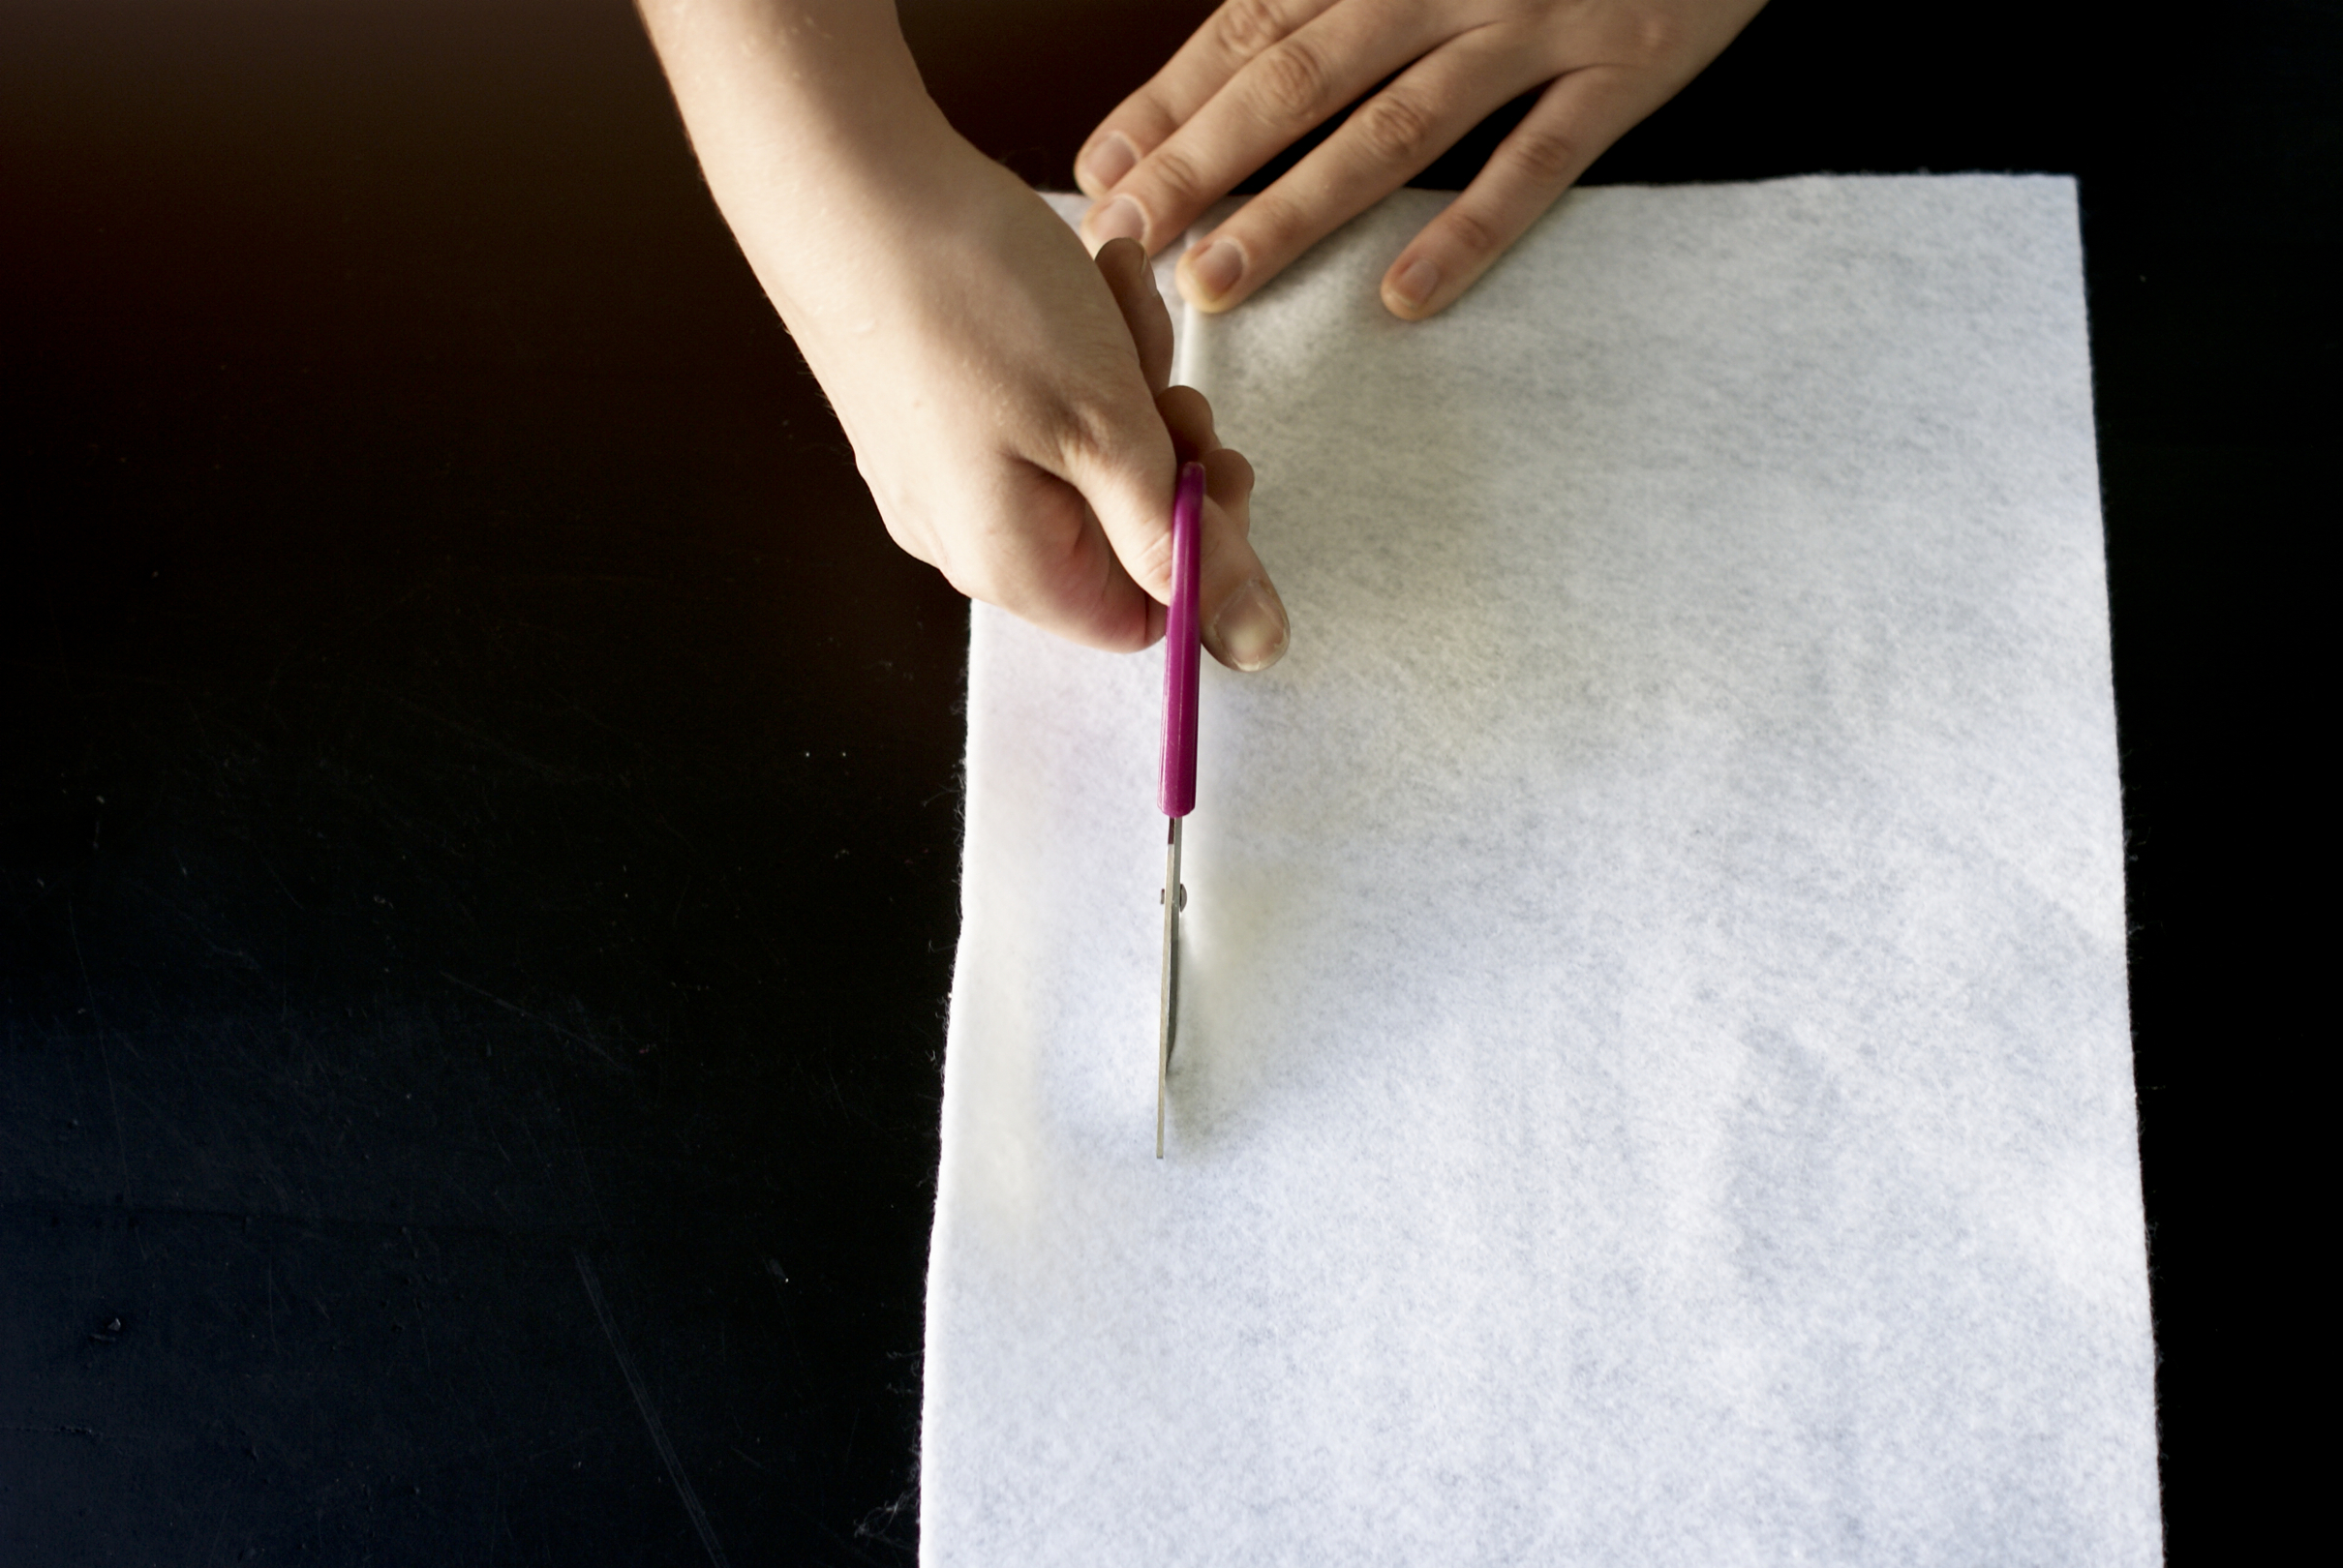
Now onto the other flower. For this flower, you’ll start out by cutting a strip of felt (about 1 1/2″ wide and 12″ long).
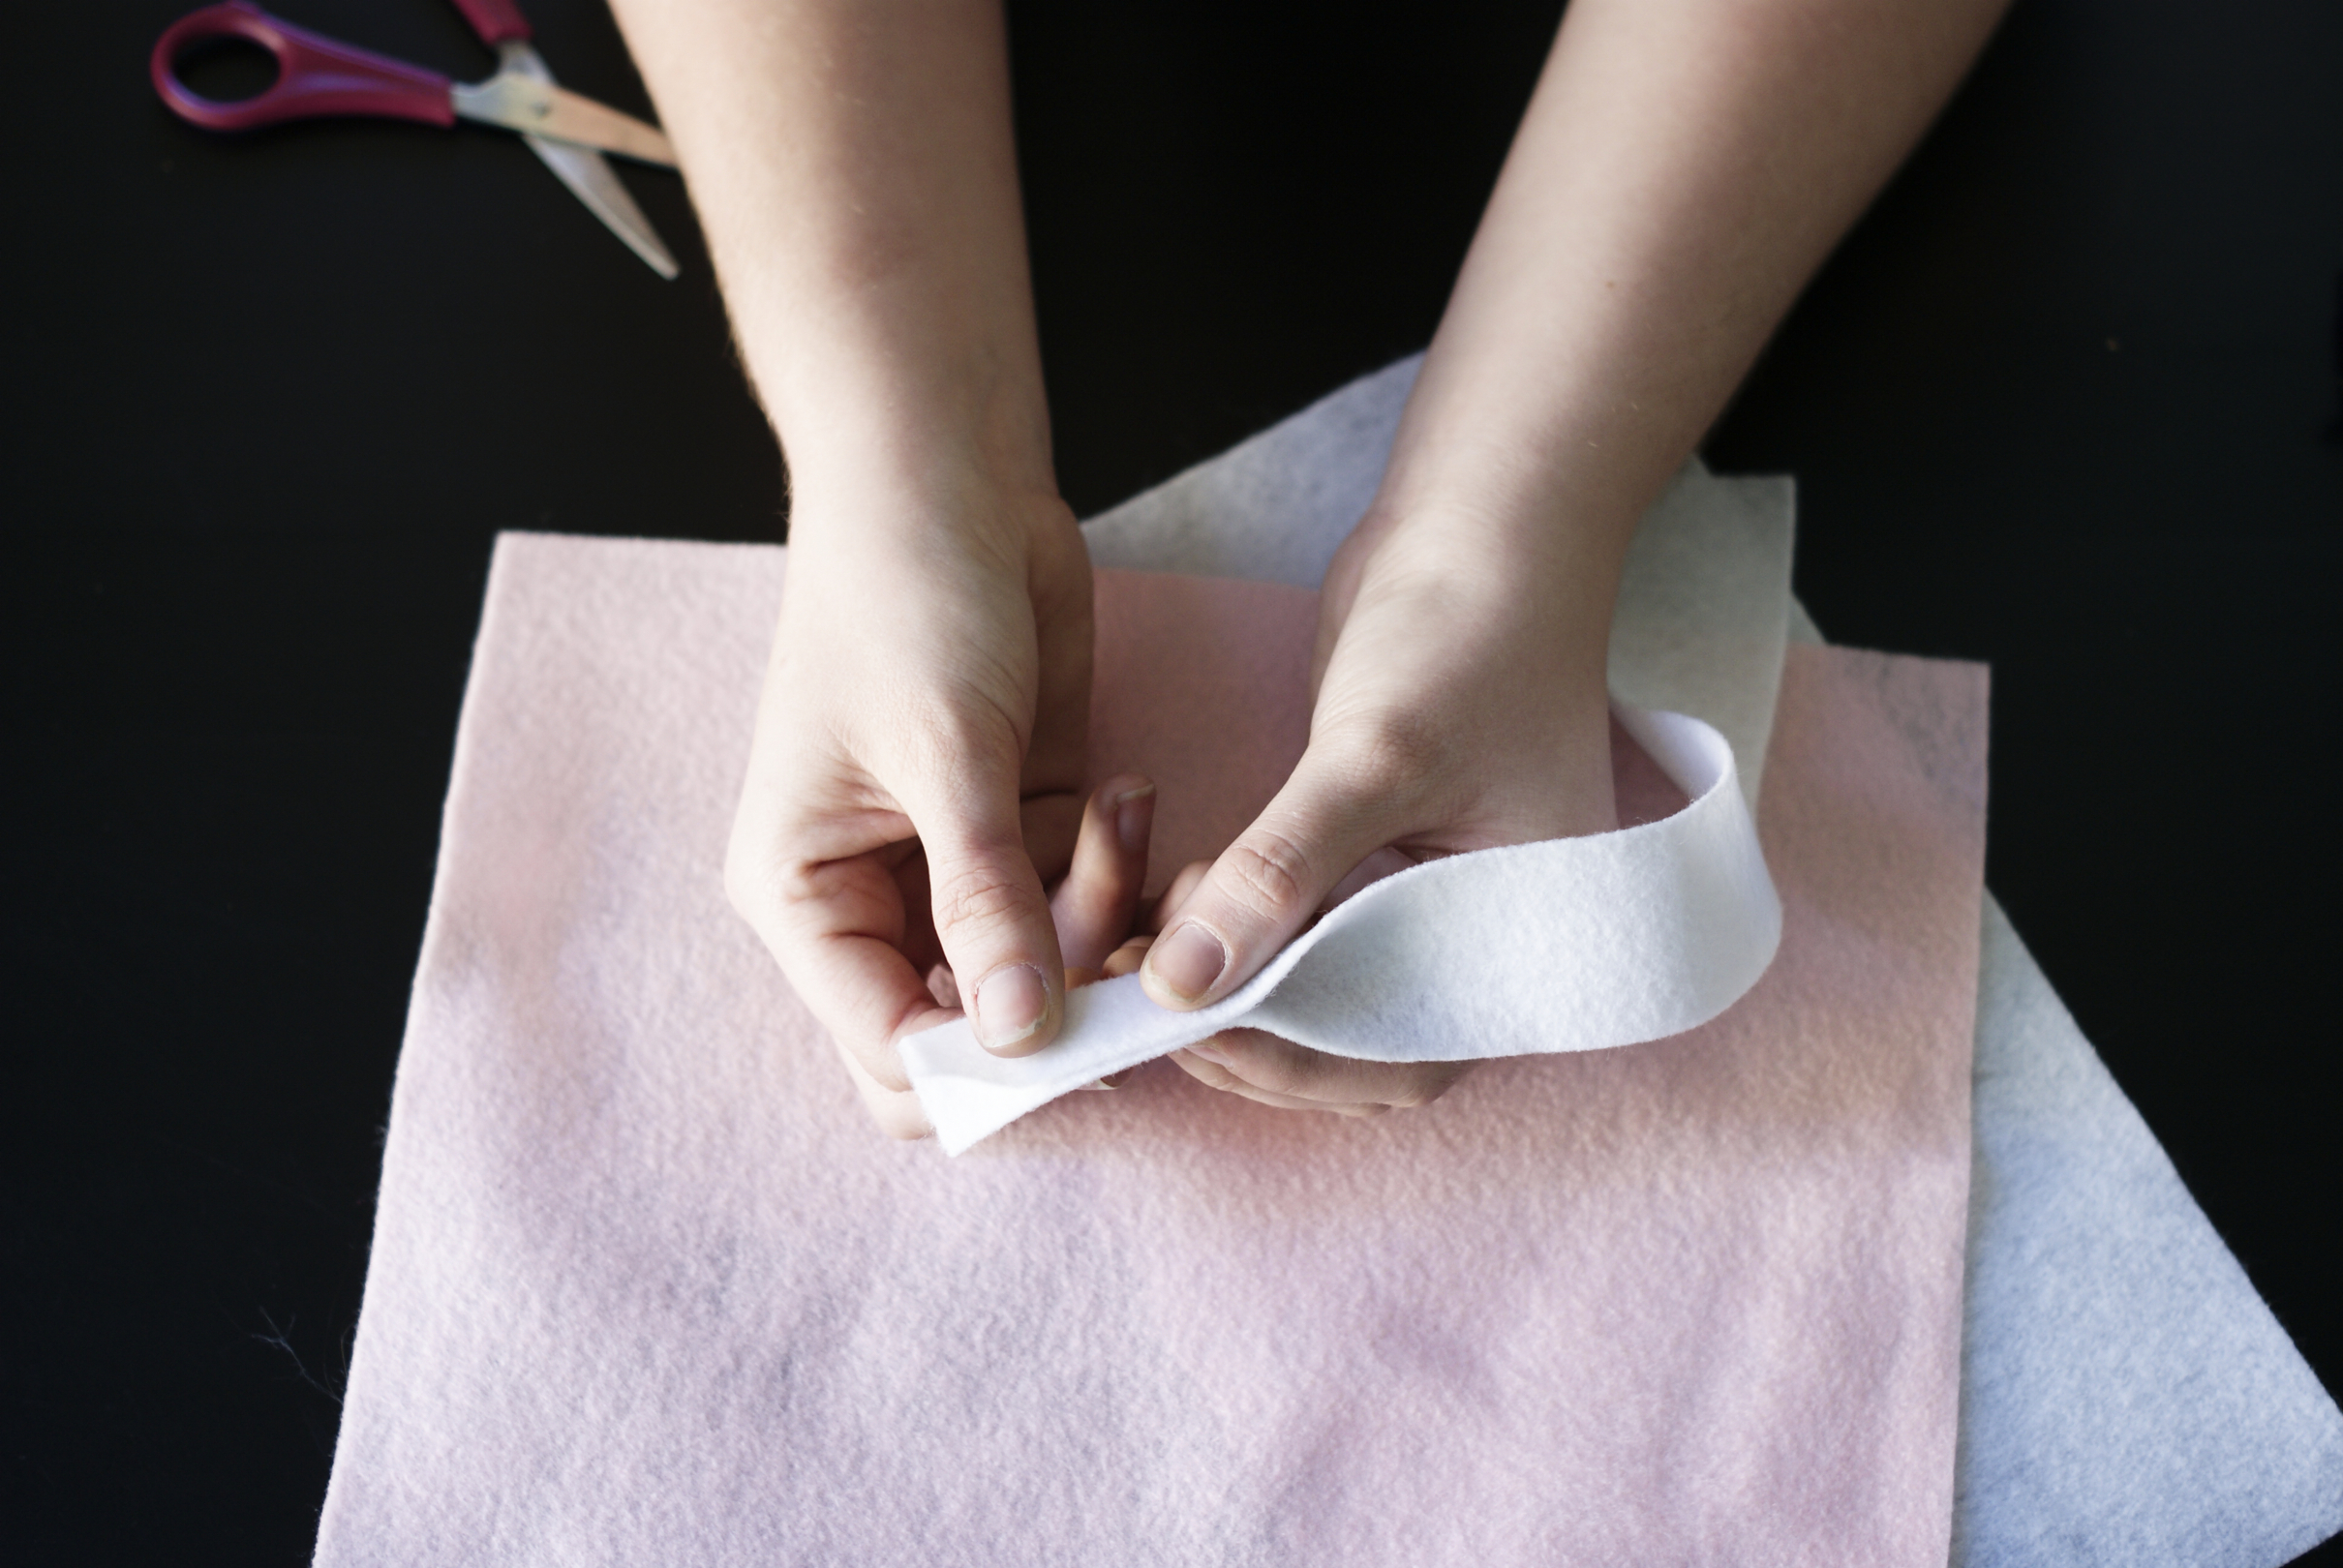
Next, fold the strip in half lengthwise.
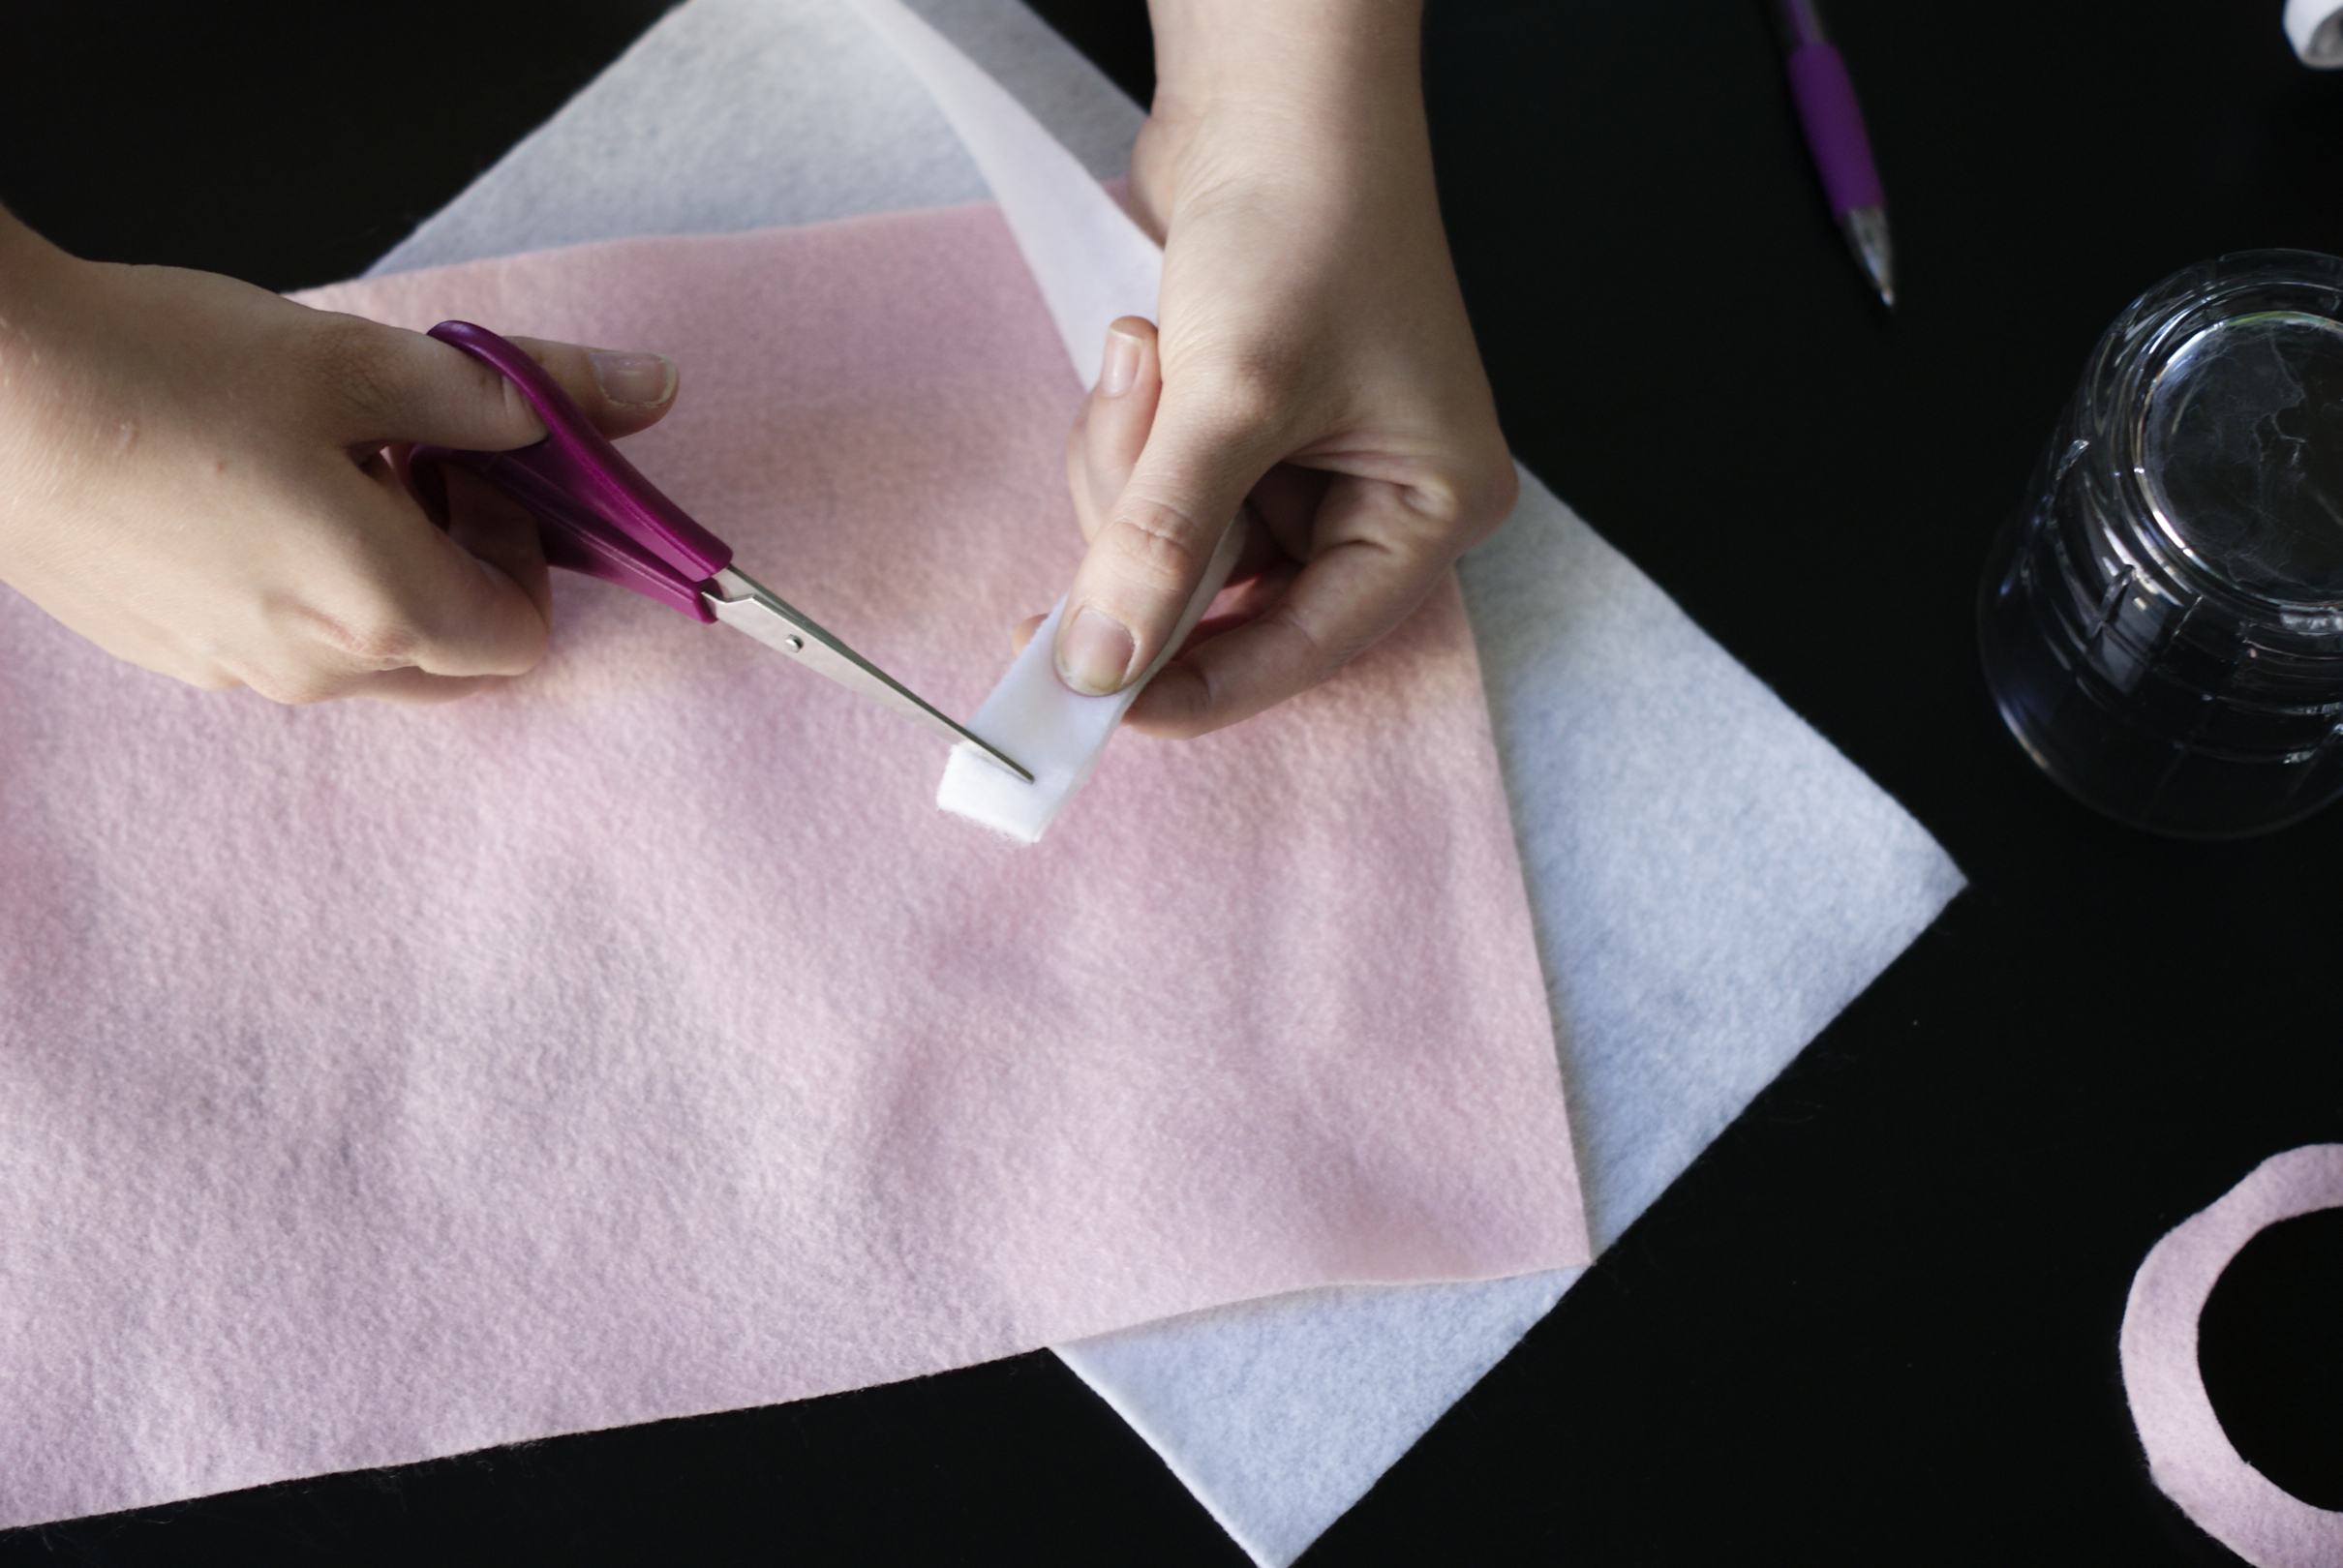
Now make little slits all along the fold on the strip without cutting all the way to the edge.
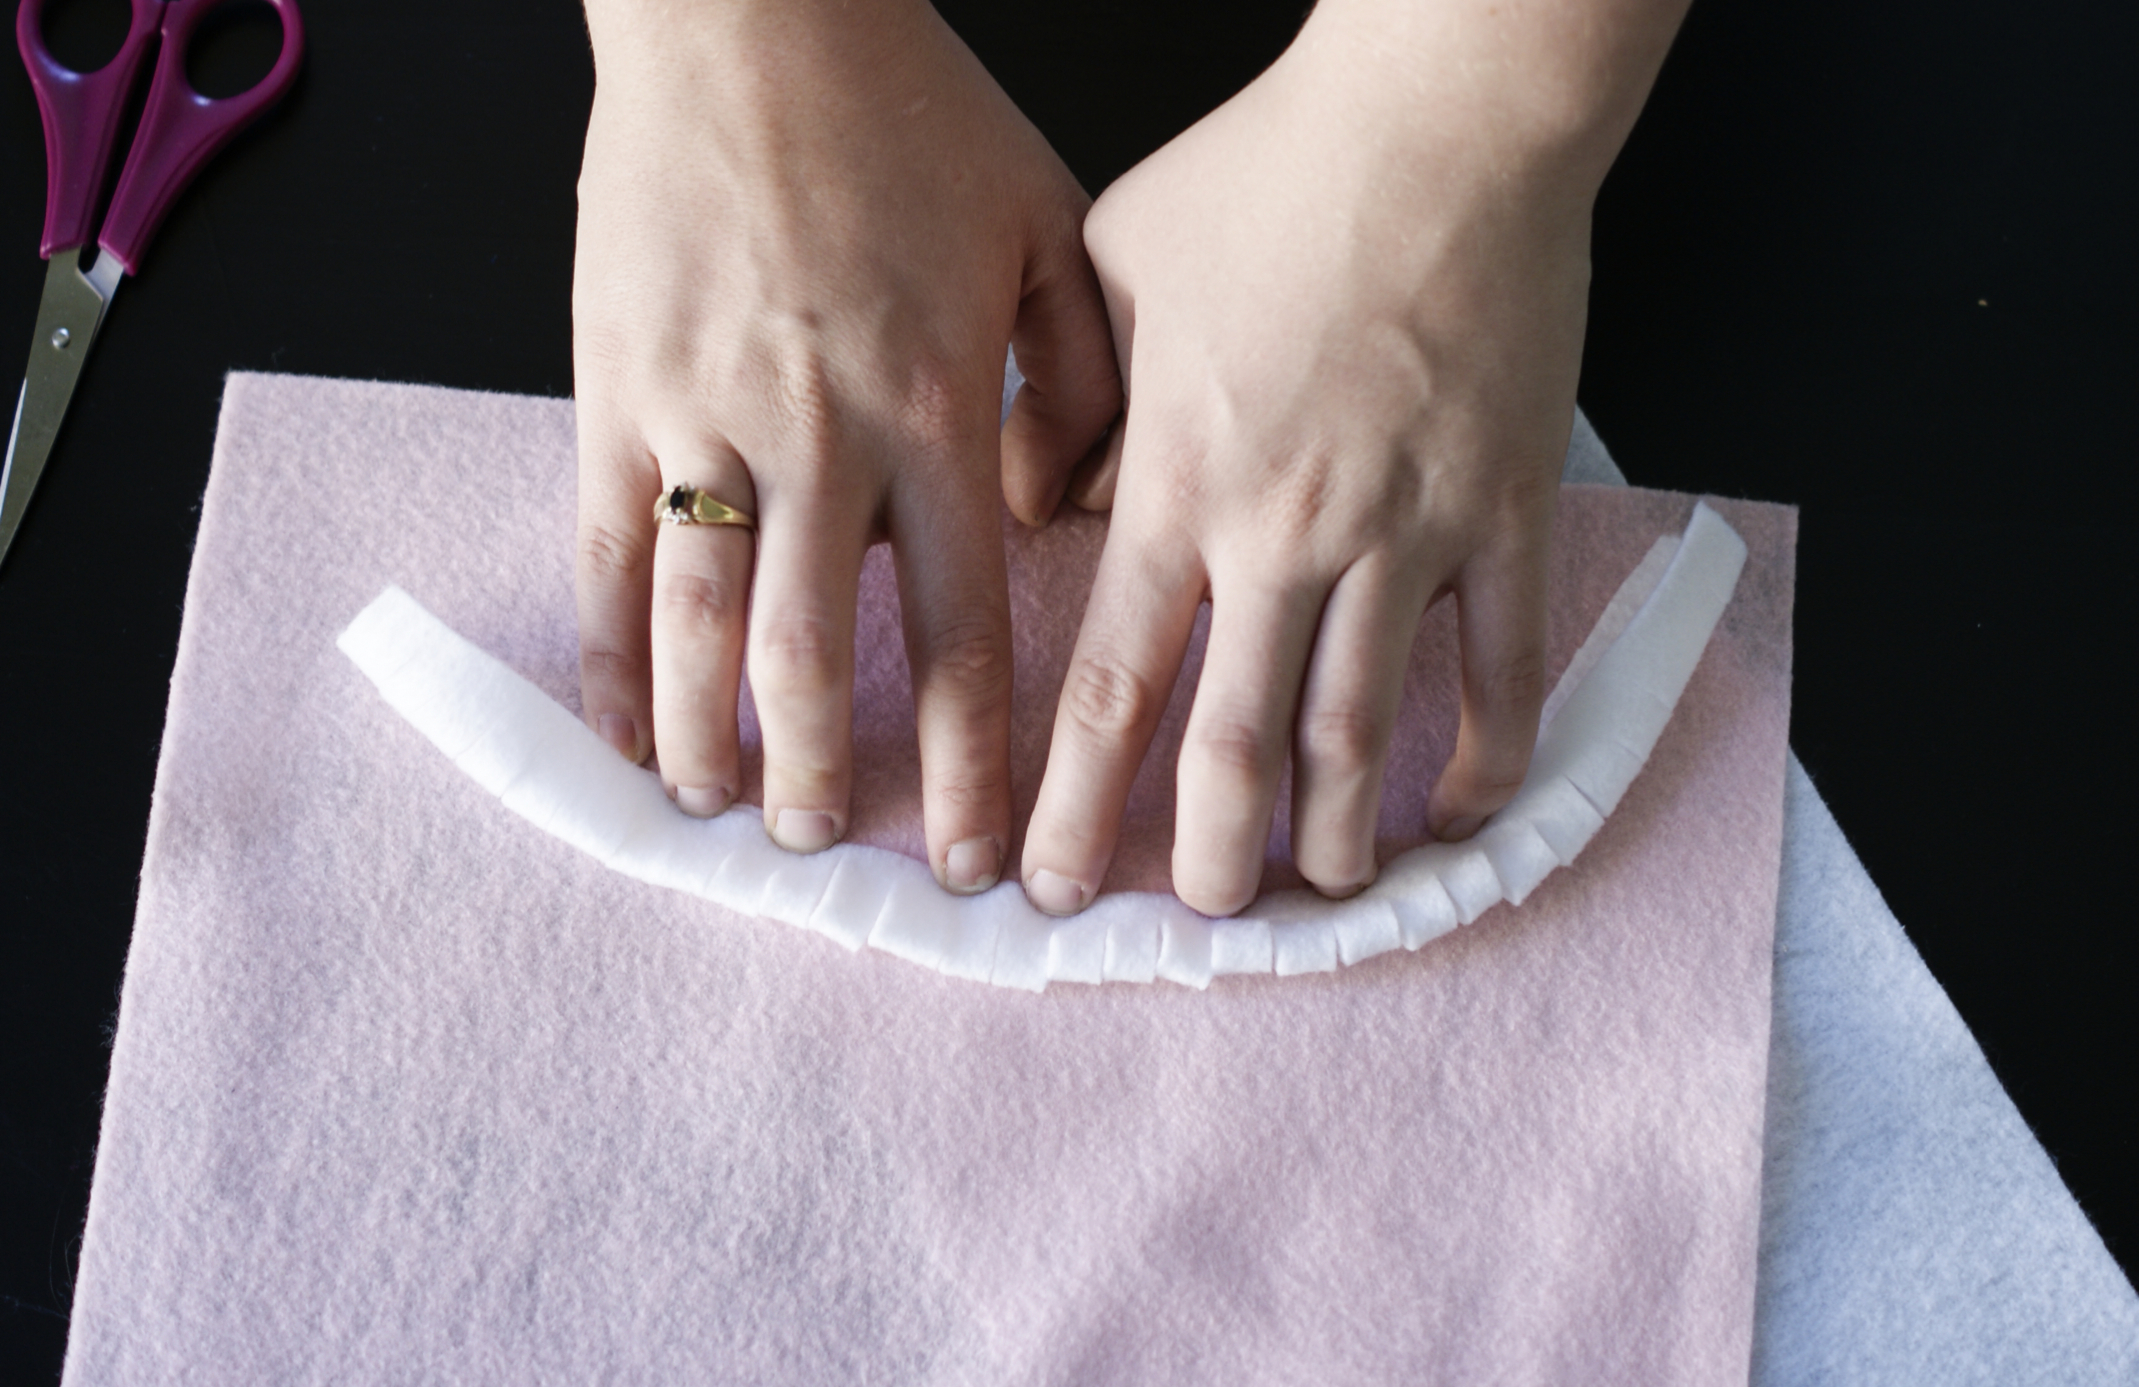
Roll up the strip (you may want to use a little hot glue while you roll it up to help it stay together).
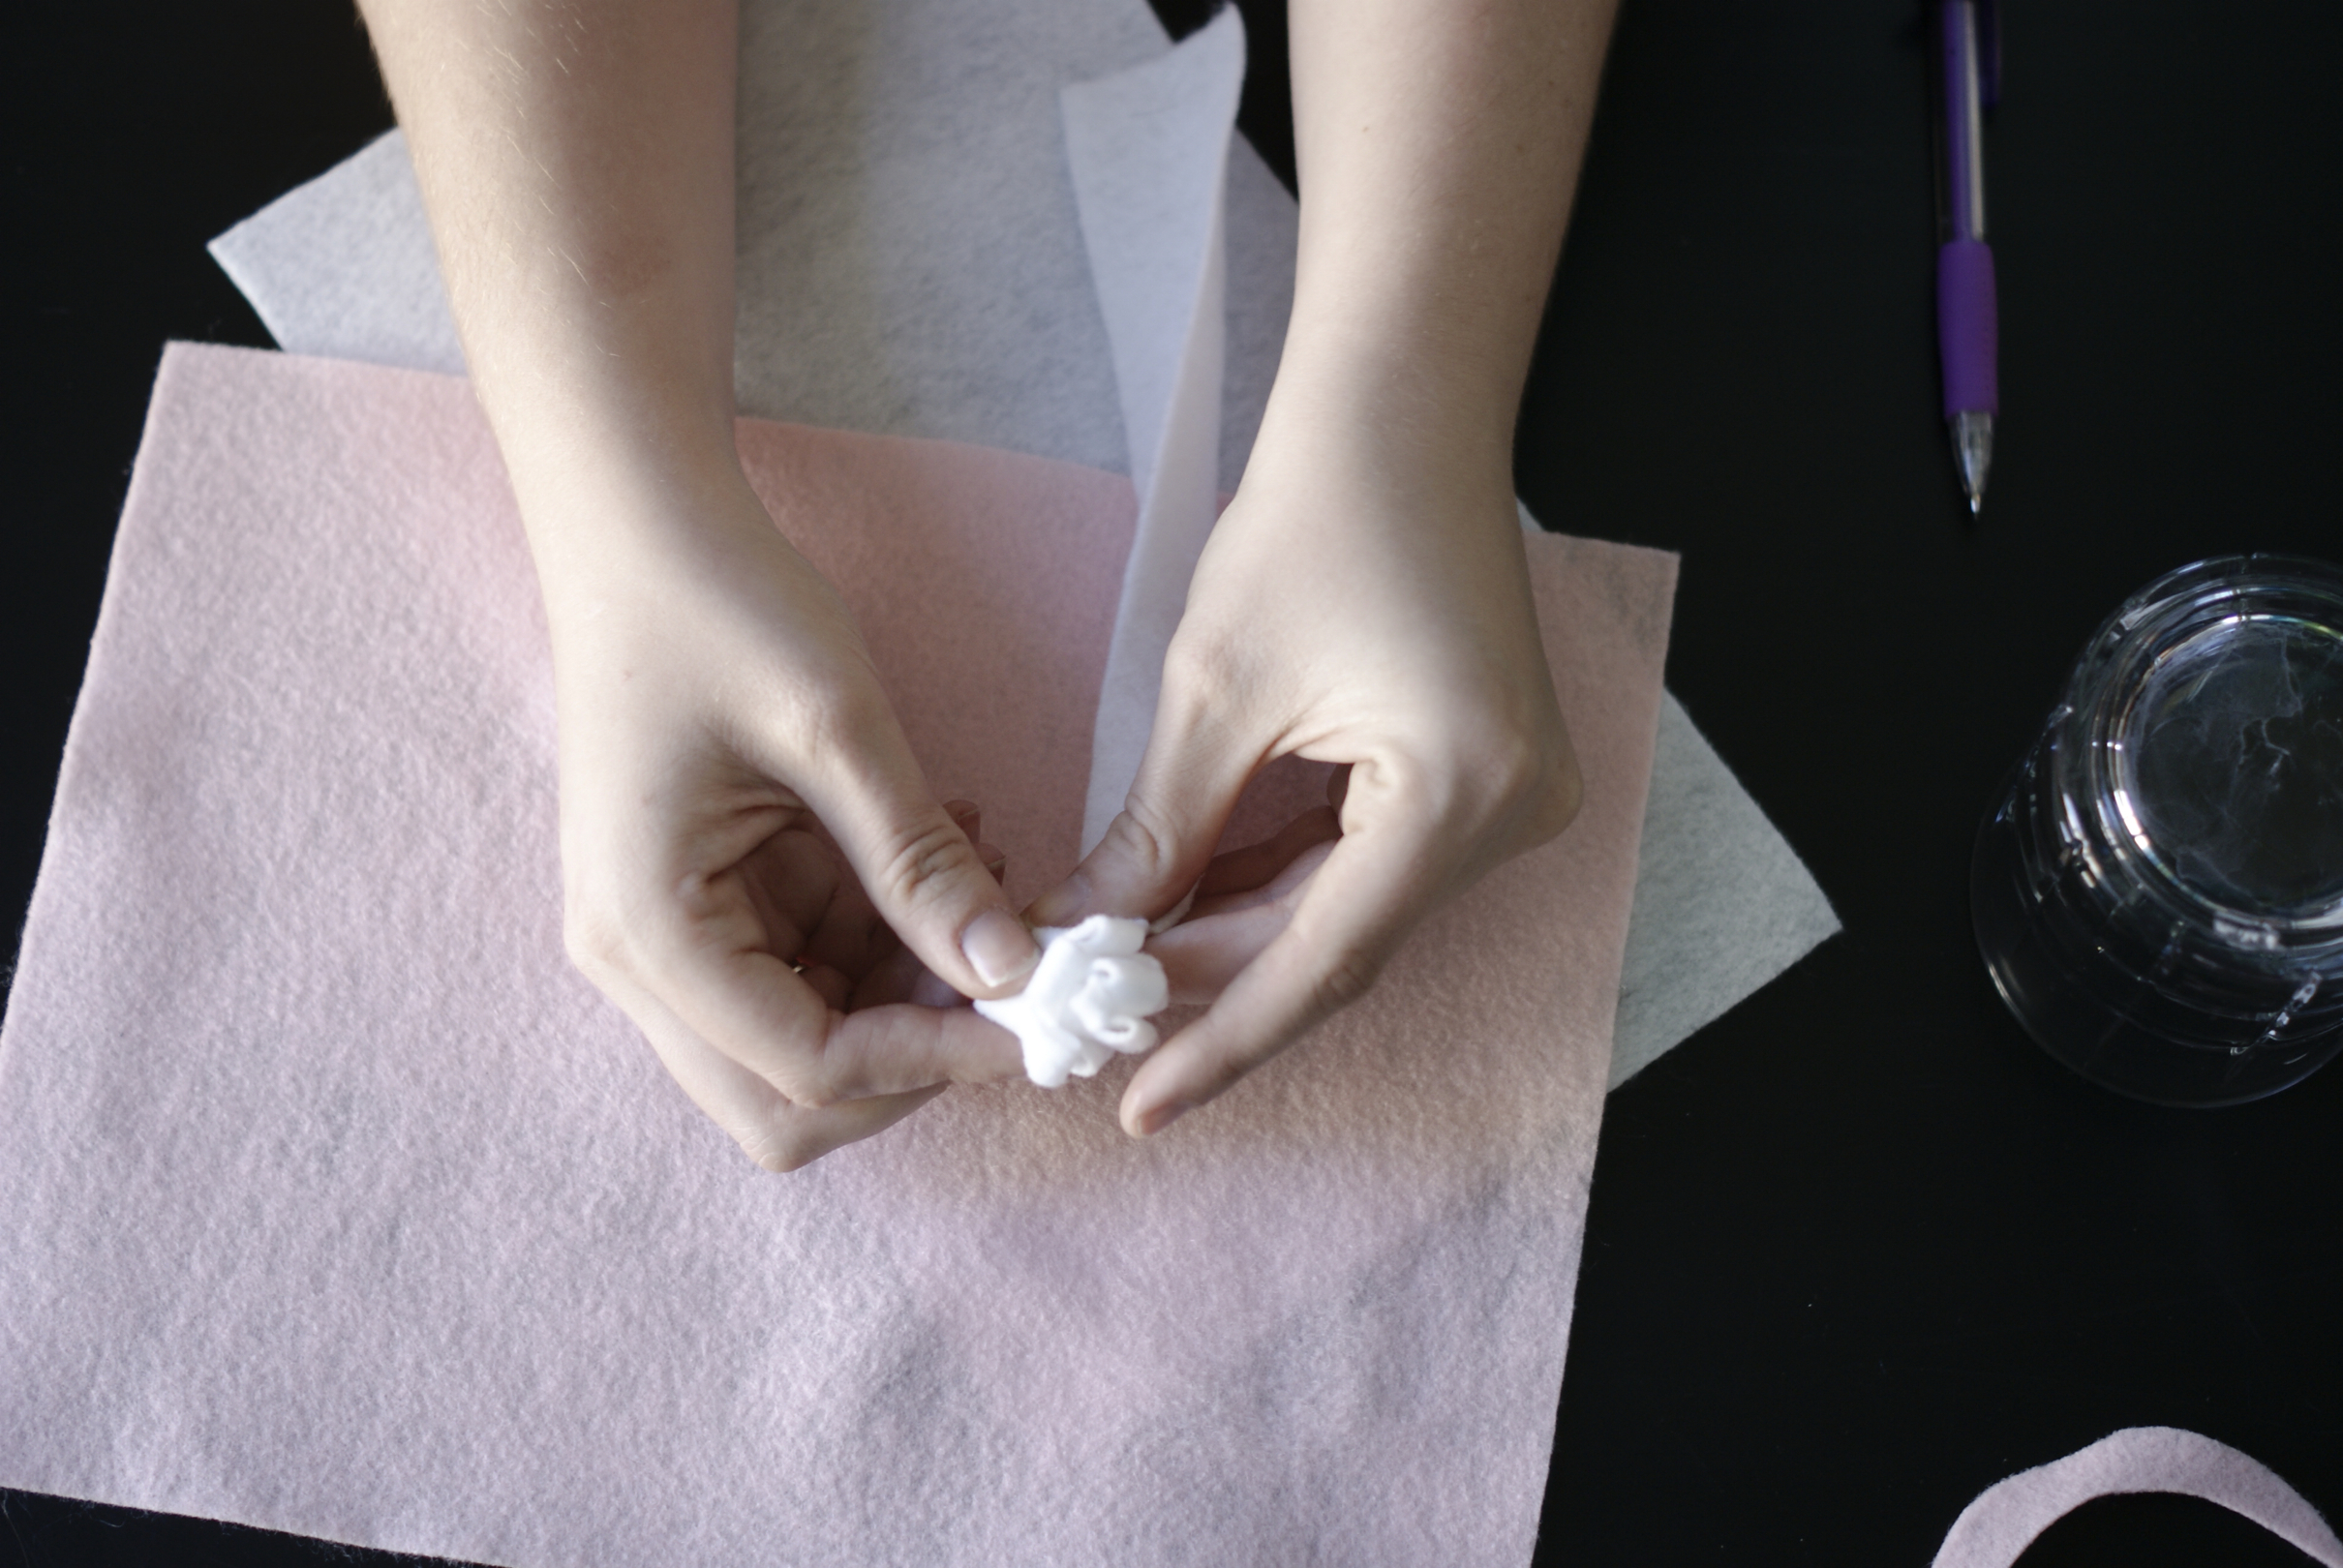
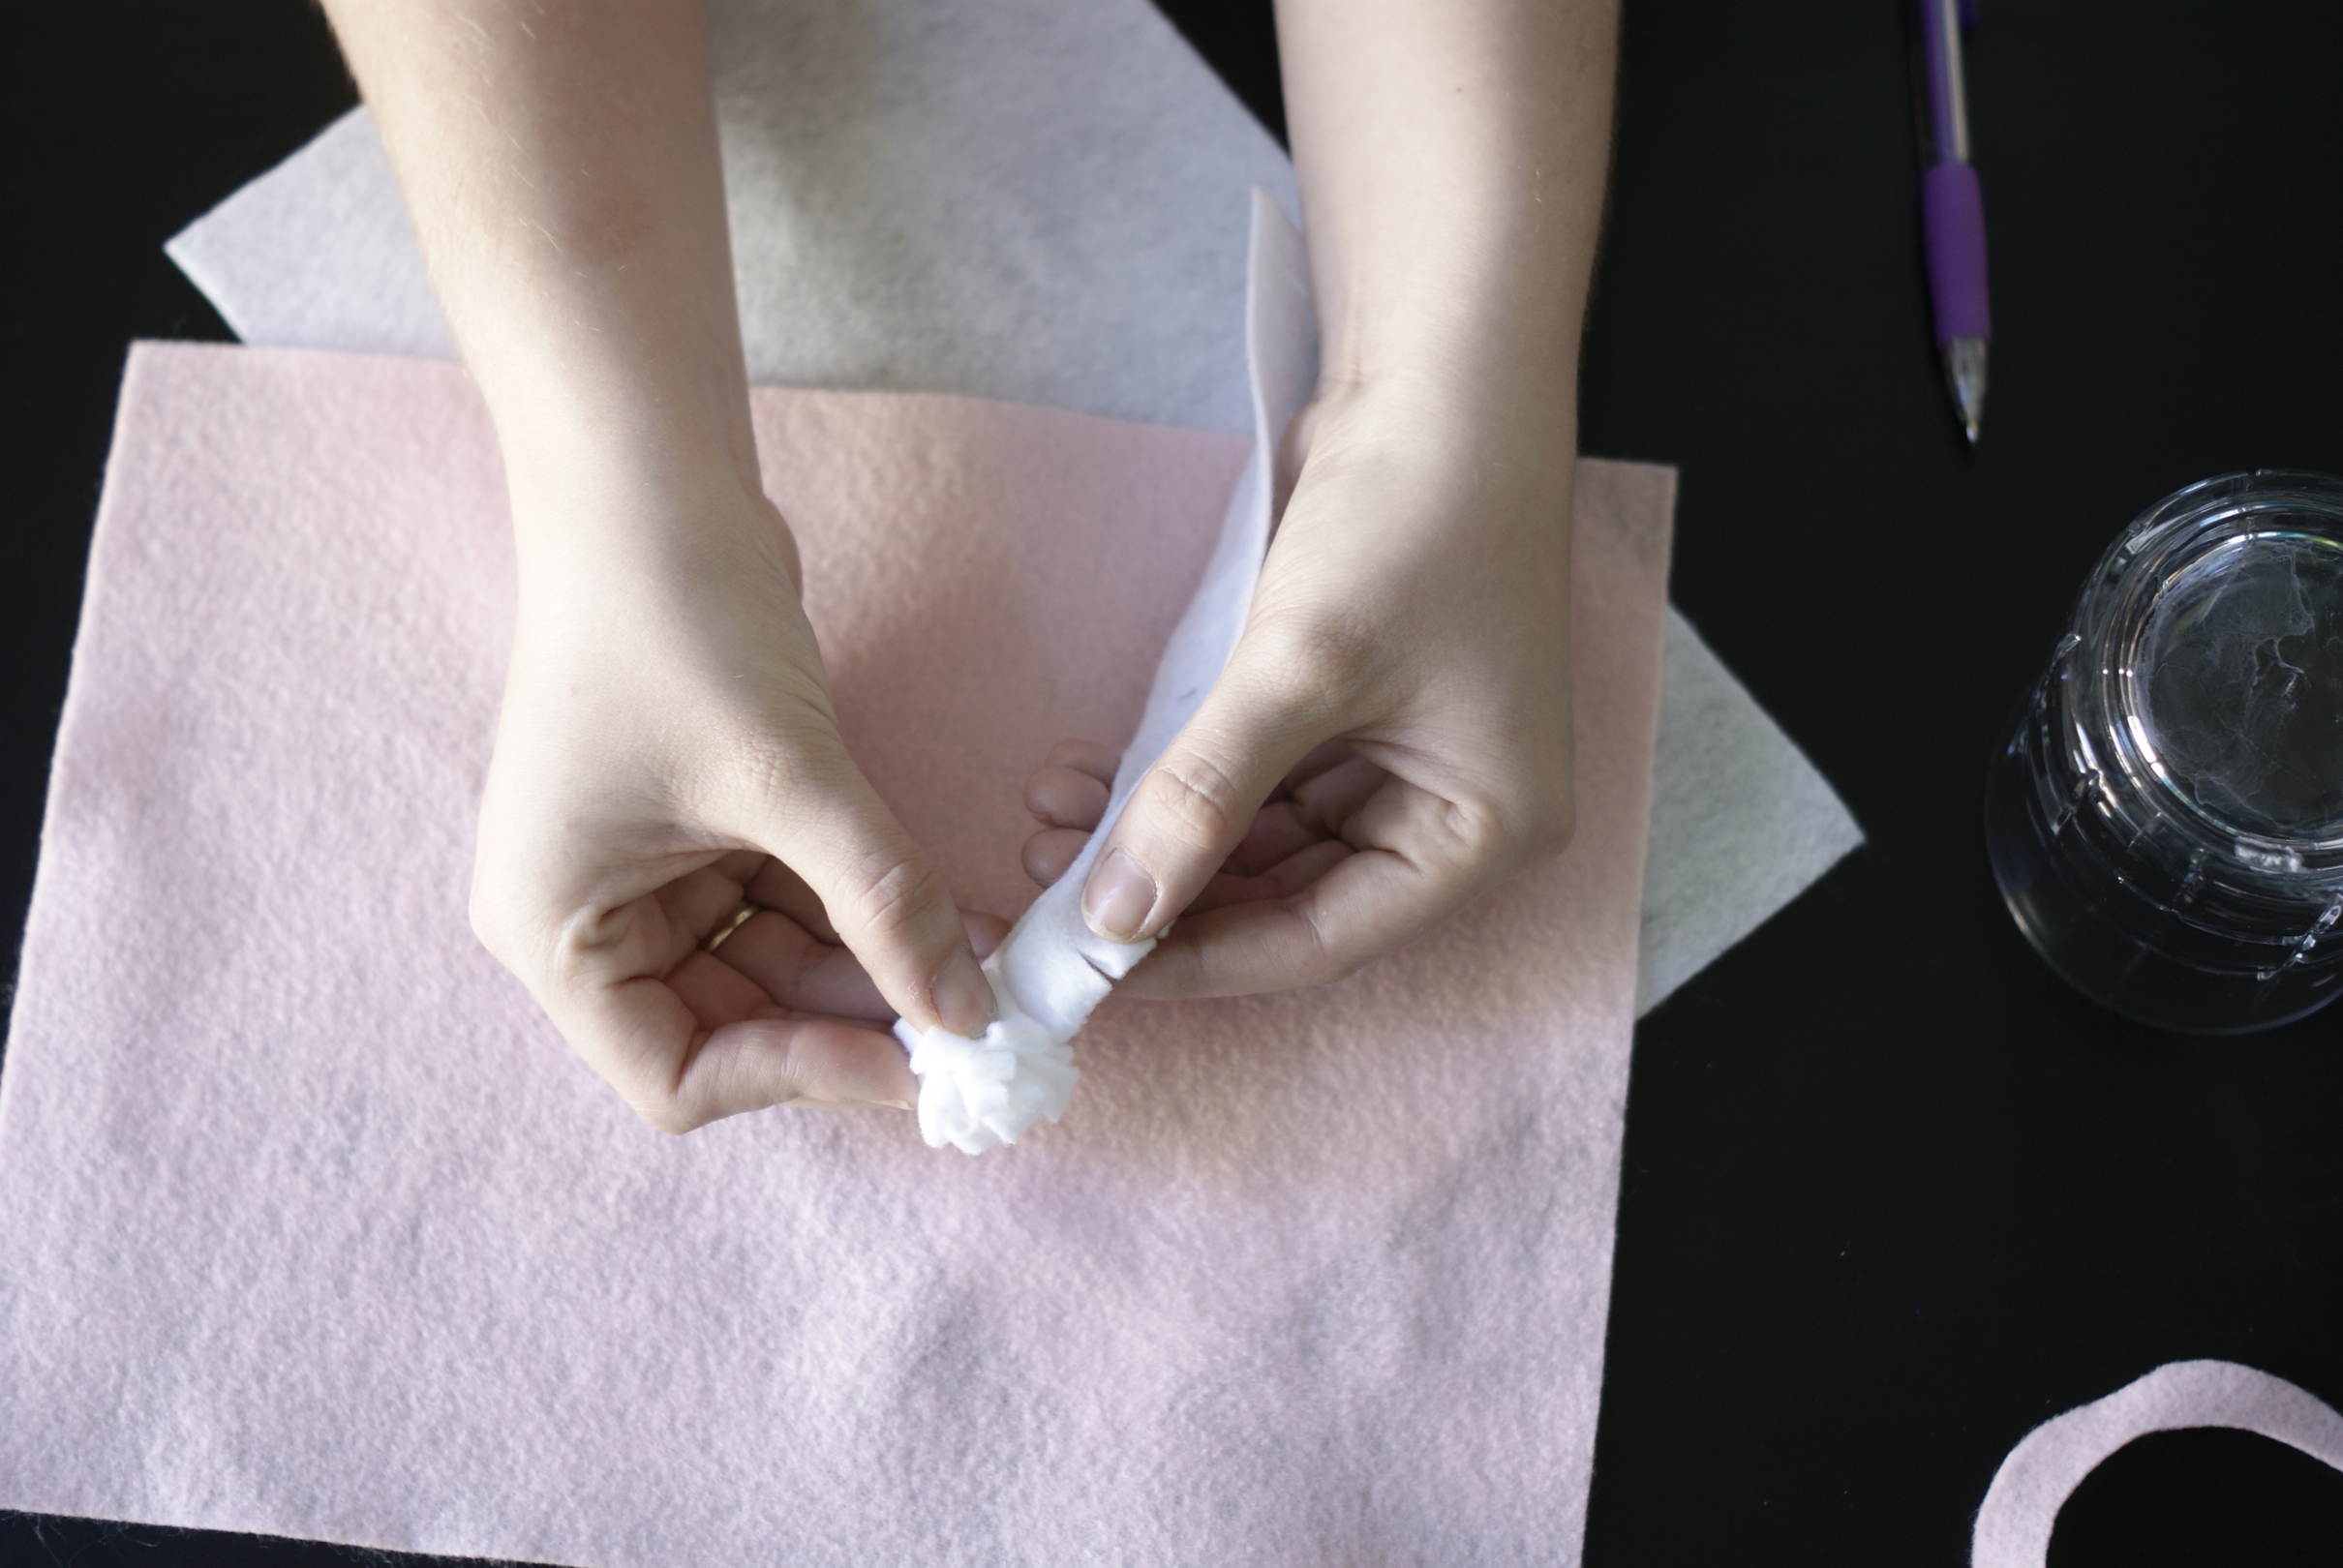
After you’ve rolled the flower up, hot glue it onto your paper (or frame or headband or gift bag 🙂 ).
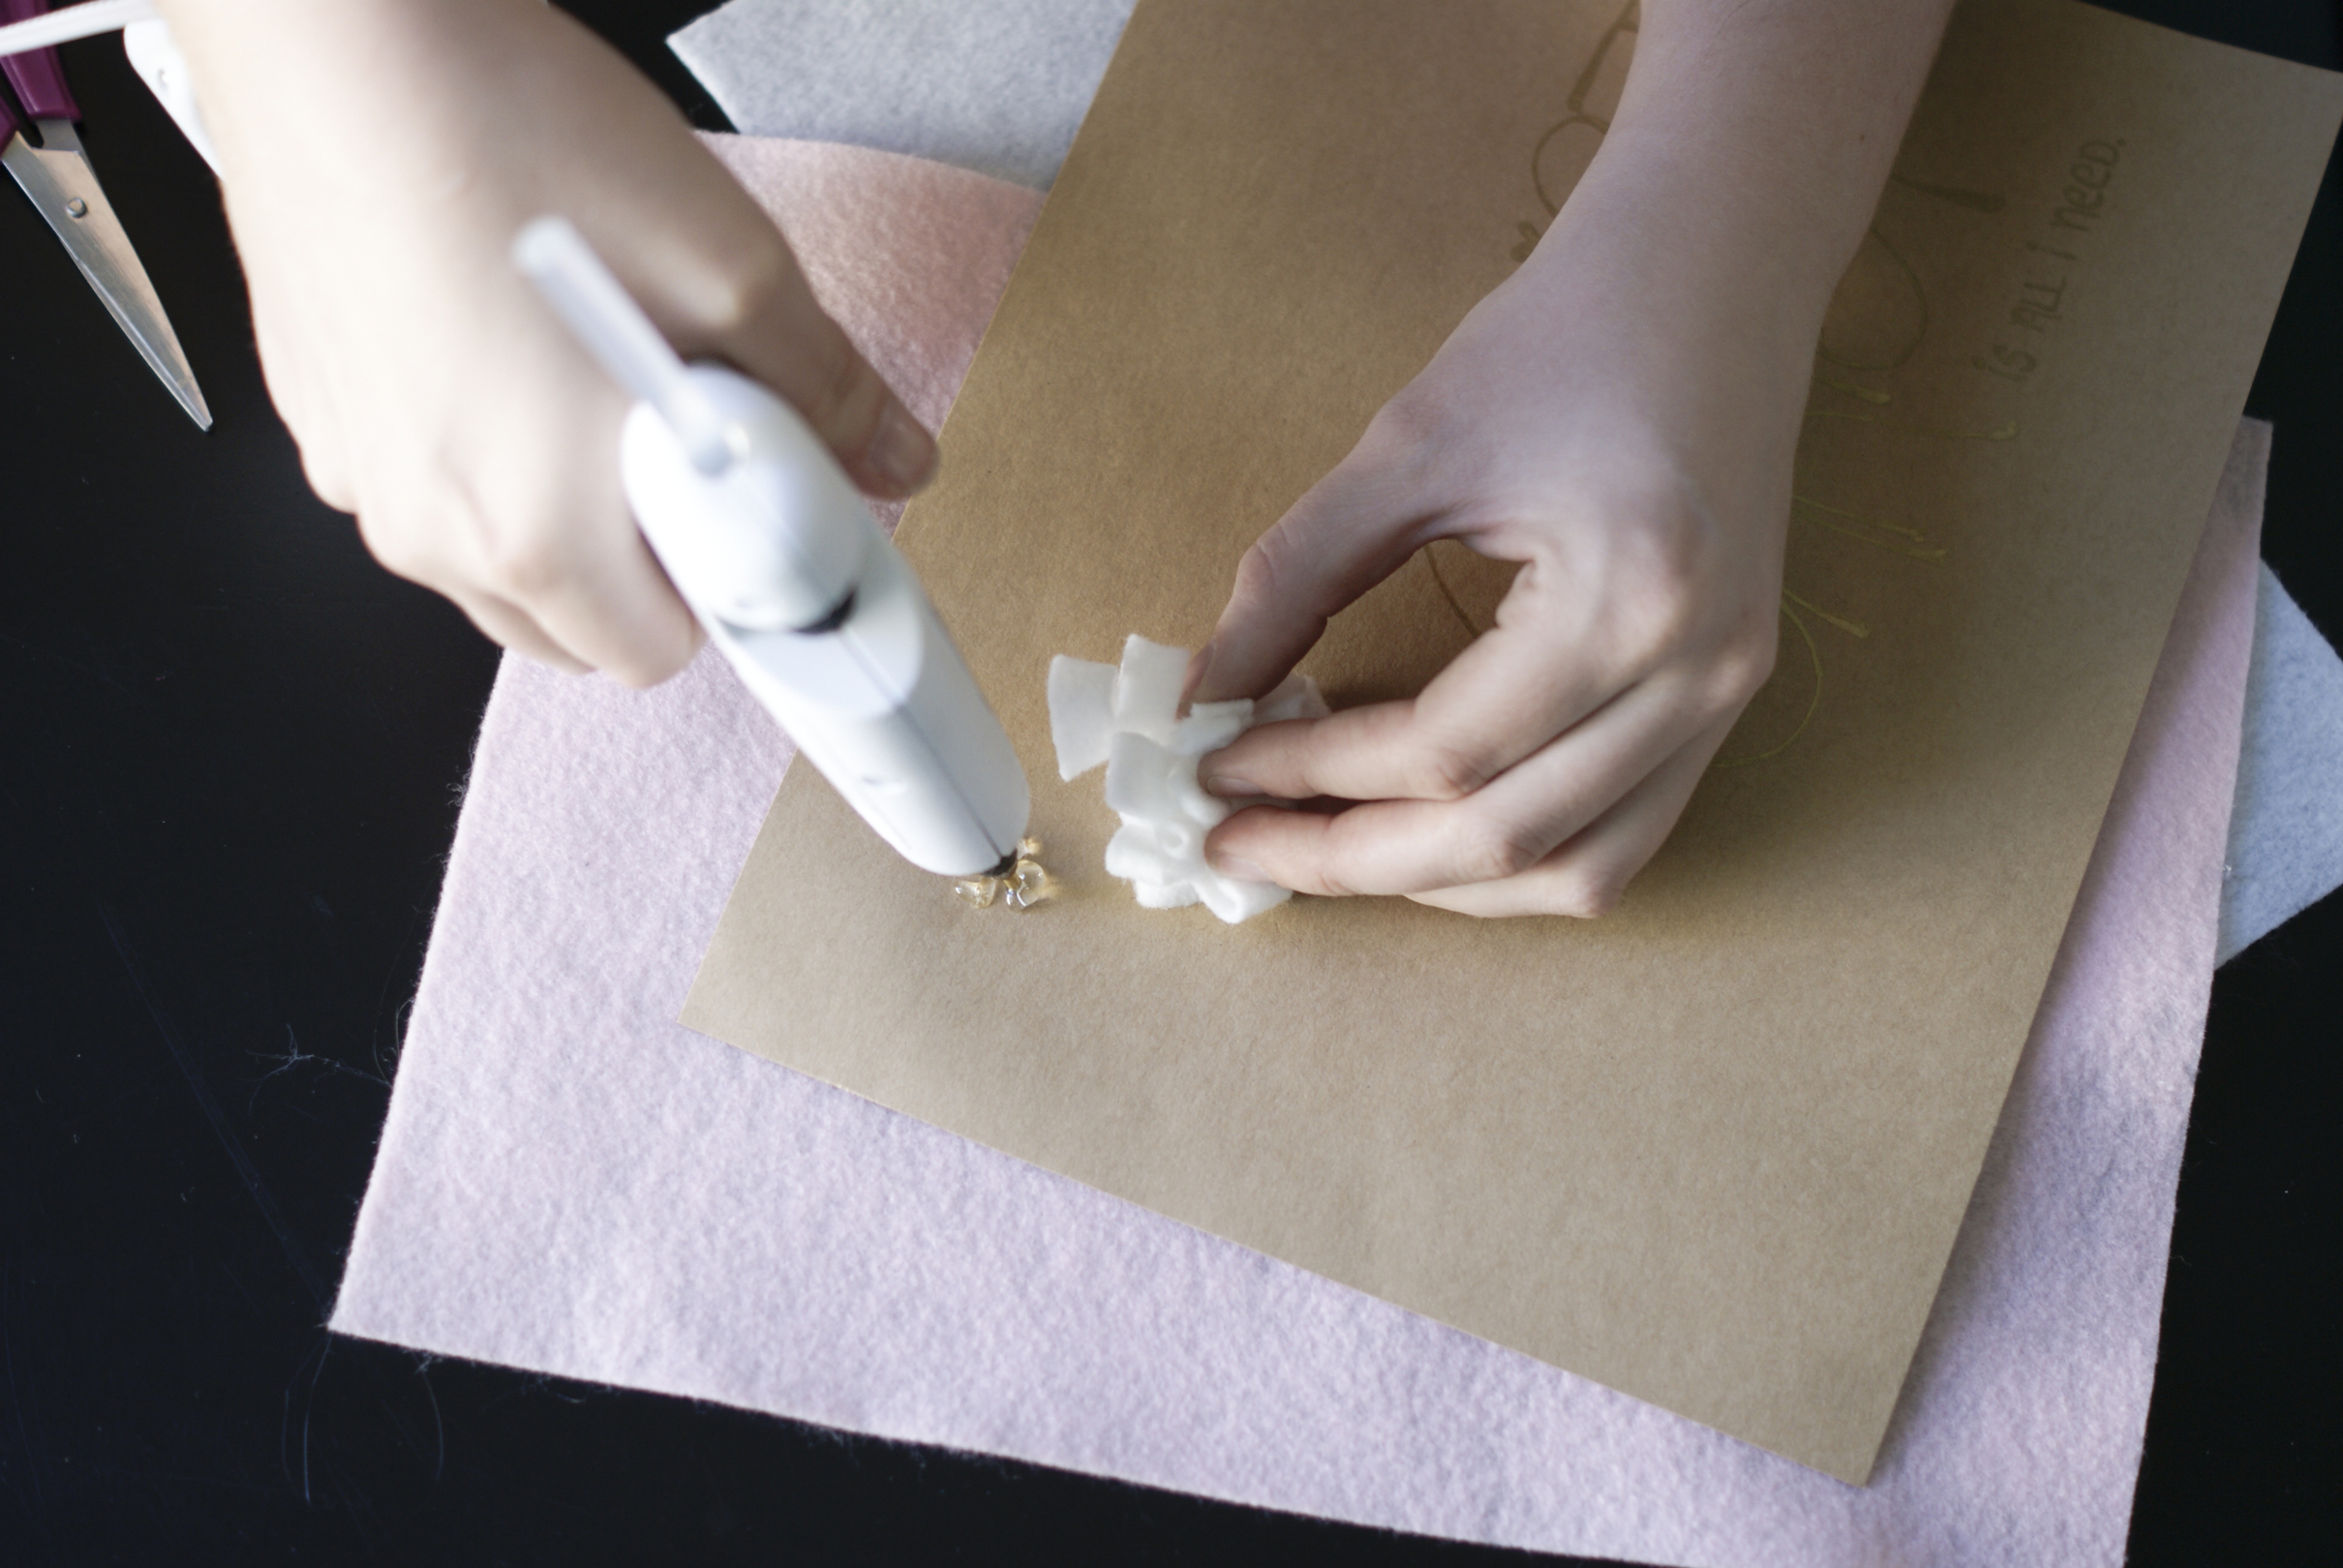
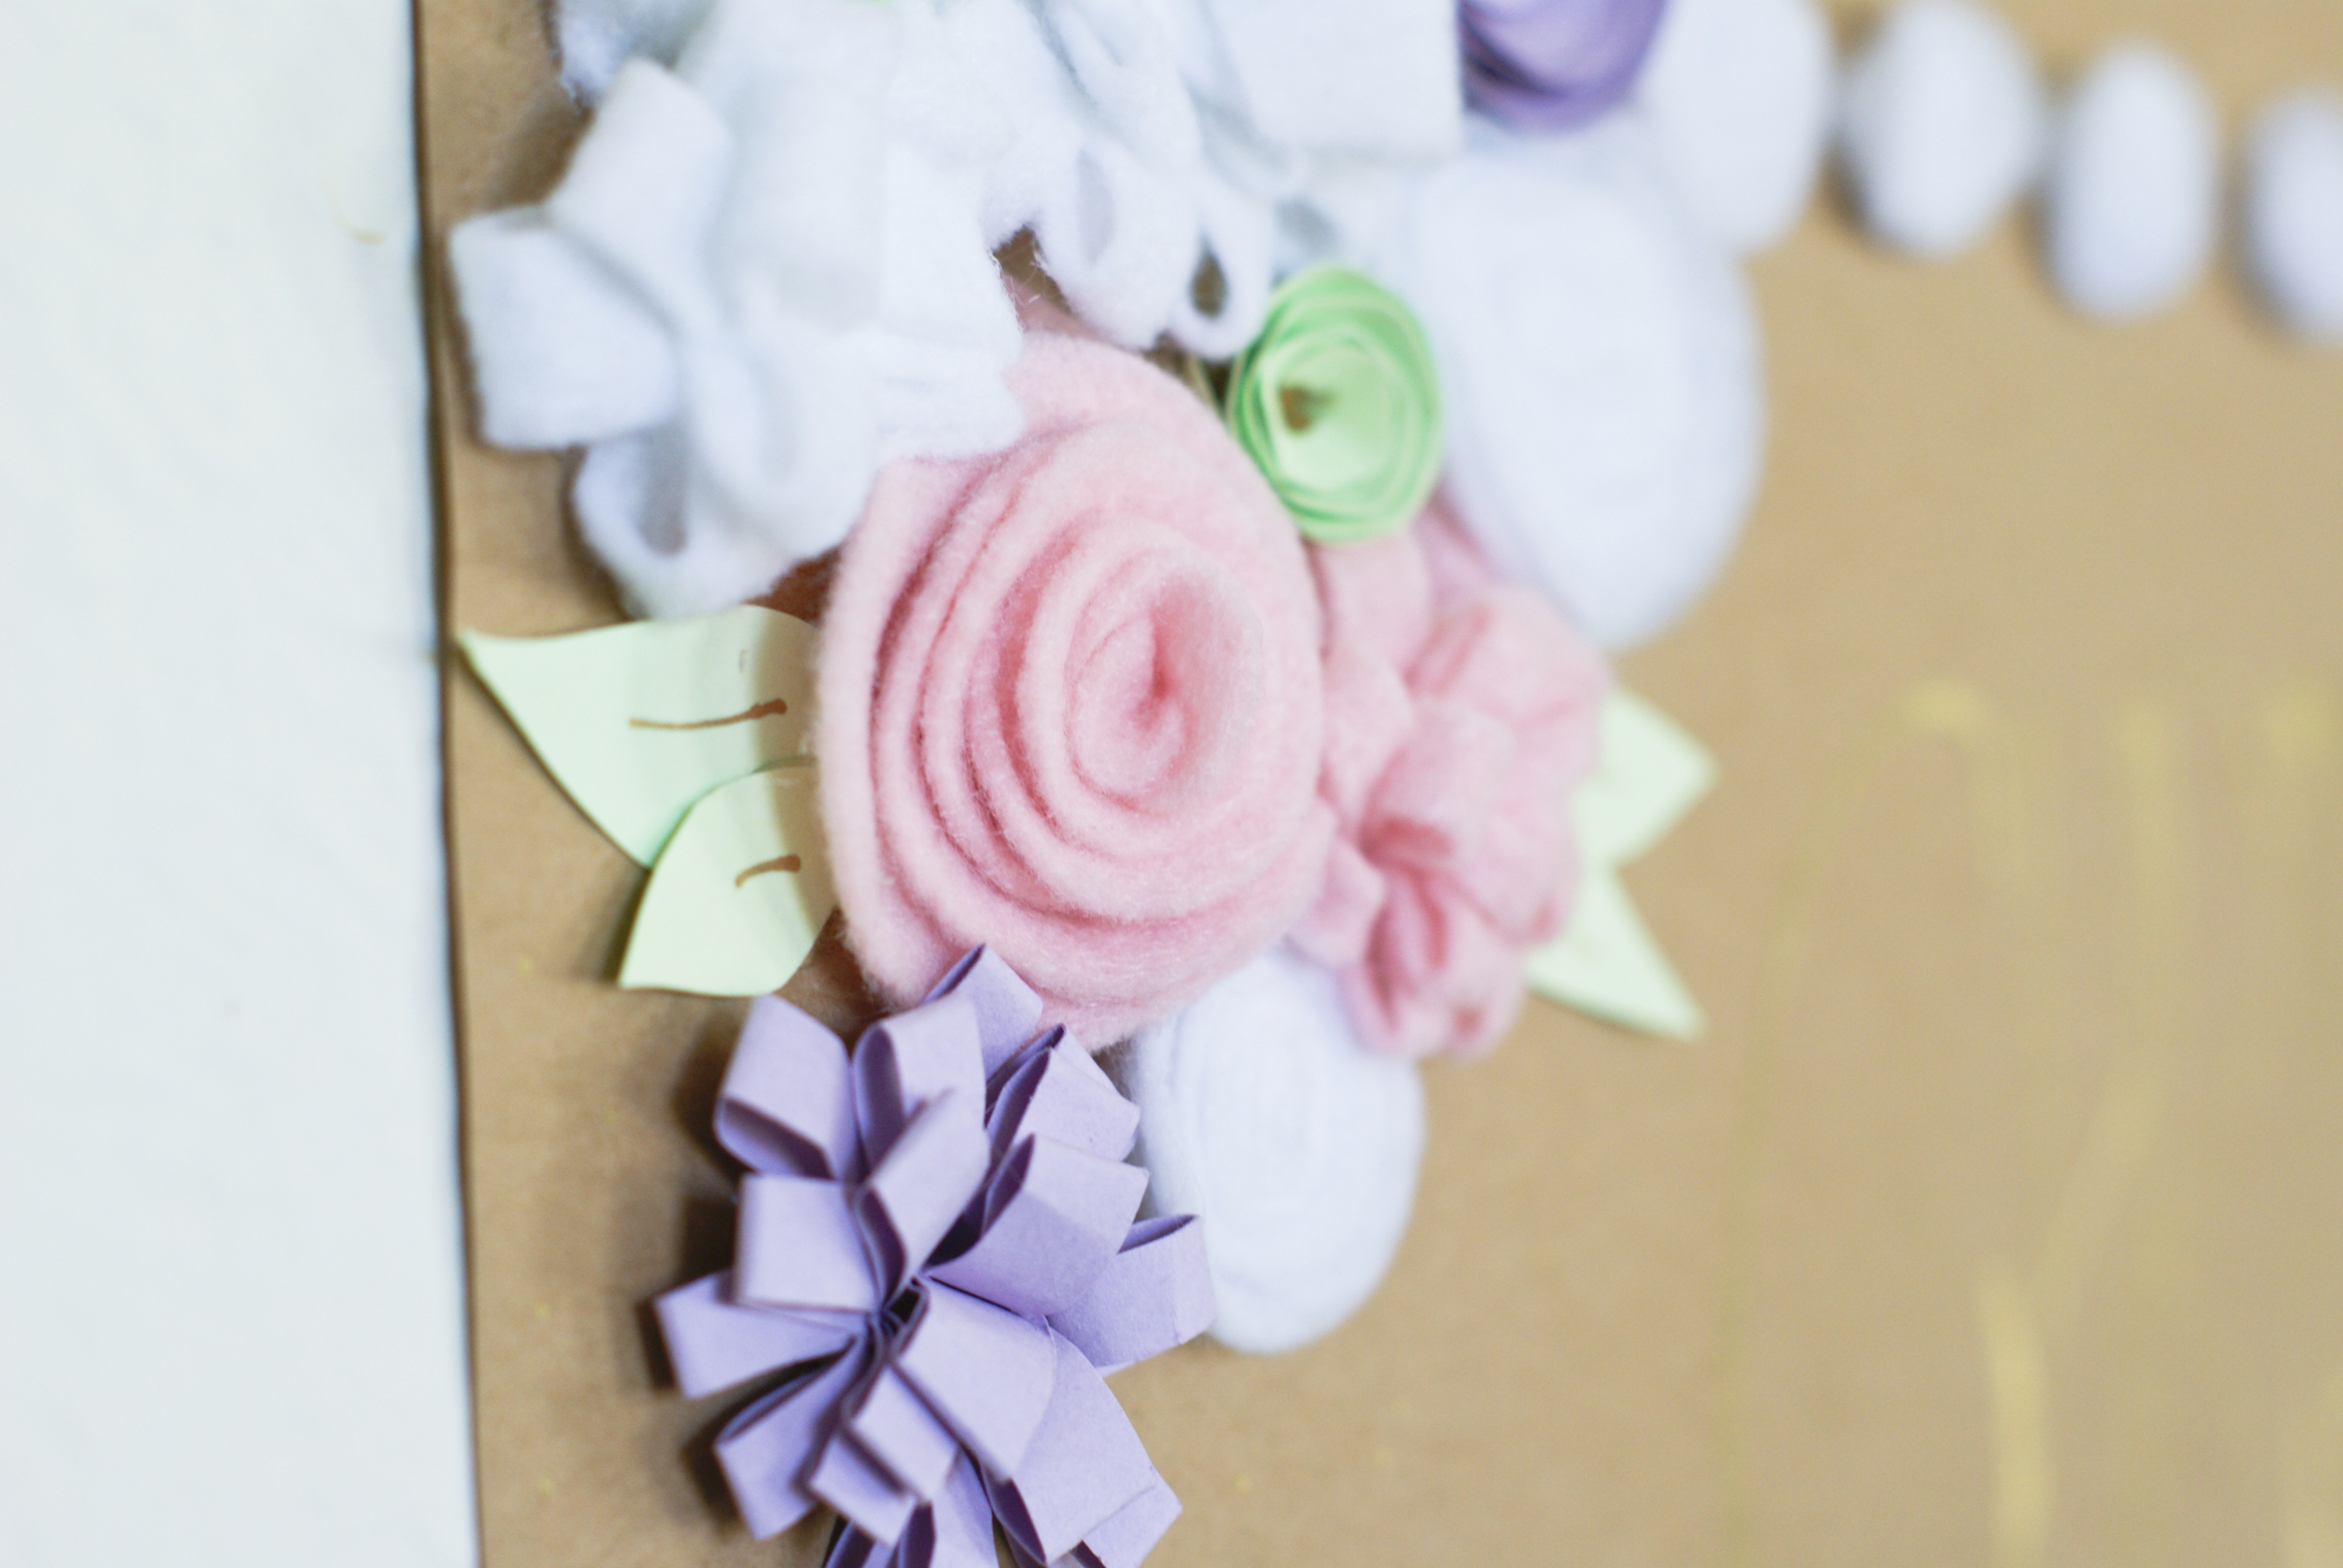
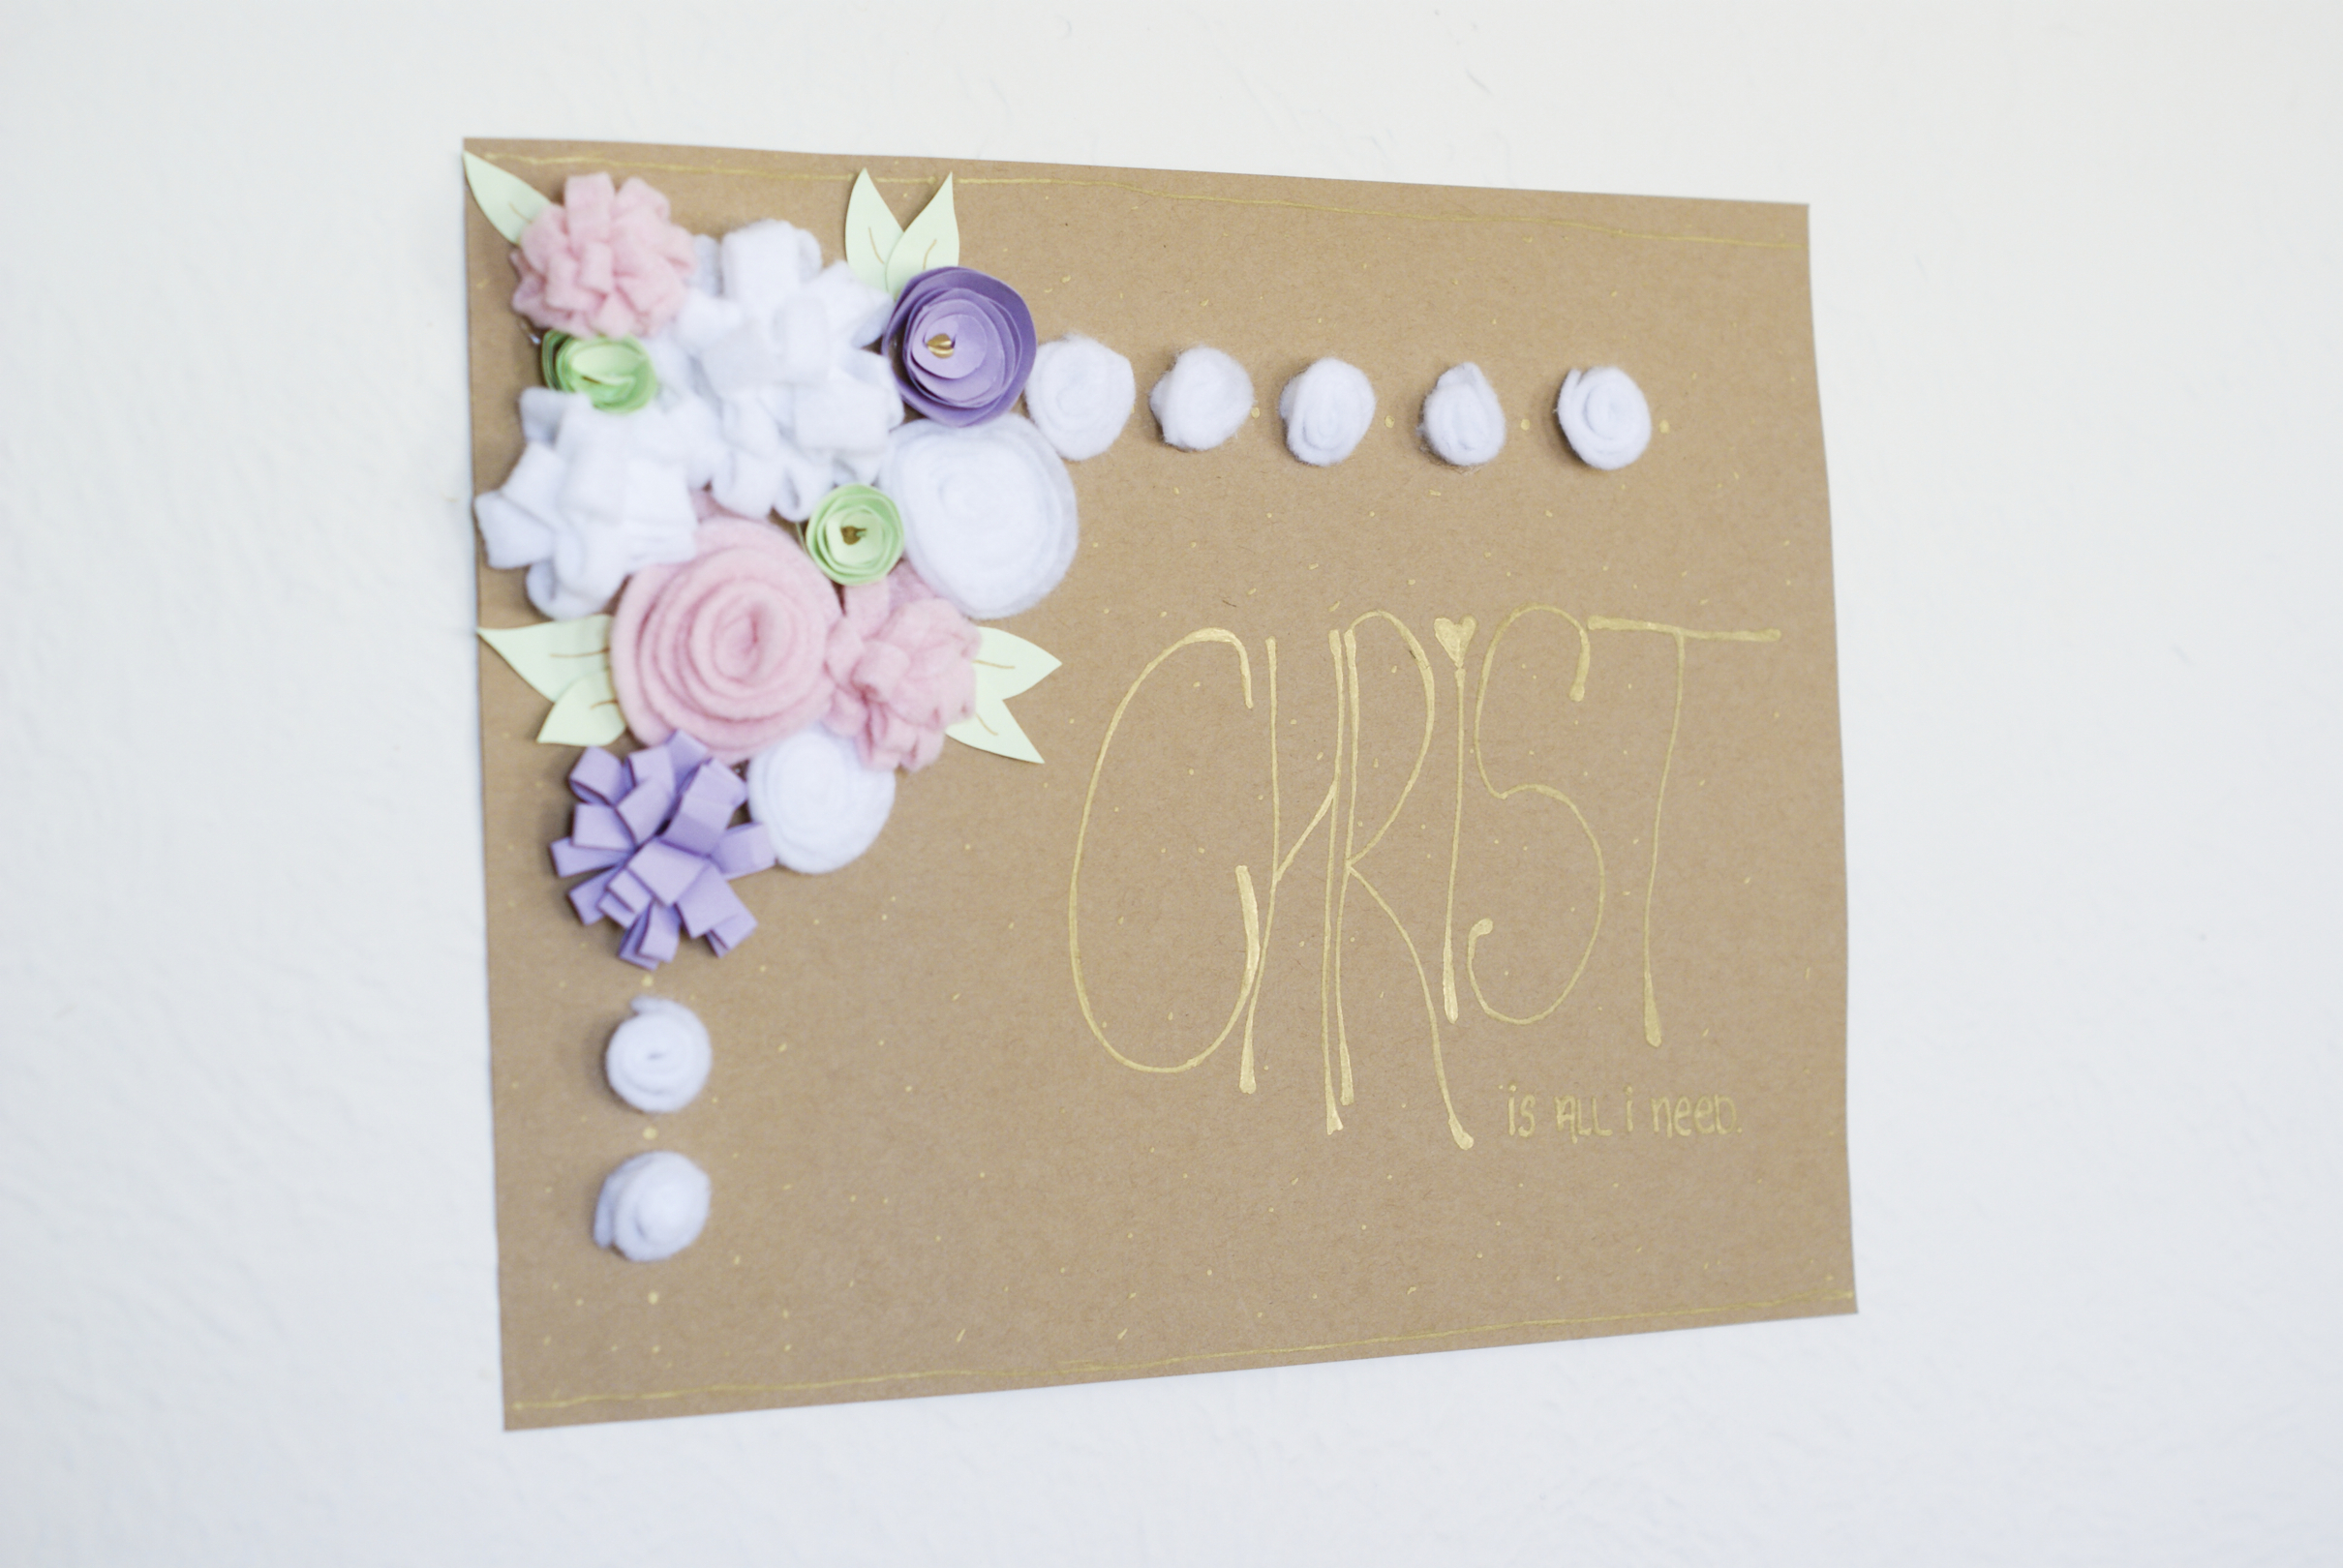
I decided to throw in some paper flowers as well for a little added texture and some paper leaves! I also made some tiny white roses to go along the top edge and left side.
