DIY Pacifier Clip
DIY Pacifier Clip
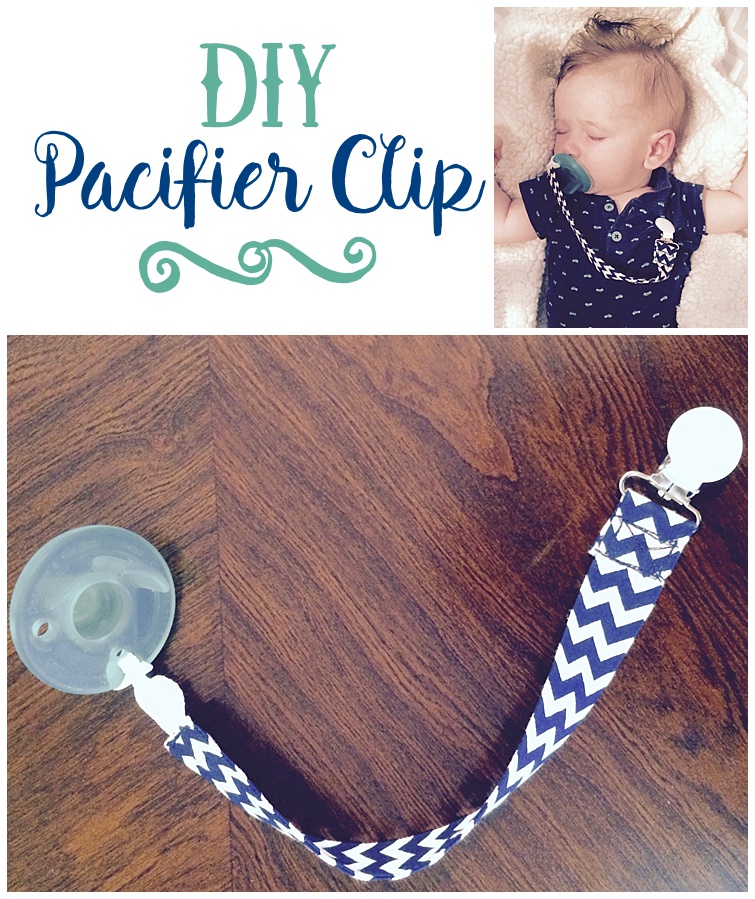
With a little one that likes his pacifier, I find myself very often picking it up off the floor and finding a sink to wash it off! I’ve seen a lot of pacifier clips for different kinds of binks, but not too many for the kind of pacifier I have for my baby. They are out there, but did I really want to spend that much for one when I could make one for less than $2??? Try this DIY Pacifier Clip!
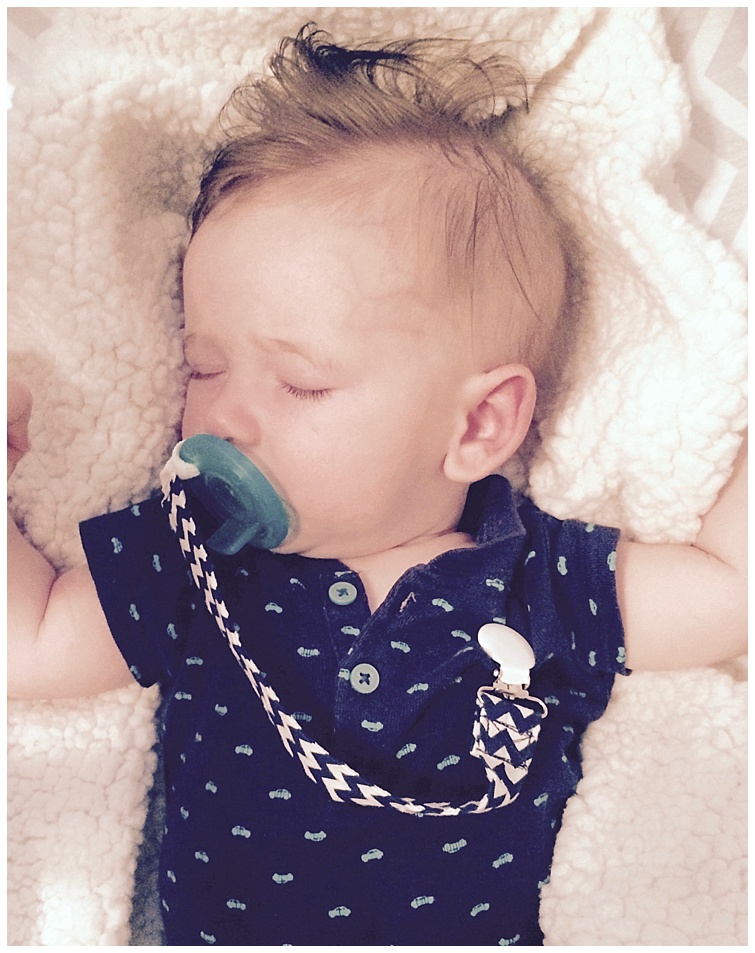
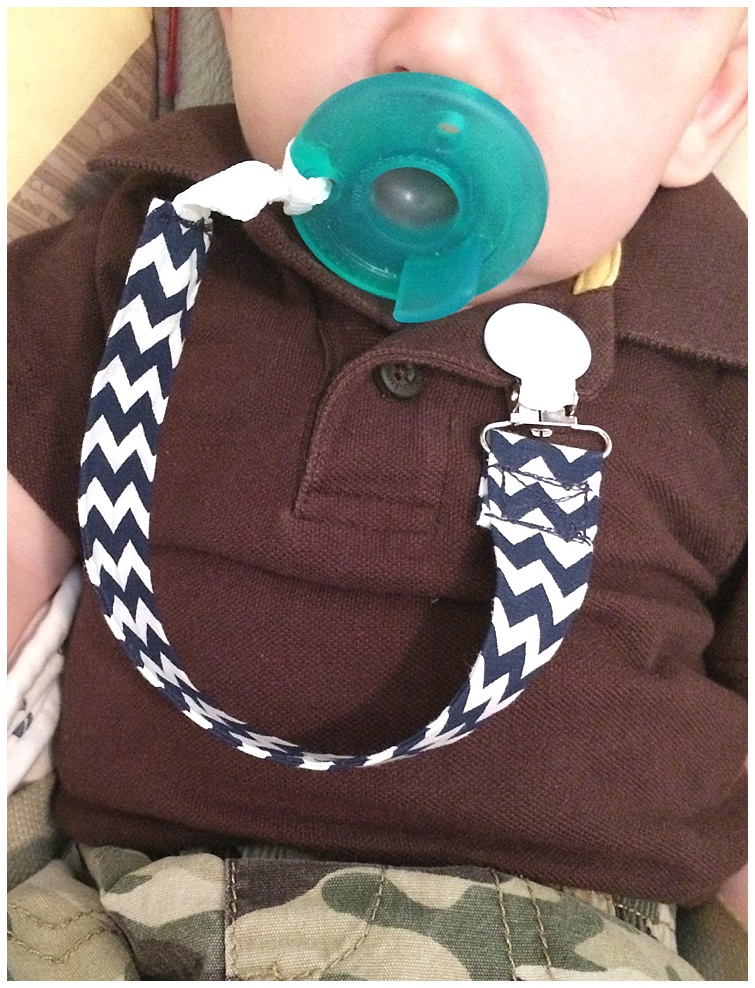
This DIY Pacifier Clip is so easy…. and the best thing…. you can choose any color or print of fabric that you want! I chose a navy and white chevron because I thought it looked cute with the teal pacifier and will match so many of his outfits!
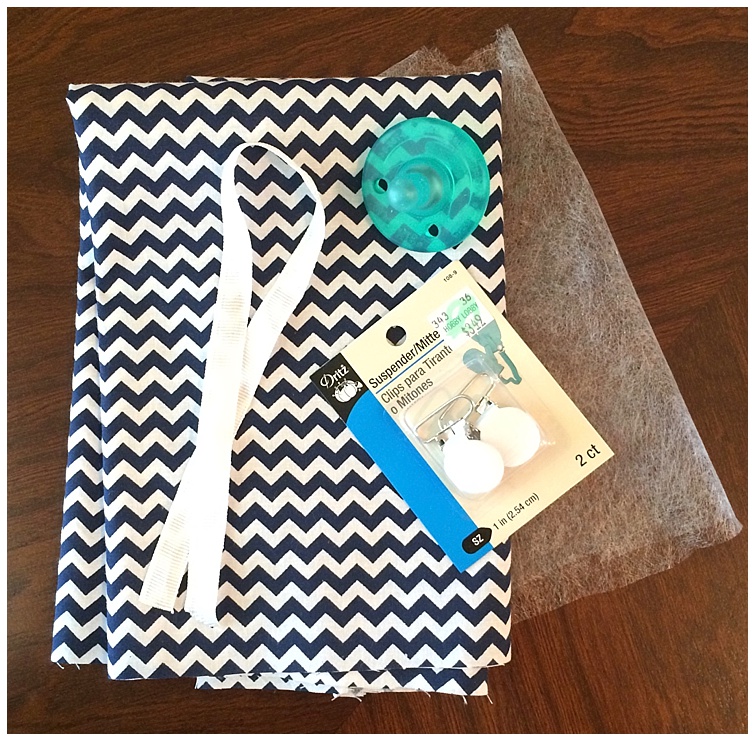
You just need a few basic supplies:
A scrap of fabric and interfacing, 3″ x 9″
A piece of ribbon, 9″
A suspender clip
and thread to match!
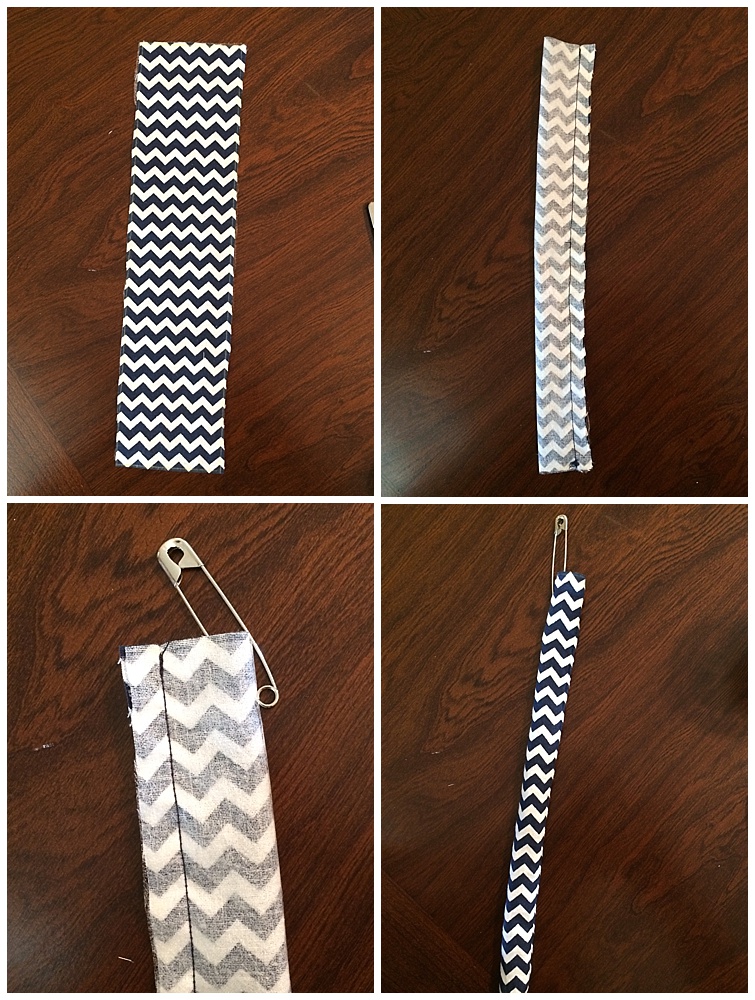
Cut a 3″ x 9″ strip of fabric and interfacing. Fuse together.
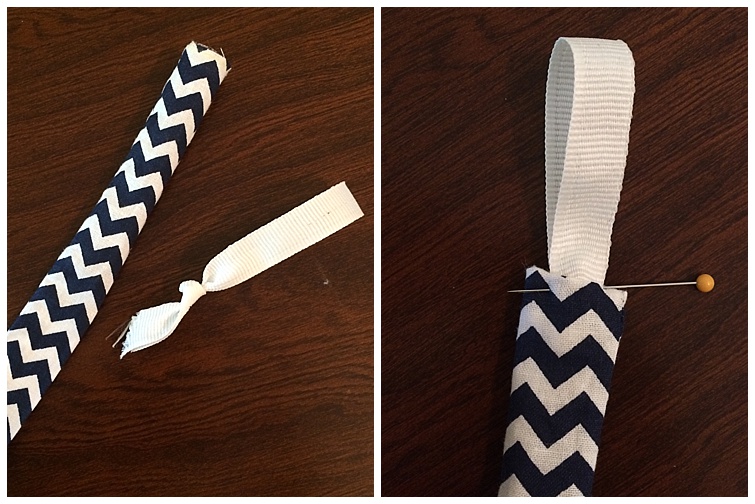
Fold right sides together and stitch along raw edges, leaving ends open.
Turn right side out.
Cut a 9″ piece of ribbon and tie a knot in the end leaving a 2 1/2″ – 3″ loop.
Fold in the raw edges on one end and insert the knot of the ribbon. Stitch across the end several times to hold it tight.
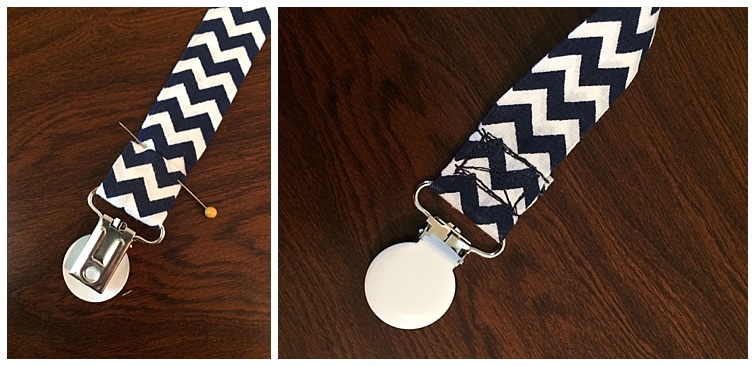
Slide the suspender clip onto the other end.
Fold the raw edges in and pin it leaving approximately an inch to sew it down. I sewed a rectangle with an X to keep it in place. Looking at the picture will help you see what I mean.
That’s it! Now slip the ribbon loop through the hole on the pacifier and pull it through until it’s tight.
