DIY Wood Pallet Sign AND free printable!
We have all seen the amazing, fun, creative things we can do with wooden pallets, right? Well, when I rescued a poor, aged, rejected pallet from next to the dumpster a couple of weeks ago, I knew that I couldn’t just build something with the lumber I would take apart.
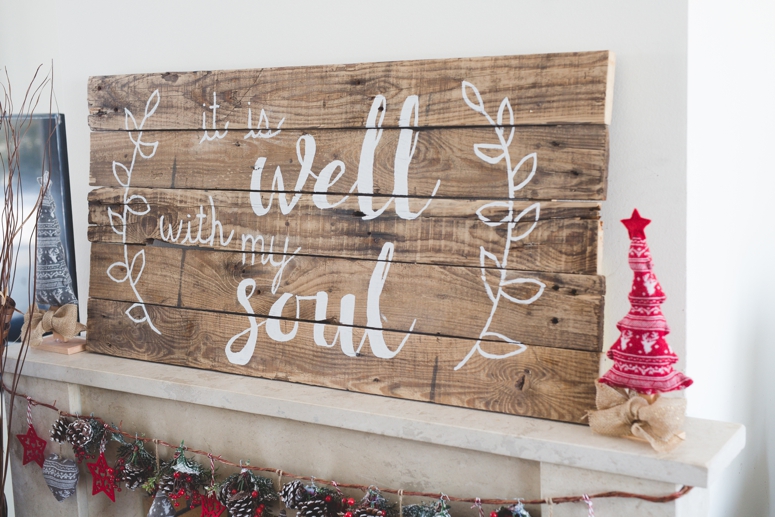
This wood was so beautifully-aged, that I knew I wanted to put it on display in my home. I decided on going big and making a solid board with it that I could put a simple text and design on, without drawing away from the beauty of the wood too much.
FREE PRINTABLE
Here’s the design I came up with for my wood pallet sign! Download the printable PDF here, and clip it on the fridge or put it in a frame!
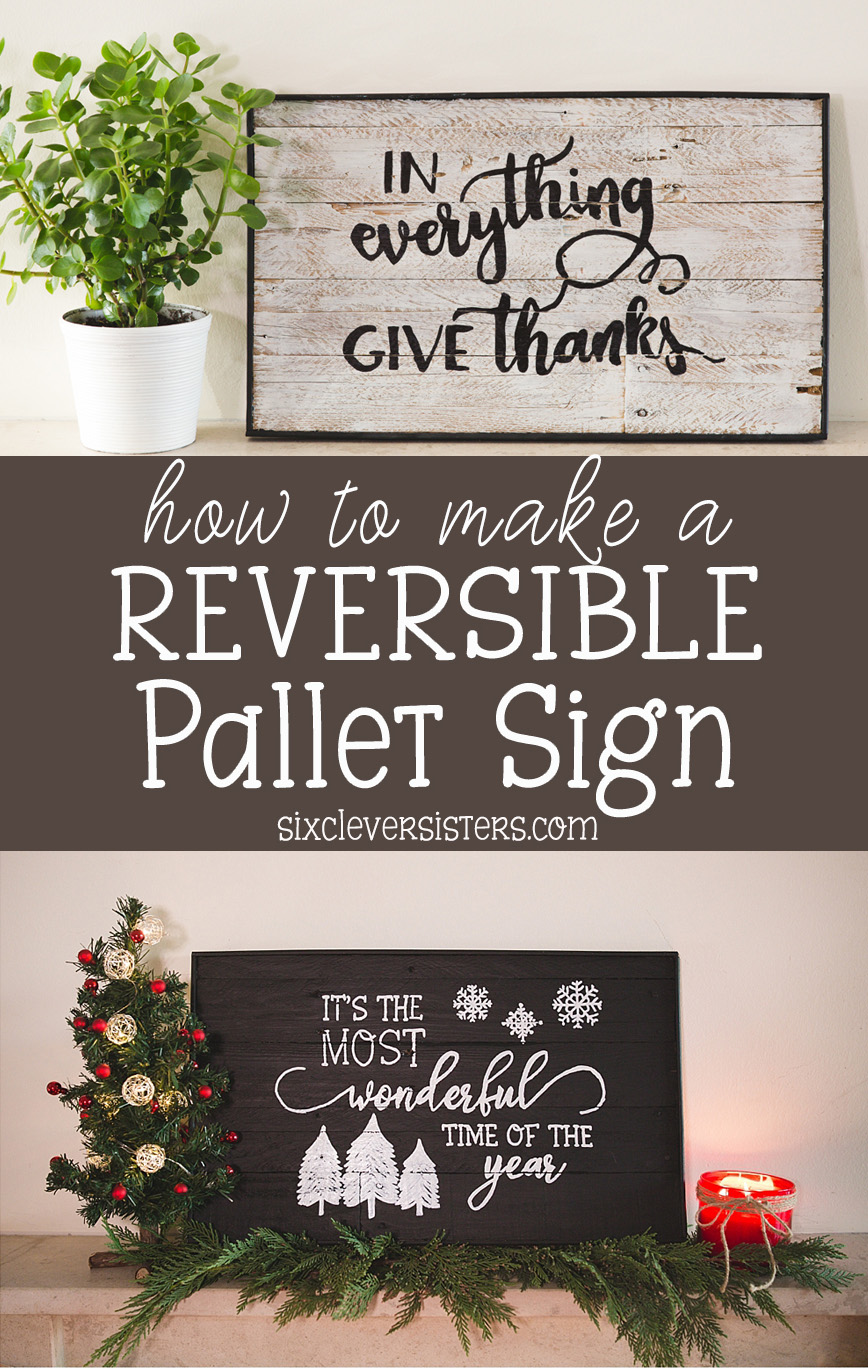
You may be interested in making a REVERSIBLE pallet sign – if so, head to THIS POST!
If you prefer the die-cut wood look (instead of painted words), try this budget-friendly, NON-expensive letter idea!
DIY Pallet Sign AND free printable
Here’s how to start on this project:
1. Disassemble a pallet.
I like to use a crowbar to do this, but it also helps to have a jigsaw handy (with a blade for cutting metal) to cut through stubborn nails! Plus, I do like the look of the nailheads left in the boards, so I end up doing that for most of them. (With older pallets, it ends up a lot faster to use a jigsaw most of the time.)

2. Lay the boards from the disassembled pallet in whatever way you like for your sign.
Since I cut my boards down a bit to customize the sign to the size I needed, I alternated which way the boards went so I didn’t end up with all “cut” ends on one side. I also watched where the nail heads were and didn’t place them all lined up.

3. Connect the pallet boards on the back with strips of scrap wood.
I used just some scraps of wood I had lying around to connect my pallet boards. If your design is horizontal, connect the boards with vertical pieces, and vice versa. You will need to be sure your nails are as as long as they can be without going through the other side. I nailed mine in from the back, but also secured them with more nails from the front. I did have to cover my silver nails with a tiny dot of brown acrylic paint, though, so I suggest using a nail that isn’t shiny silver!

4. Once your wood pallet sign is assembled, choose a design and/or text, and stencil it on.
UPDATE: Since I’ve posted this, I’ve discovered an EASY method for transferring designs WITHOUT eyeballing it, and WITHOUT any special machine! You’ll definitely want to check it out HERE!
Thank goodness I know now how to do this EASY design transfer method! Watch below!
Since my design was so large, I printed my design and then had to eyeball it as I drew it freehand onto the wood. I used a pencil, but I also made what I had drawn easier to see by tracing over the pencil with a liquid chalk marker. This helped immensely so that I could see my progress! I suggest finding the center of your design and then working from the center out.

5. Paint your design on.
I used an oil-based white paint because I had some leftover from another project, but you could also used a water-based paint if you prefer. Make sure that you use a smaller brush on the edges of your letters so that they are nice and sharp! Another option is an oil-based Sharpie – these are my new favorites because I feel like I have so much control over my ‘painting’ when I’m using these!!

I LOVE how this turned out! And it was practically free!
It looks perfect above my fireplace, don’t you think!? Now to make a couple more so I can swap them out every few months…. 😛
Edit: This post was originally published on June 2, 2016.
How about some other wood projects?
This string art “home” sign makes a statement!
This rustic trough centerpiece is one of my favorite DIY’s in my home!








Jenn
November 11, 2016Thank you for sharing this printable. I was thinking of making this for my niece for Christmas and having this will make it a whole lot easier on me! Now I have the song stuck in my head too LOL!
Rachel Barkowski
November 11, 2016Oh, I’m so glad that it will help with your DIY! 🙂 Share a picture on social media when you’re finished, and tag us! We’d love to see your finished work!