. . . with free printable leaf templates
Fall is just about here, and if you know me, you know it’s my most favorite season of all! Why not enjoy a lazy Saturday morning making a fall craft with the kiddos, enjoying a cup of hot apple cider while you do it!
With this fall craft, we have the free leaf printables ready for you to print out. With some tissue paper, contact paper and some other basic supplies, your kiddos can make this colorful leaf to display. They’ll be so proud of themselves!
Easy Fall Craft for the Kiddos
WHAT YOU NEED:
tissue paper (this pack is great because you get all the fall colors!)
clear contact paper
cardstock
free printable maple leaf pattern
free printable oak leaf pattern
free printable elm leaf pattern
ruler
scissors
Start by printing out your leaf patterns. (Print on cardstock)
There are two pages per leaf. You’ll see a front and back for each one.
You can find the the patterns here:
maple leaf pattern
oak leaf pattern
elm leaf pattern
Easy Fall Craft for the Kiddos
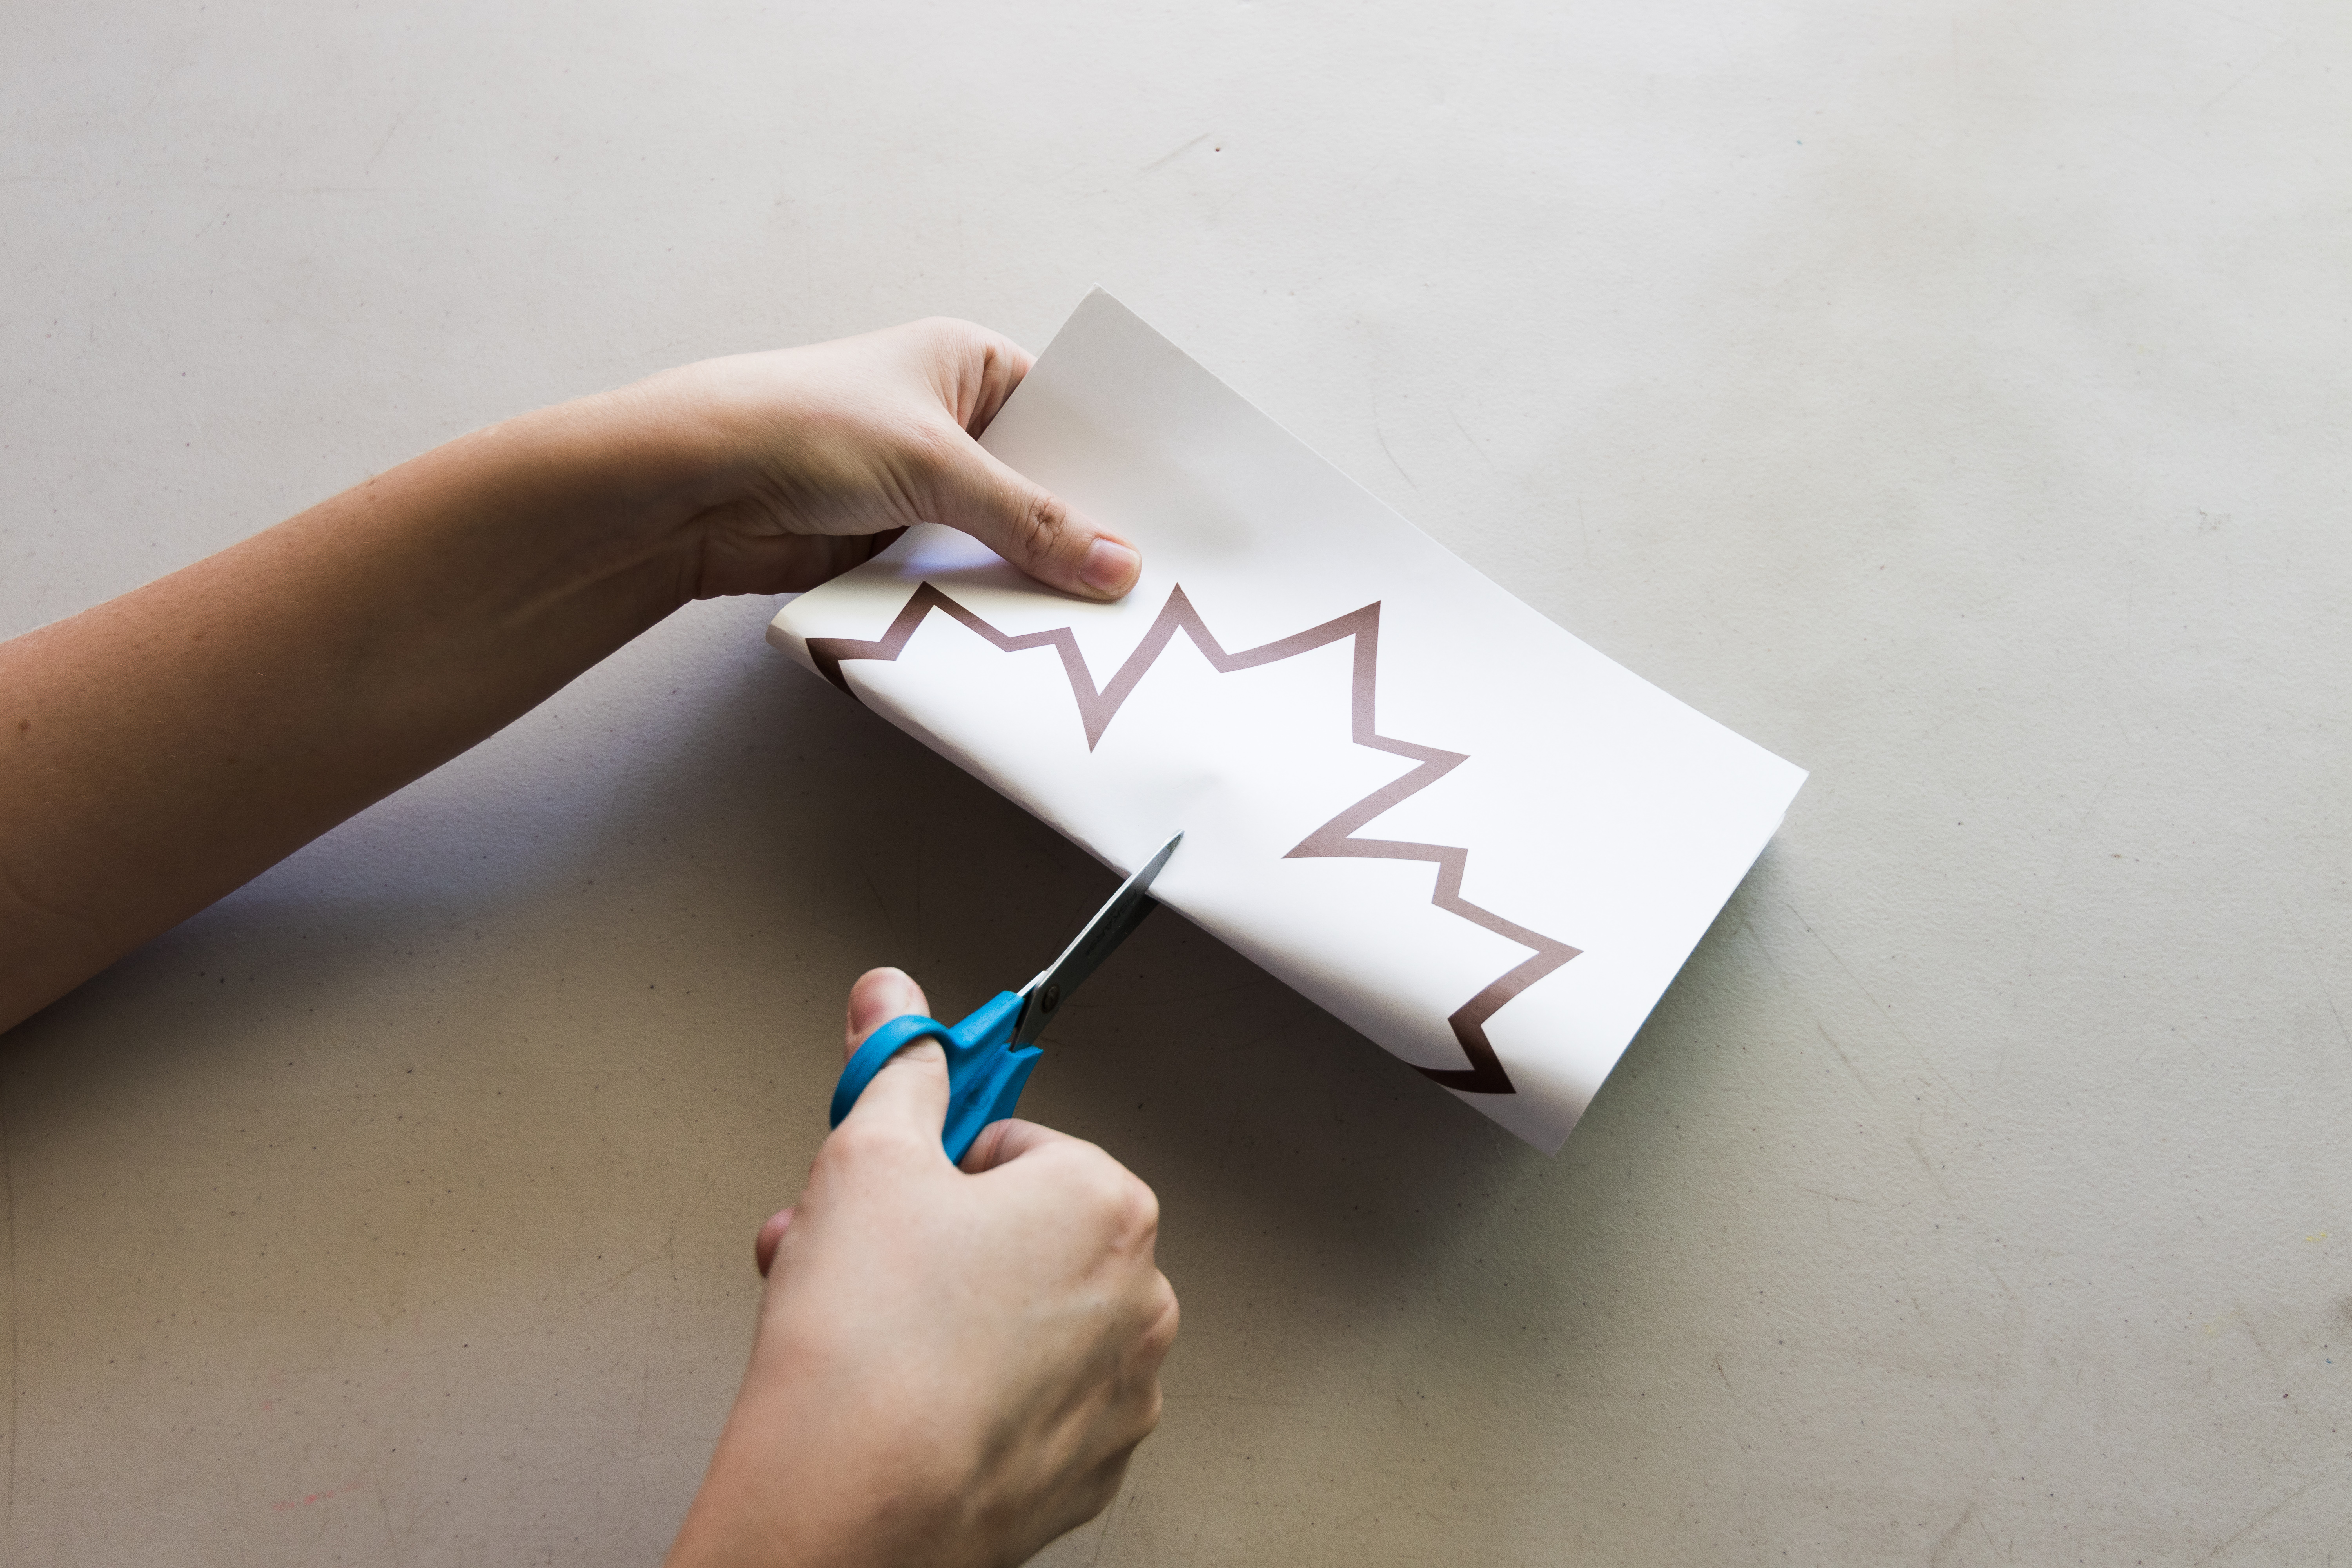
Next, cut out the center of each leaf, like shown in the picture below. Don’t worry, it doesn’t take long! You can always make the center cut to get it started and have the kids finish the cutting.
Cut up whatever colors of tissue paper you want to use into small squares. (They don’t need to be exact squares!) I like to take a sheet (or 2) of tissue paper and fold it over lots of times, to make cutting the squares SUPER FAST!
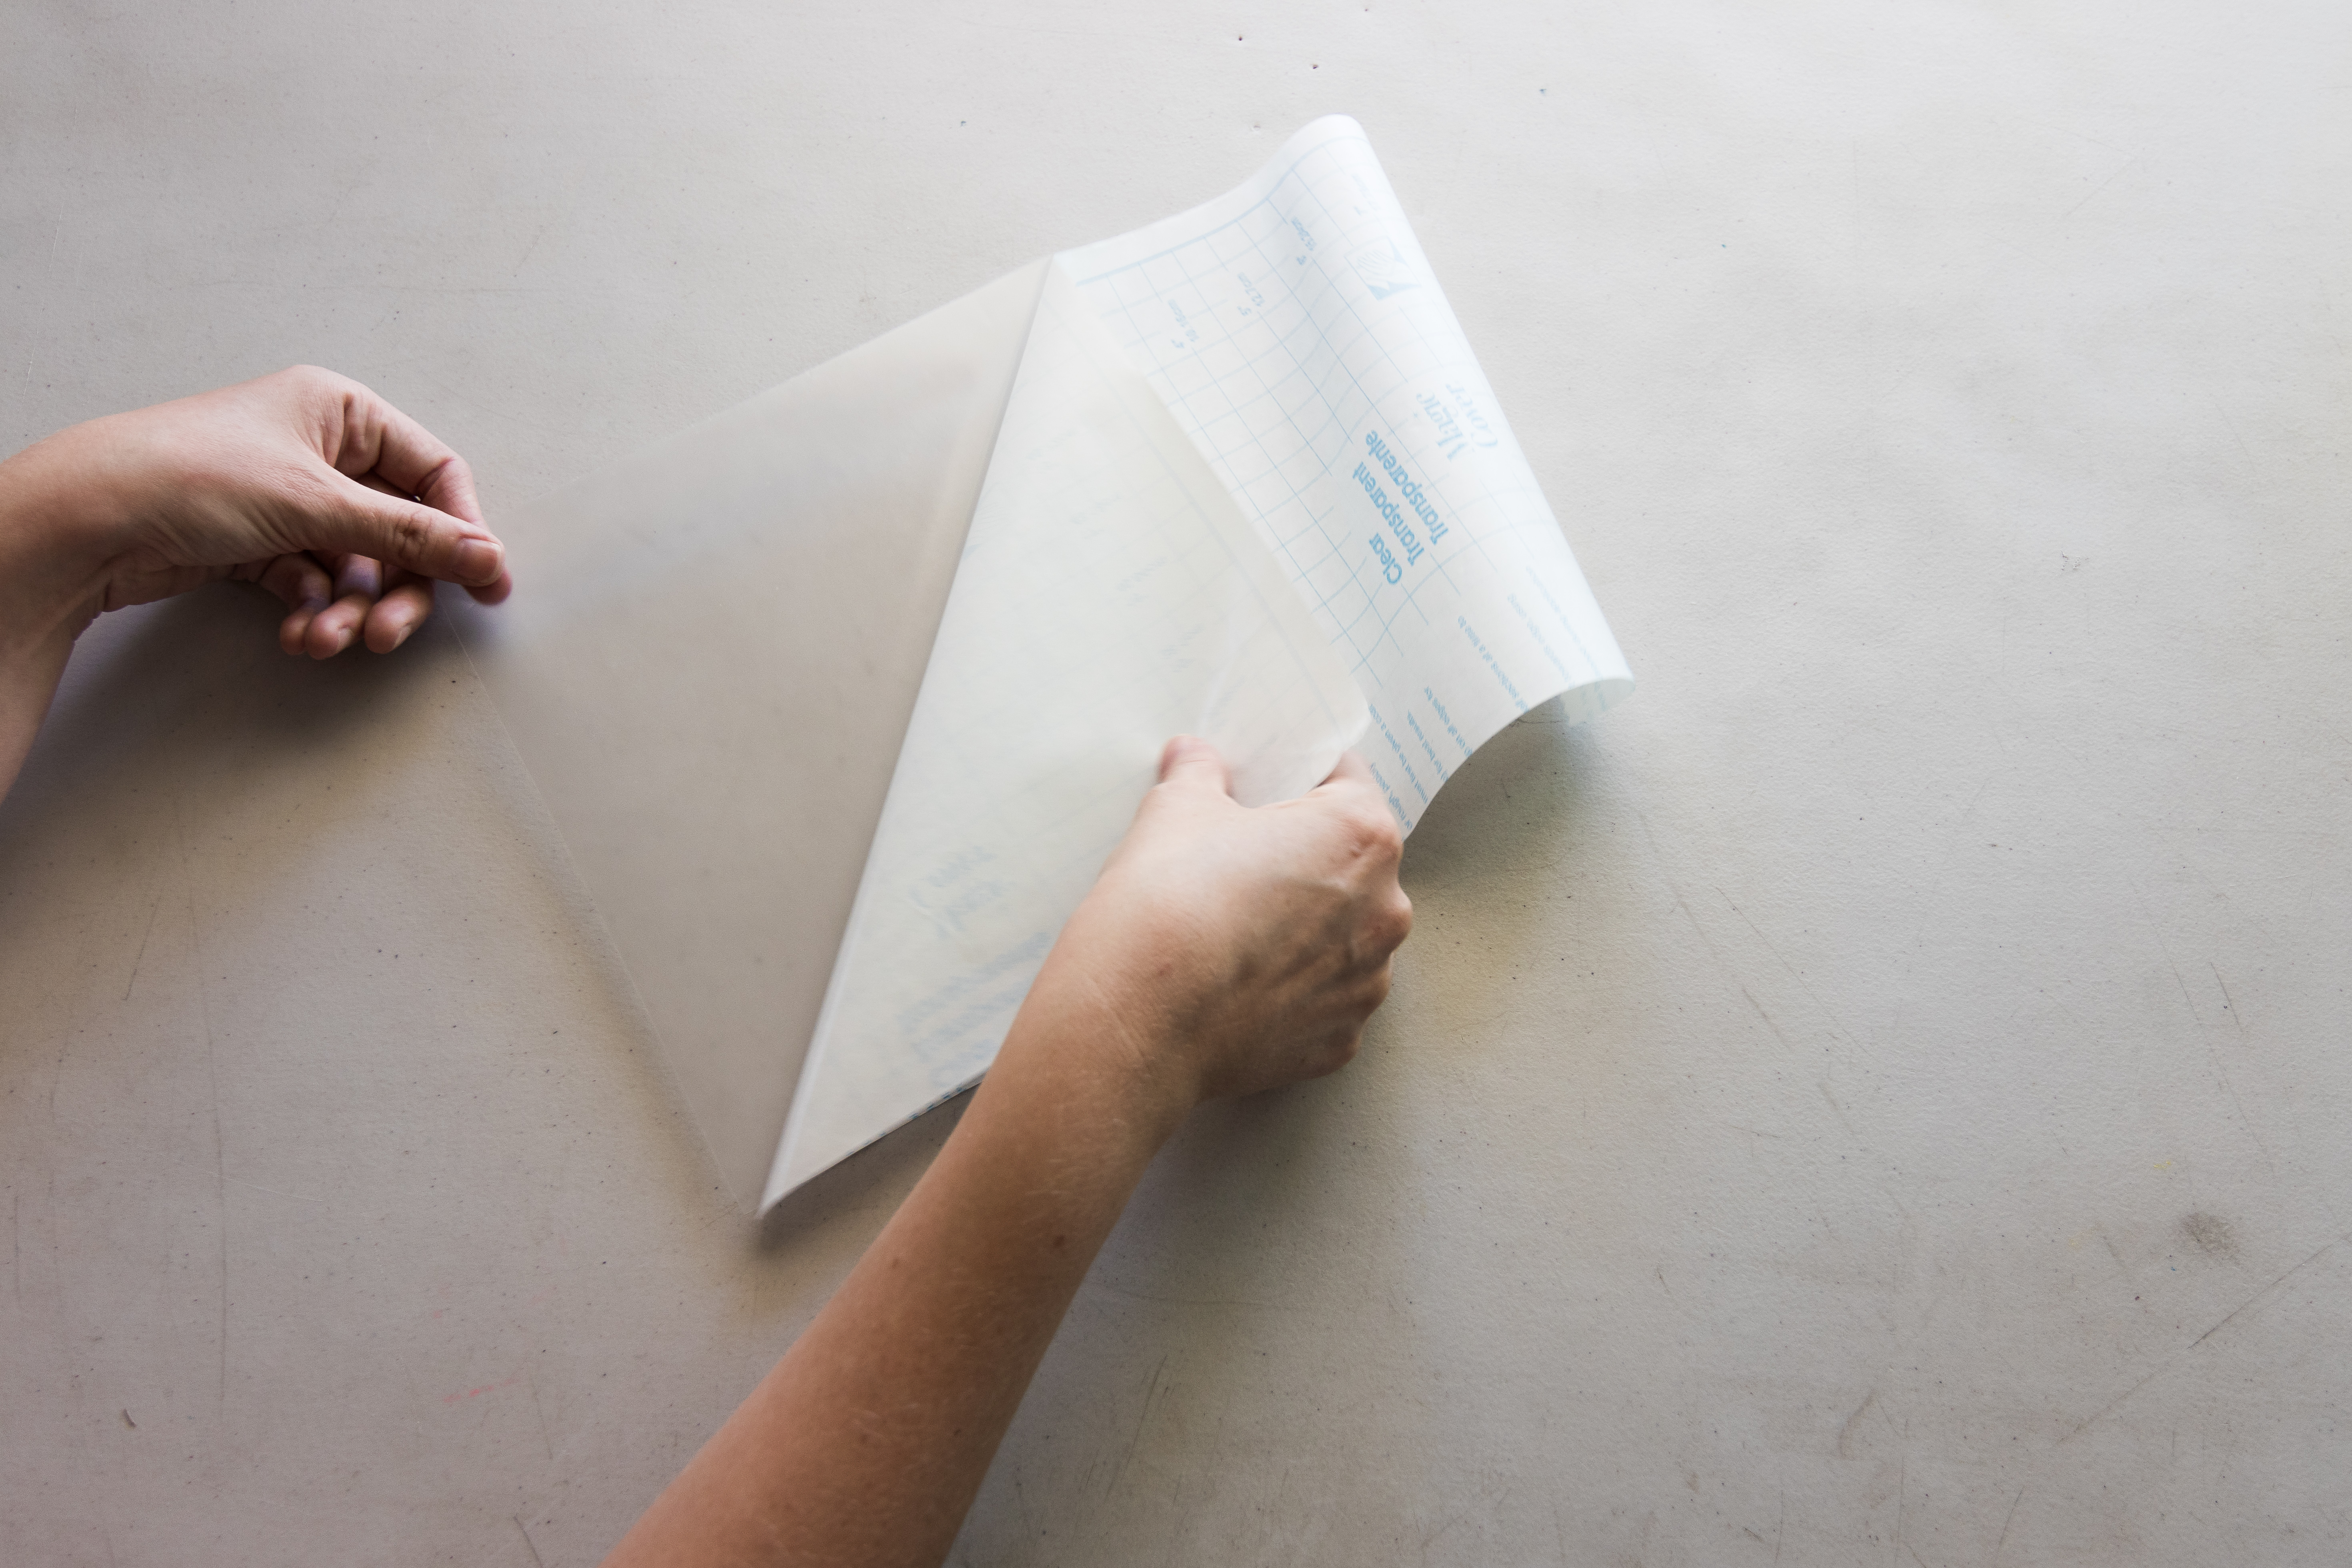
Next, cut a piece of clear contact paper slightly larger than your paper. Some excess is good! And you might as well cut a second while you’re at it. You’ll need the second piece at the very end.
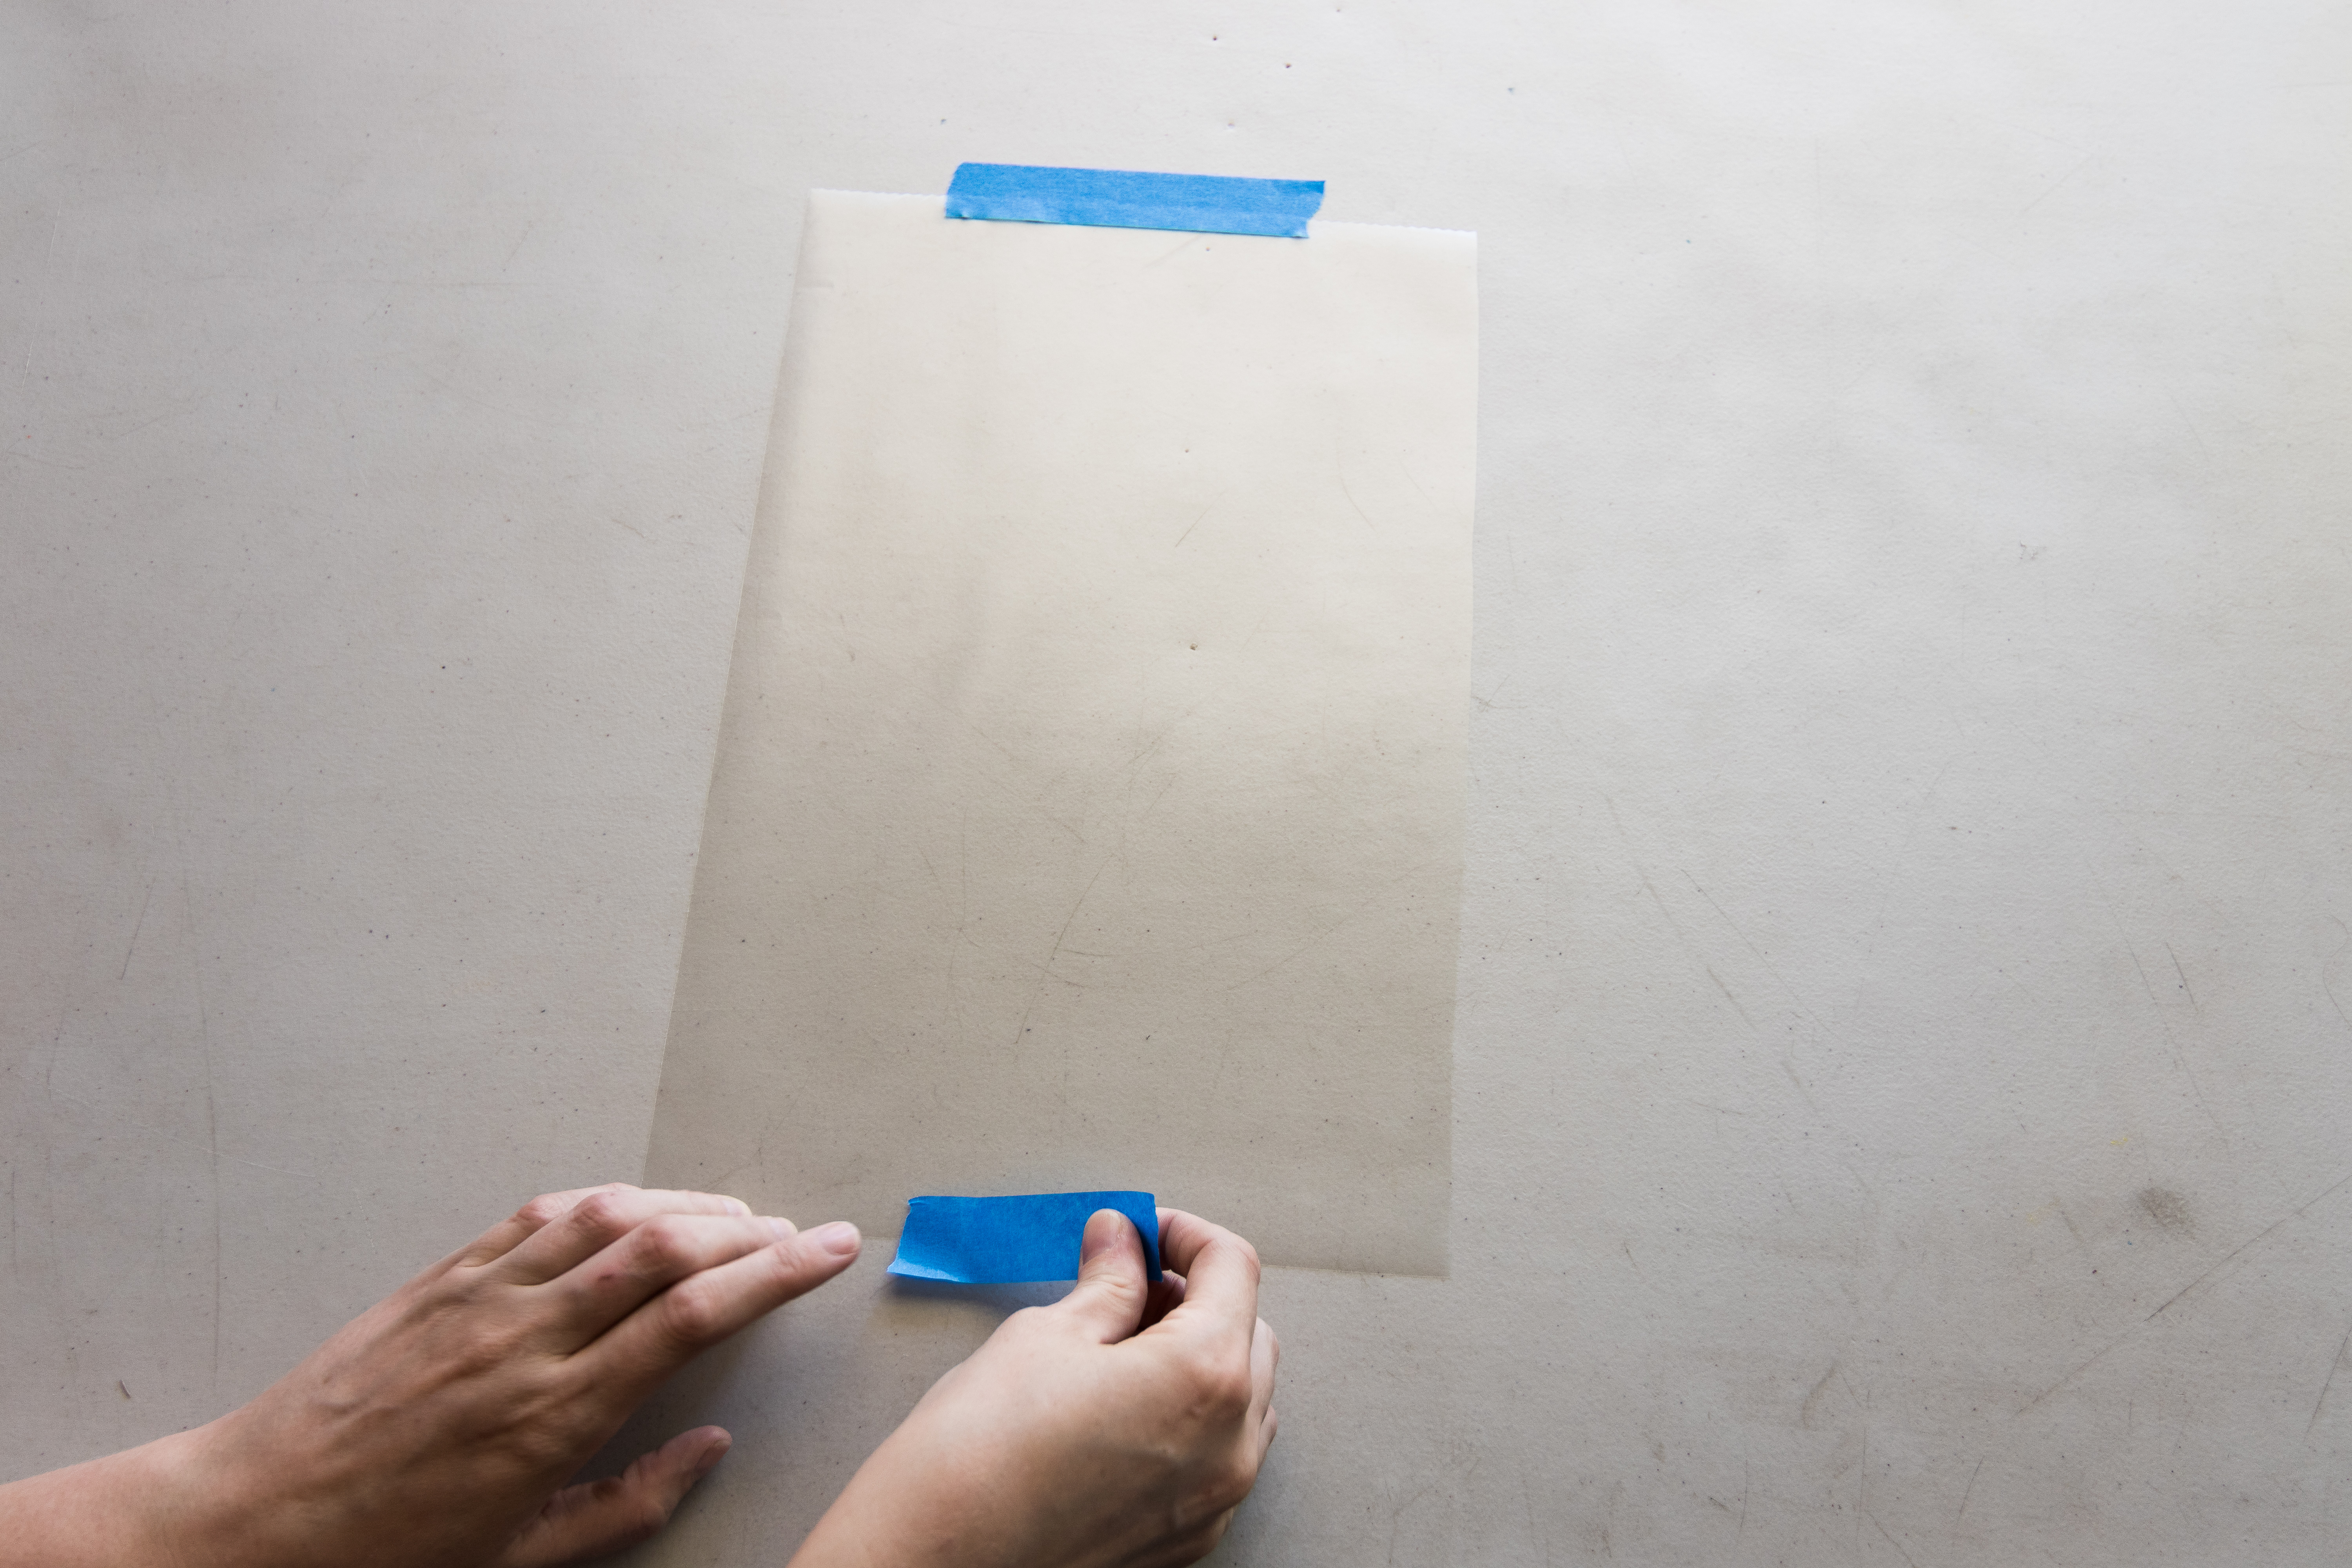
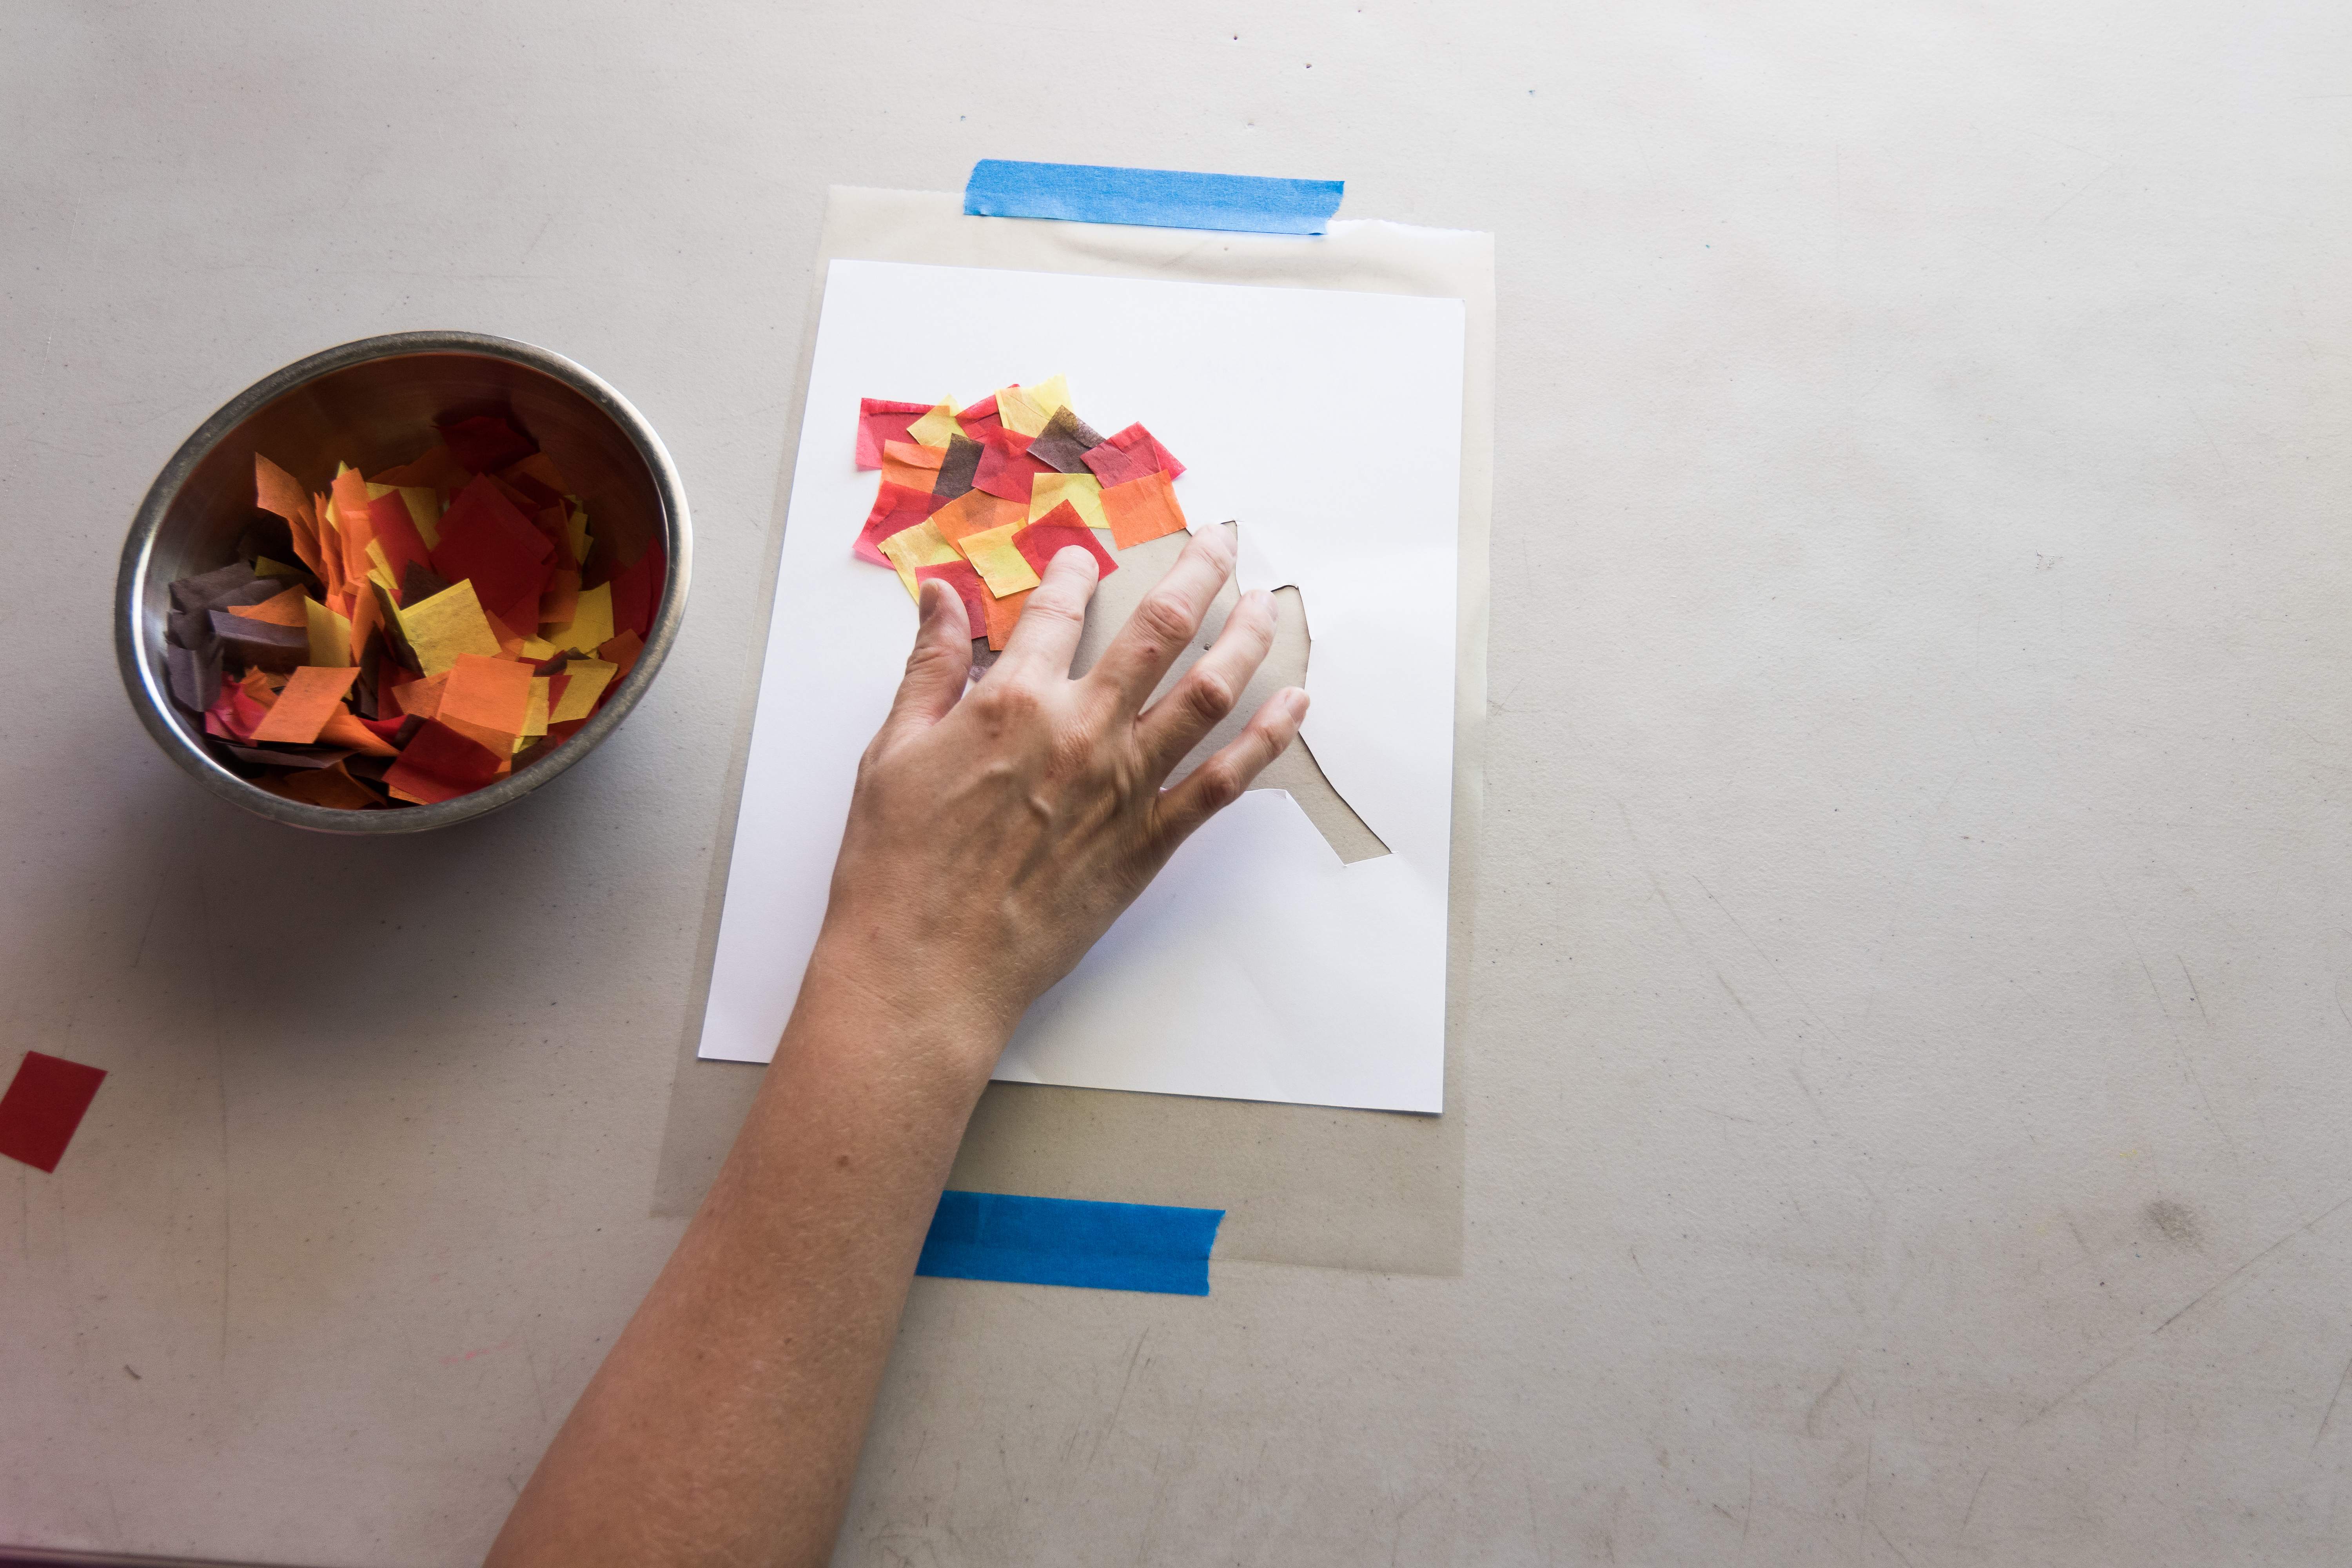
Peel off the backing paper. I’ve found that it’s easiest for kids to work on this craft if you tape the sticky contact paper to the table (sticky side up) while they’re working. That way it’s not moving all around the place! So, just put a piece of masking tape at the top and bottom of the contact paper.
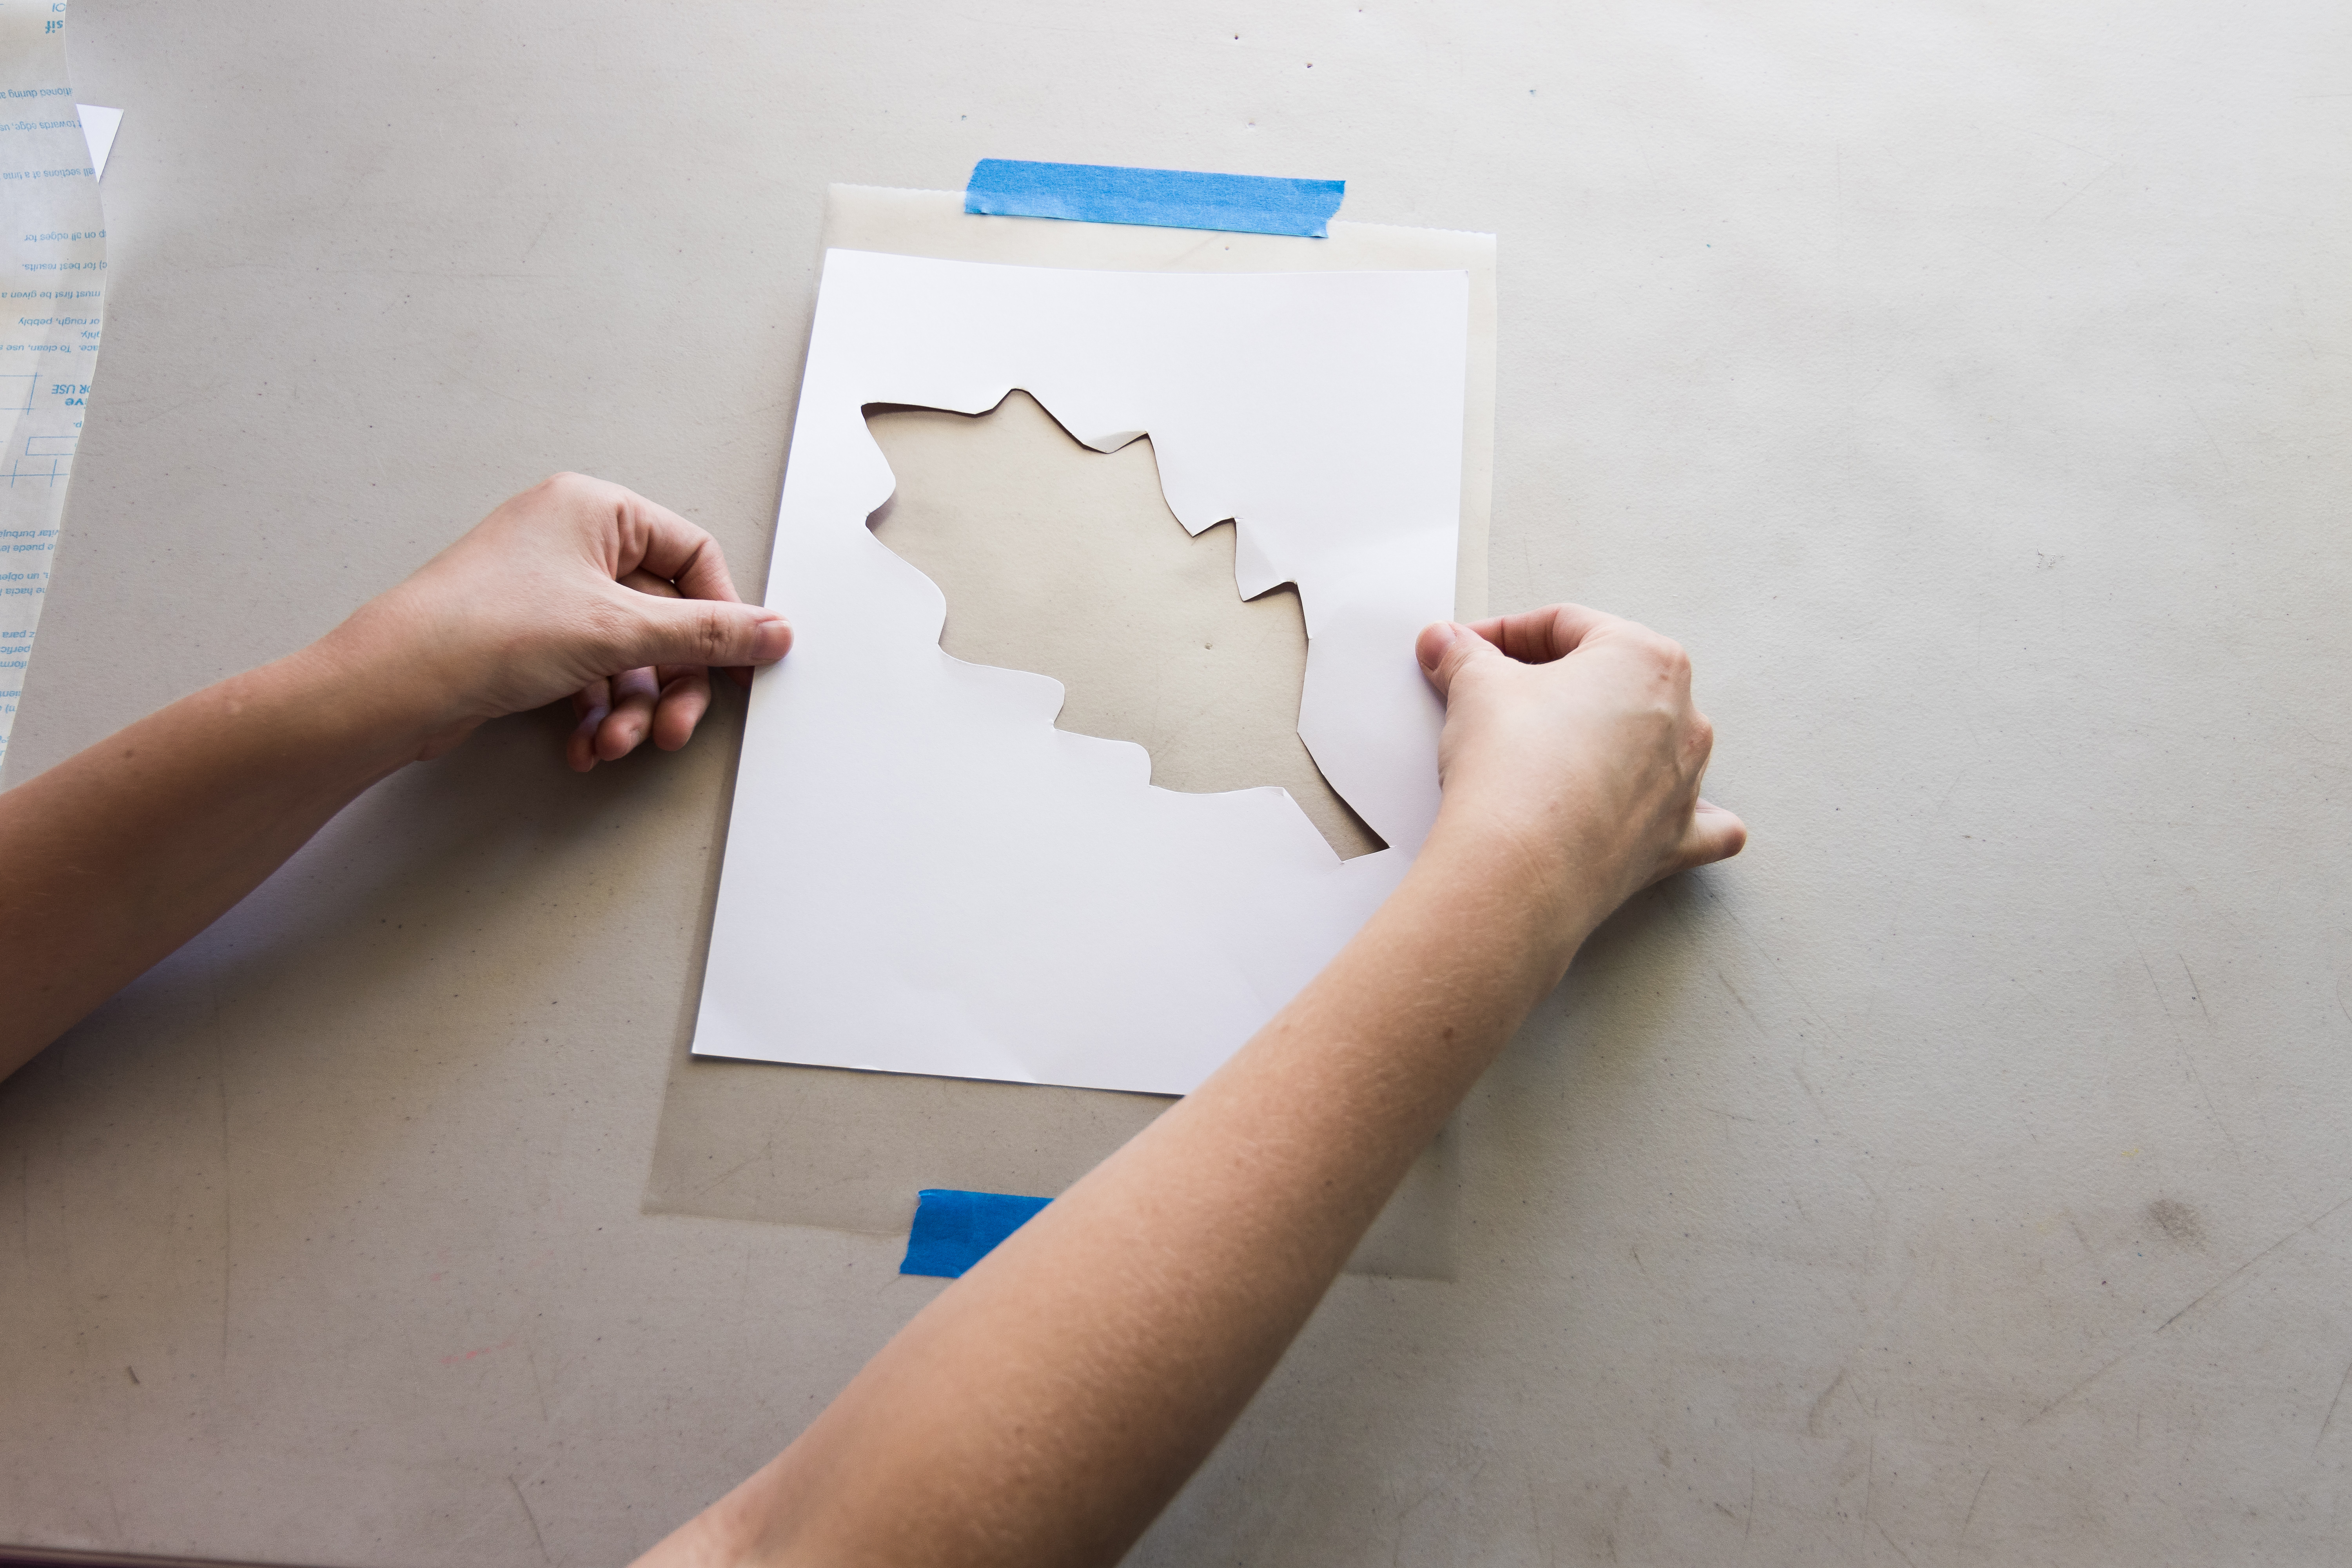
Set one of the leaf papers (the one you cut the center out of) directly onto the sticky contact paper. Place it RIGHT SIDE (colorful side) DOWN.
Then, start filling in the center of the leaf with small squares of tissue paper. Overlap them to get the best look. Choose different colors for the different leaves for different looks!
And, don’t worry if it extends over the edge of the leaf. After you put the second leaf on, you won’t see any of it.
After it’s all filled in with colorful tissue paper, take the second leaf (the one you cut the center out of), put some glue on it and set it directly on top of the other one. Place it RIGHT SIDE UP (colorful side up). Line it up so it matches the other one. (Sorry, this post was done before the printable was finished, so just picture it with the colorful leaf border RIGHT SIDE up here.)
Take your second sheet of clear contact paper.
Peel off the backing paper.
Carefully set it on top of the whole thing. (sticky side to sticky side)
—-TIP—-I like to just let it contact at the top (sticky to sticky), then I take my ruler and slowly and carefully smooth the rest down while I’m peeling away the rest of the paper as I go. This will avoid getting it full of wrinkles! And, you have more control this way.
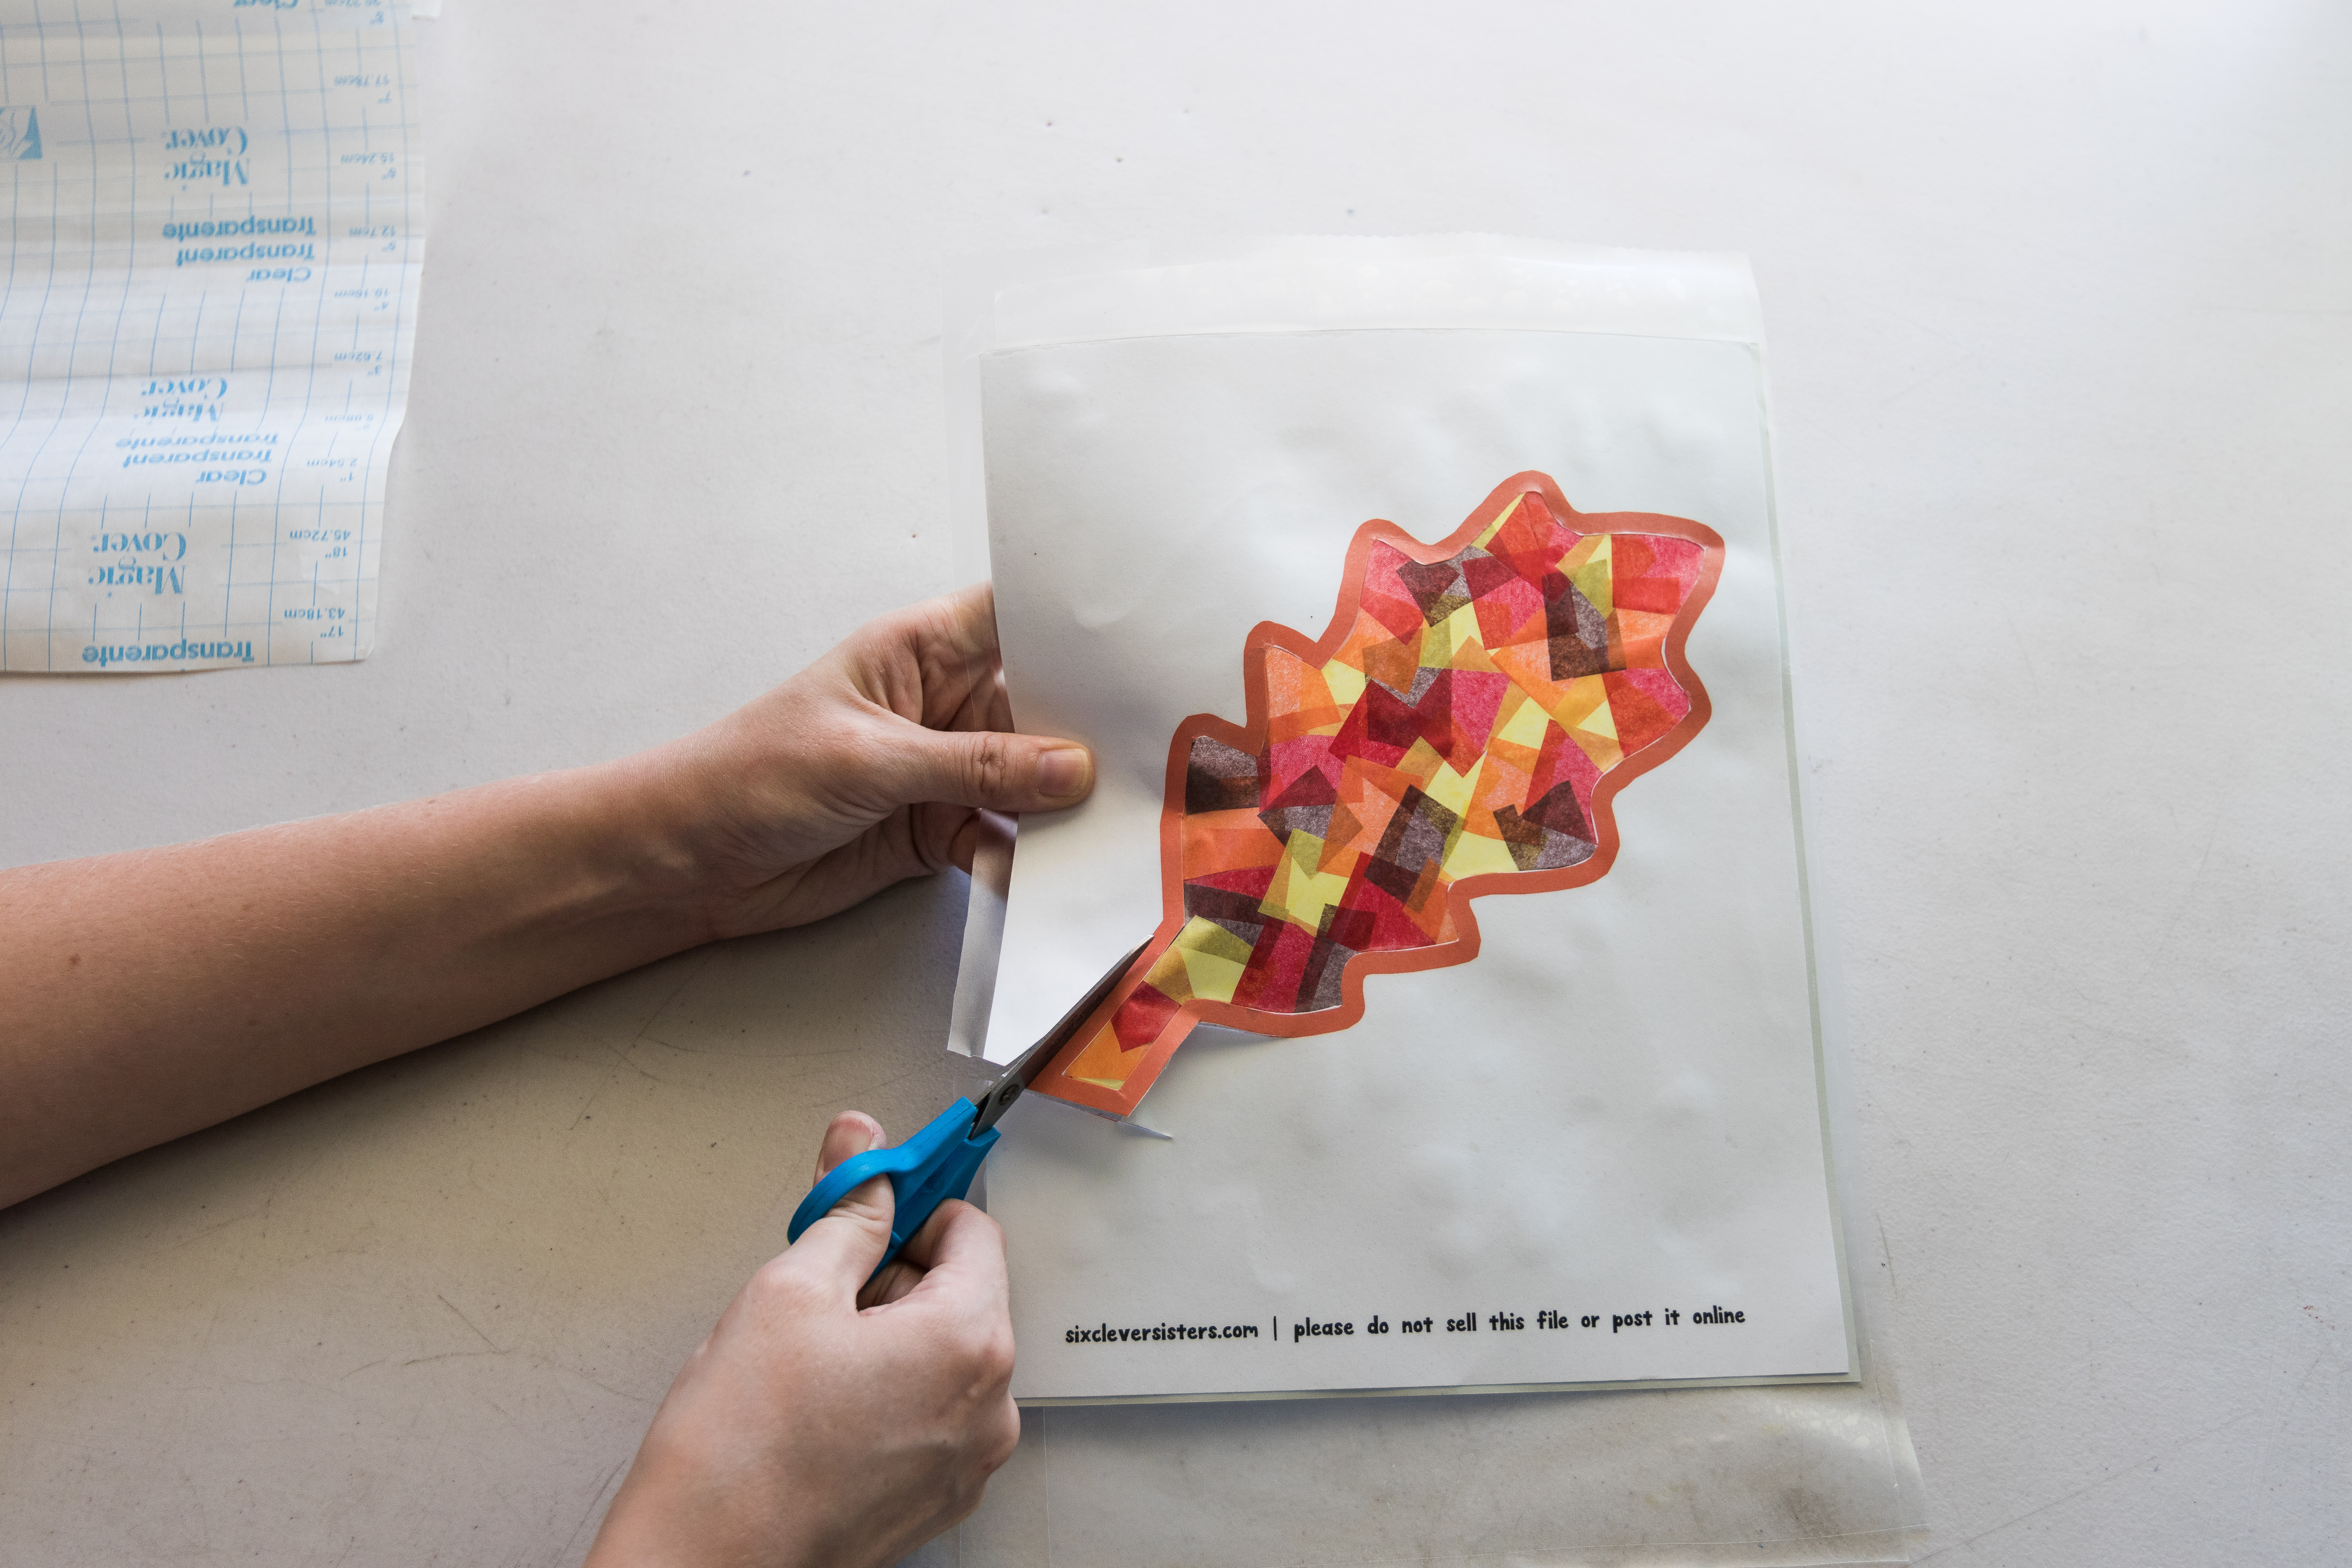
Lastly, cut around the whole thing so it’s the shape of a leaf.
Hang it in a window to let the sun shine through it, and let the kids enjoy seeing their craft on display!
You can punch a hole in the top, put some string through, and hang it in the window using one of these suction cup hooks.
Hope you enjoy this easy fall craft for the kiddos. 🙂
NEED SOME MORE FUN KIDS’ CRAFT IDEAS? WE’VE GOT SOME YOU’RE SURE TO LOVE!


