Fabric Flower Tutorial
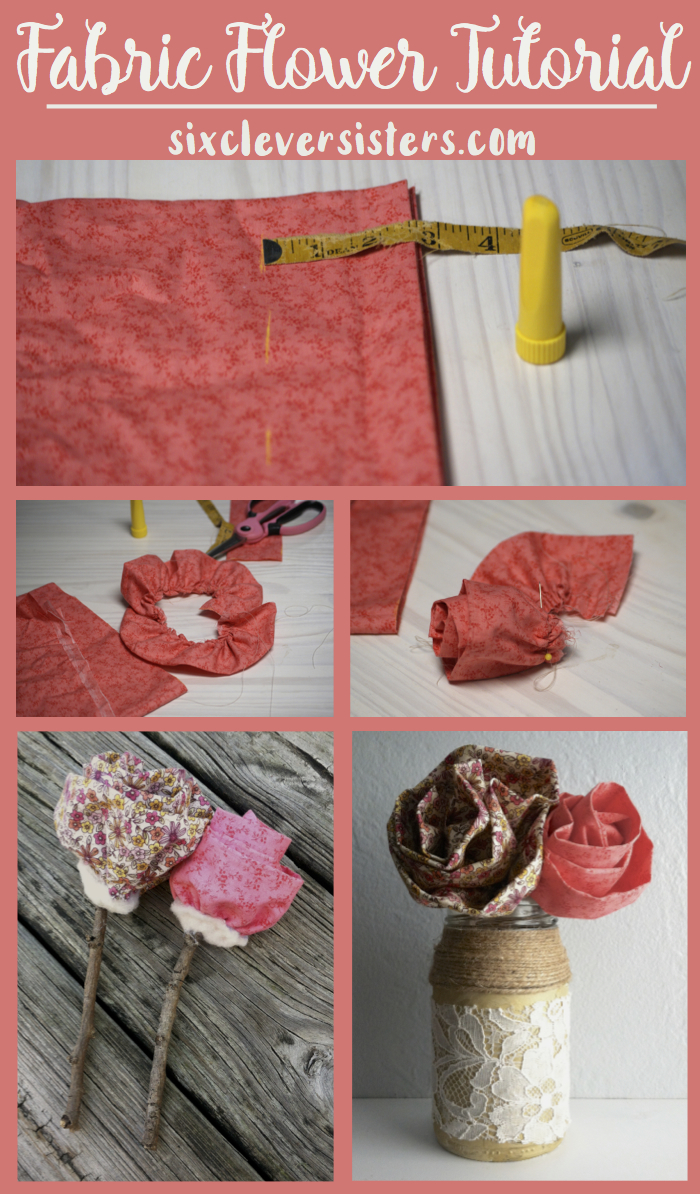
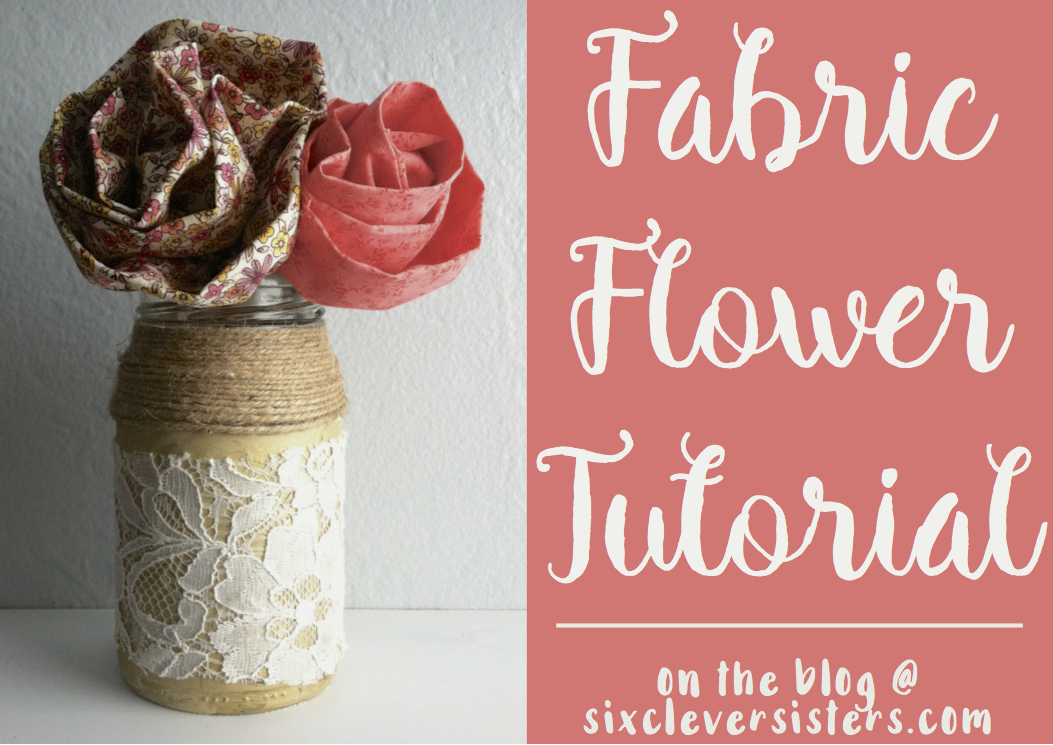
Hey everyone! Remember my DIY Flower Jar post I did a while back? Well, I decided to try to copy the Jo-Ann Fabrics flower that I used in that post and I’ve got it documented here in a step-by-step Fabric Flower Tutorial for you! Grab some scrap fabric and let’s get started!
What you’ll need for this easy project:
-
a scrap of fabric (for a 5″ x 28″)
-
sewing thread
-
a sewing needle
-
a 2″ x 2″ circle of felt or batting
-
a hot glue gun (and hot glue sticks 🙂 )
-
a stem (I used a small branch)
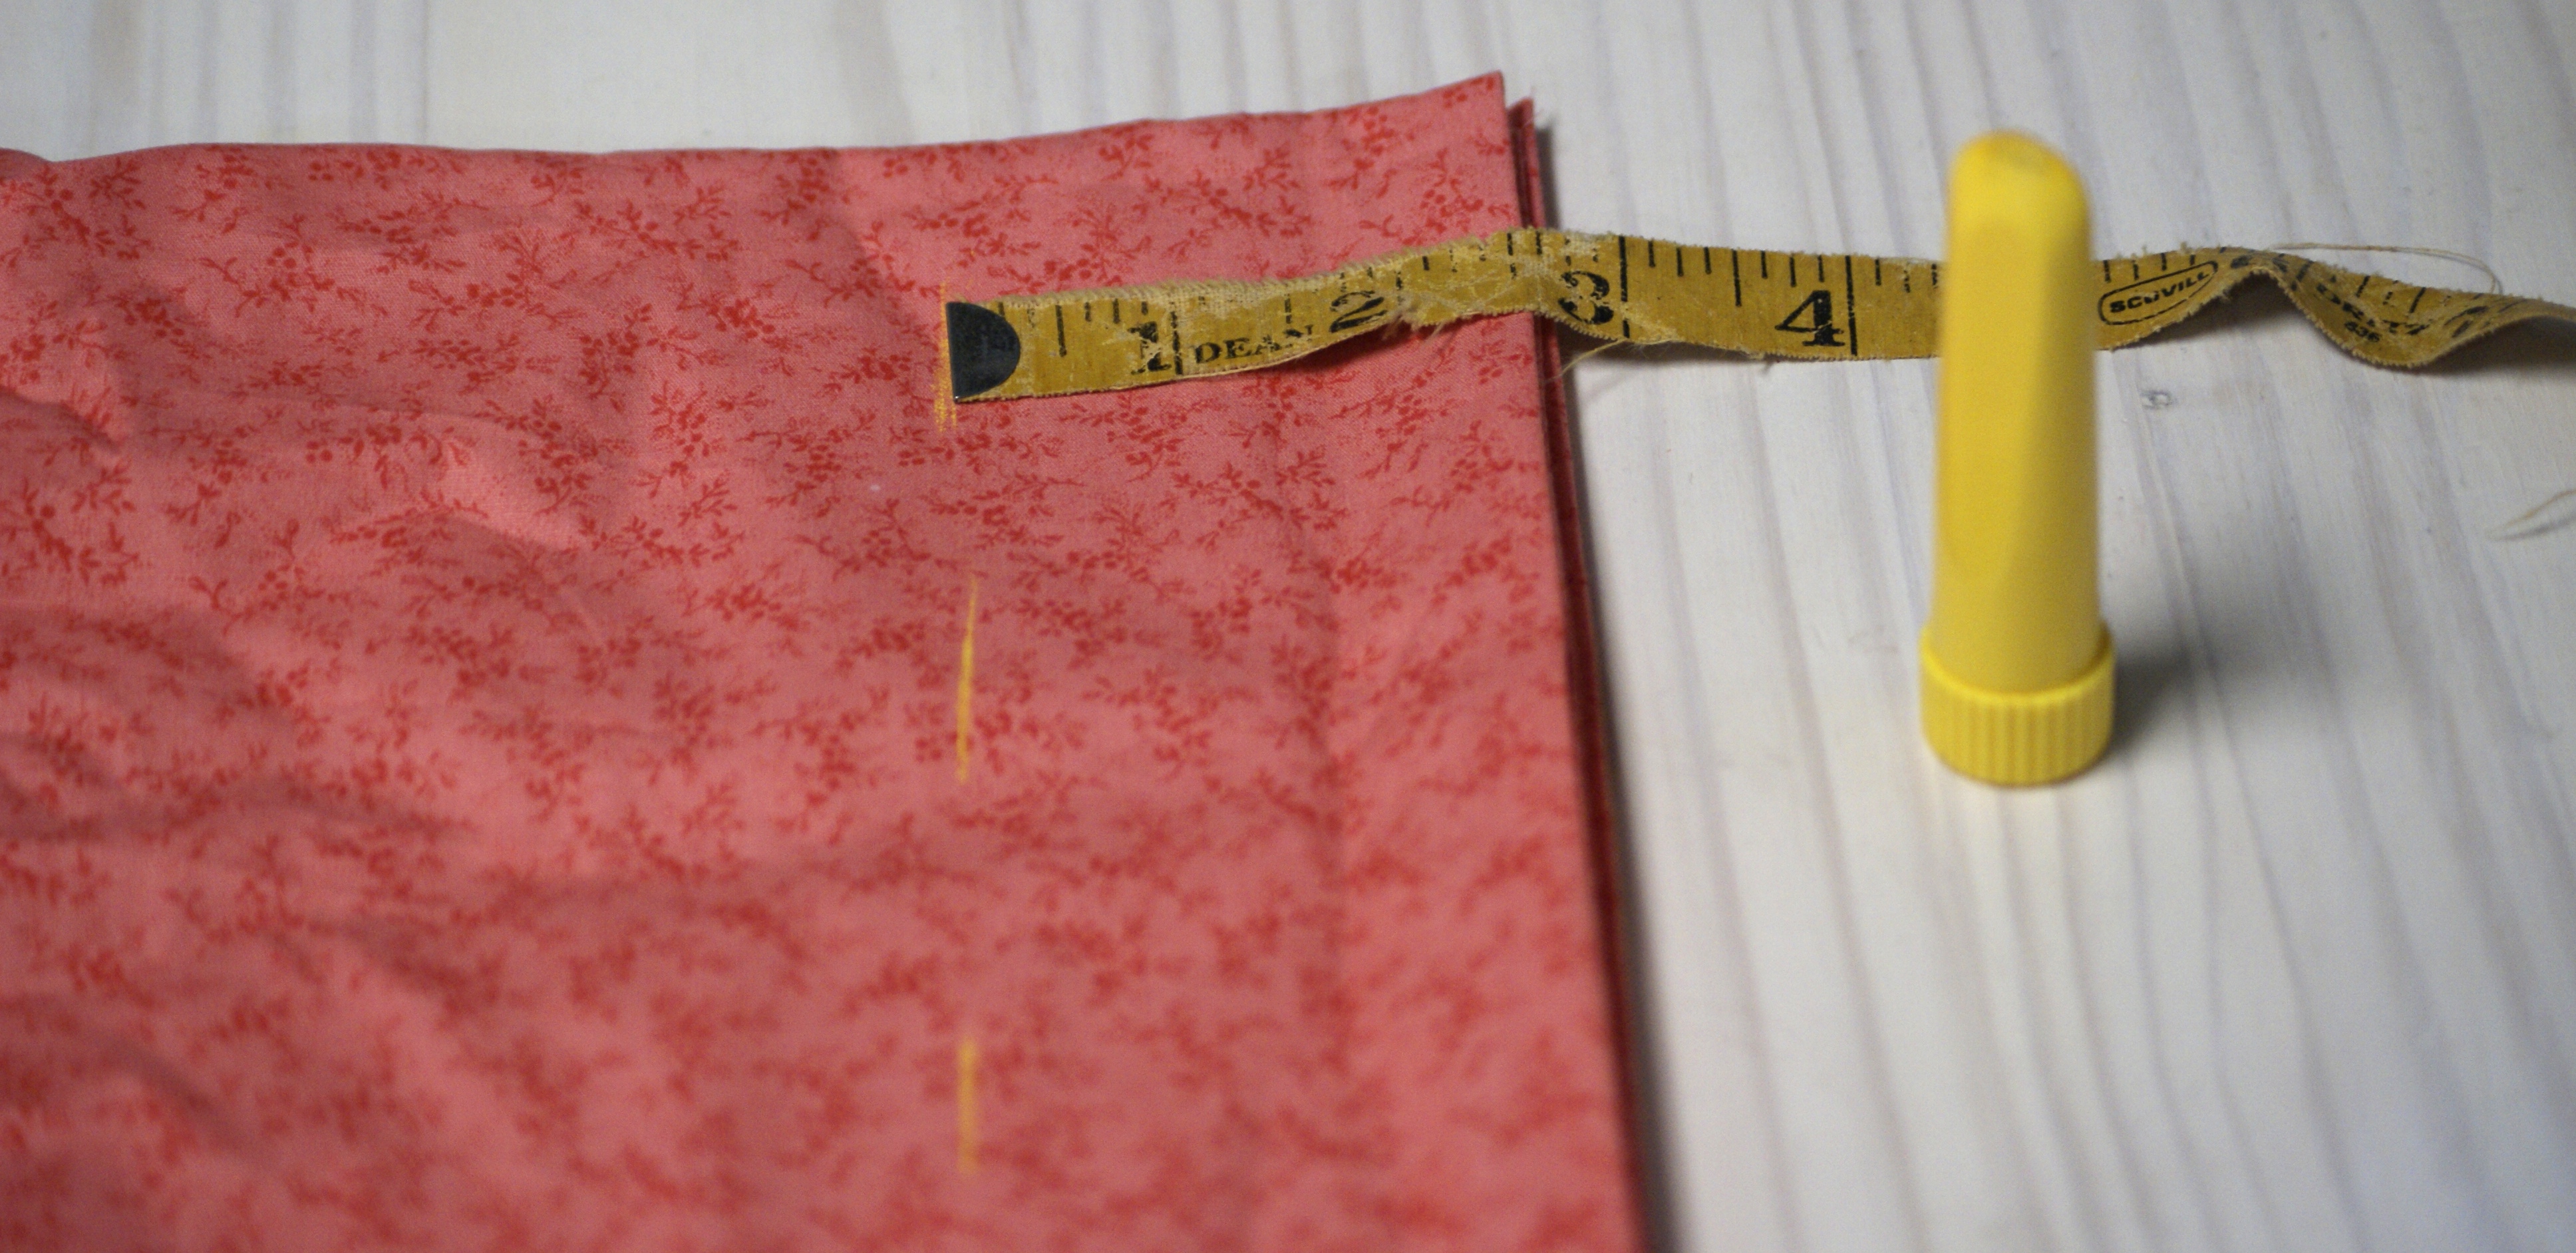
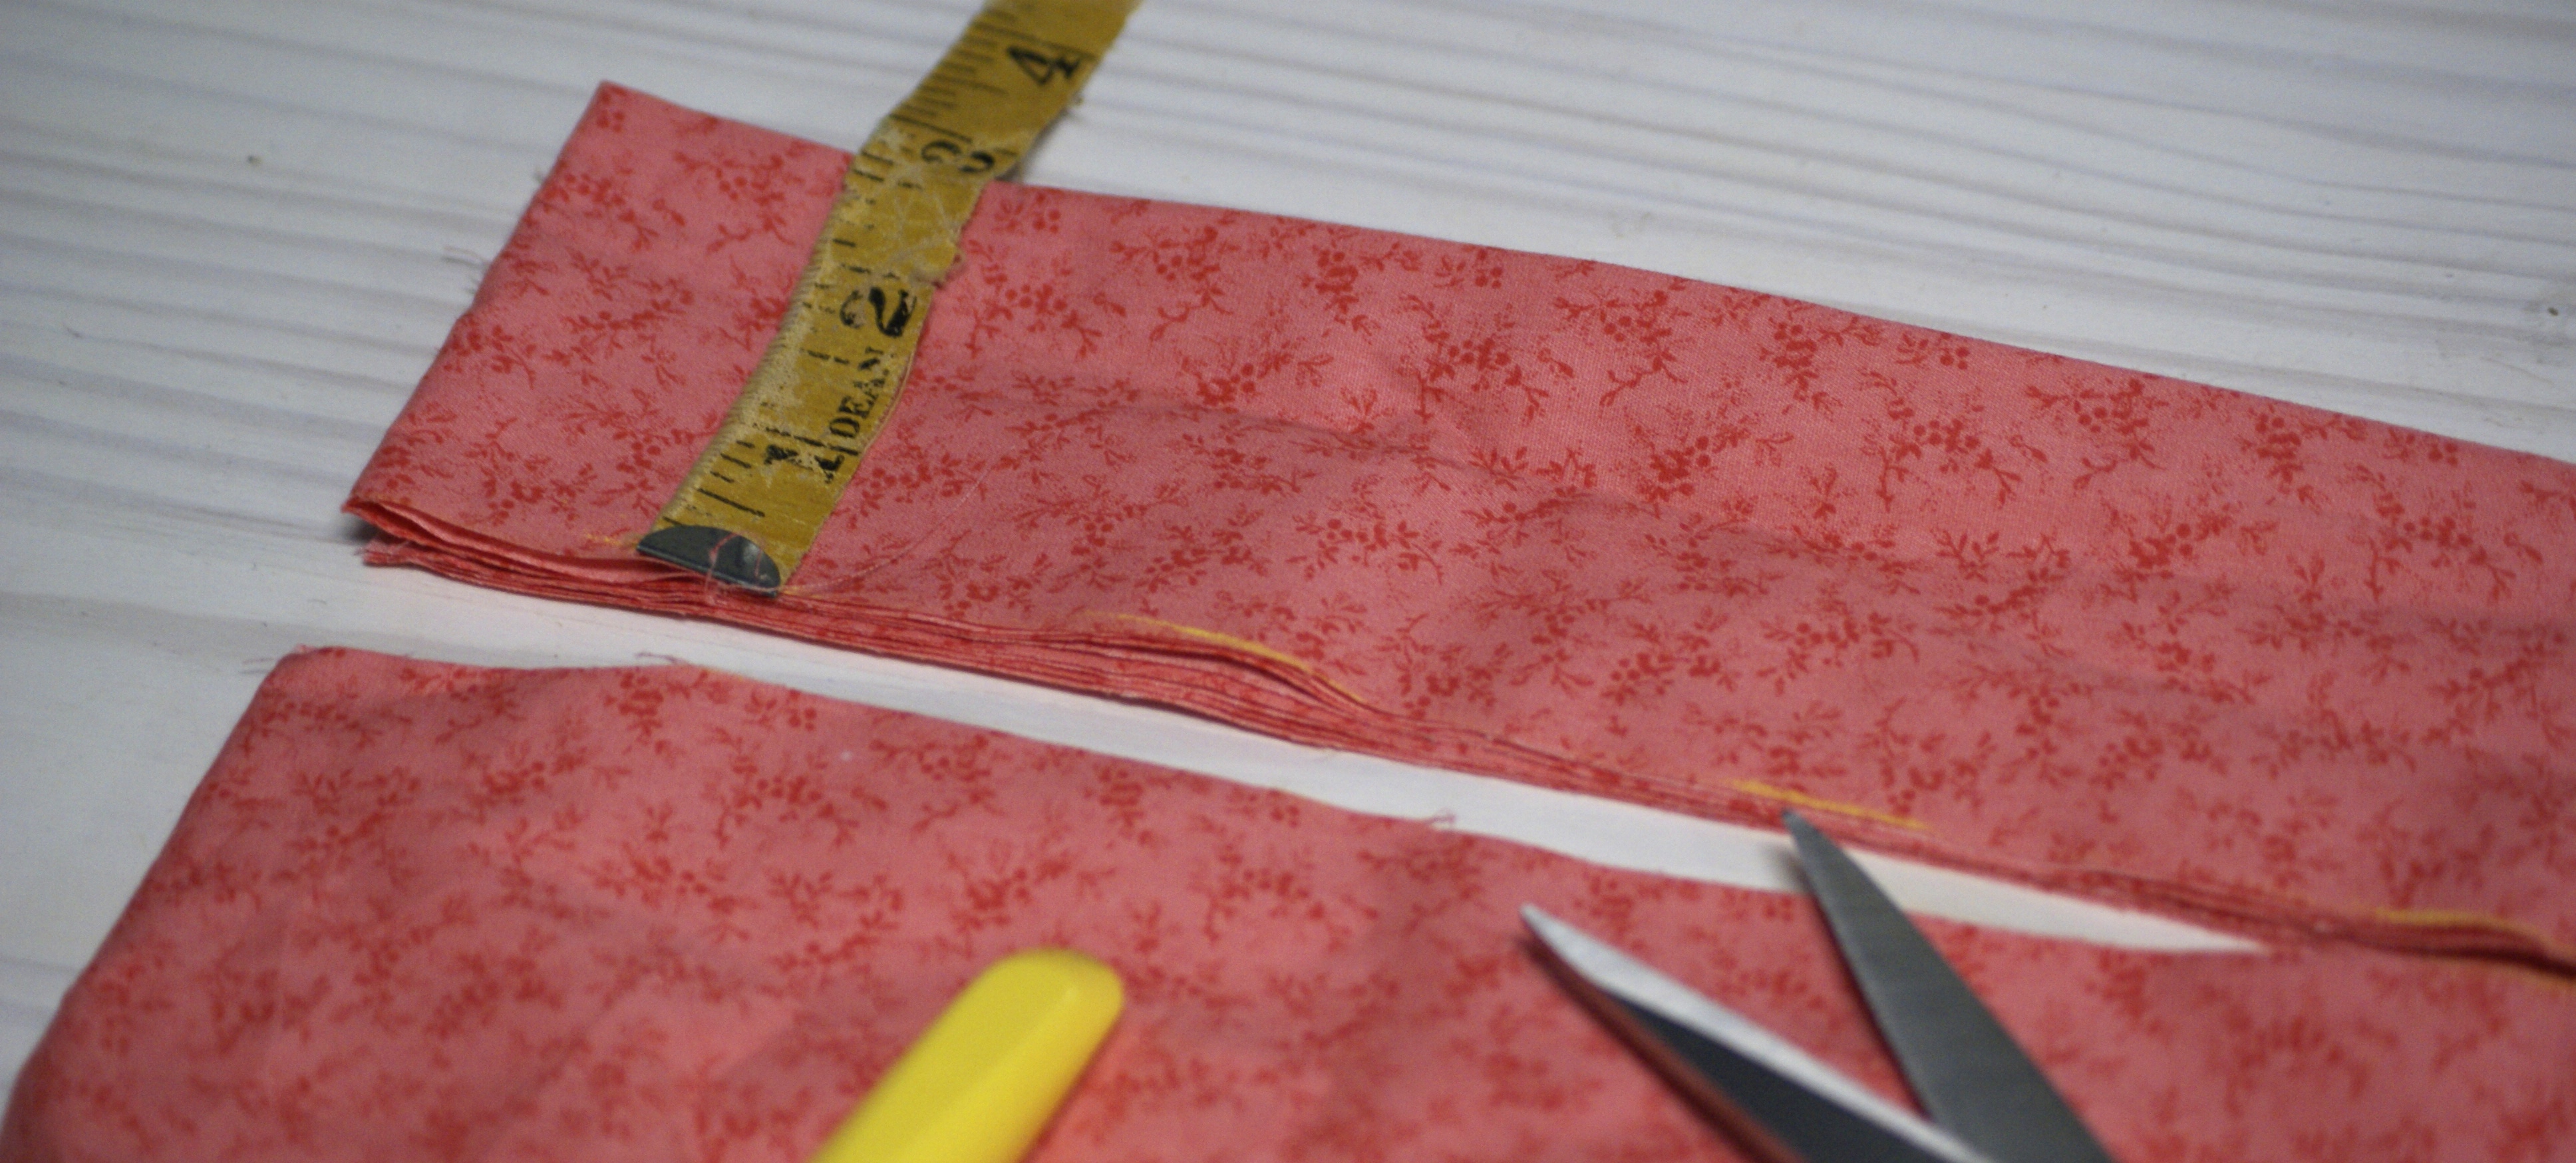
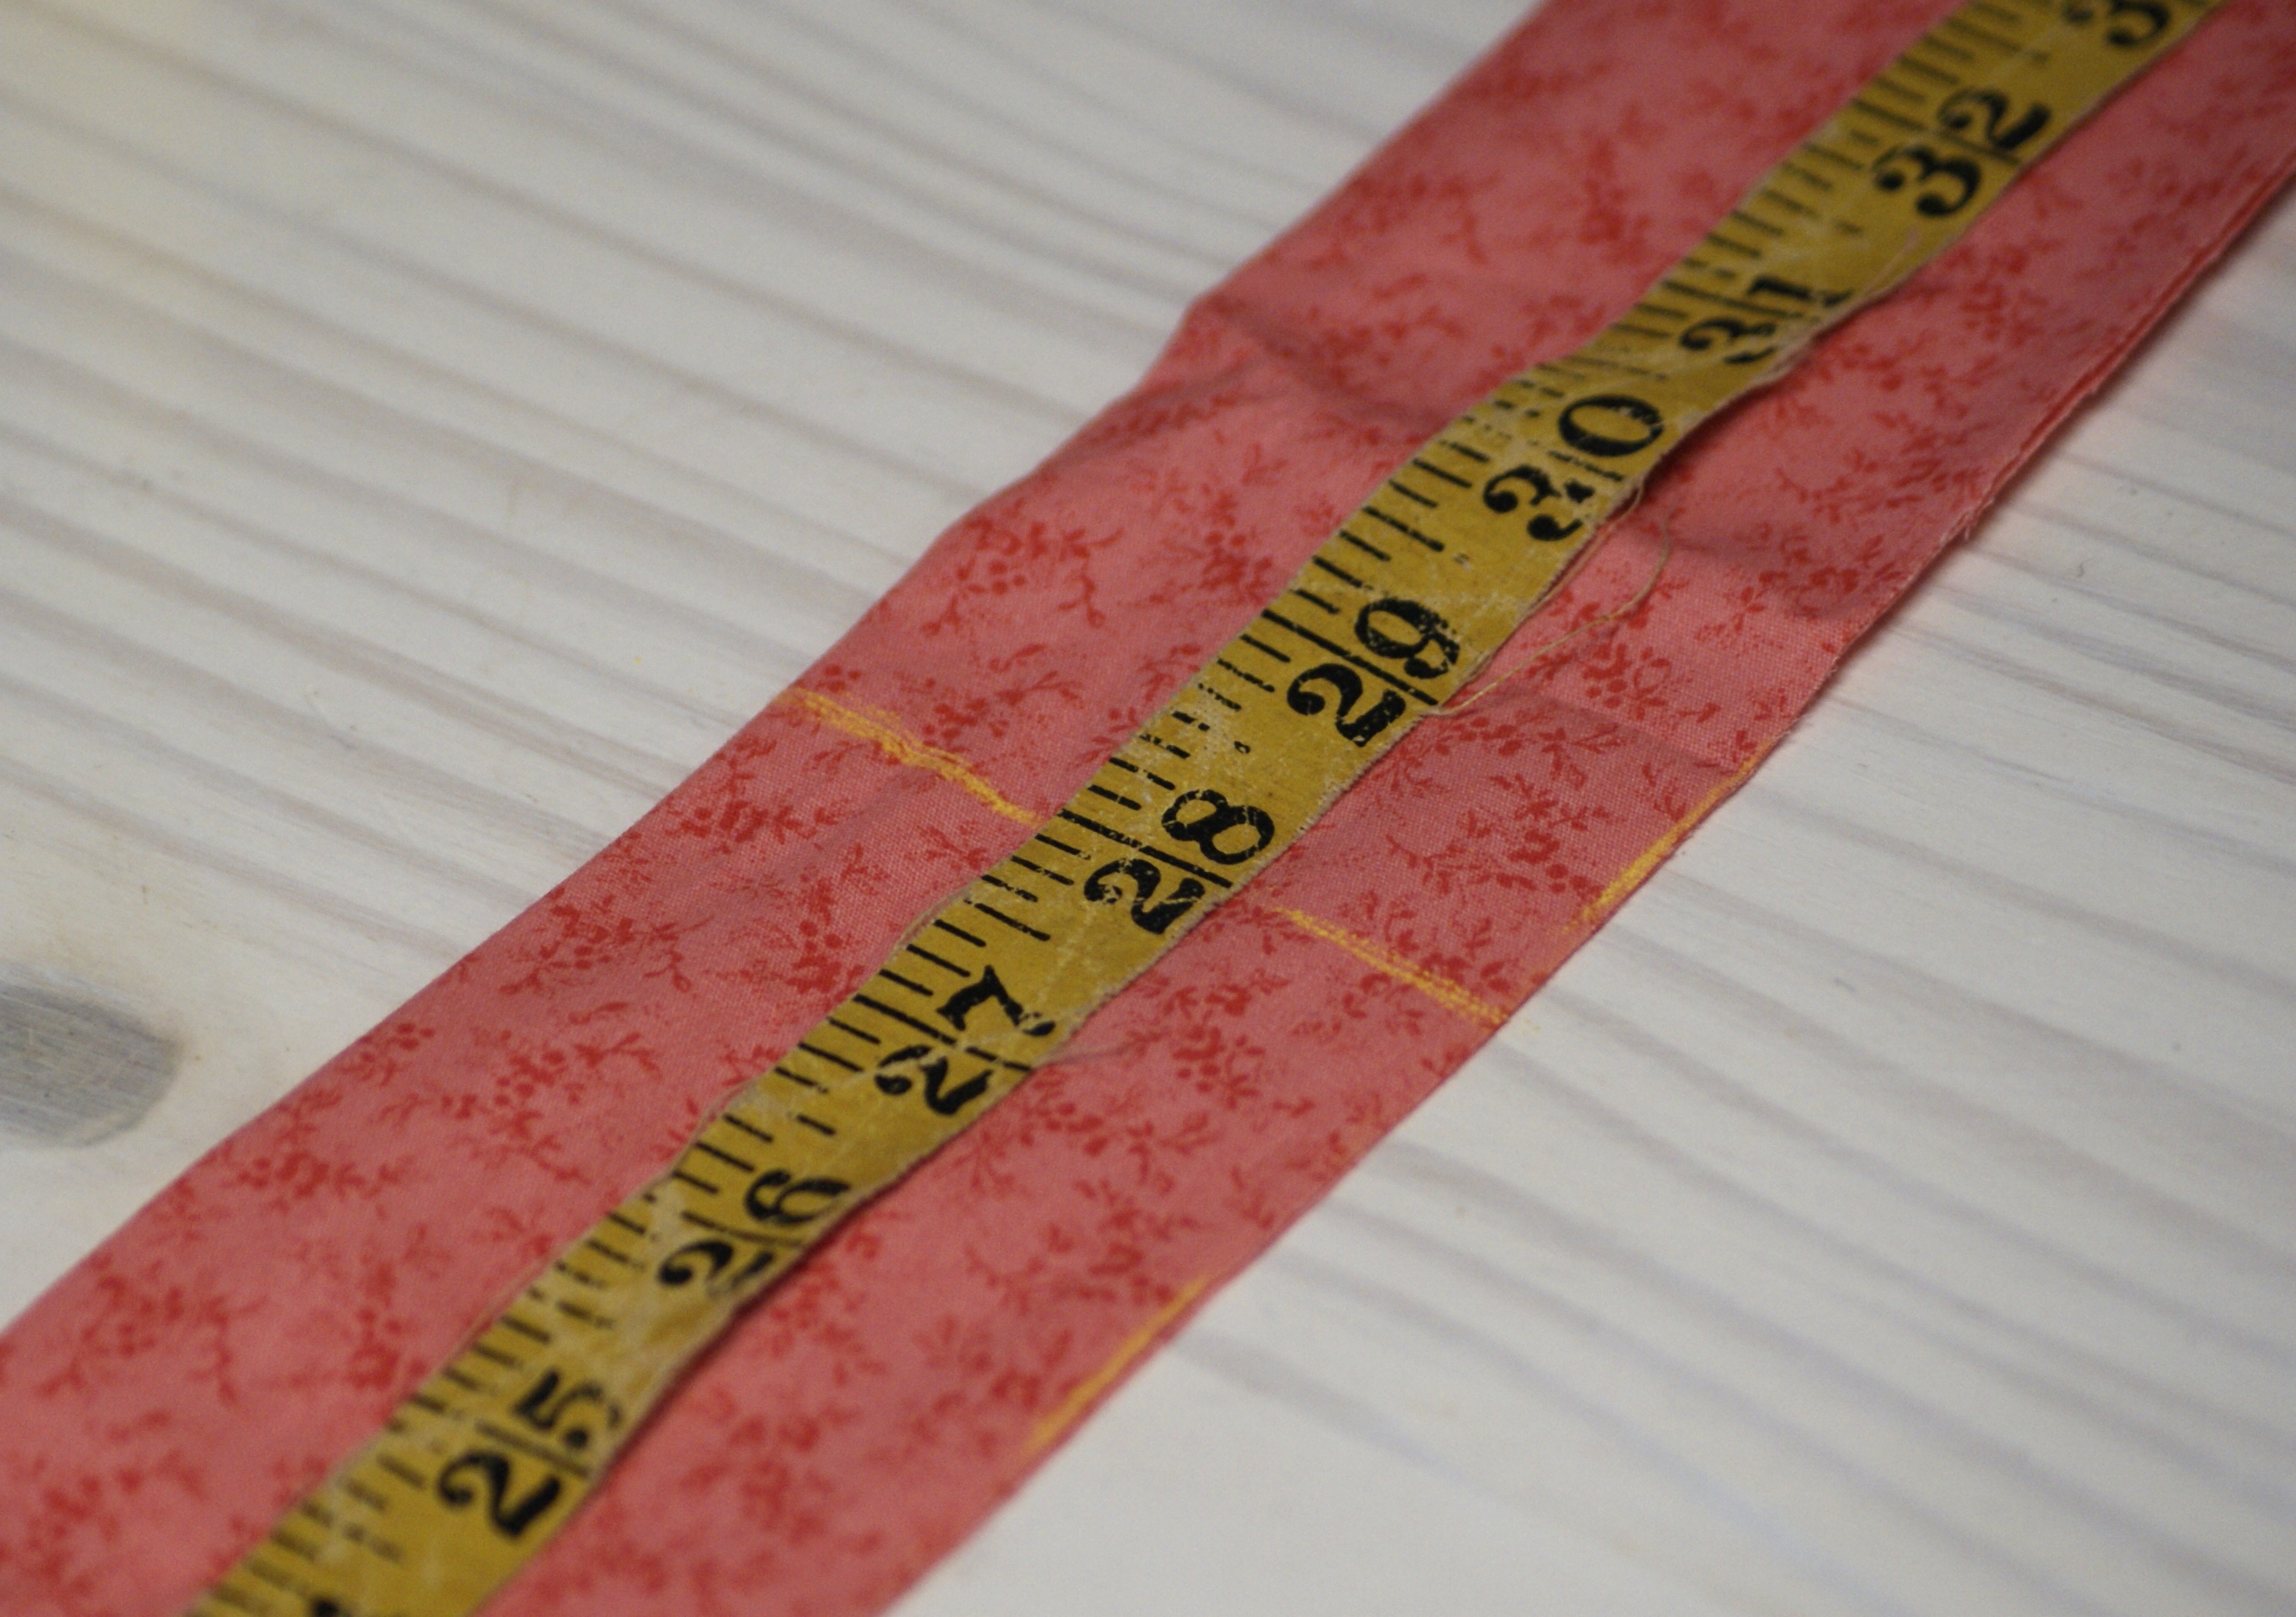
To start off with, you’re going to cut a strip of fabric 2 1/2″ wide on the fold and 28″ long . . .
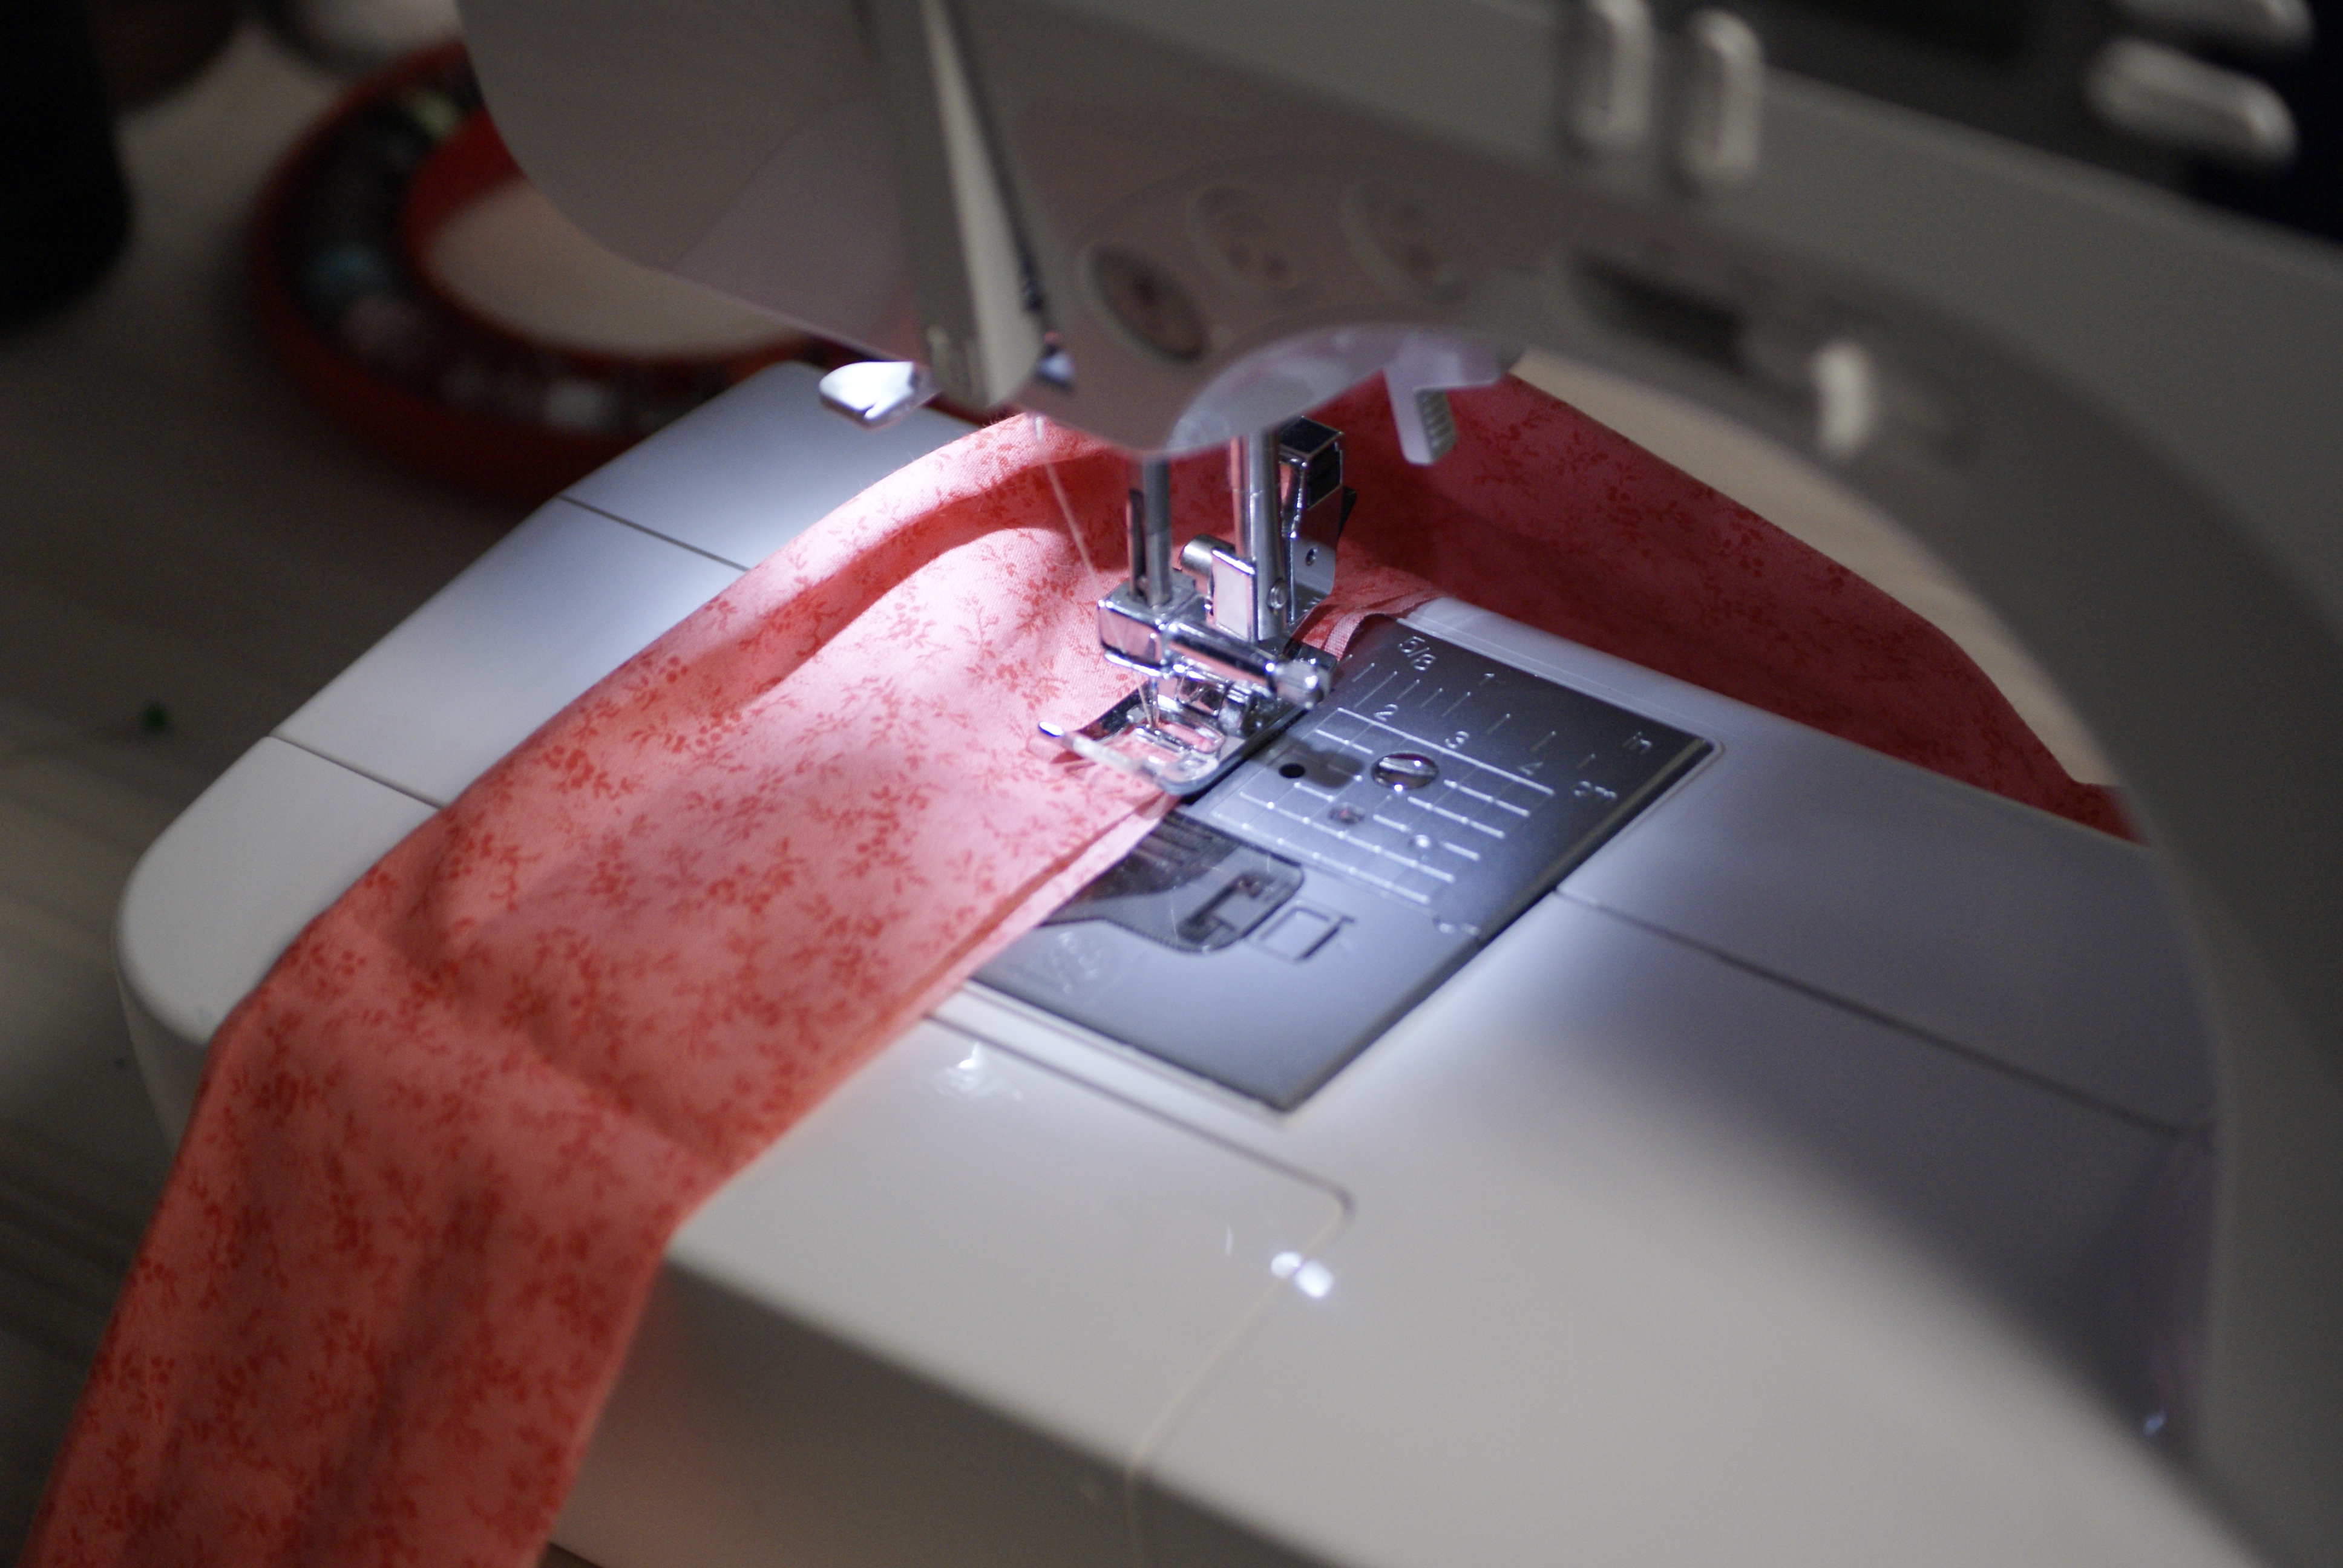
Next, using the basting stitch on the sewing machine (small commercial break for this machine!! – we’ve had it for a few years now and it has given us no problems!), sew along the raw edge of the folded-over fabric . . .
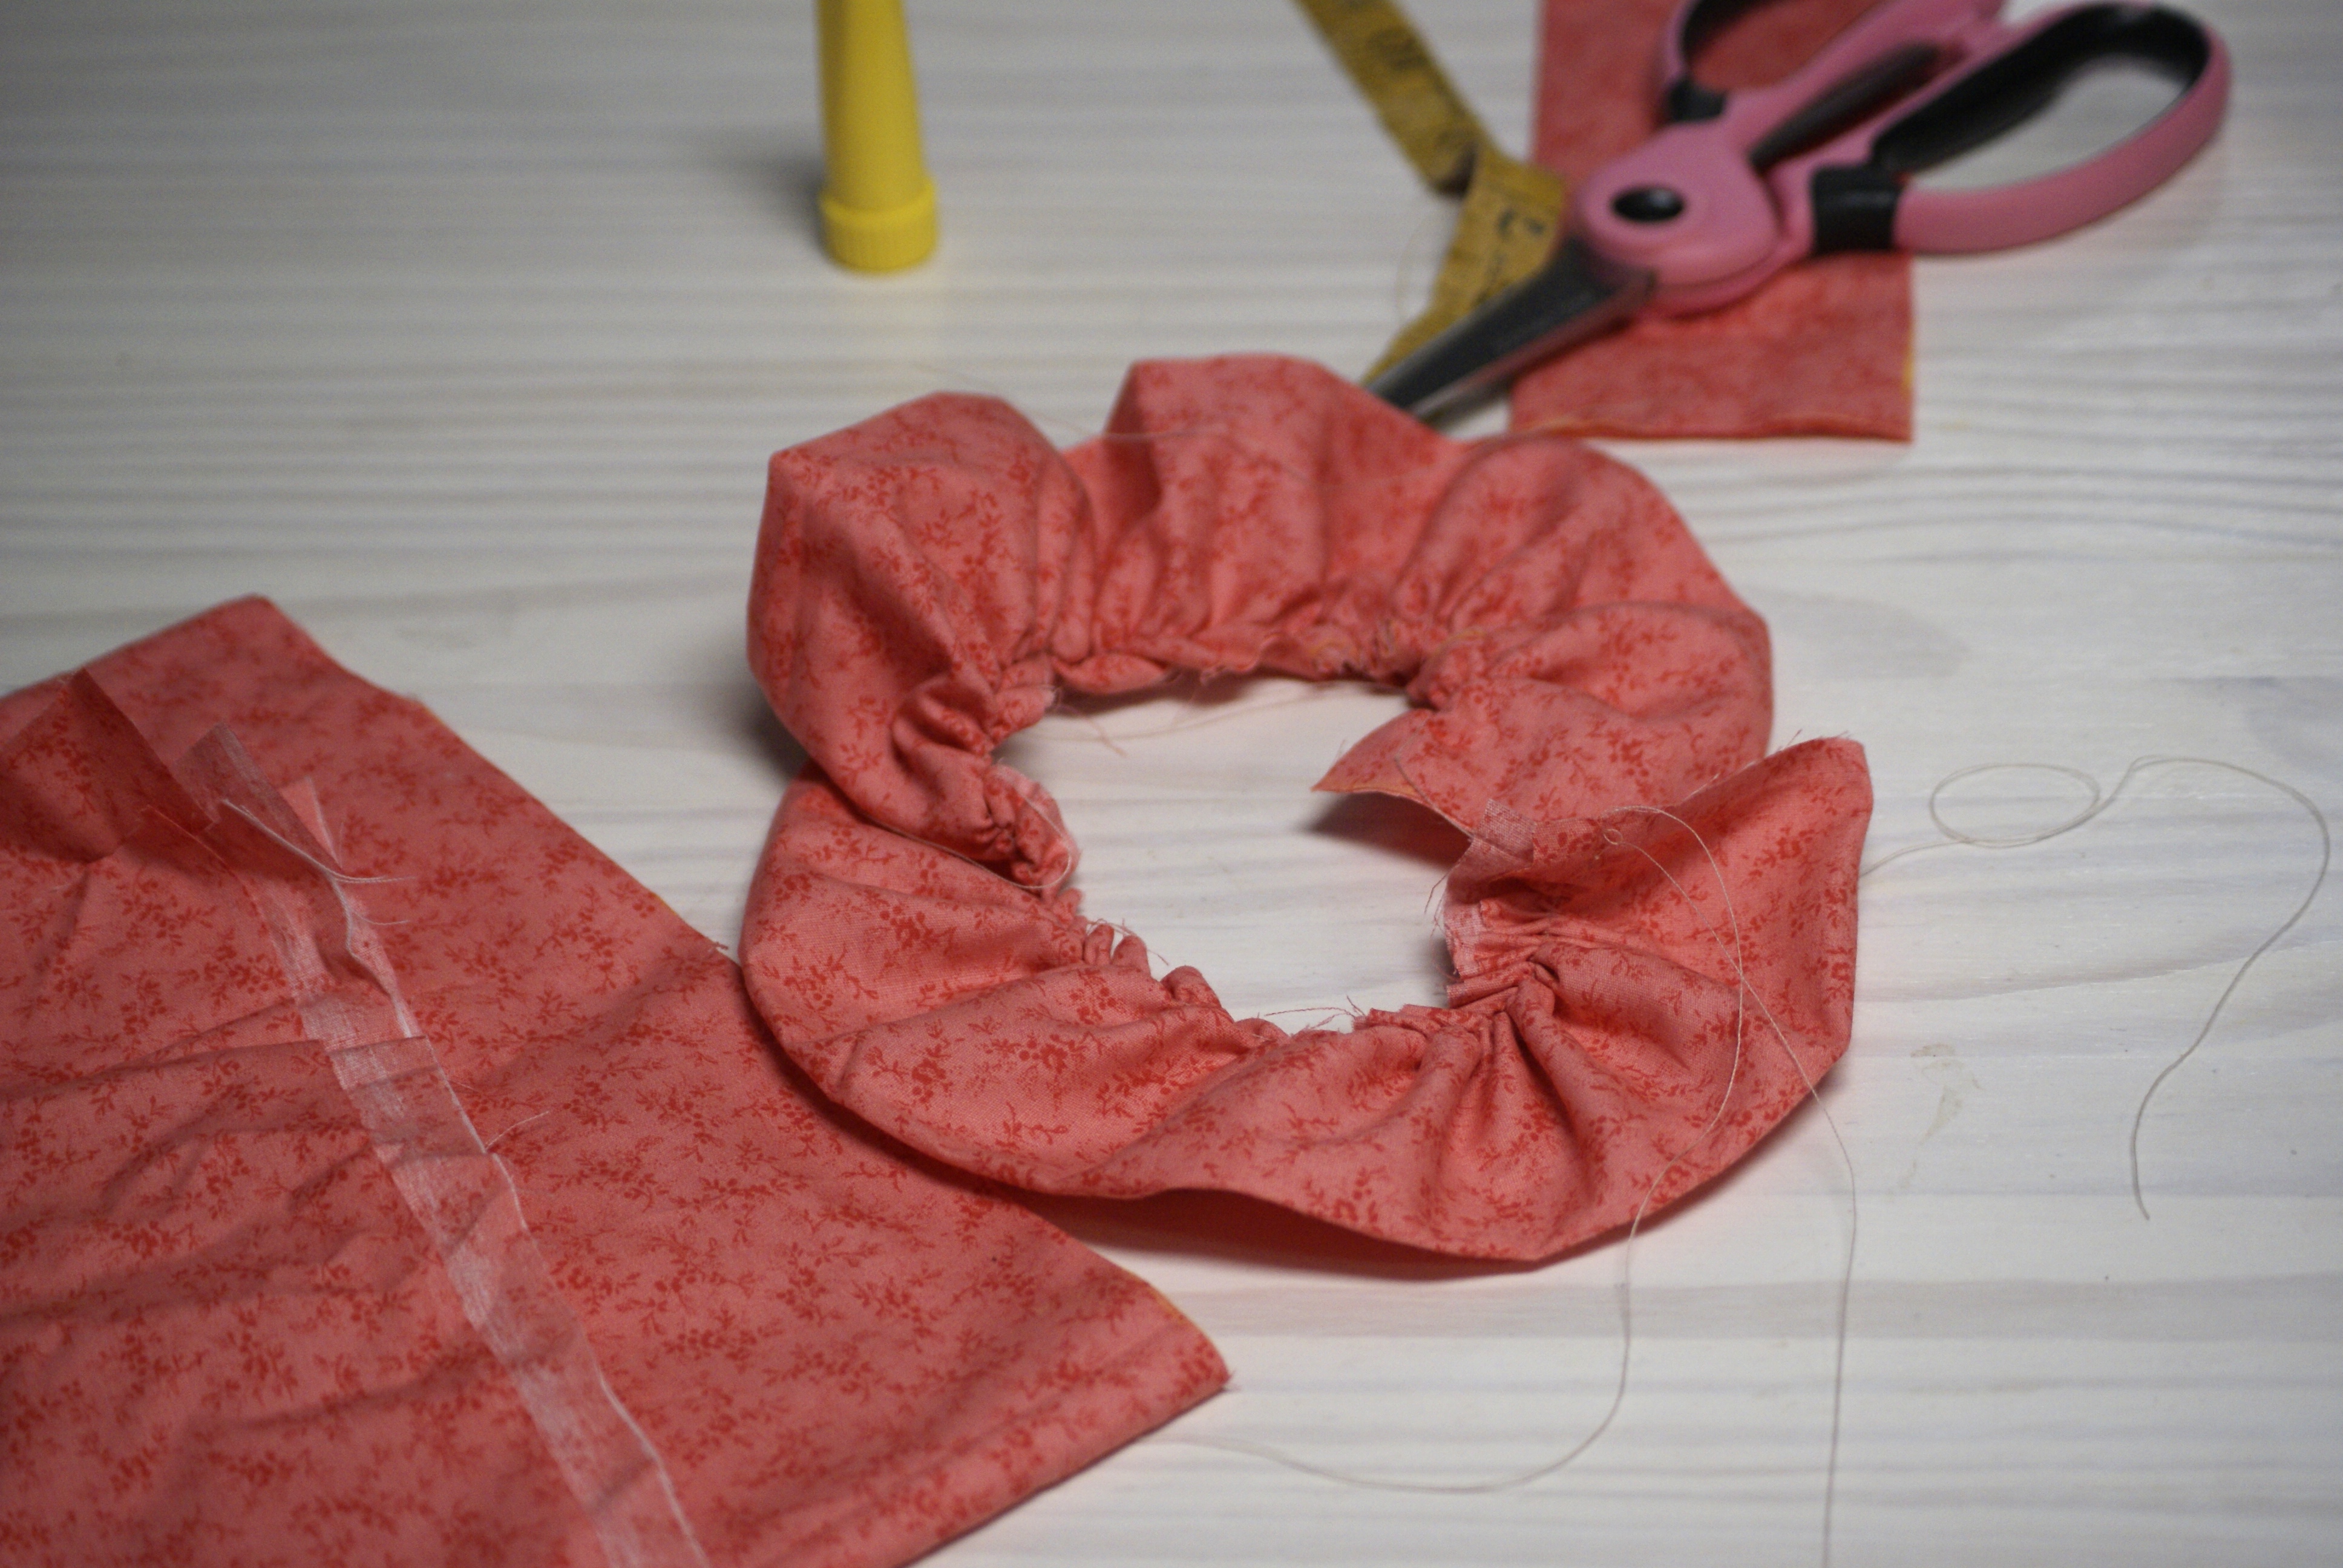
Gather the strip until it coils up into a circle . . .
Now start rolling up the strip. I like to do the first couple inches a little tighter since that’s the center of the flower, then the remainder of the strip a little looser. You can even fold over or ‘pleat’ the fabric a little bit on the bottom to make it a little looser looking.
Stick a pin through the bottom of the flower to hold it all together . . .
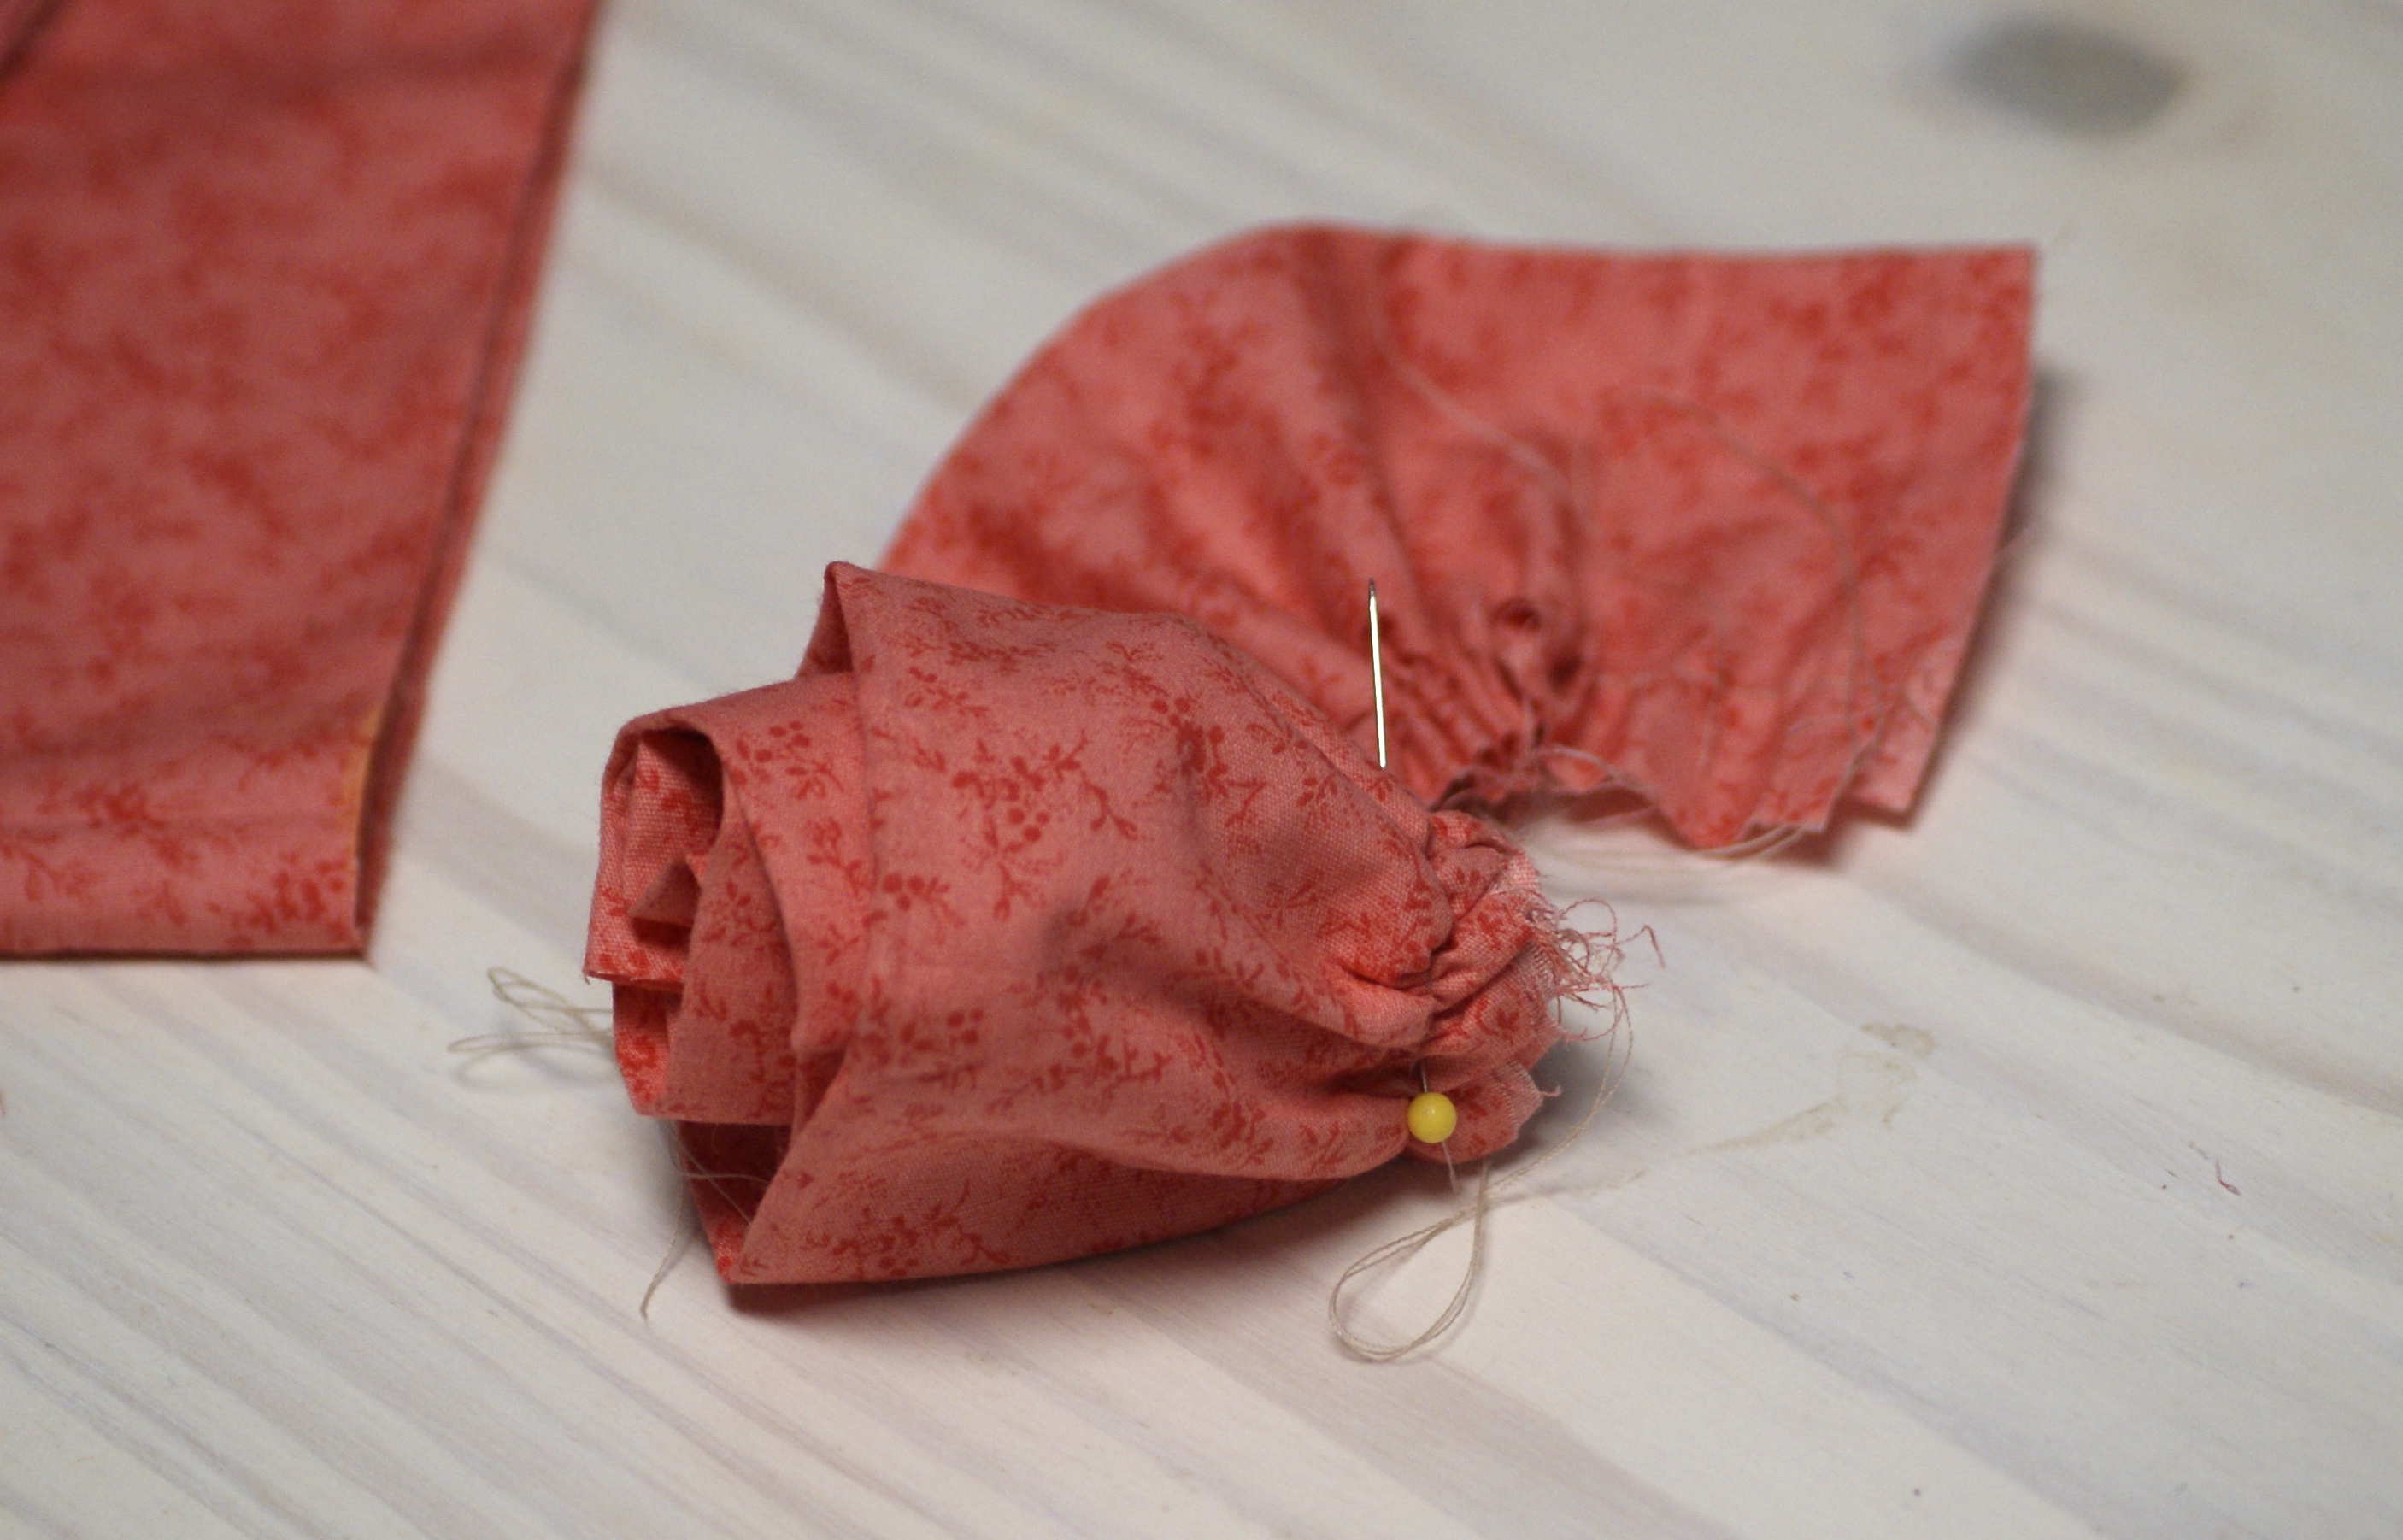
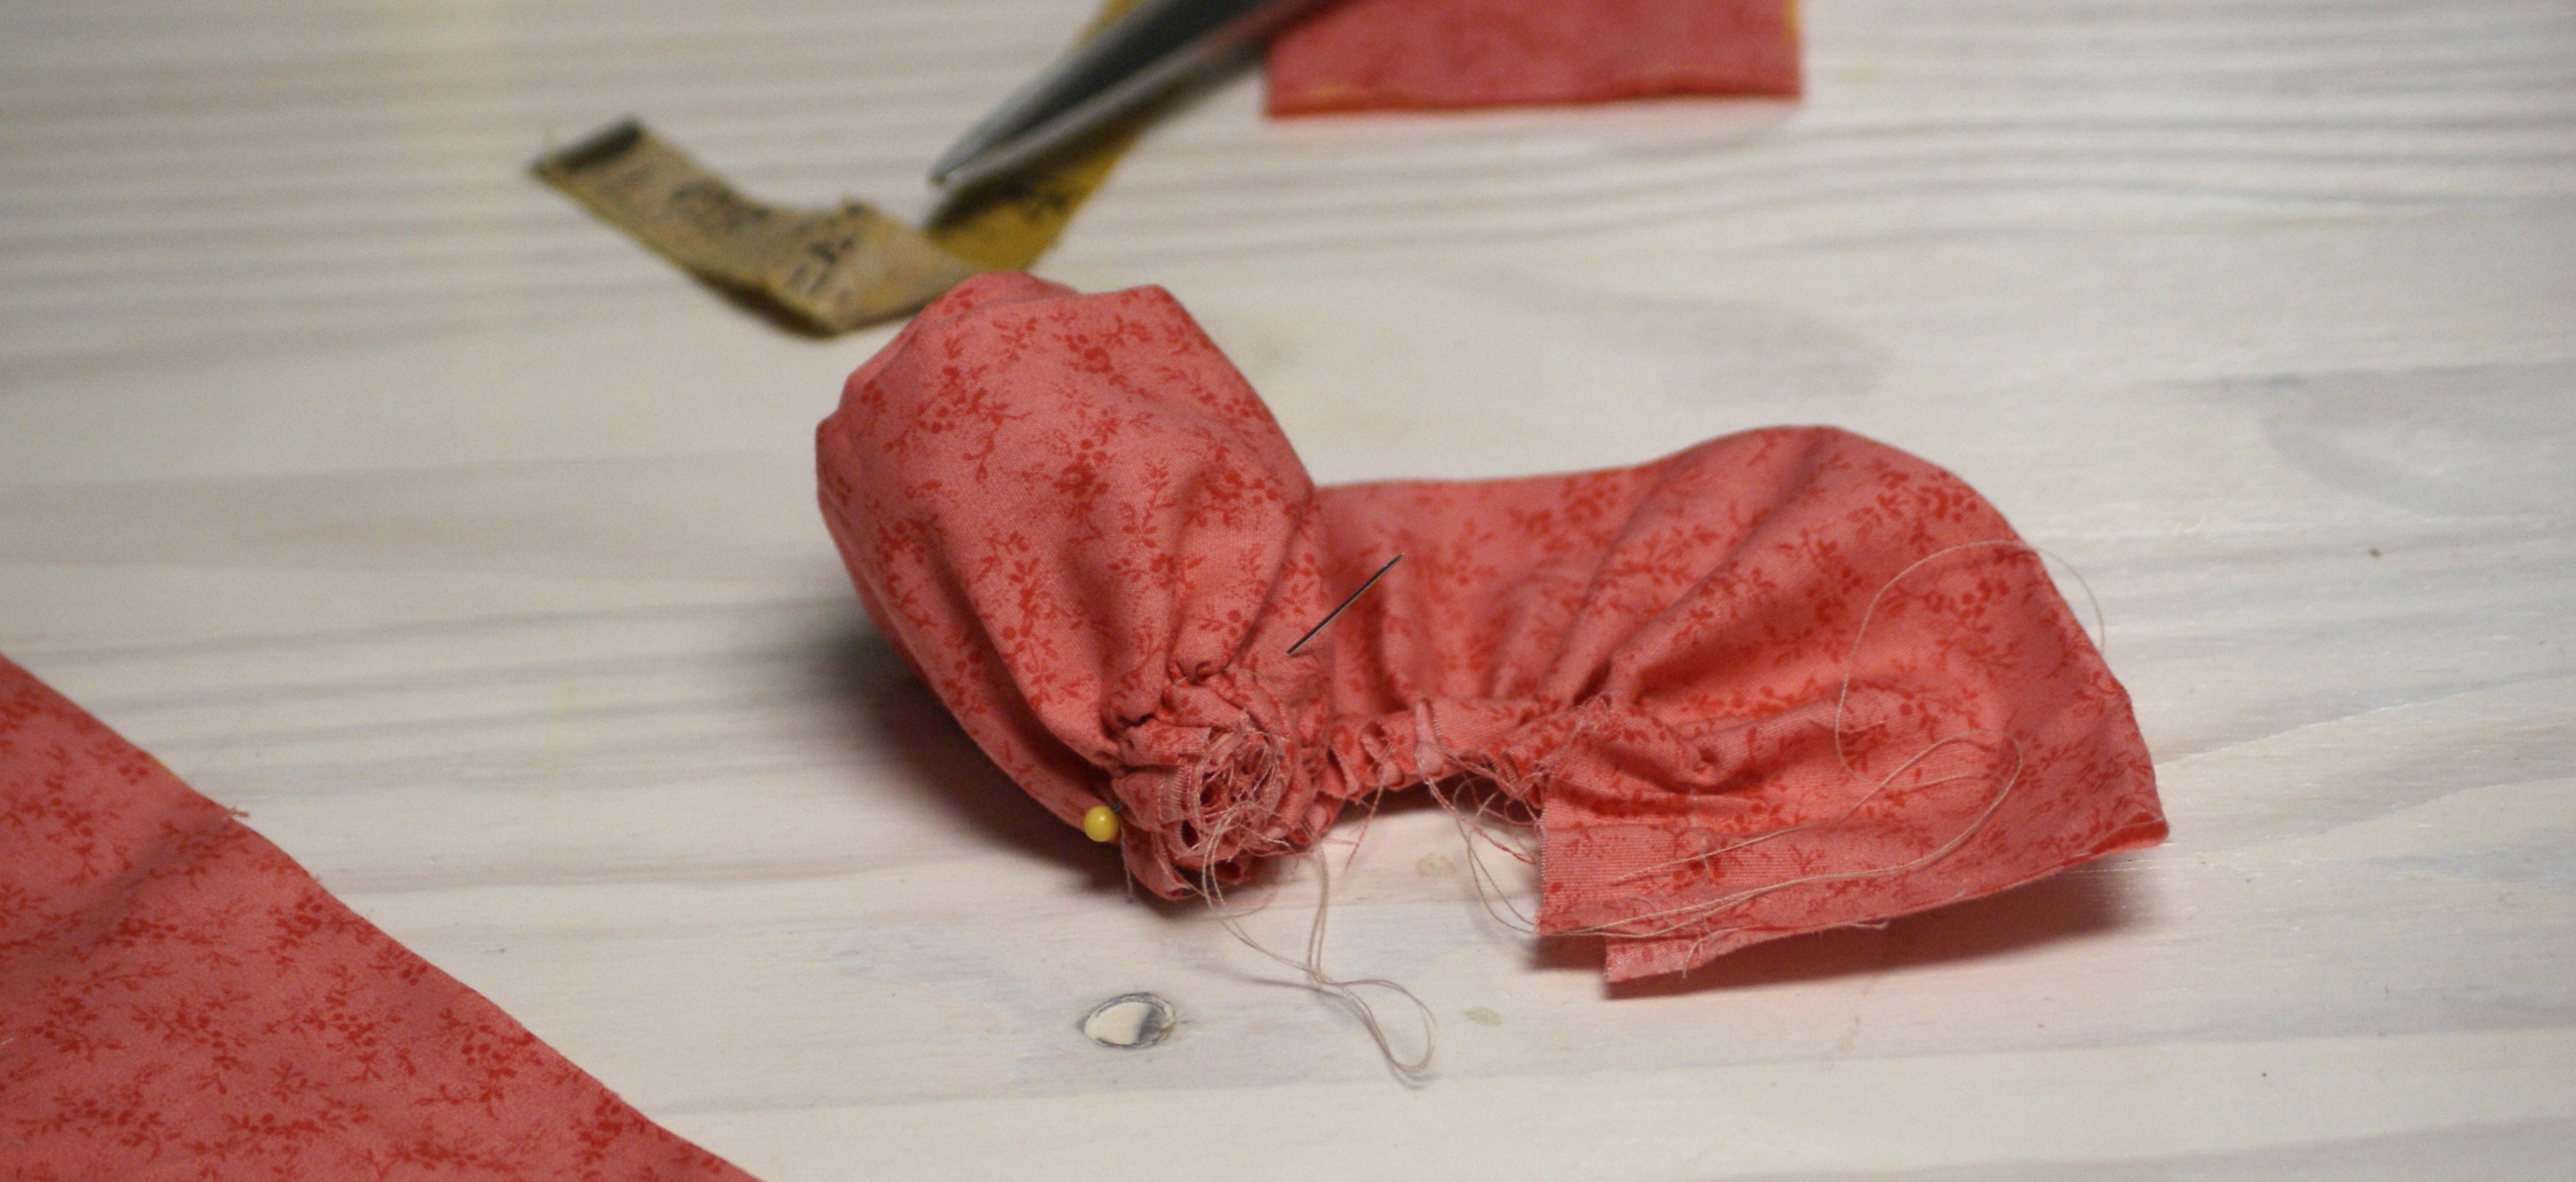
When you get to the end of the strip, fold the end over twice to conceal the raw edge and pin it . . .
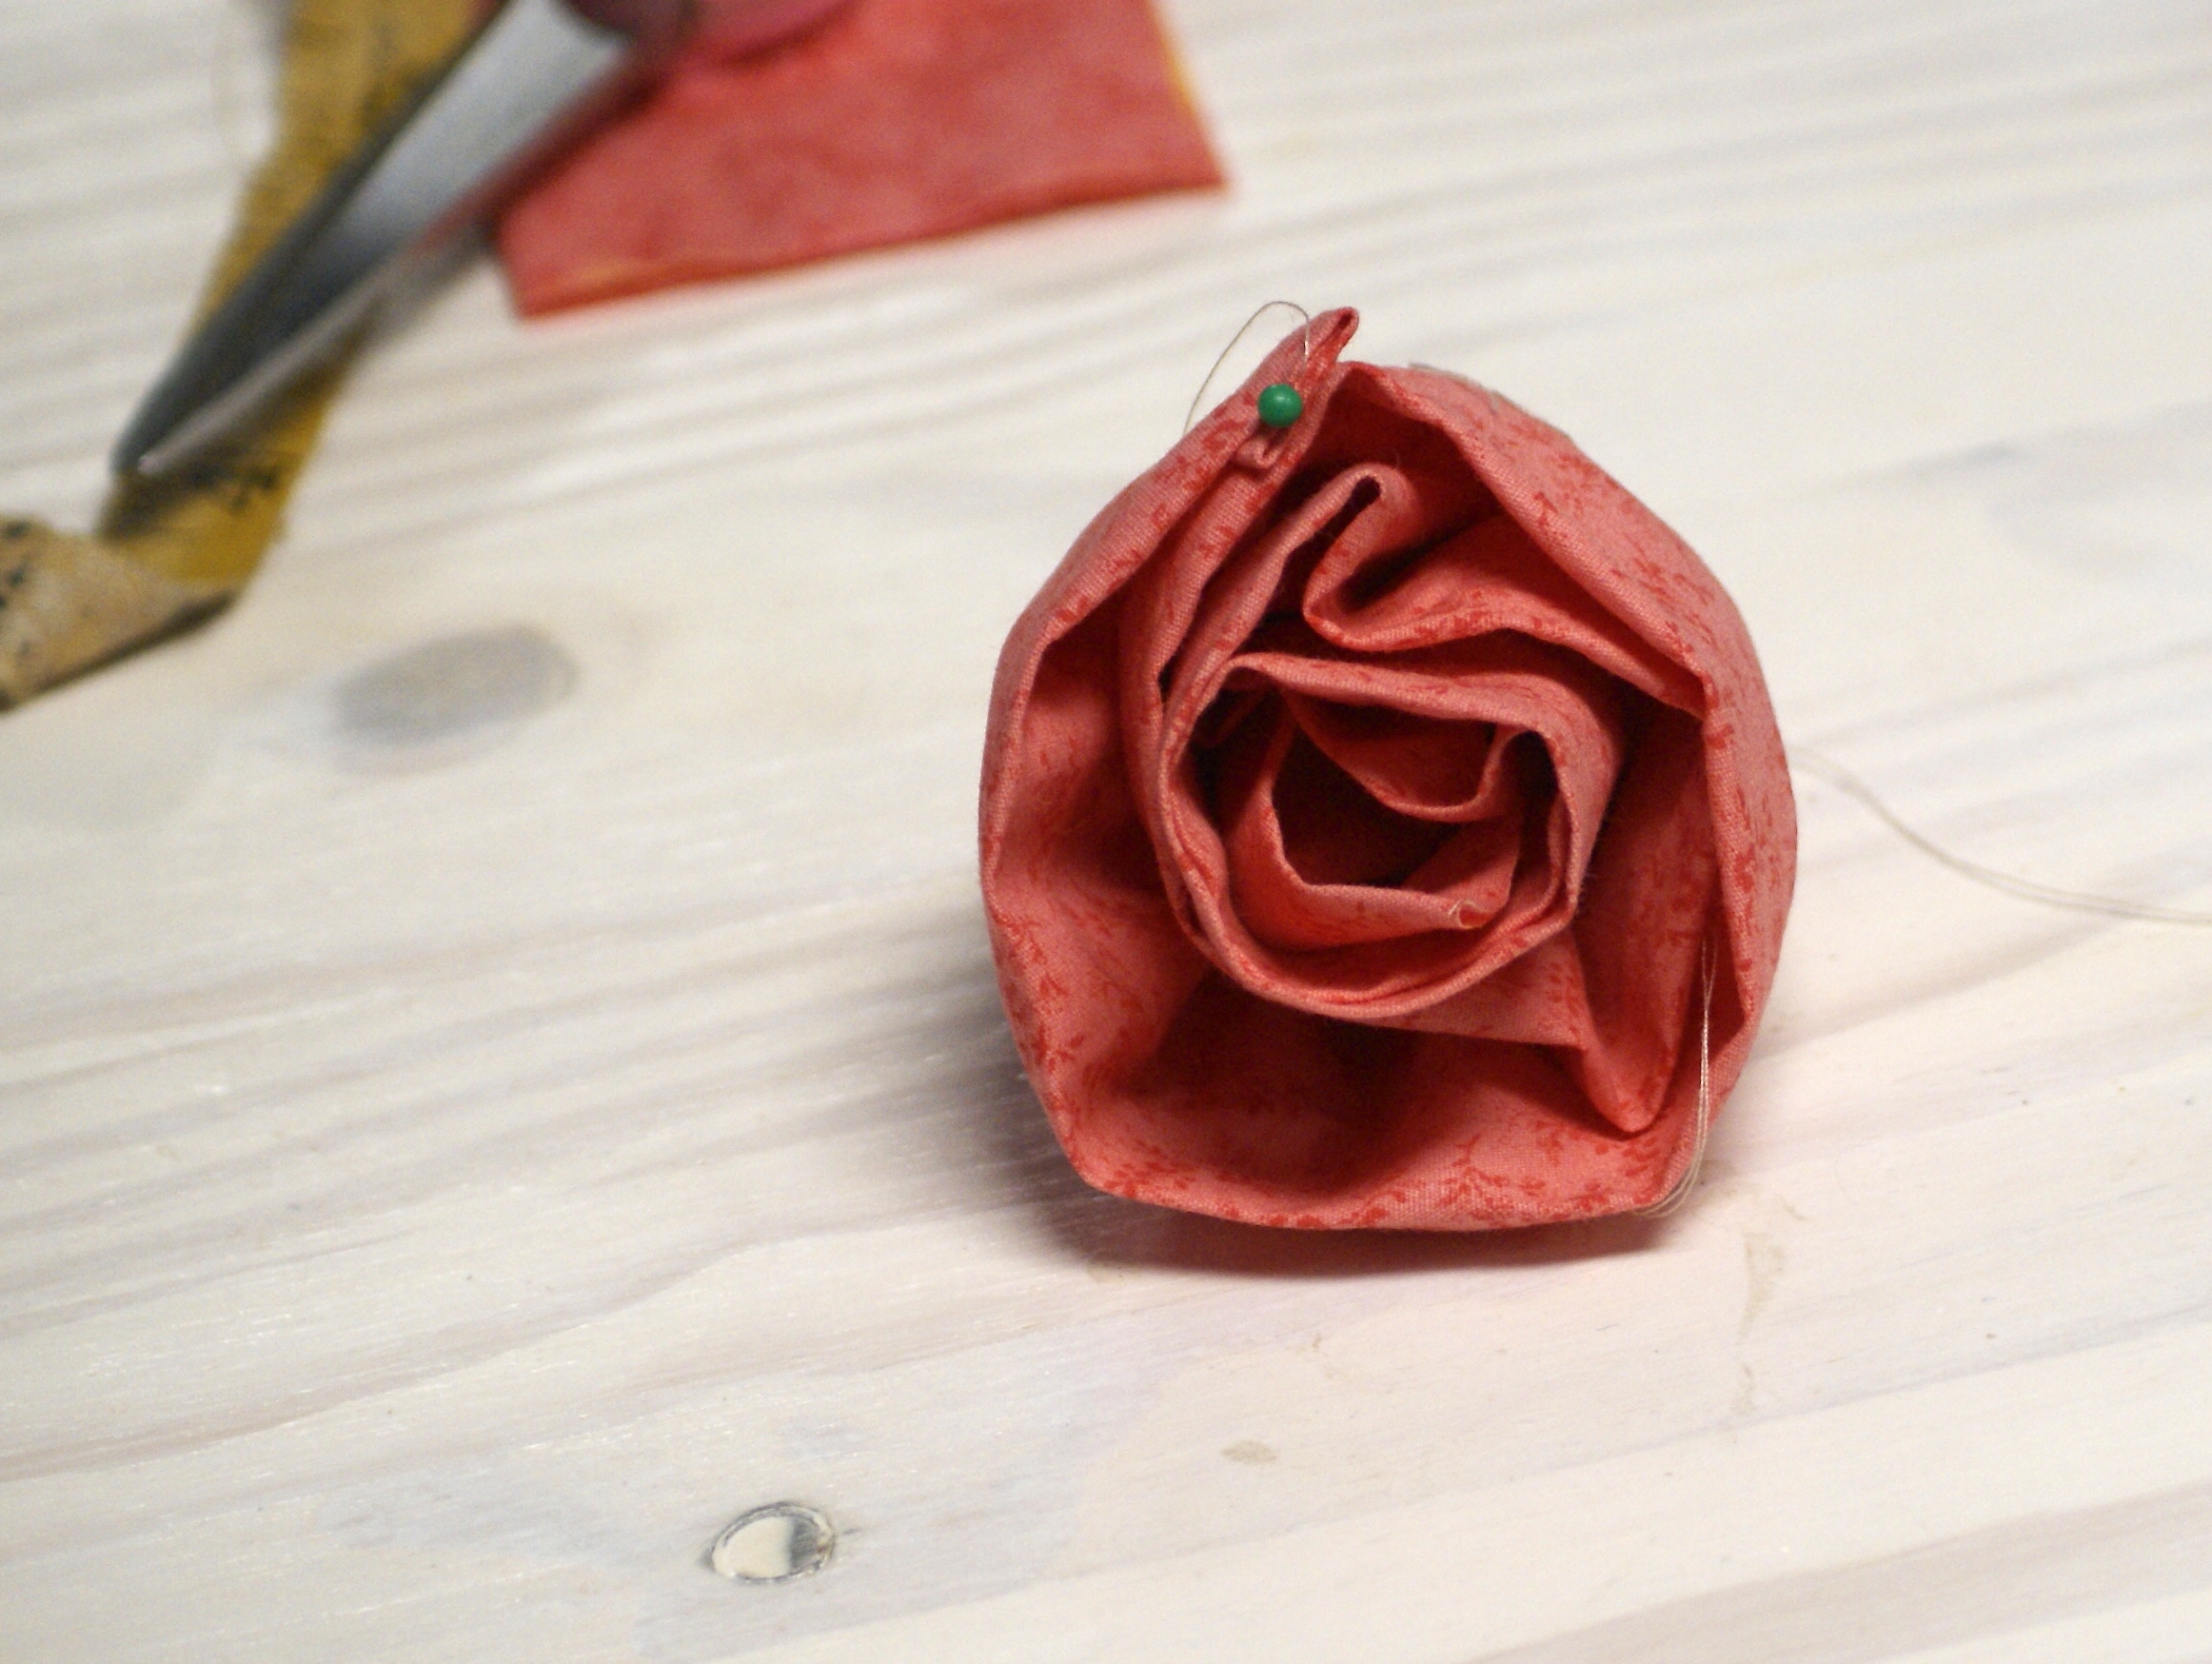
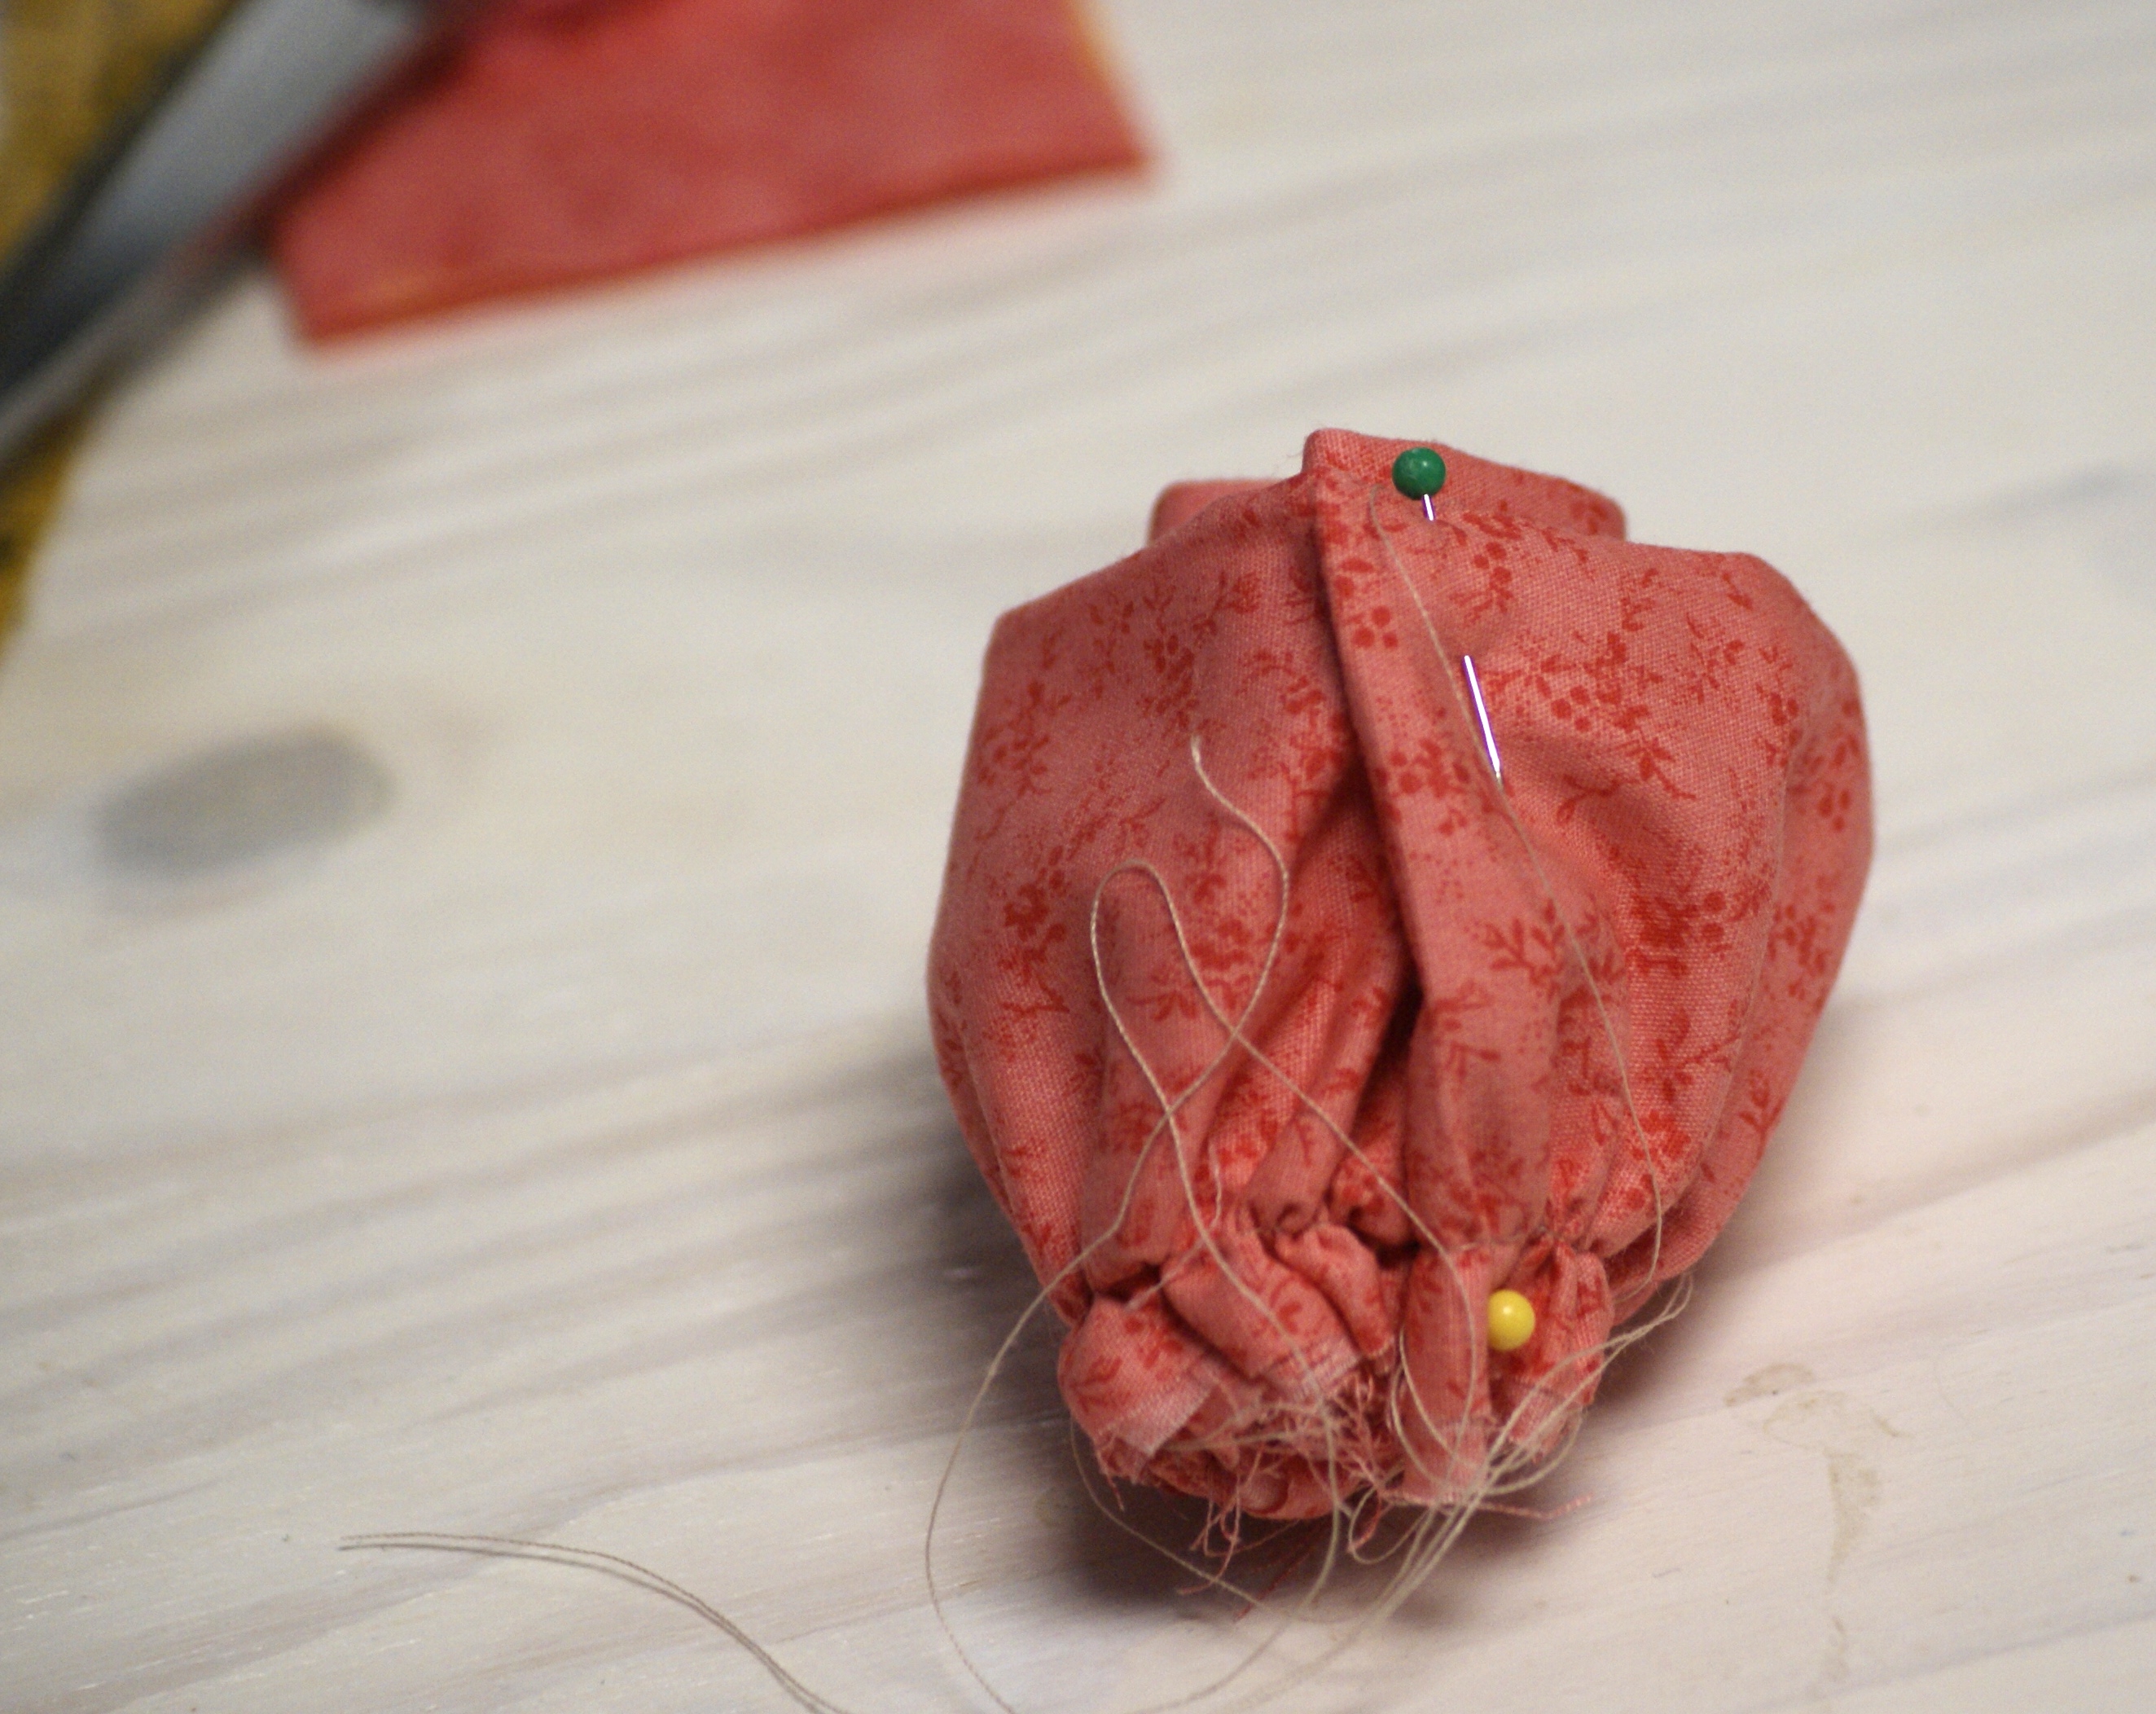
Tack the end of the strip where you folded the raw edge in to the flower (green-headed pin) to keep it in place . . .
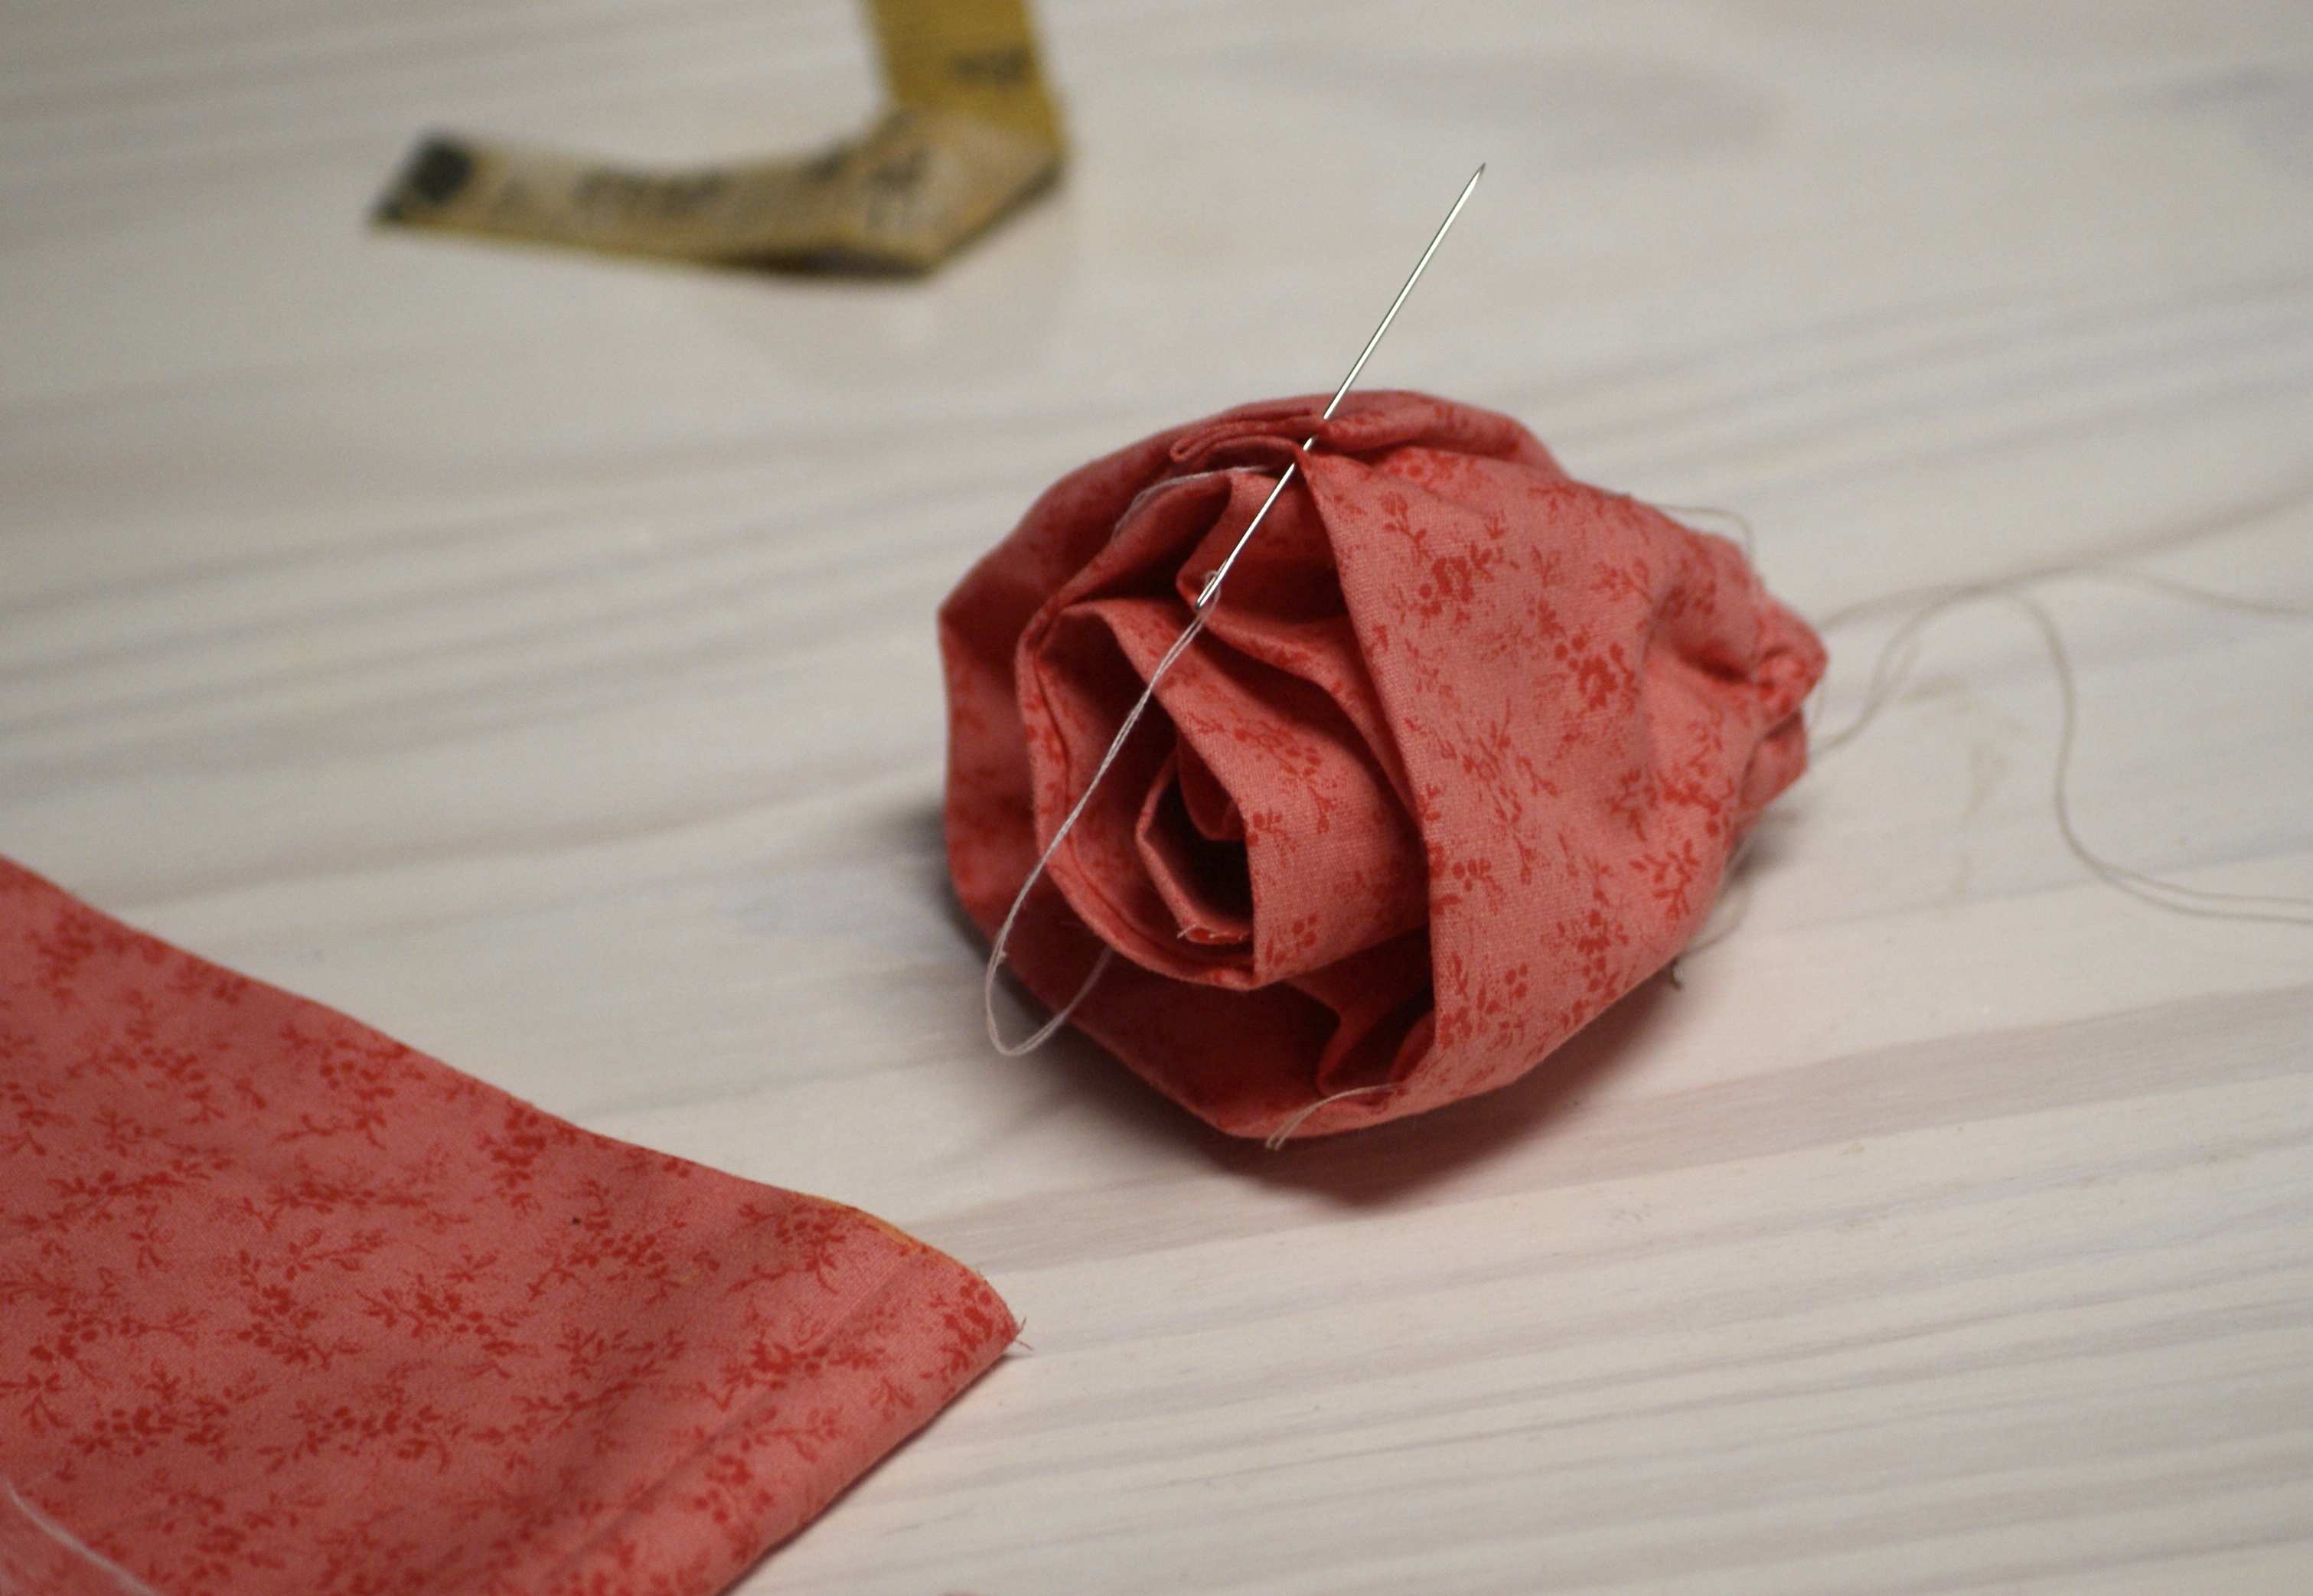
Now, sew the bottom of the flower to keep everything in place. I just ran my needle in and out, back and forth, side to side, to keep every little part secure 🙂
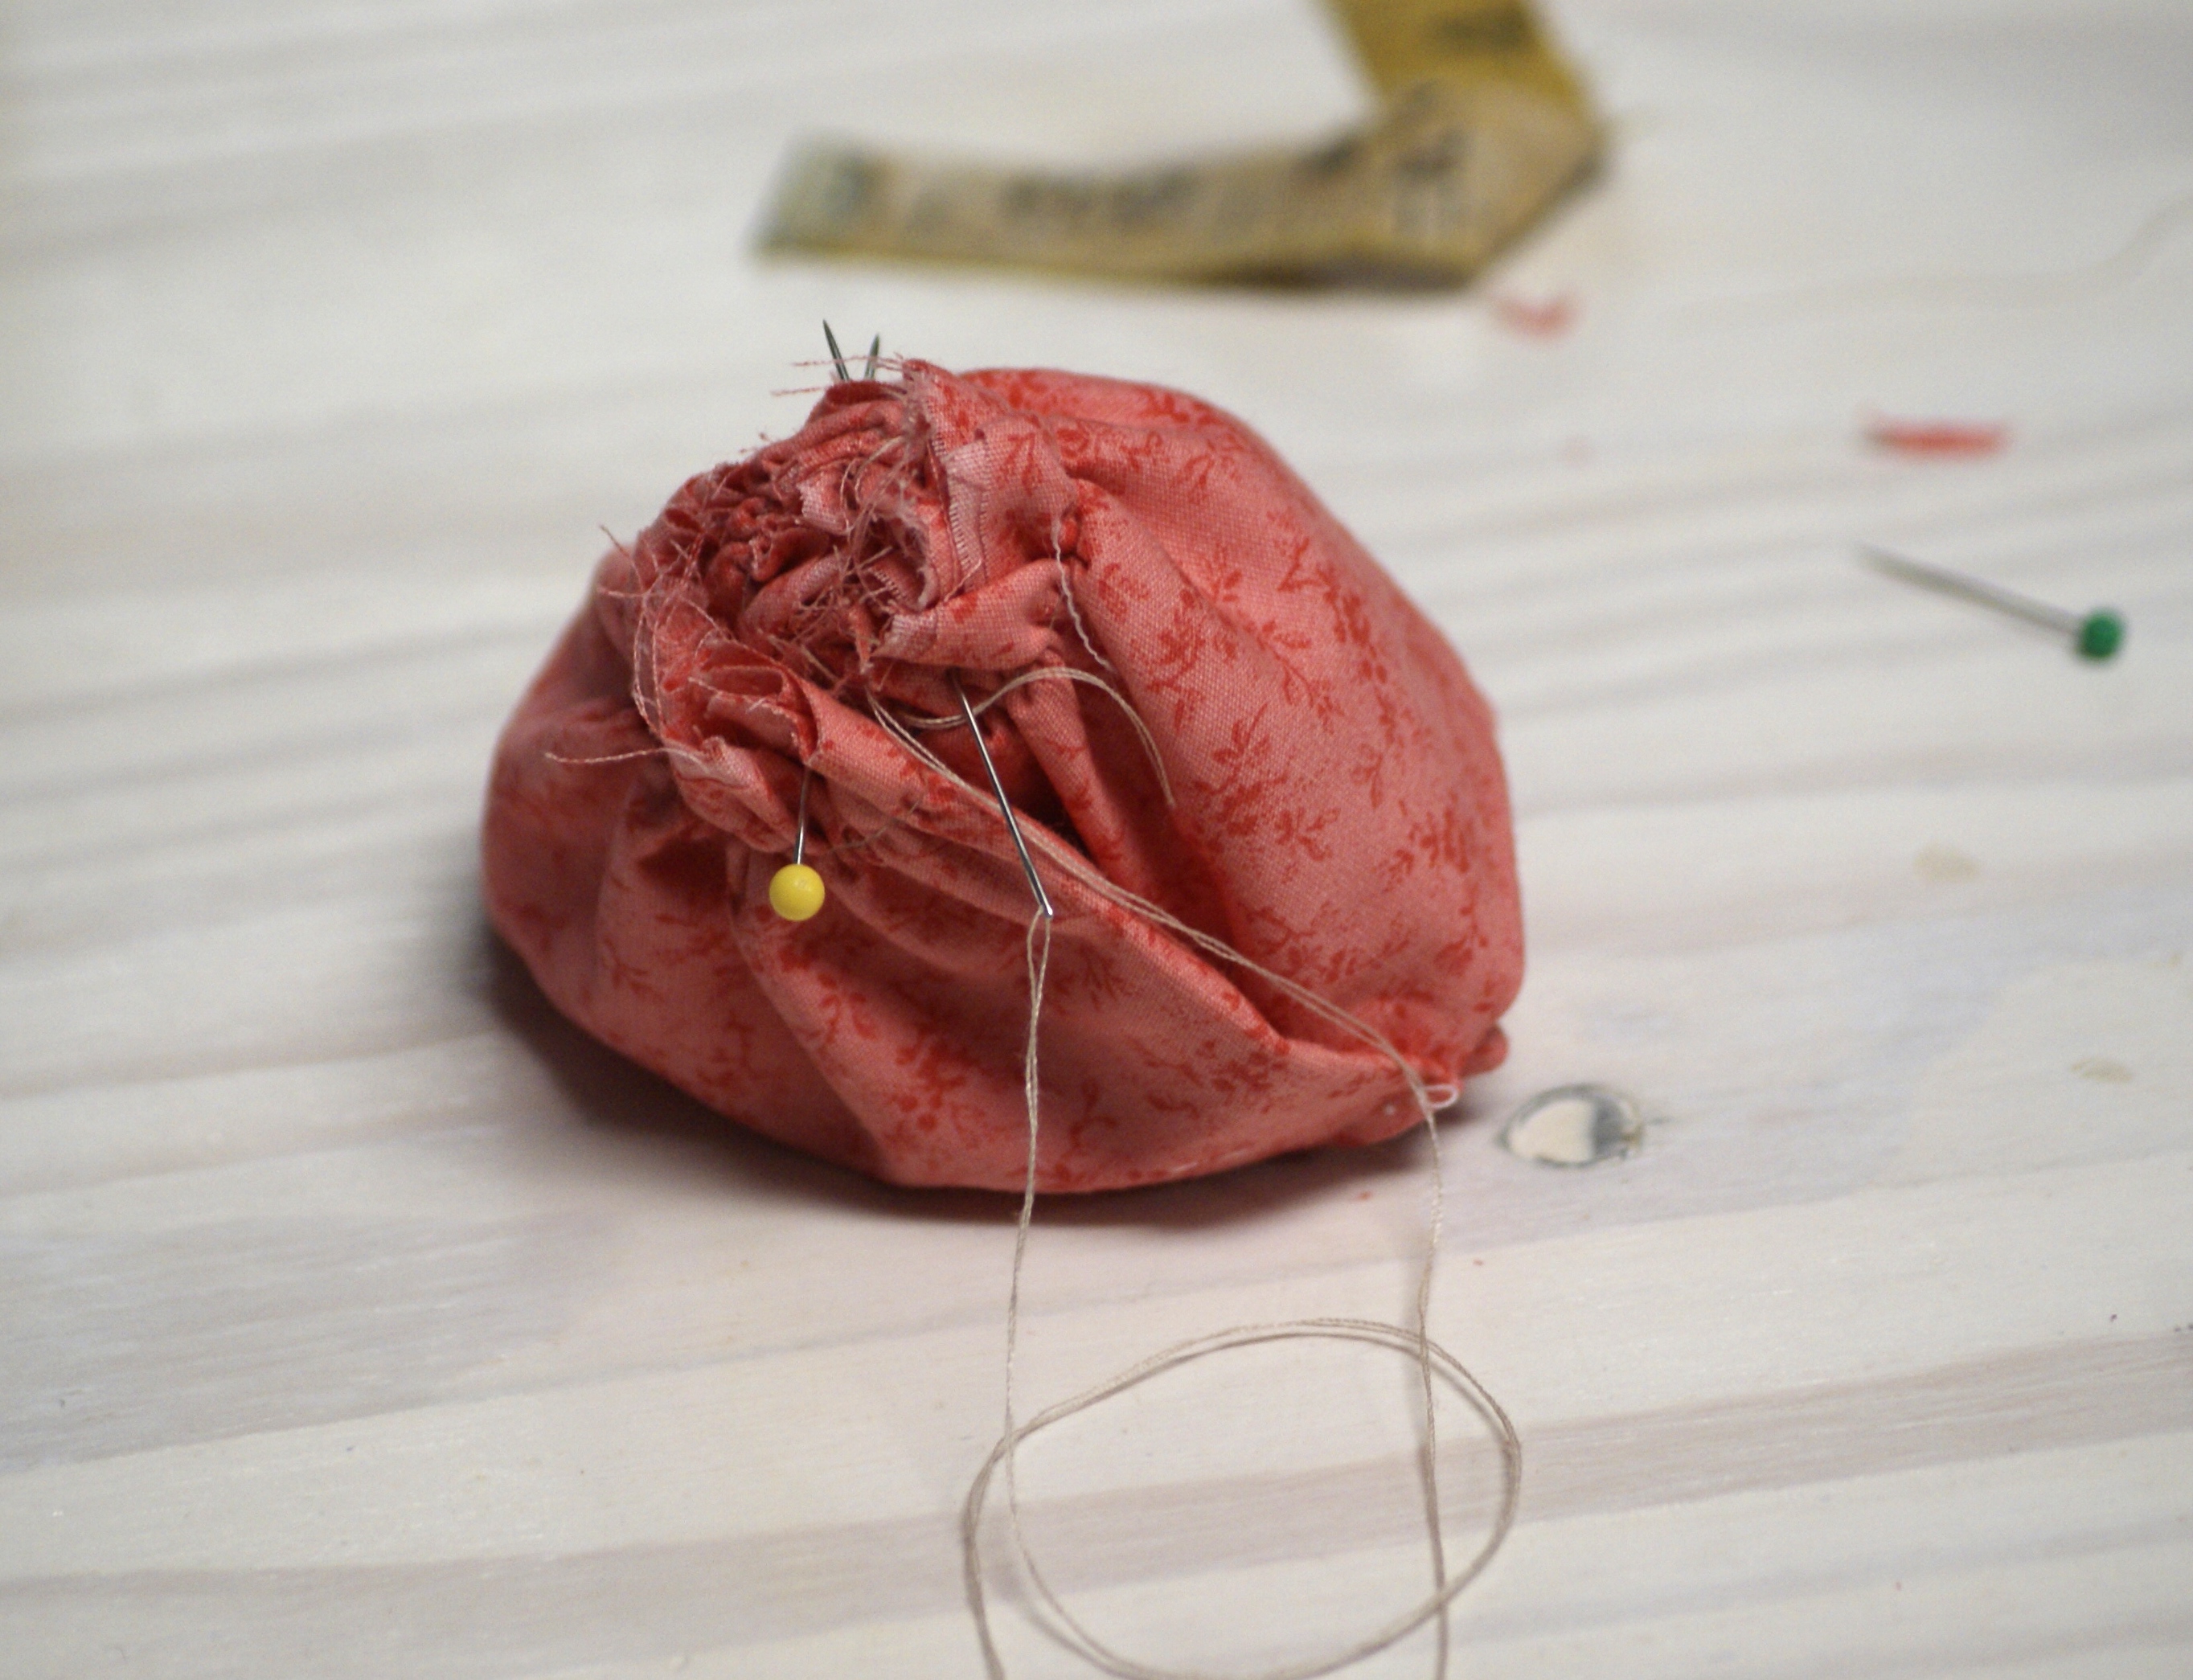
Now, trim the threads from off the bottom of the flower and cut a circle of felt or batting about 2″ in diameter (snip a TINY hole in the middle of the circle) . . .
Hot glue the circle to the bottom of the flower and press it firmly to the fabric . . .
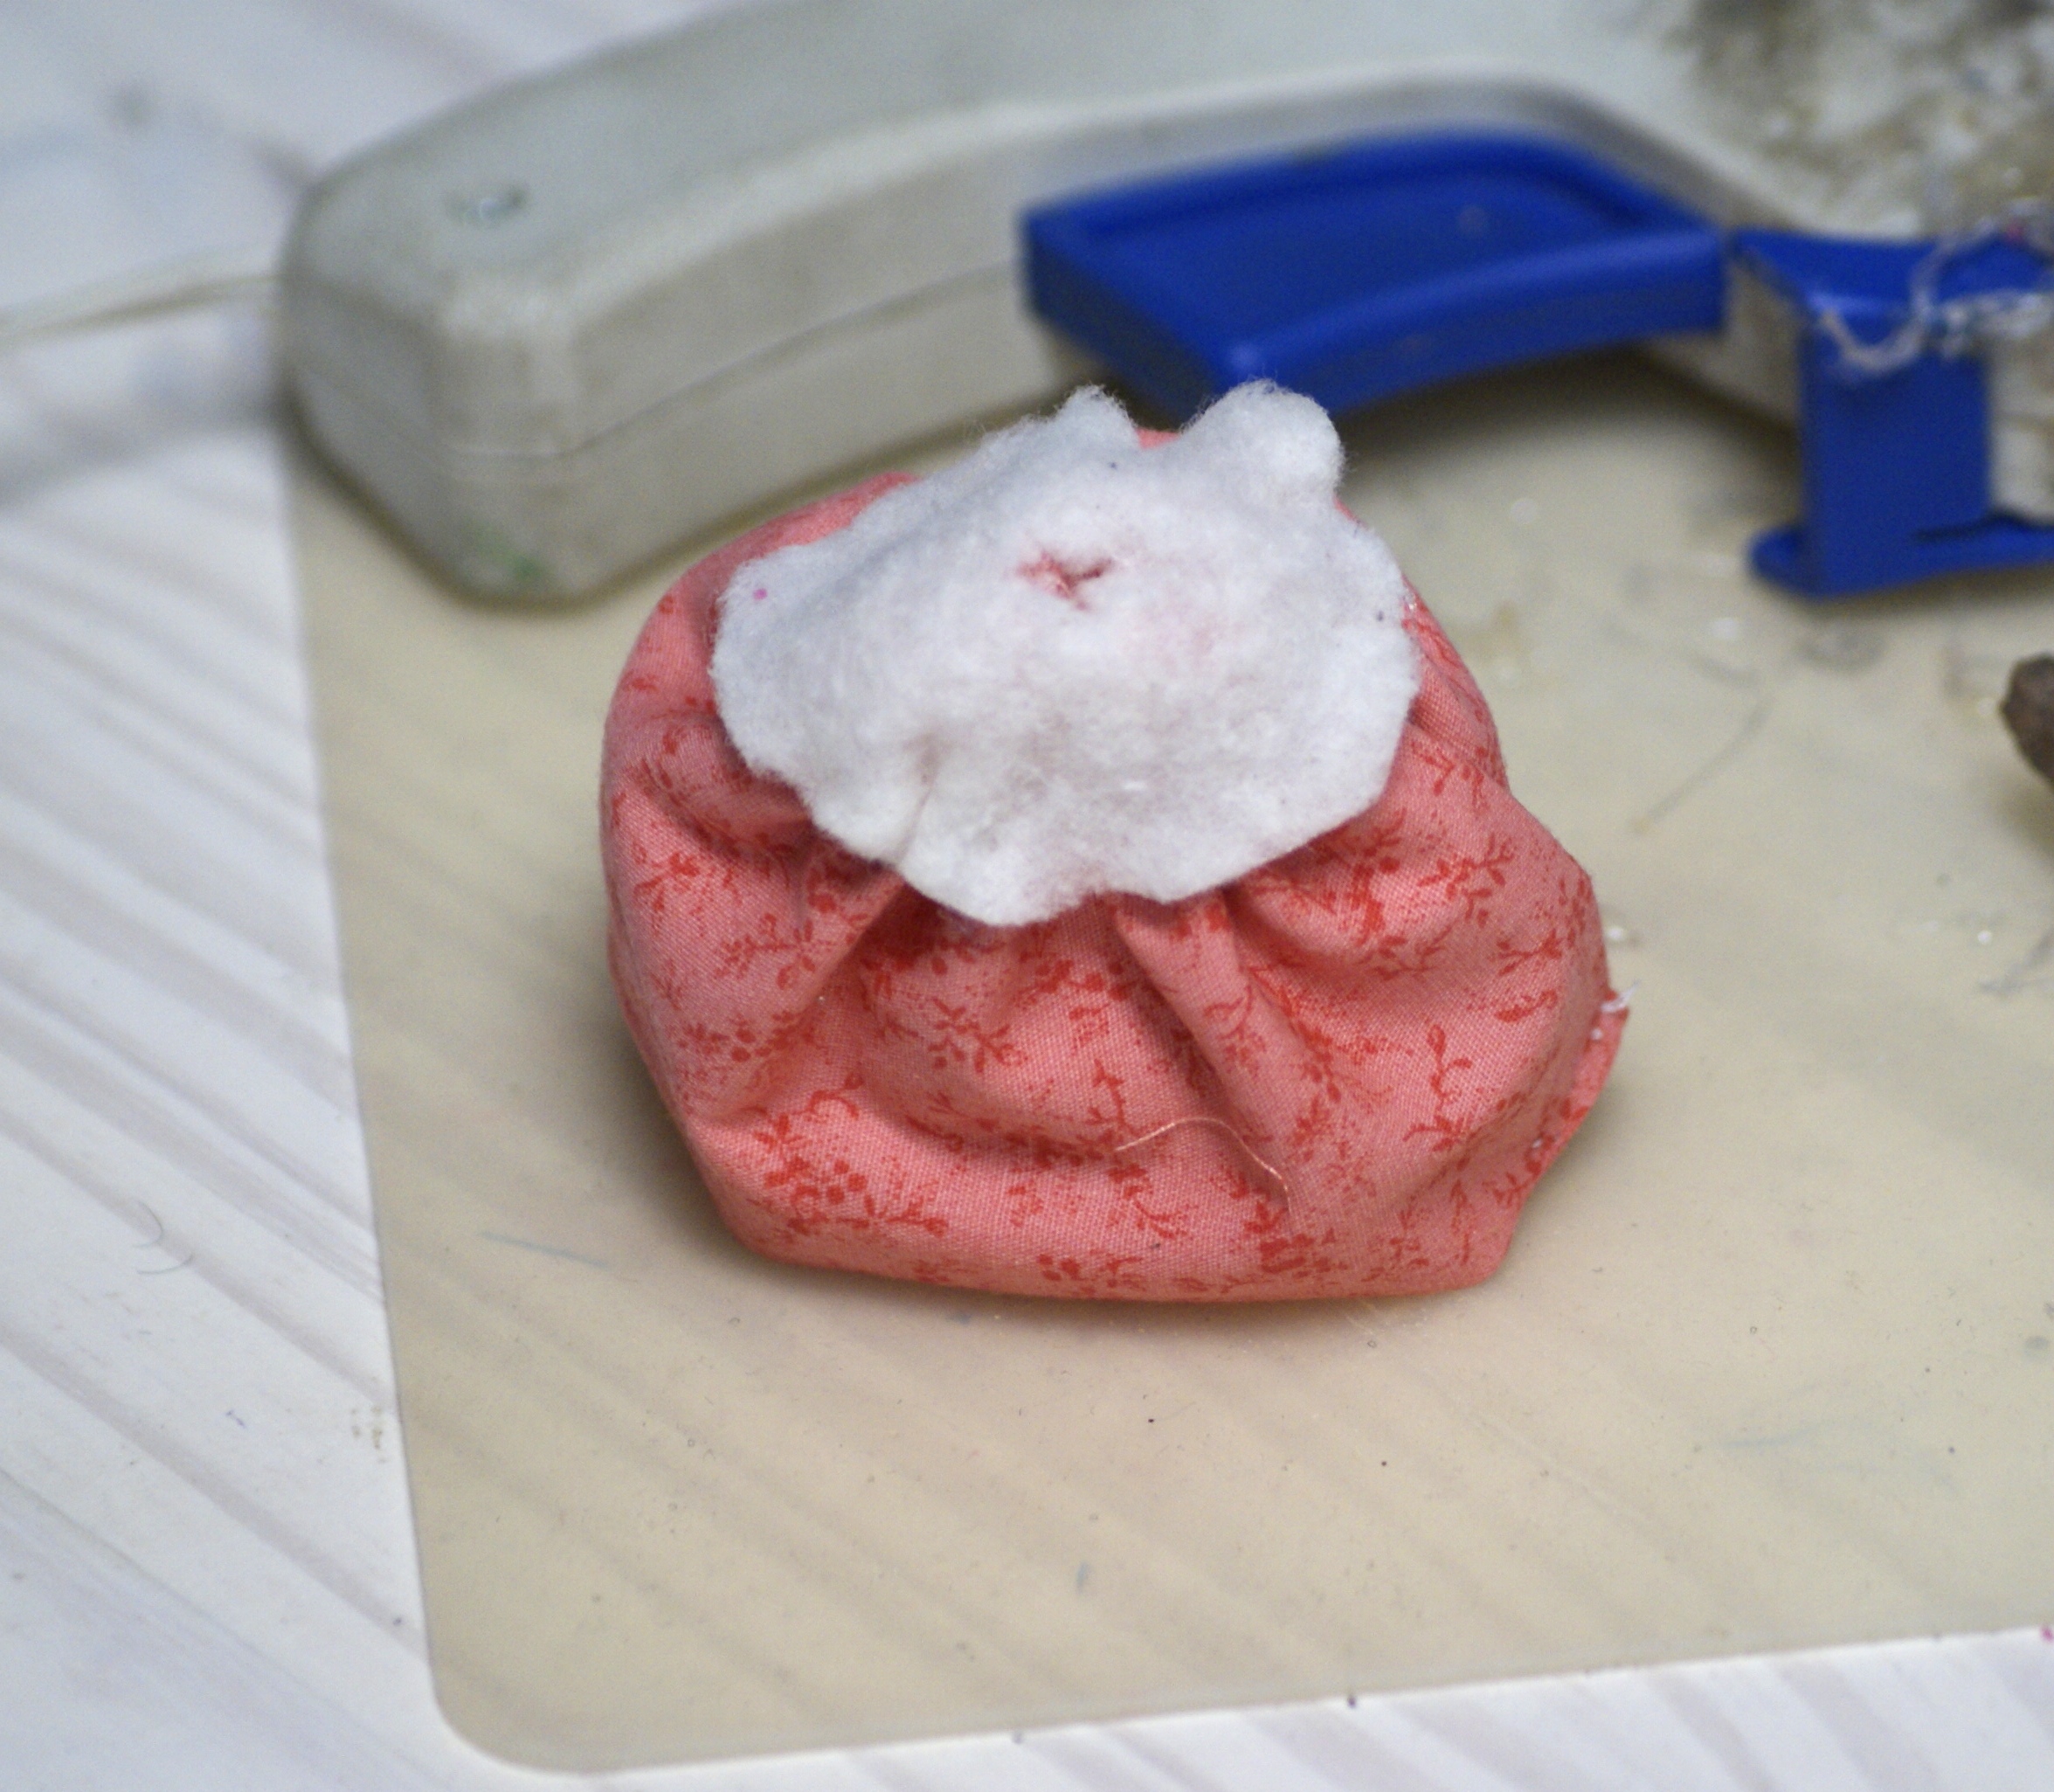
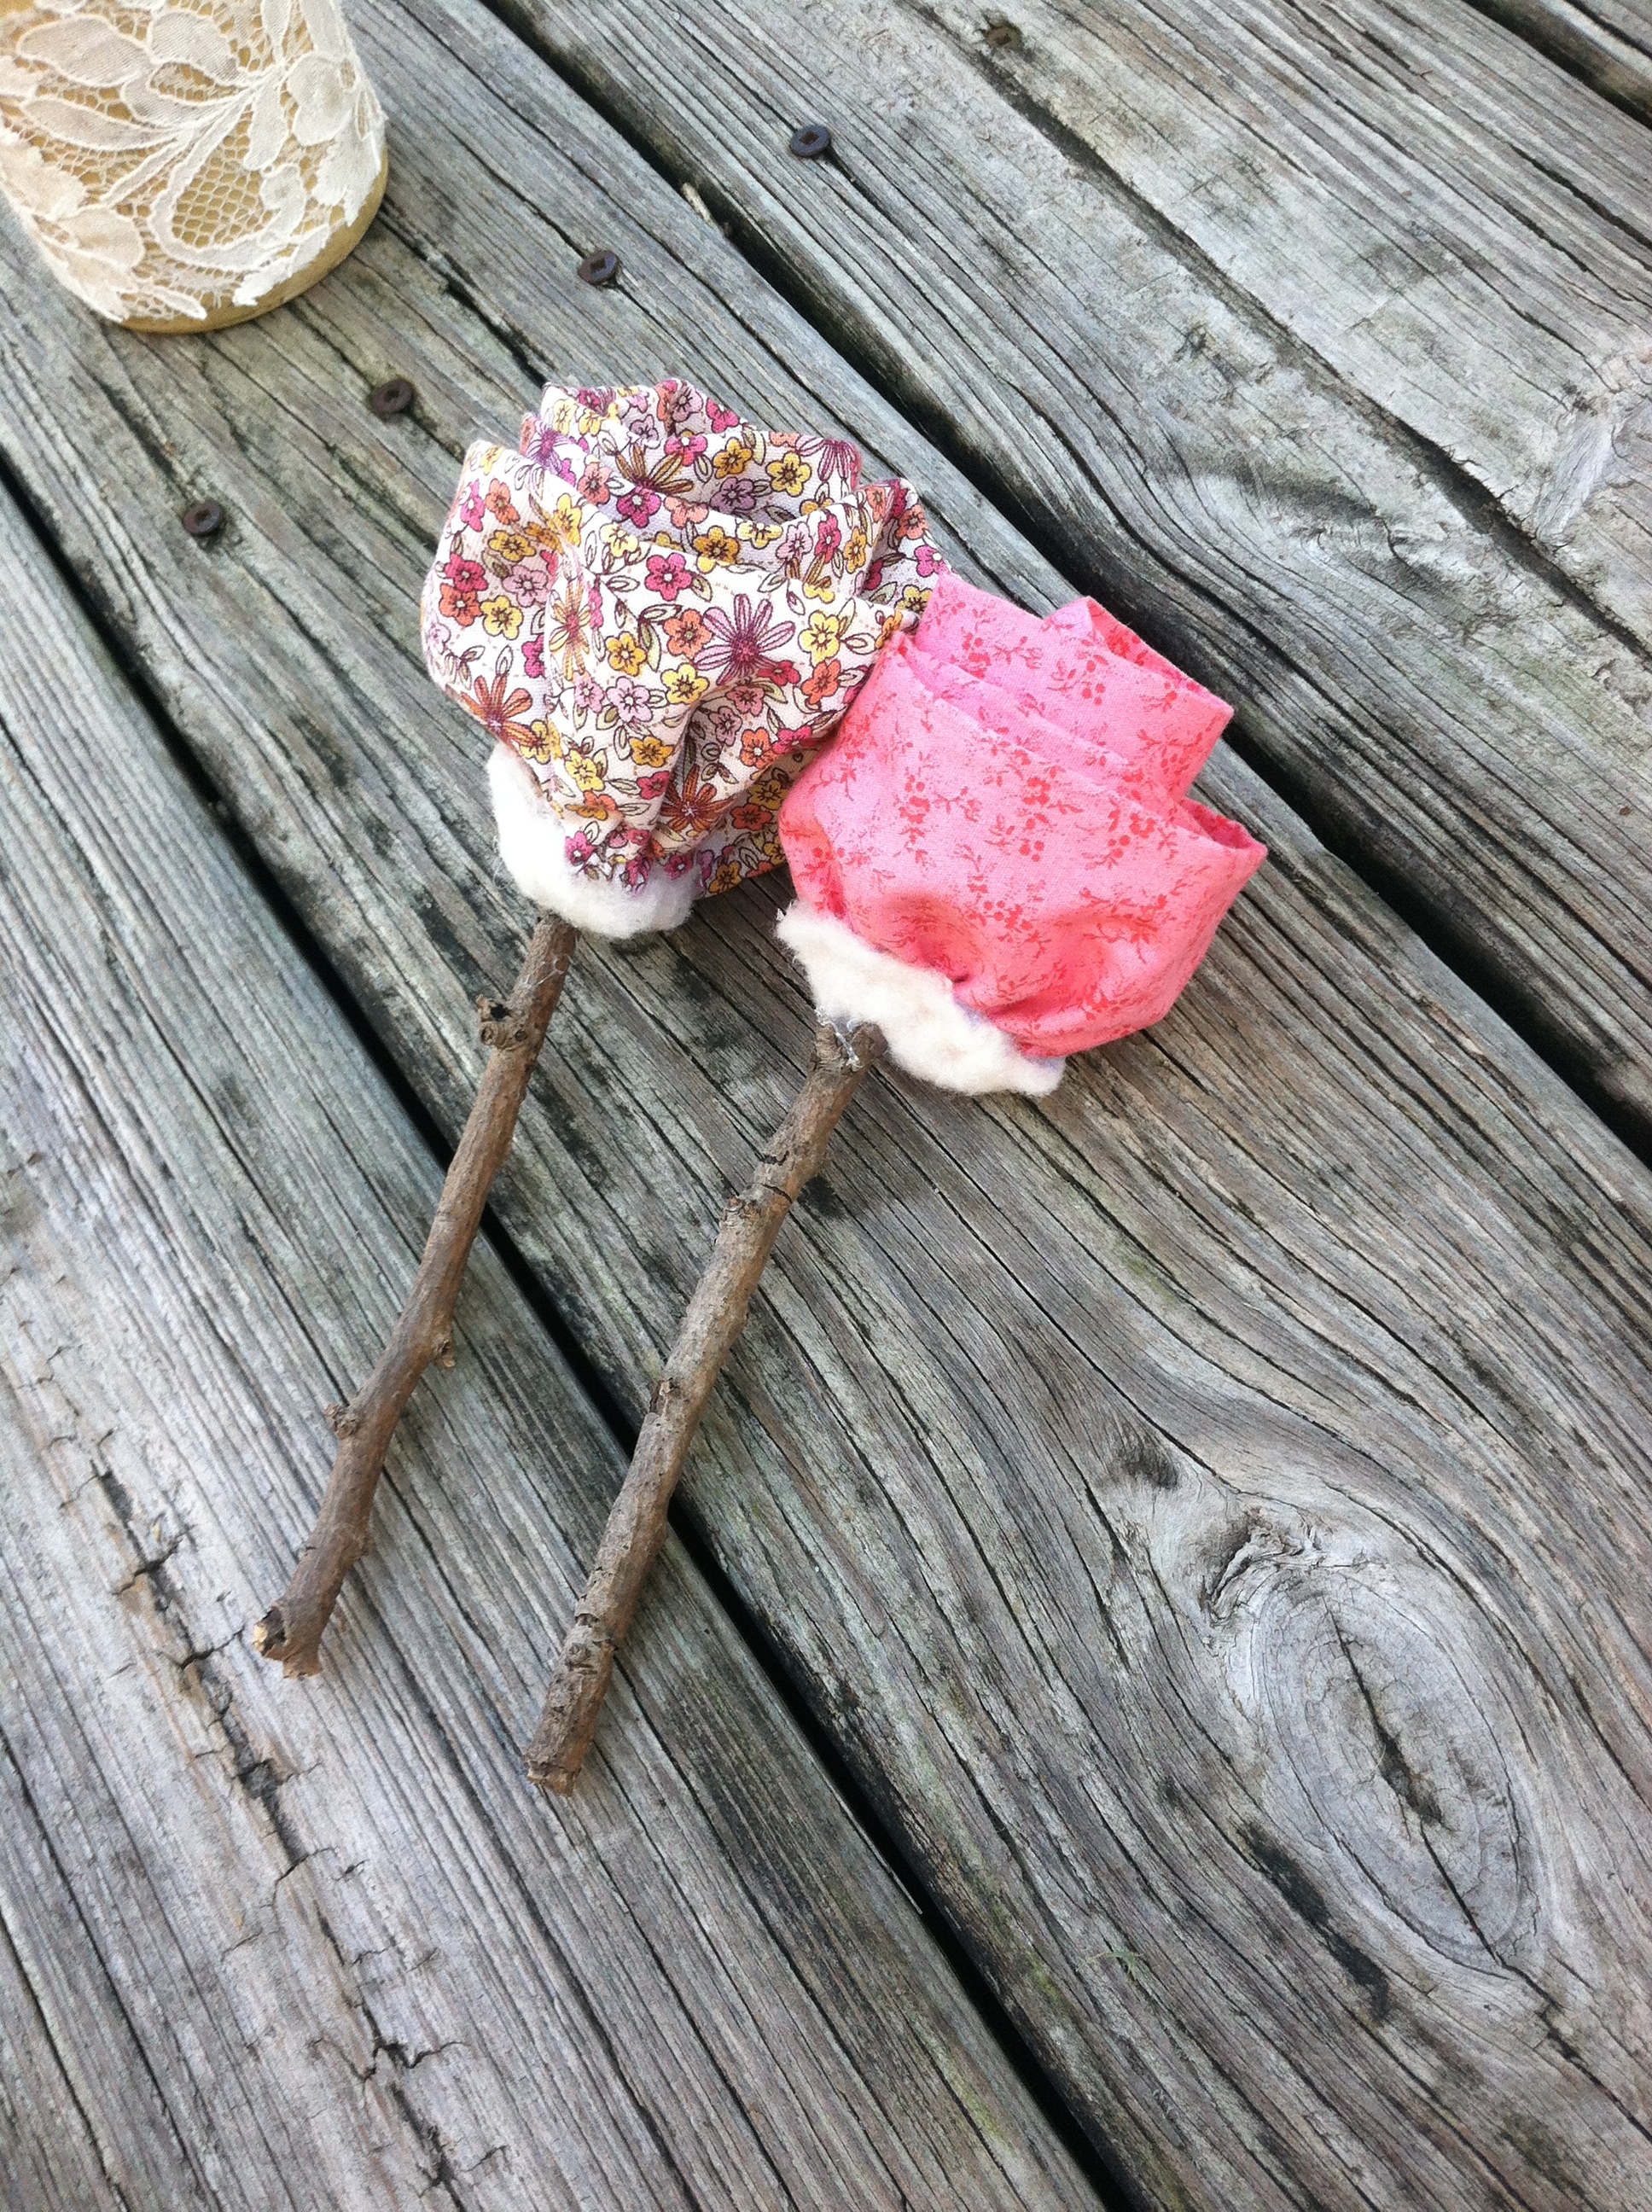
Now that the flower is done, find something you want to use as your stem. Since I was going for a more rustic/natural look, I found a decent-sized branch in my front yard that I snapped in half and used. You could use a branch, a pipe cleaner, a painted dowel rod – whatever you think looks best with your flower!
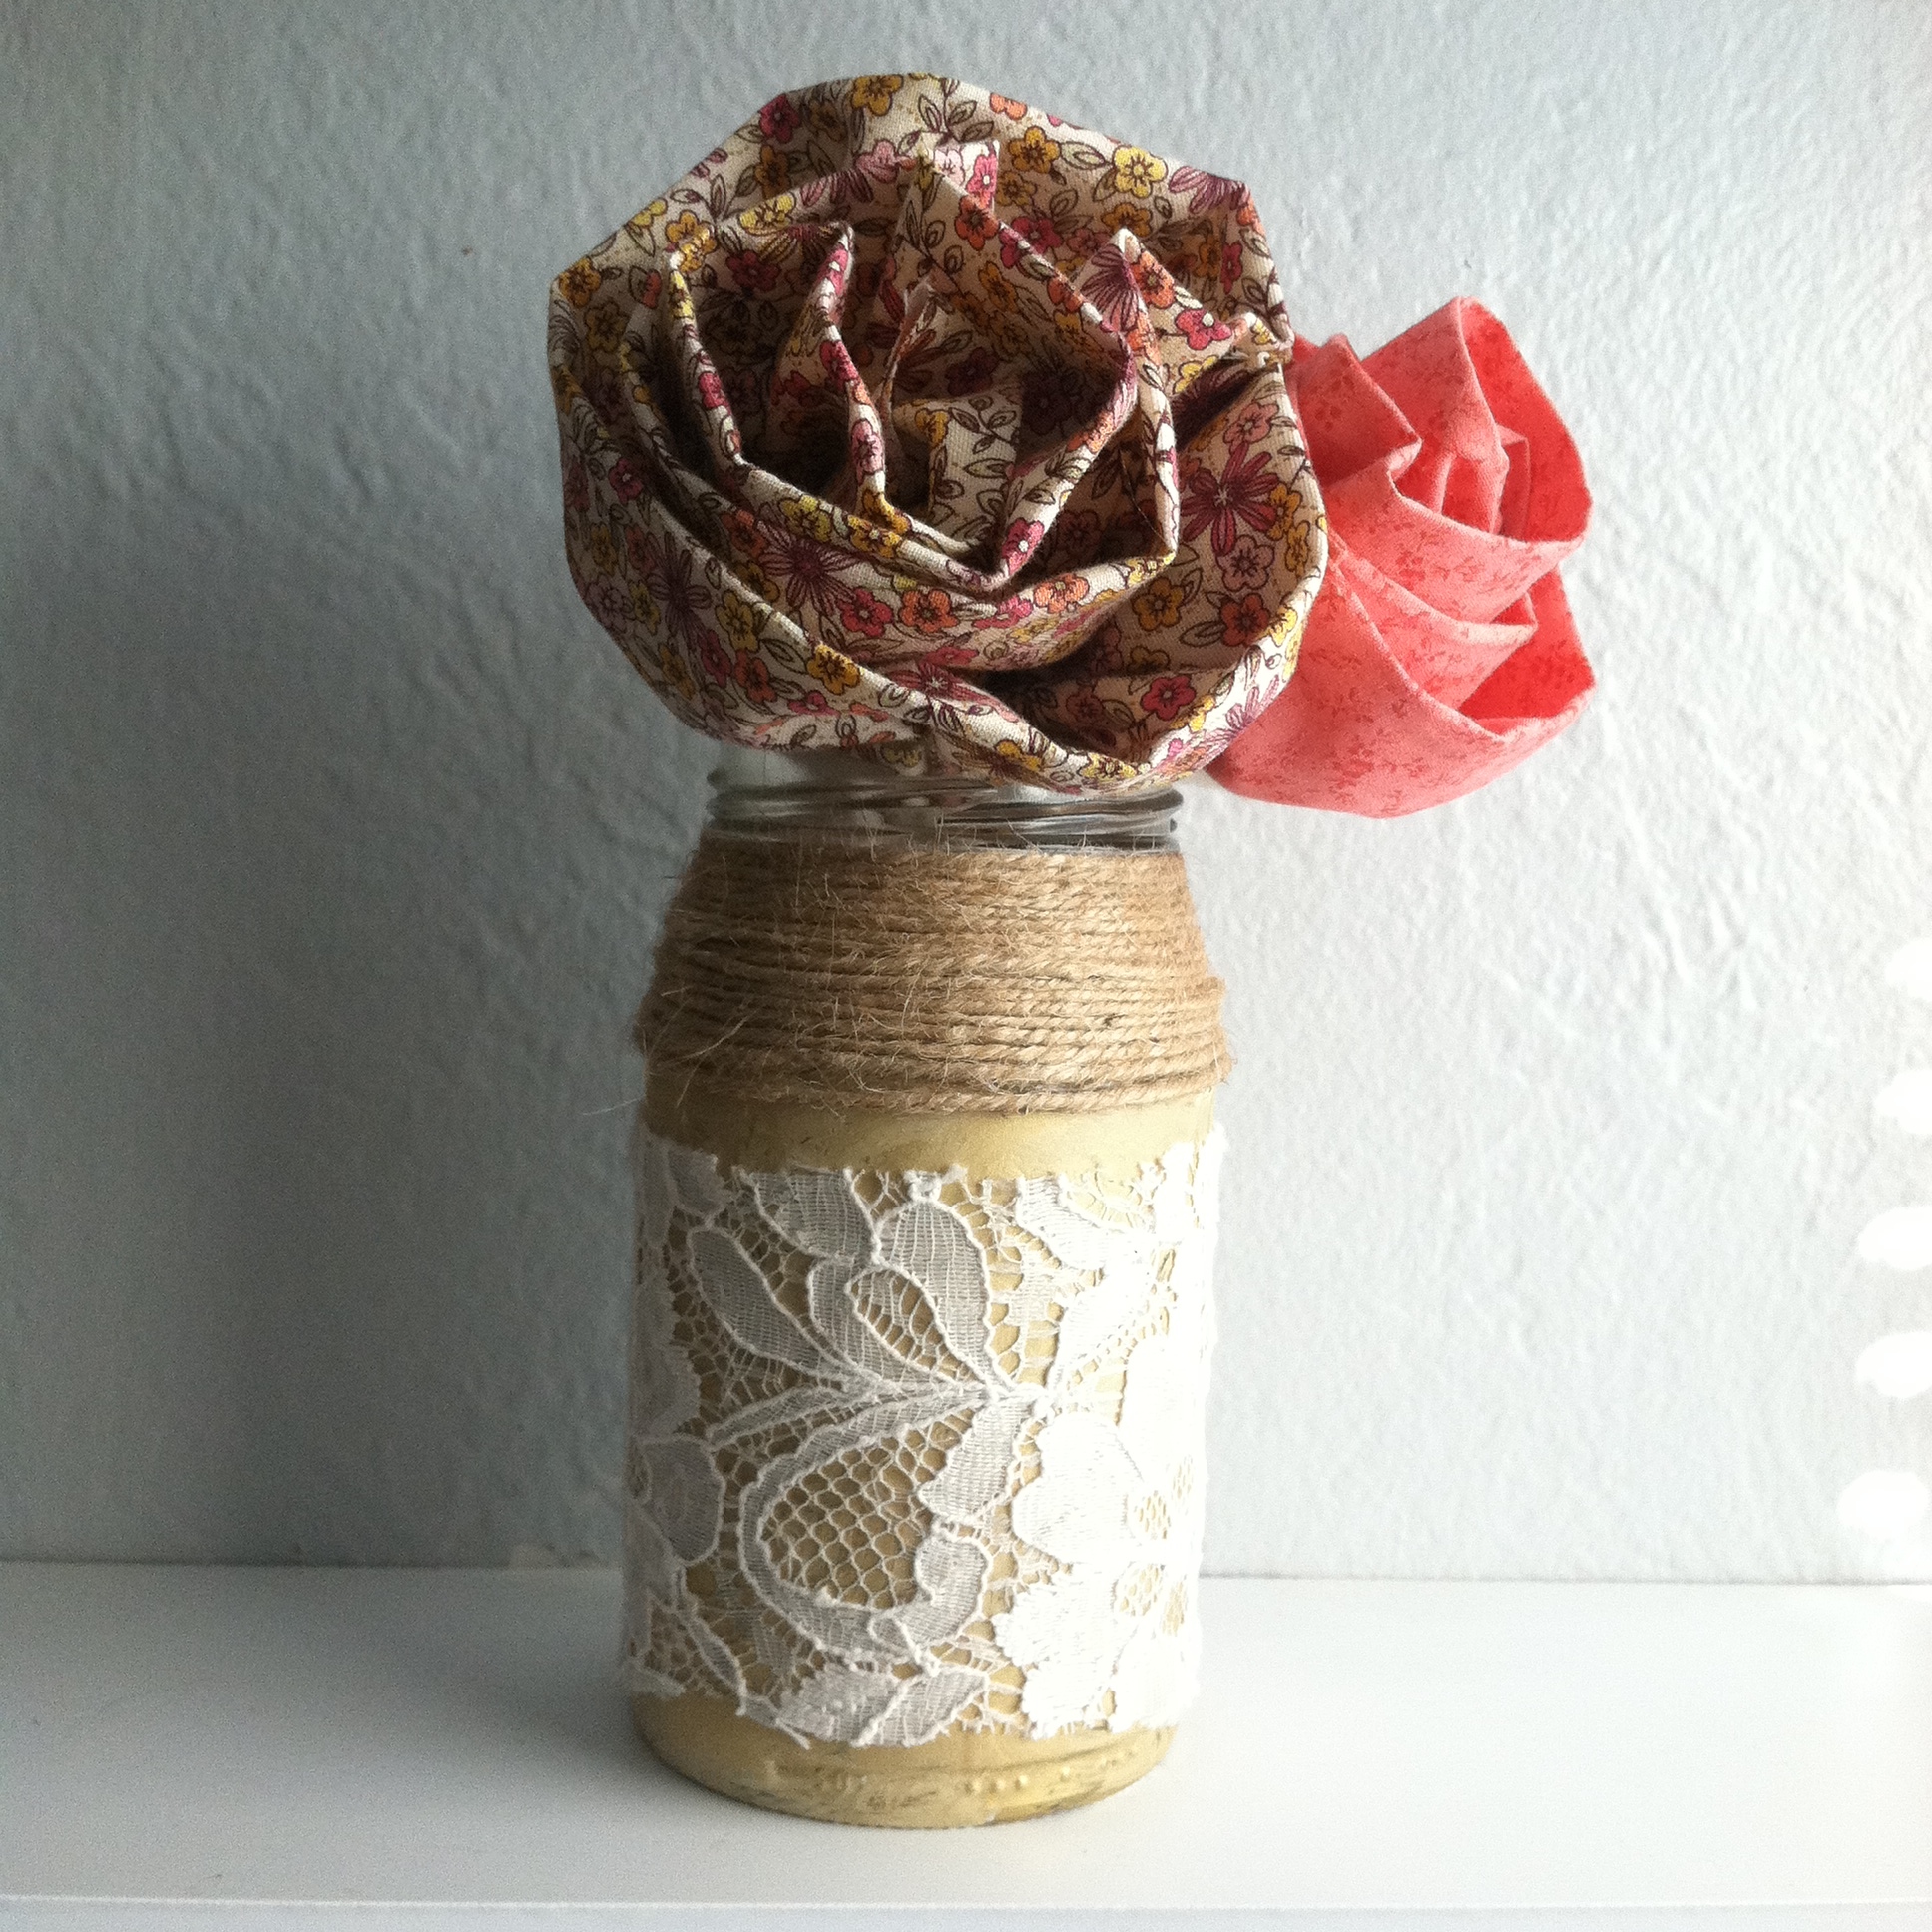
I also made another flower out of a coordinating print fabric to go with the solid fabric flower.
For my stem – I filled the little hole in my circle of batting with hot glue, stuck my branch in the glue, added some more hot glue around the stem, and held it there until it was dry and secure. Make sure you hold the stem in place until the glue dries completely!
For my jar – I just wrapped some twine around the top and secured it with a little hot glue in the back. Then, I painted the rest of the jar gold, let it sit for a couple minutes, then wrapped a scrap of lace around the jar while the paint was still wet. A couple hours later my jar was ready to go!
I balled up some paper and put it the bottom of my jar to keep the flowers in place.
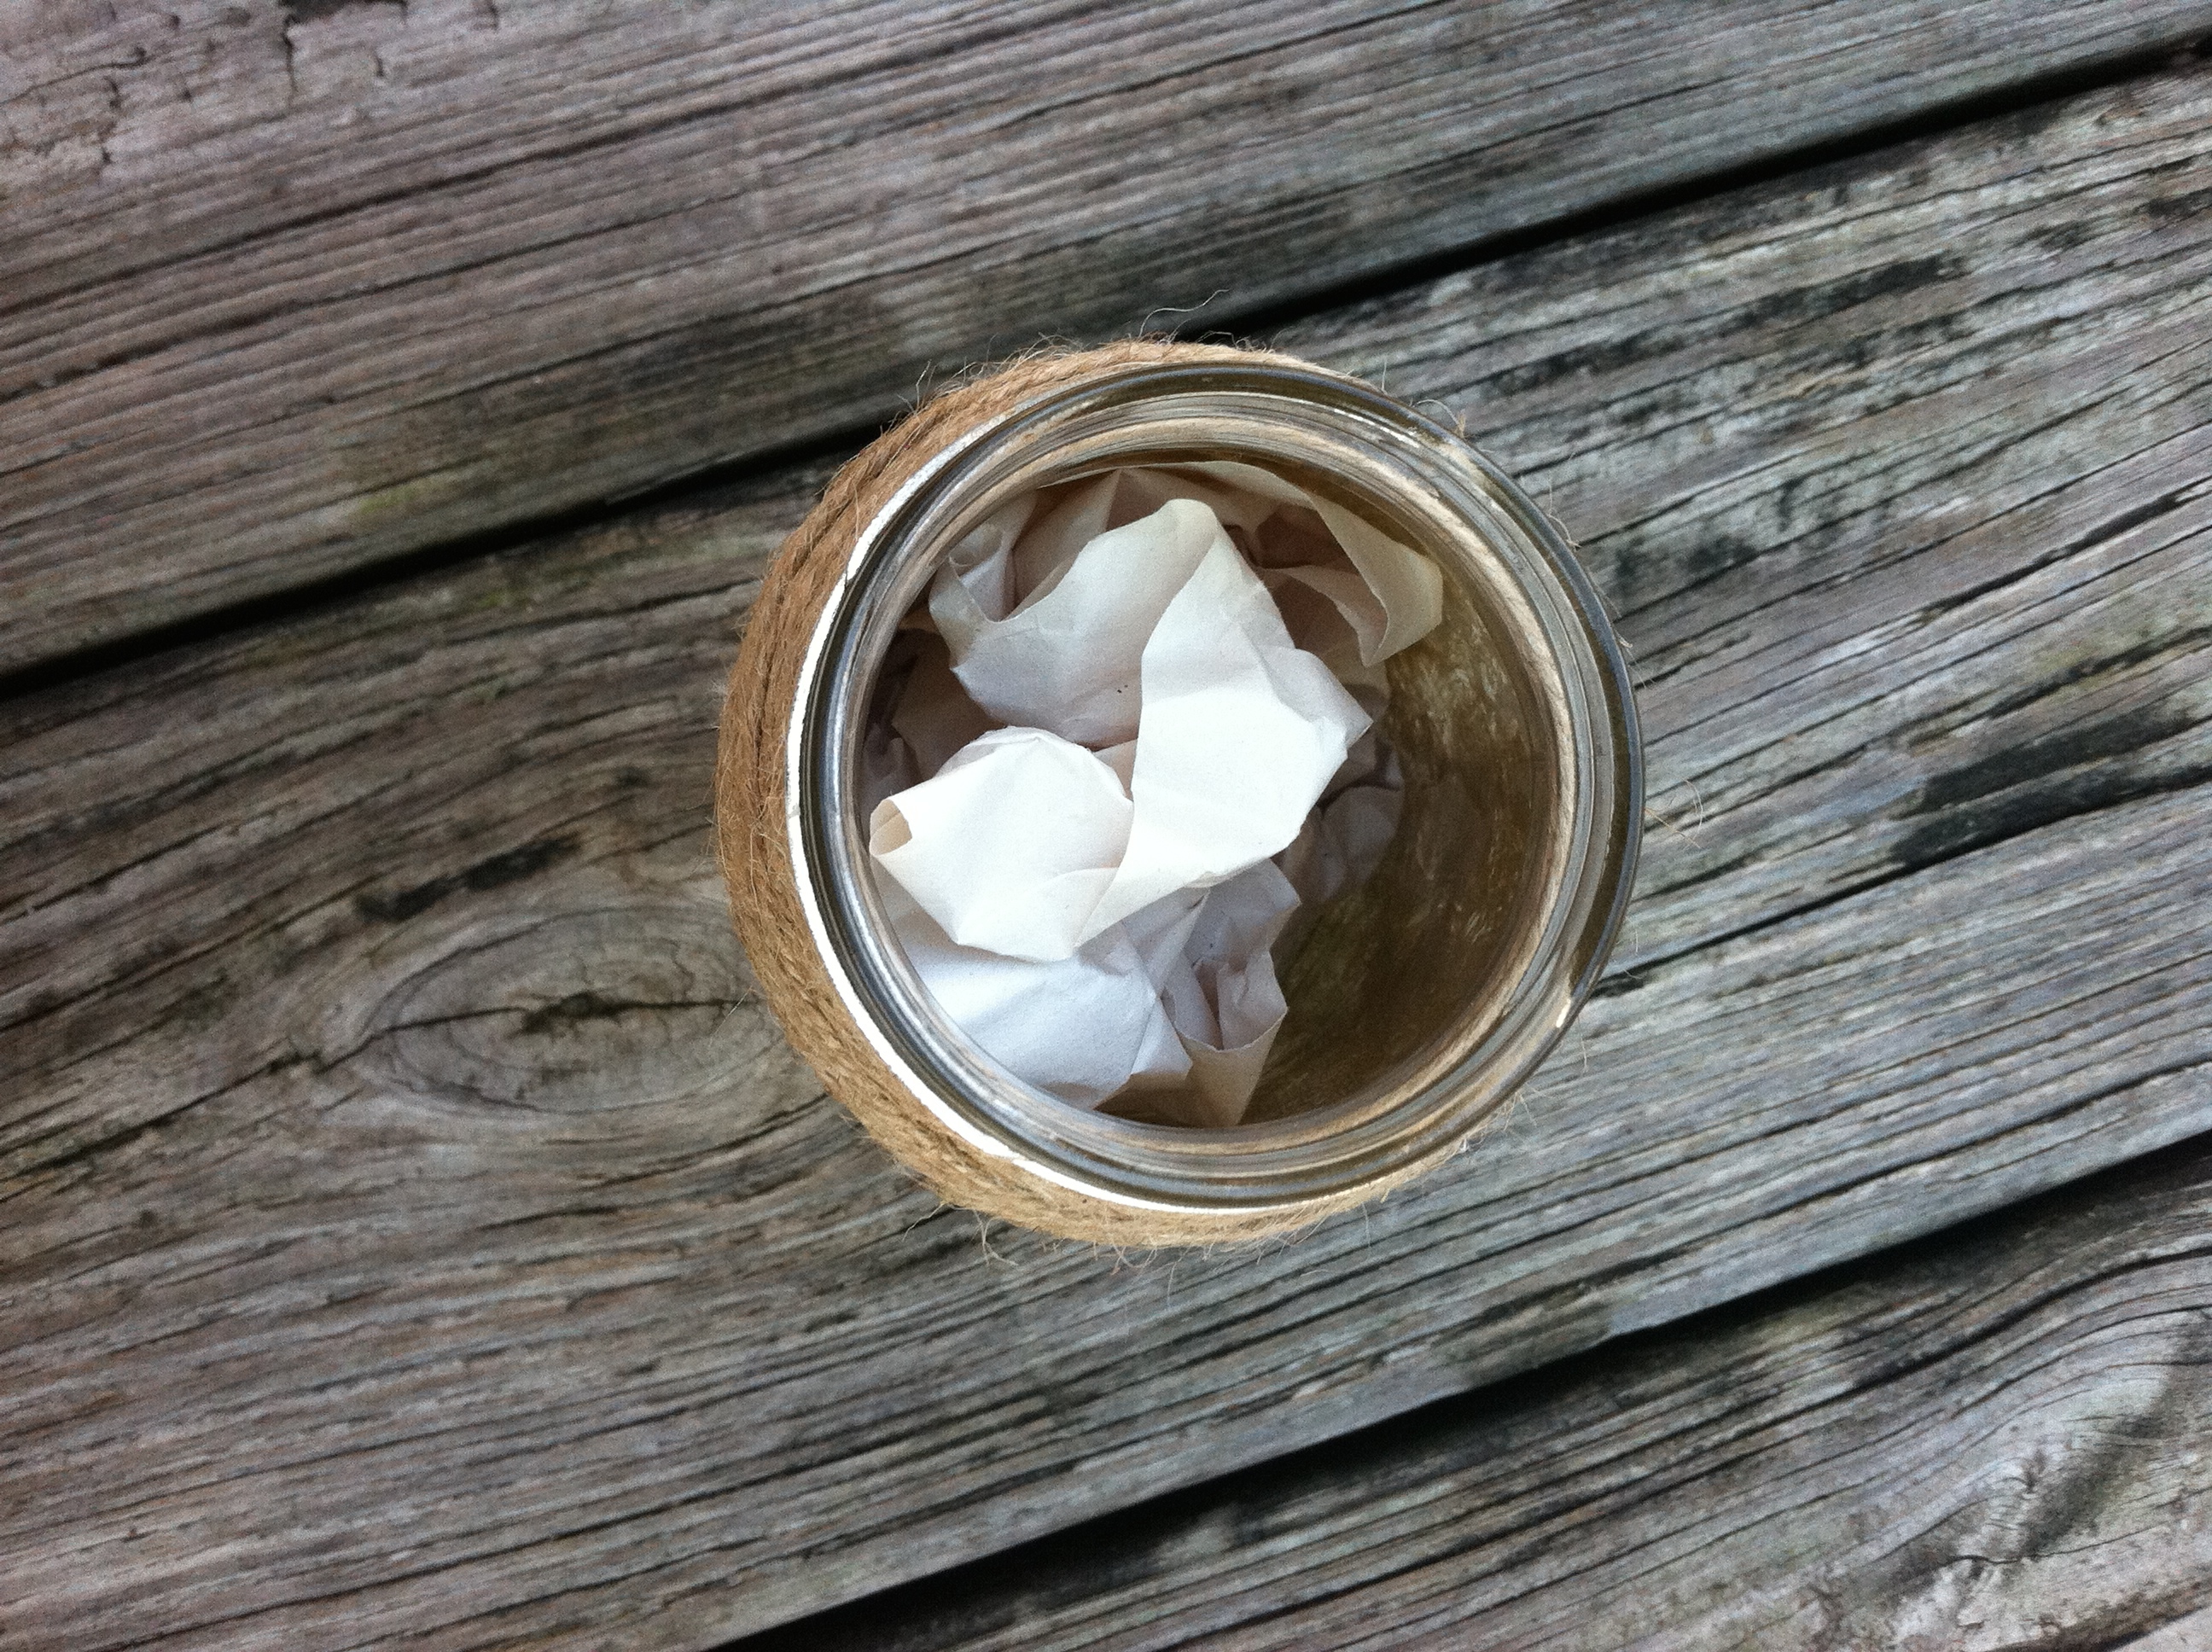
Stick your flowers in the jar and voila! It’s finished! Display your jar somewhere and you’re good to go!
Comment below and let me know if you made one of these and how it turned out! I love hearing from my followers 🙂
