Did you know coffee filters are great things to use in kids’ crafts? Coffee filters cost next to nothing, so it is definitely a budget-friendly craft item! Learn how to dye coffee filters the easy way in this post!
How to Dye Coffee Filters the Easy Way
I’m prepping these coffee filters for a flower craft I plan to do with some kids here soon! What is nice about this is, if you are limited for time and don’t have the time to wait for the filters to dry during your art class time or whatever, you can dye these at home first and they will be all ready to go for the kids to use in their craft project.
:: pin it ::
Or, if you have the time or the appropriate age of kids that can do these themselves, it is also a super fun thing for them to do!
Here’s what you need:
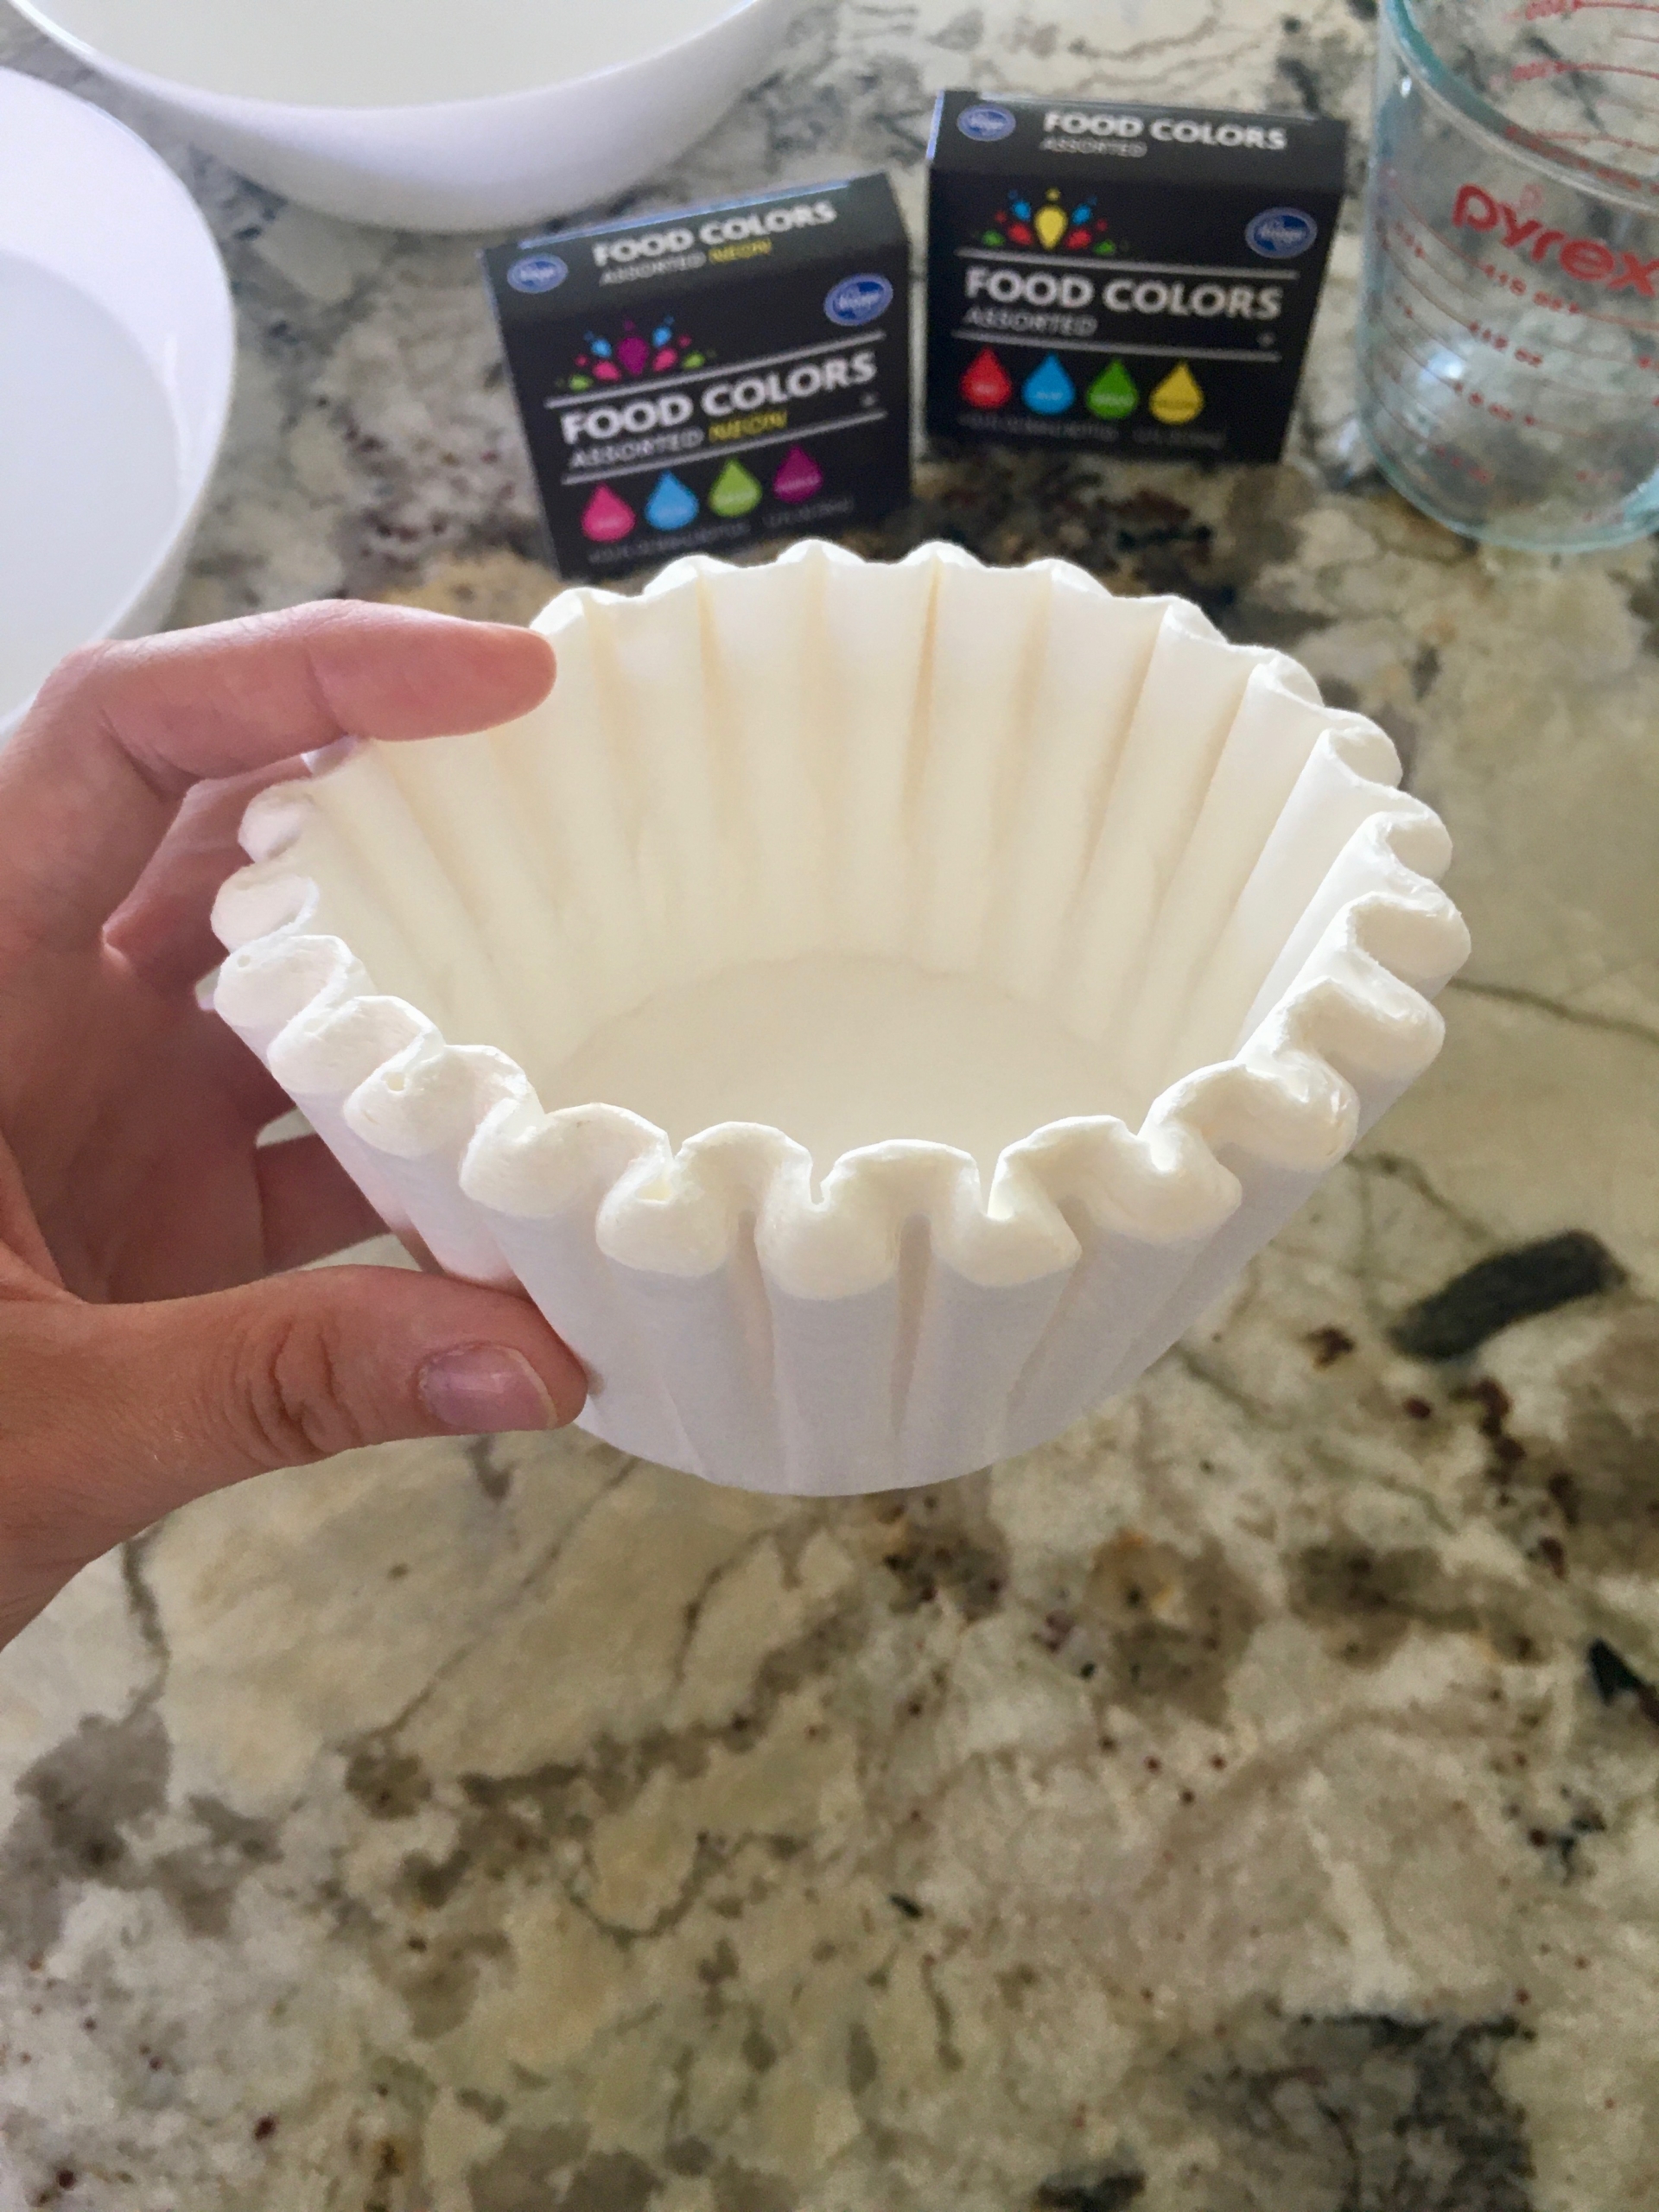
- basket style coffee filters (the cheap ones are great for this!)
- liquid food coloring
- water
- bowls
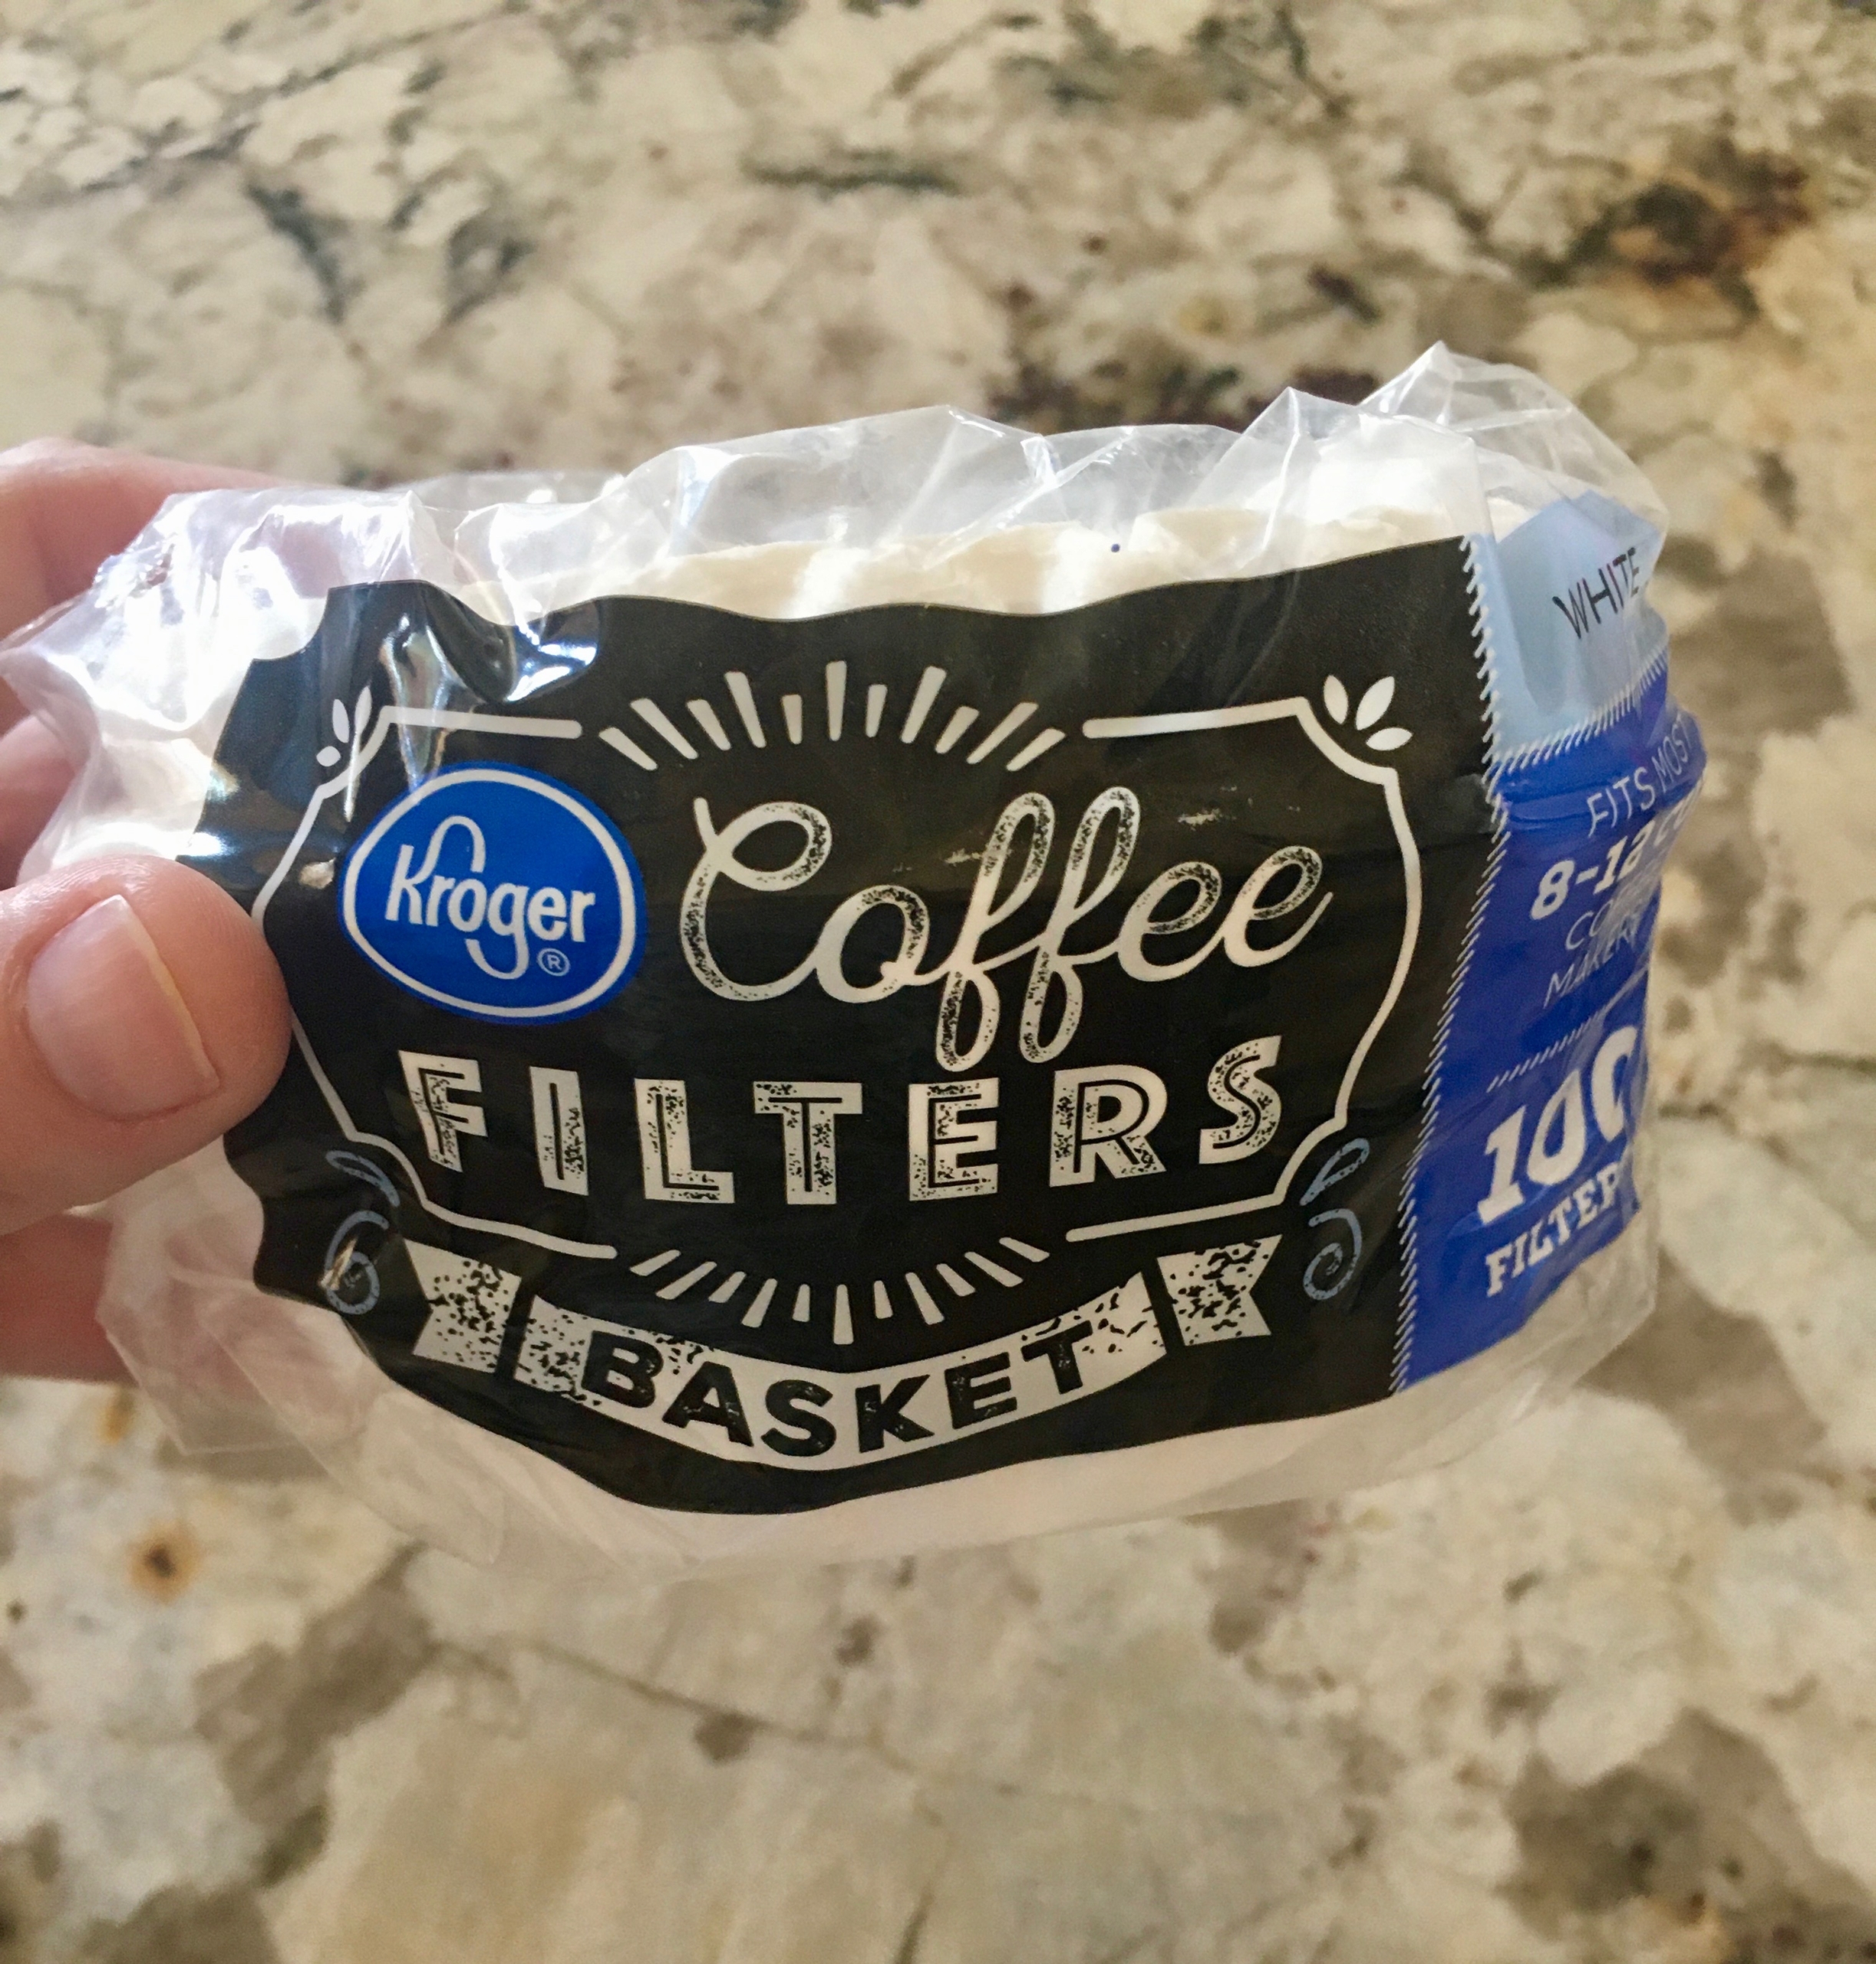
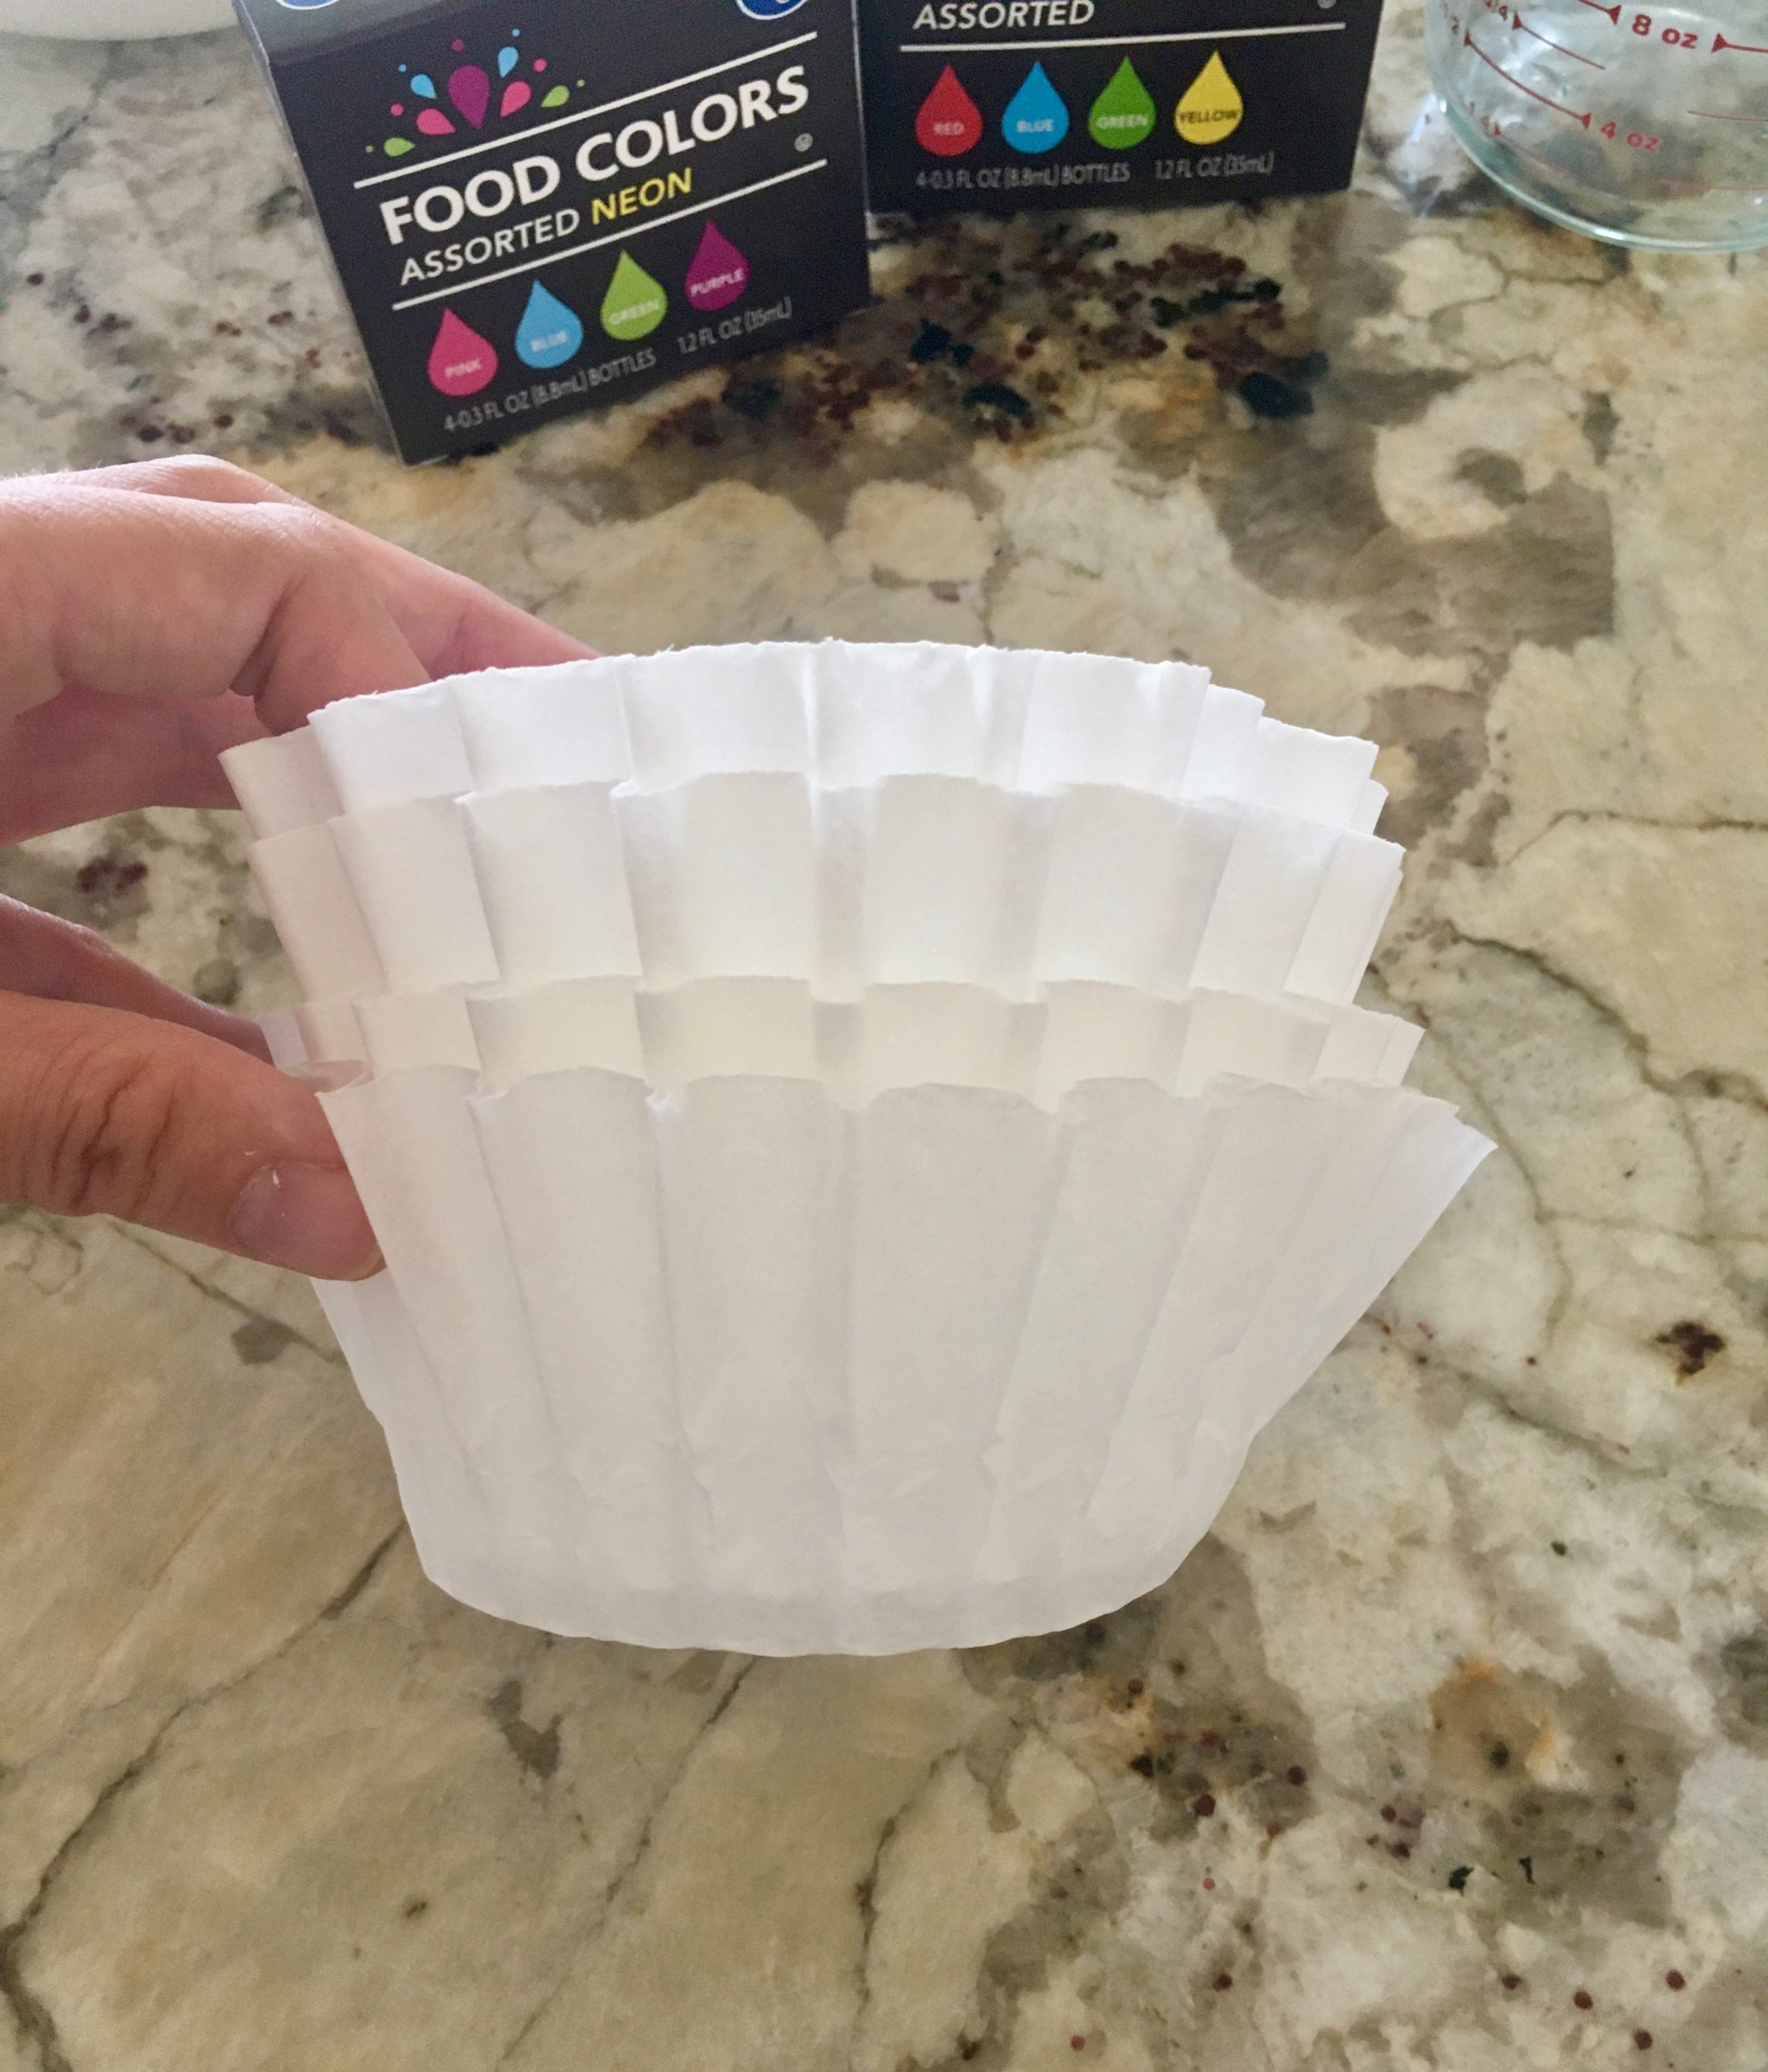
Start by taking your coffee filters and separating them into groups of about 5. You don’t need to count them out necessarily; you just don’t want to take the stack of them all together like this.
Separate them into smaller stacks, like this below.
Add water to your bowls. So for my size bowls, I put about 4 cups of water in each bowl and it was perfect. You want the coffee filters to be completely submerged when you put them in.
Next, add your food coloring.
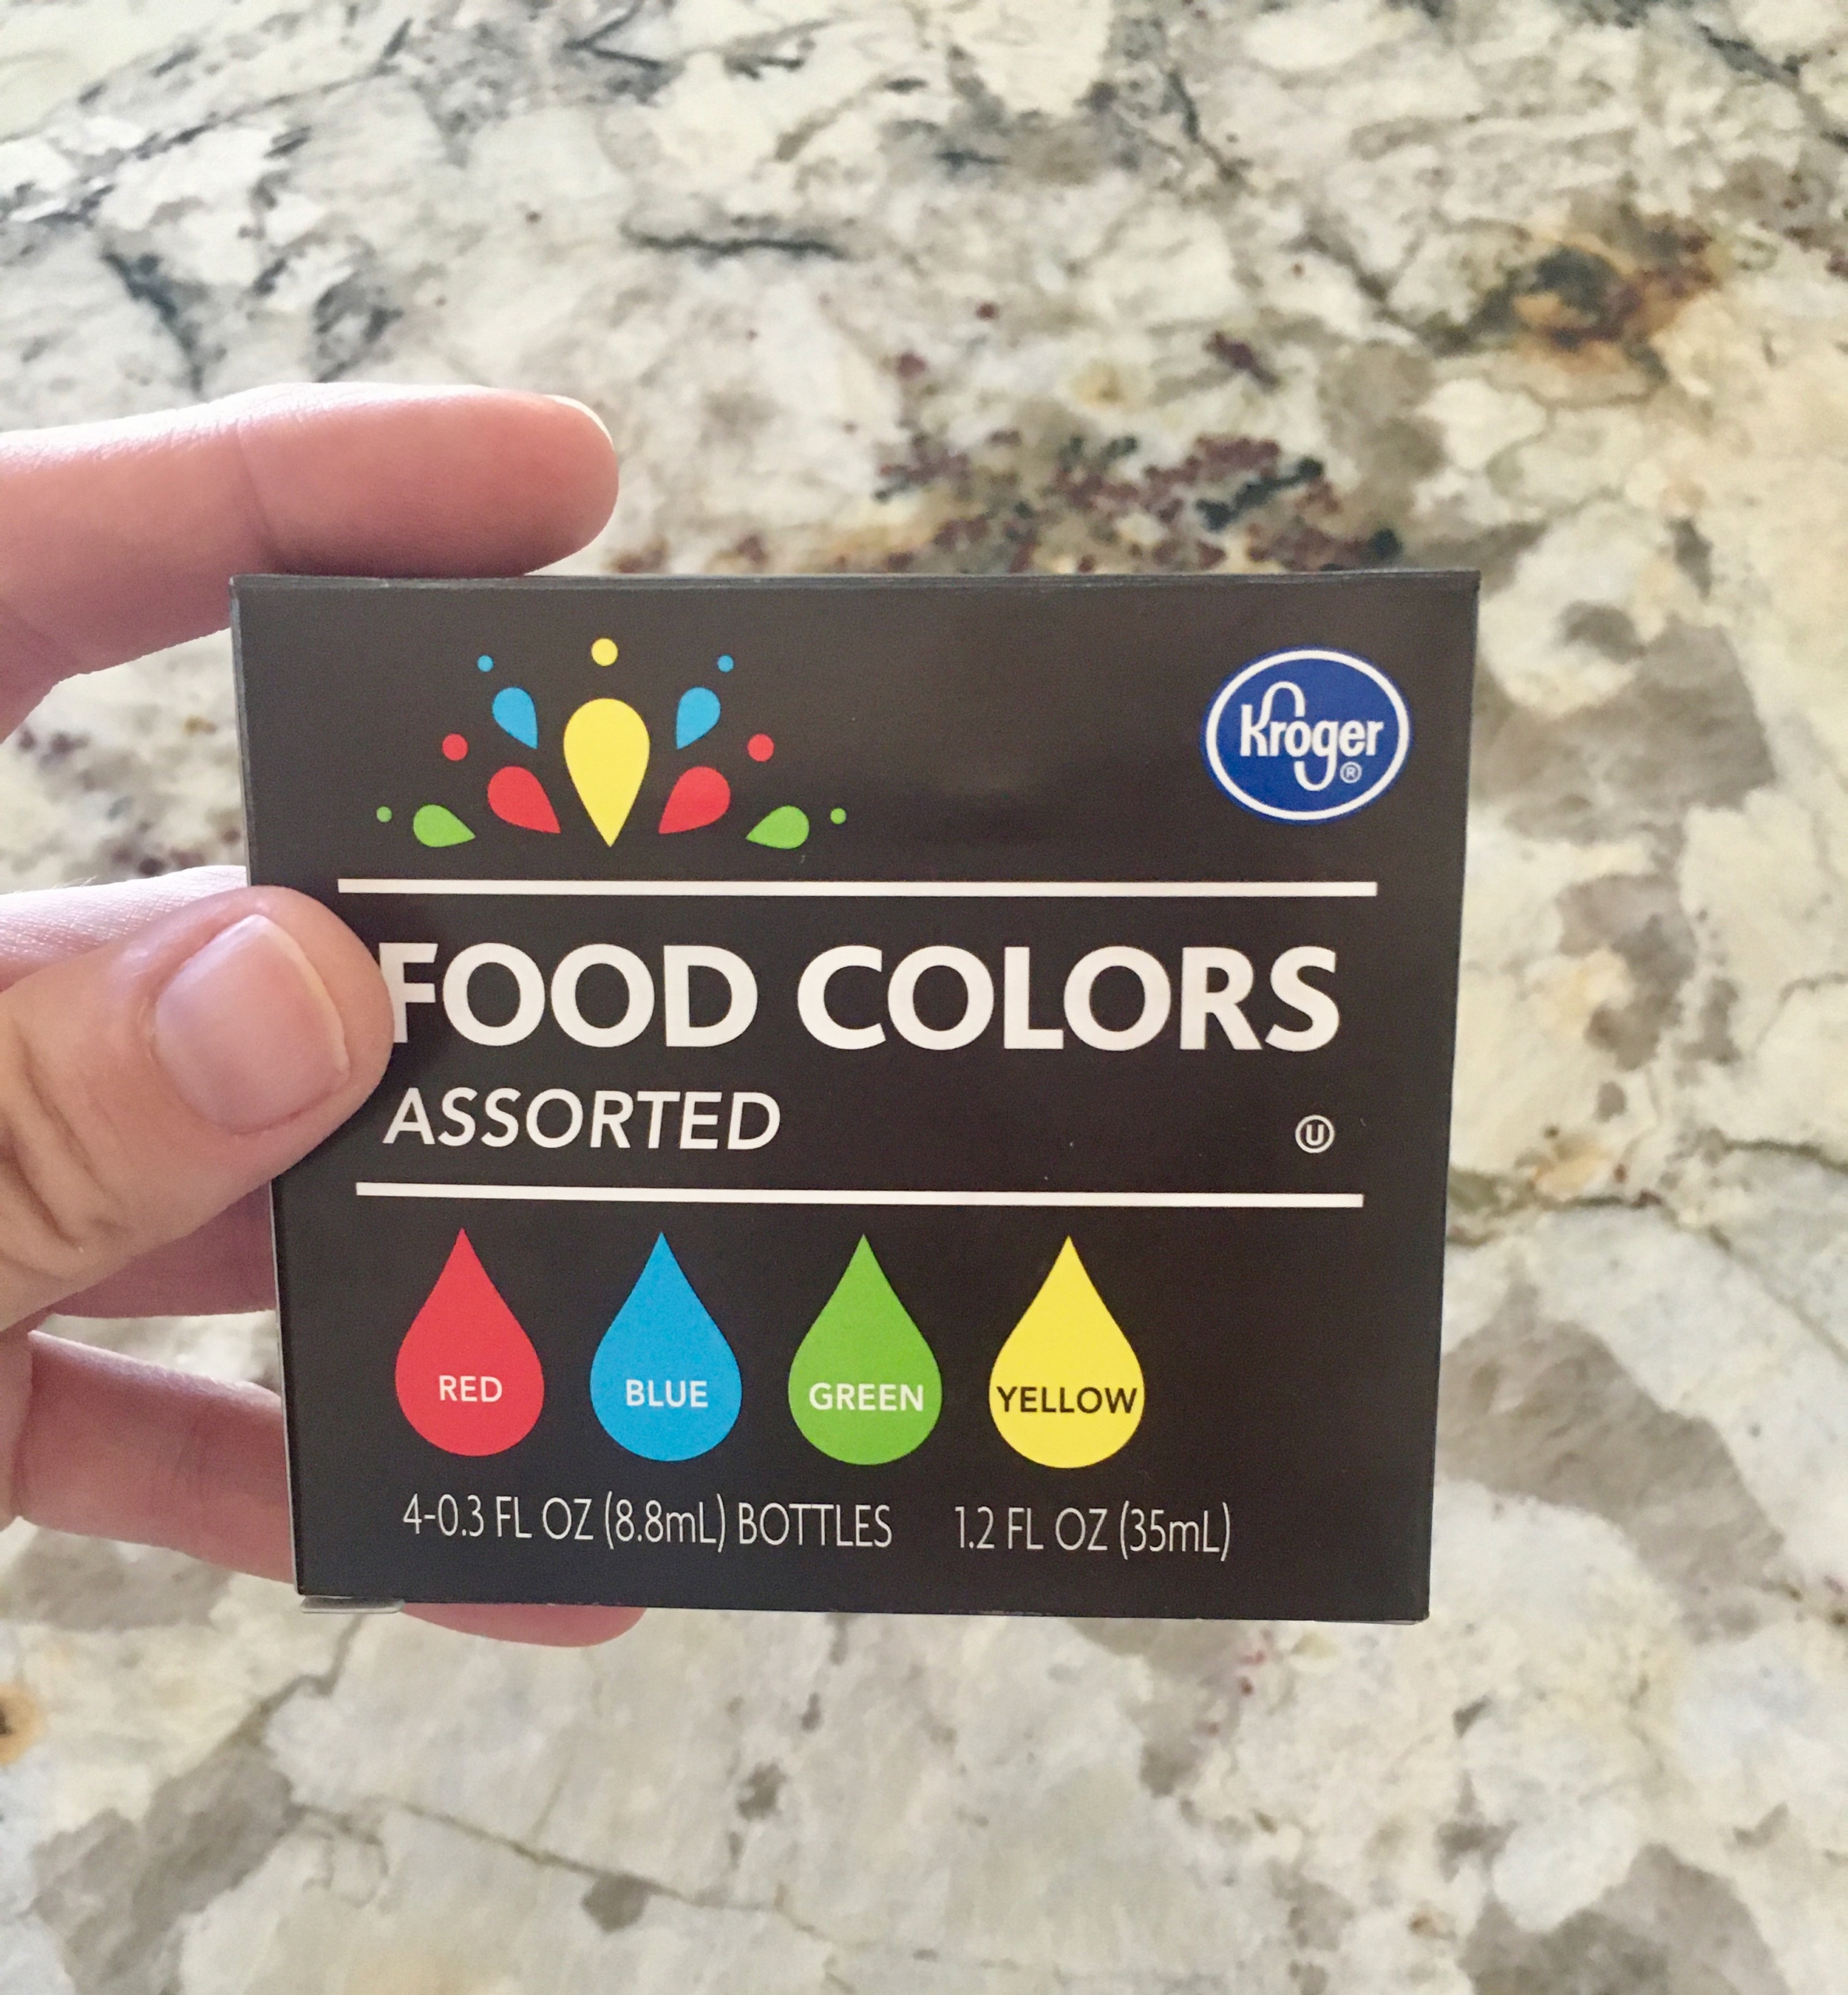
Let’s talk about this liquid food coloring. 🙂 This is available most likely at your local grocery store, but if you have a hard time finding it, you’re not alone! I went to my local store here; I knew they had it because it was available on their app. So, I looked in the baking section where all of that kind of stuff is, but no luck!! Come to find out, they put it with the all of the extracts which are with the spices. And I was quite happy to see that my store had the primary colors as well as the neon! Yay! So, if you are searching for it, that may be the place to check. Just thought I’d share that bit of information. 🙂
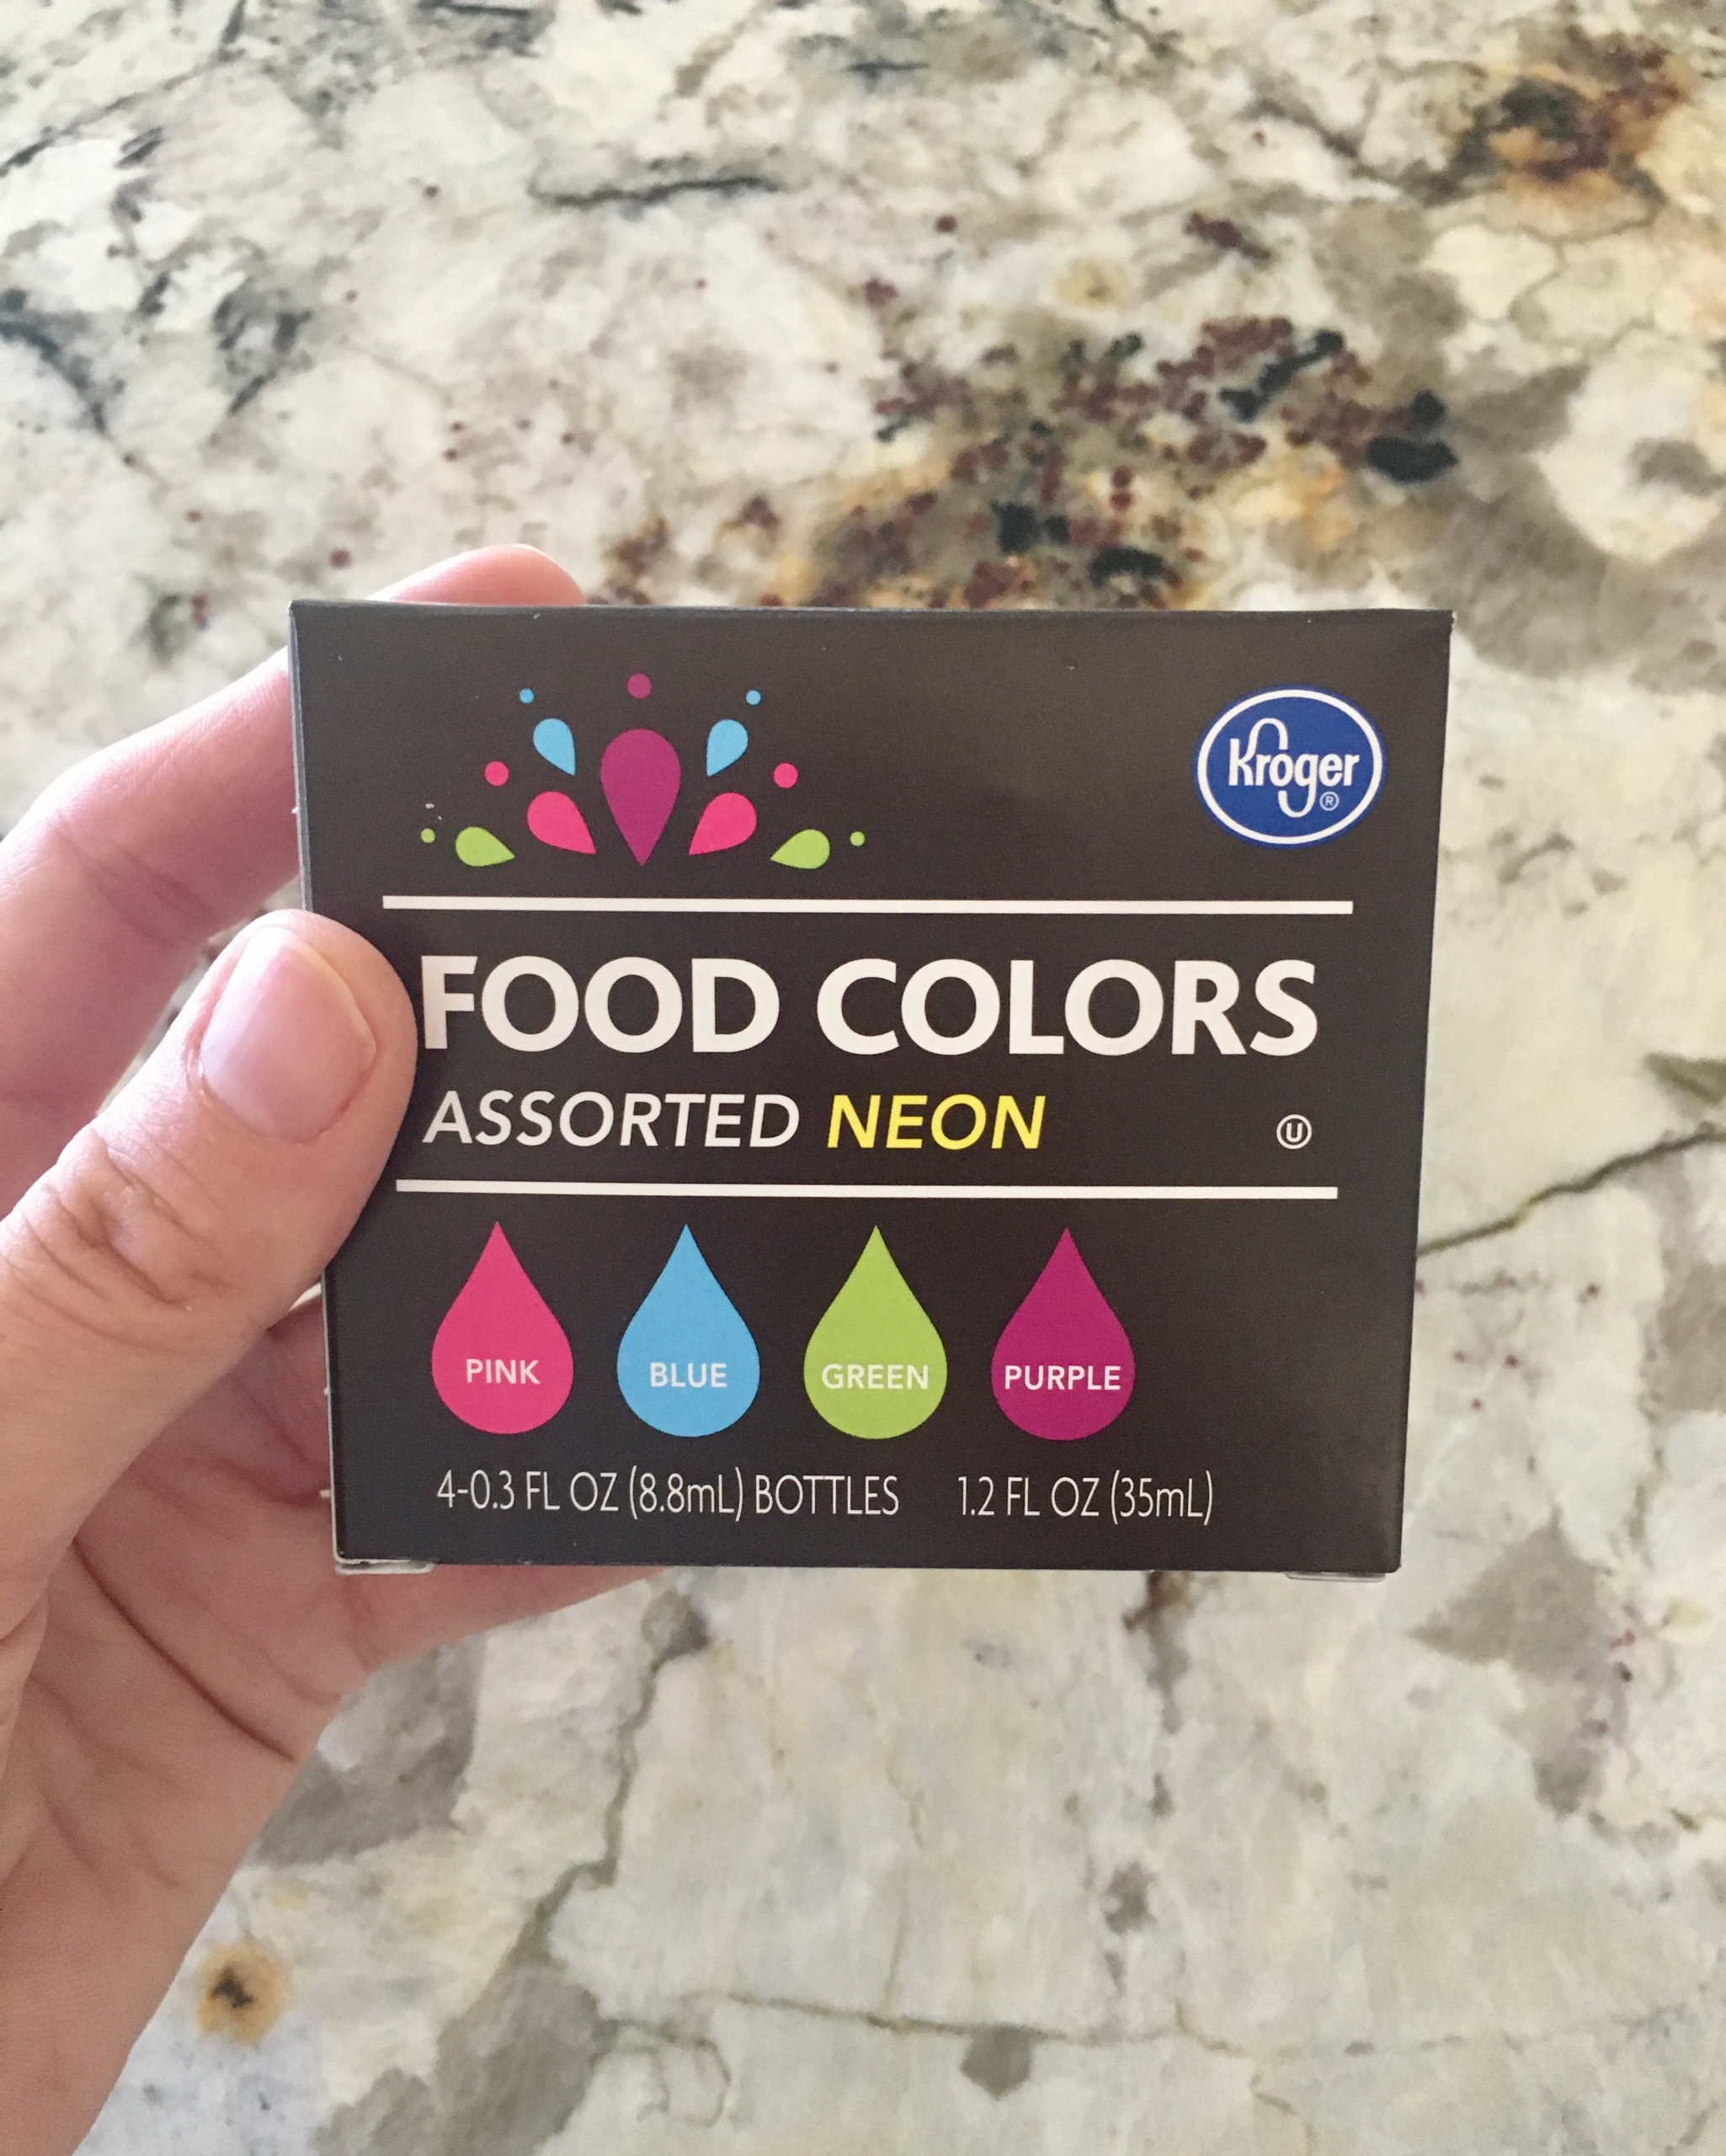
Here’s what I did:
- the purple I did 20 drops
- the yellow I did 25 drops
- the pink I did 20 drops
- the blue I did 20 drops
(updated– after I did it…. I didn’t care for the purple, but I didn’t have time to do it again, so I kept it. 🙂 Next time, I would add a lot more of the purple drops as it turned out more pinkish in color.)
This is all preference, so do what you think looks good! I know with the lighter colors, it takes more food coloring to color them, that’s why I did more of the yellow drops.
And, if they don’t turn out dark enough in color the first time, you can always color them again a second time with more color!
Add the drops to each of your bowls, stir it around and add the coffee filters. Put them in, then give them a little push to be sure they are submerged completely.
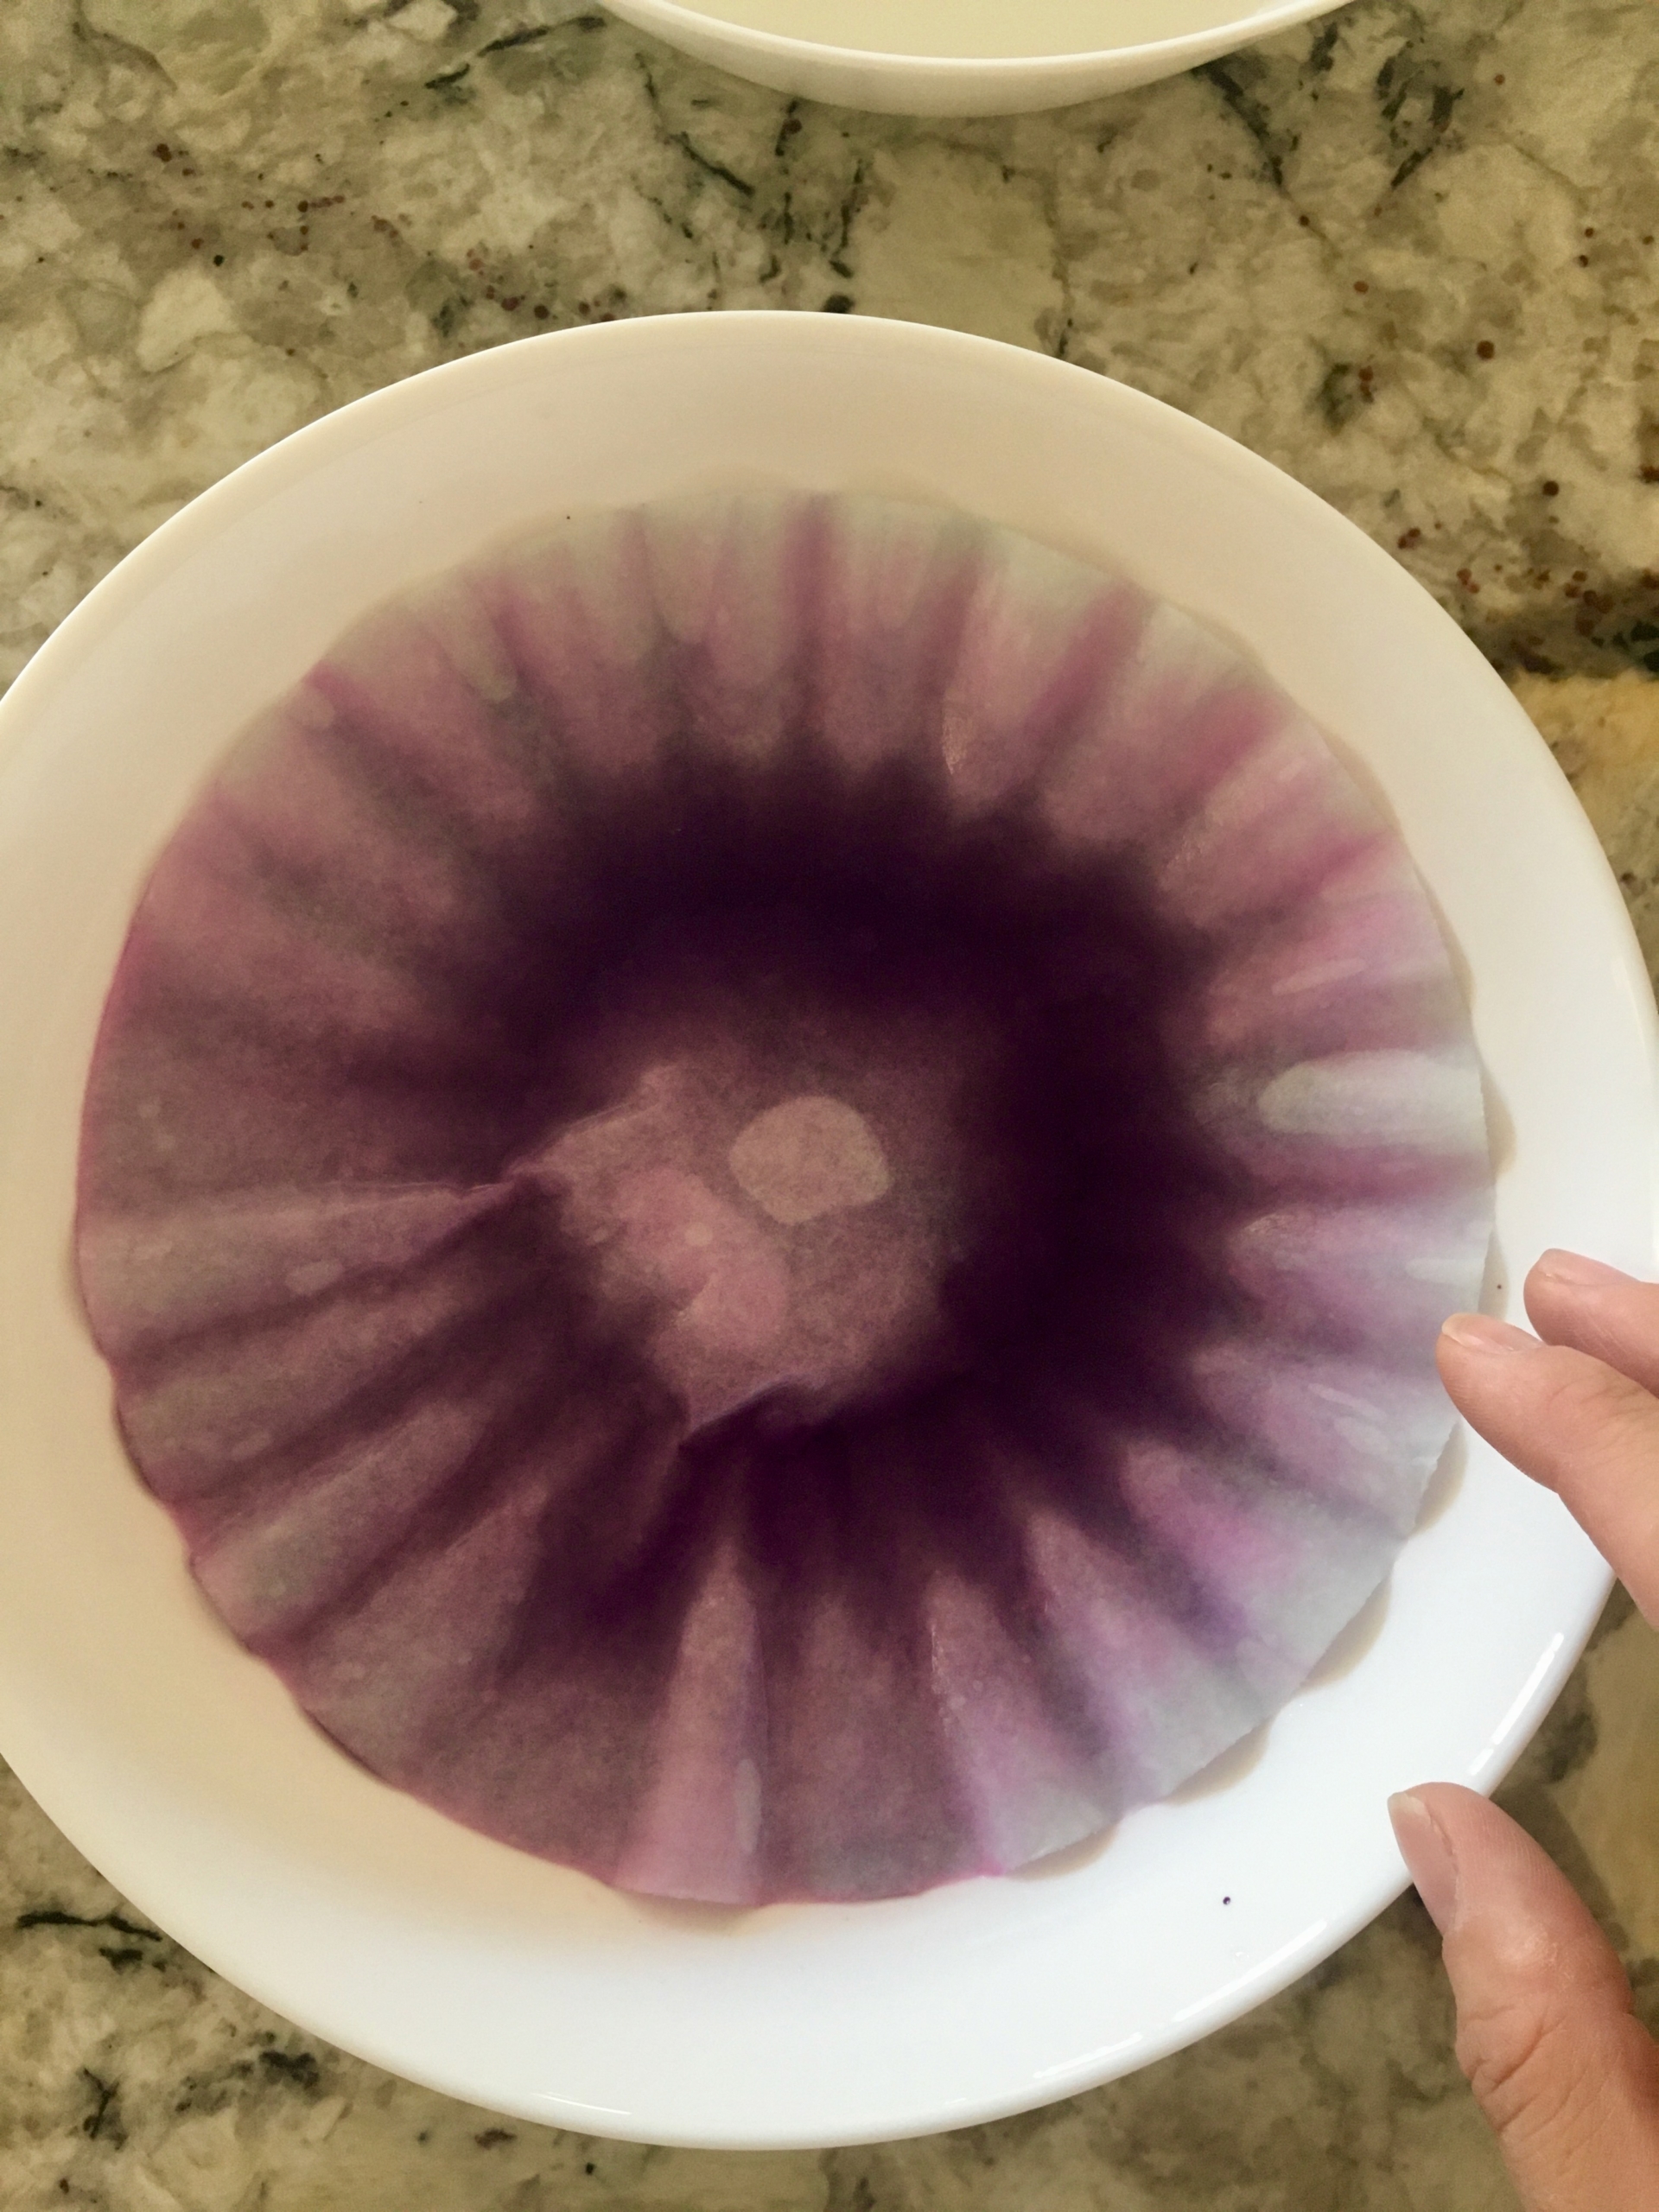
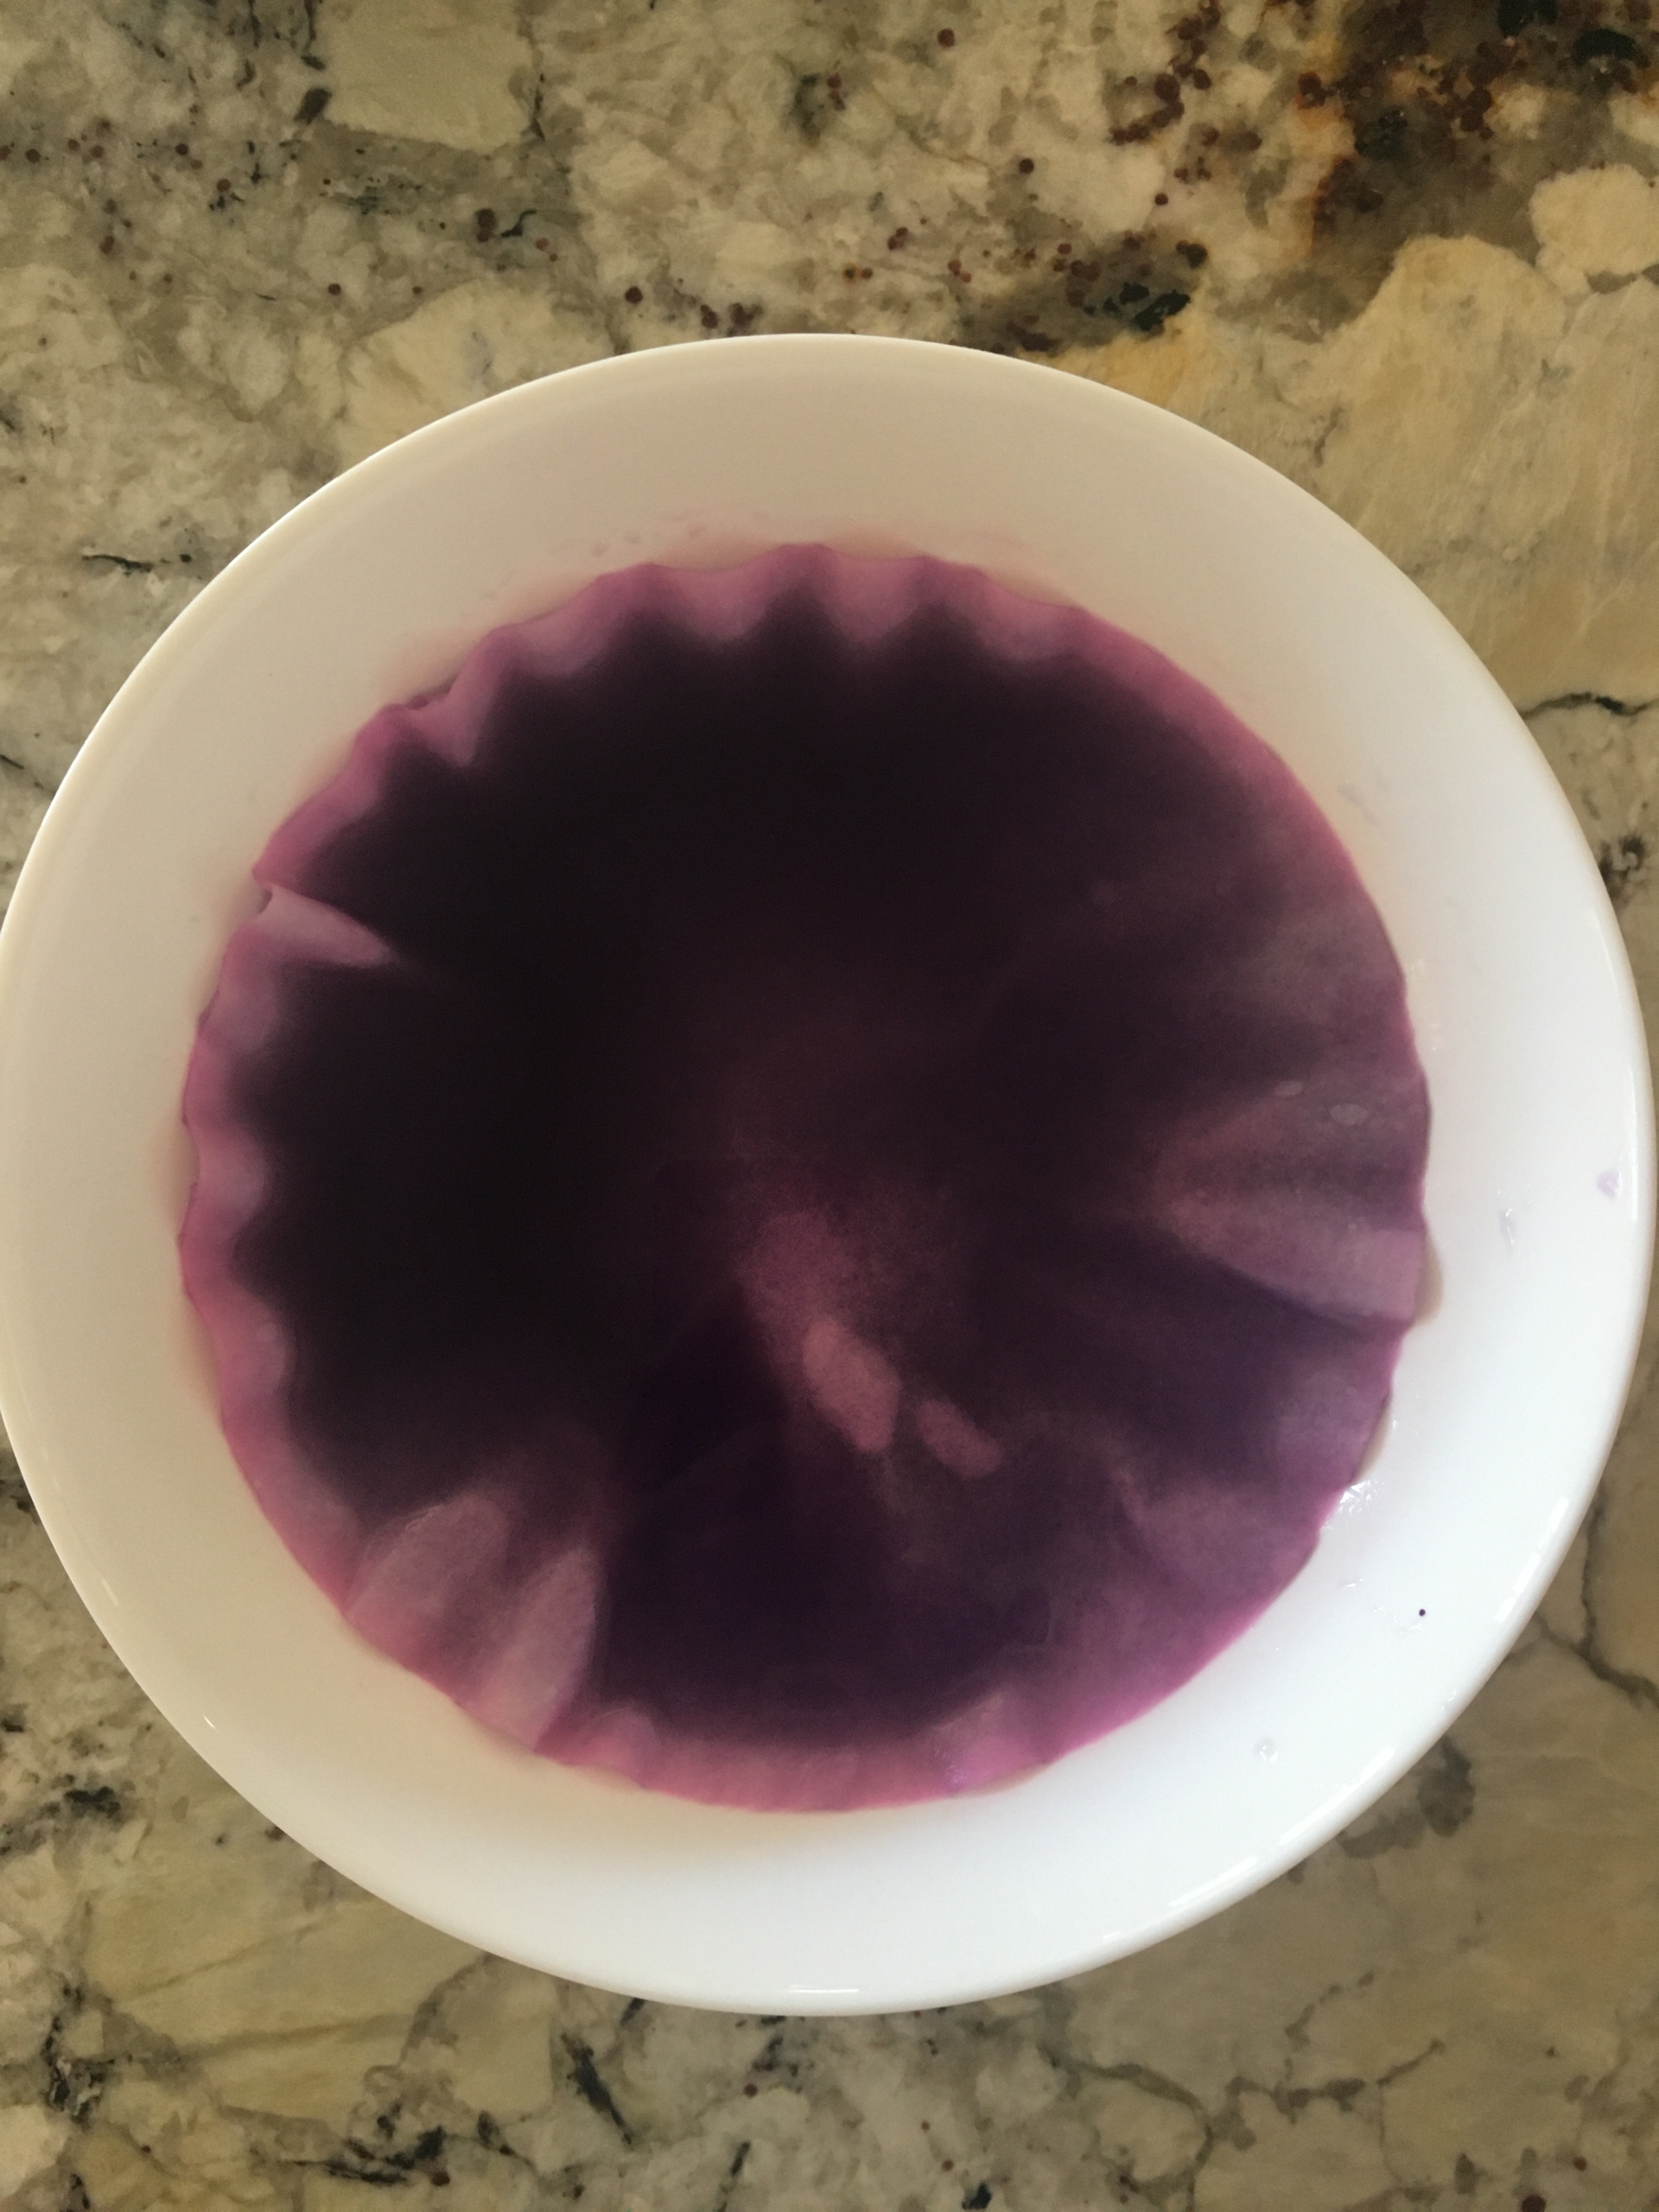
I let mine sit in the water for about 1.5 hours, but even after 30 minutes they were pretty vibrant in color.
Next, remove them from the water. In the sink is a great place to do this. You can dump out the water and squeeze them out a bit before laying them out to dry.
You can put these on cookie sheets with paper towels and stagger them so they aren’t directly on top of each other. (Remember if you put different colors touching each other, some of the color will bleed onto the other.)
But, if you have a lot of them to do at once, like I did, a garbage bag or paper towels on a counter or table works just as well!
Sometimes you may have some that you cannot get separated into a single filter. No worries! Once they dry a little bit, you will be able to easily separate them!
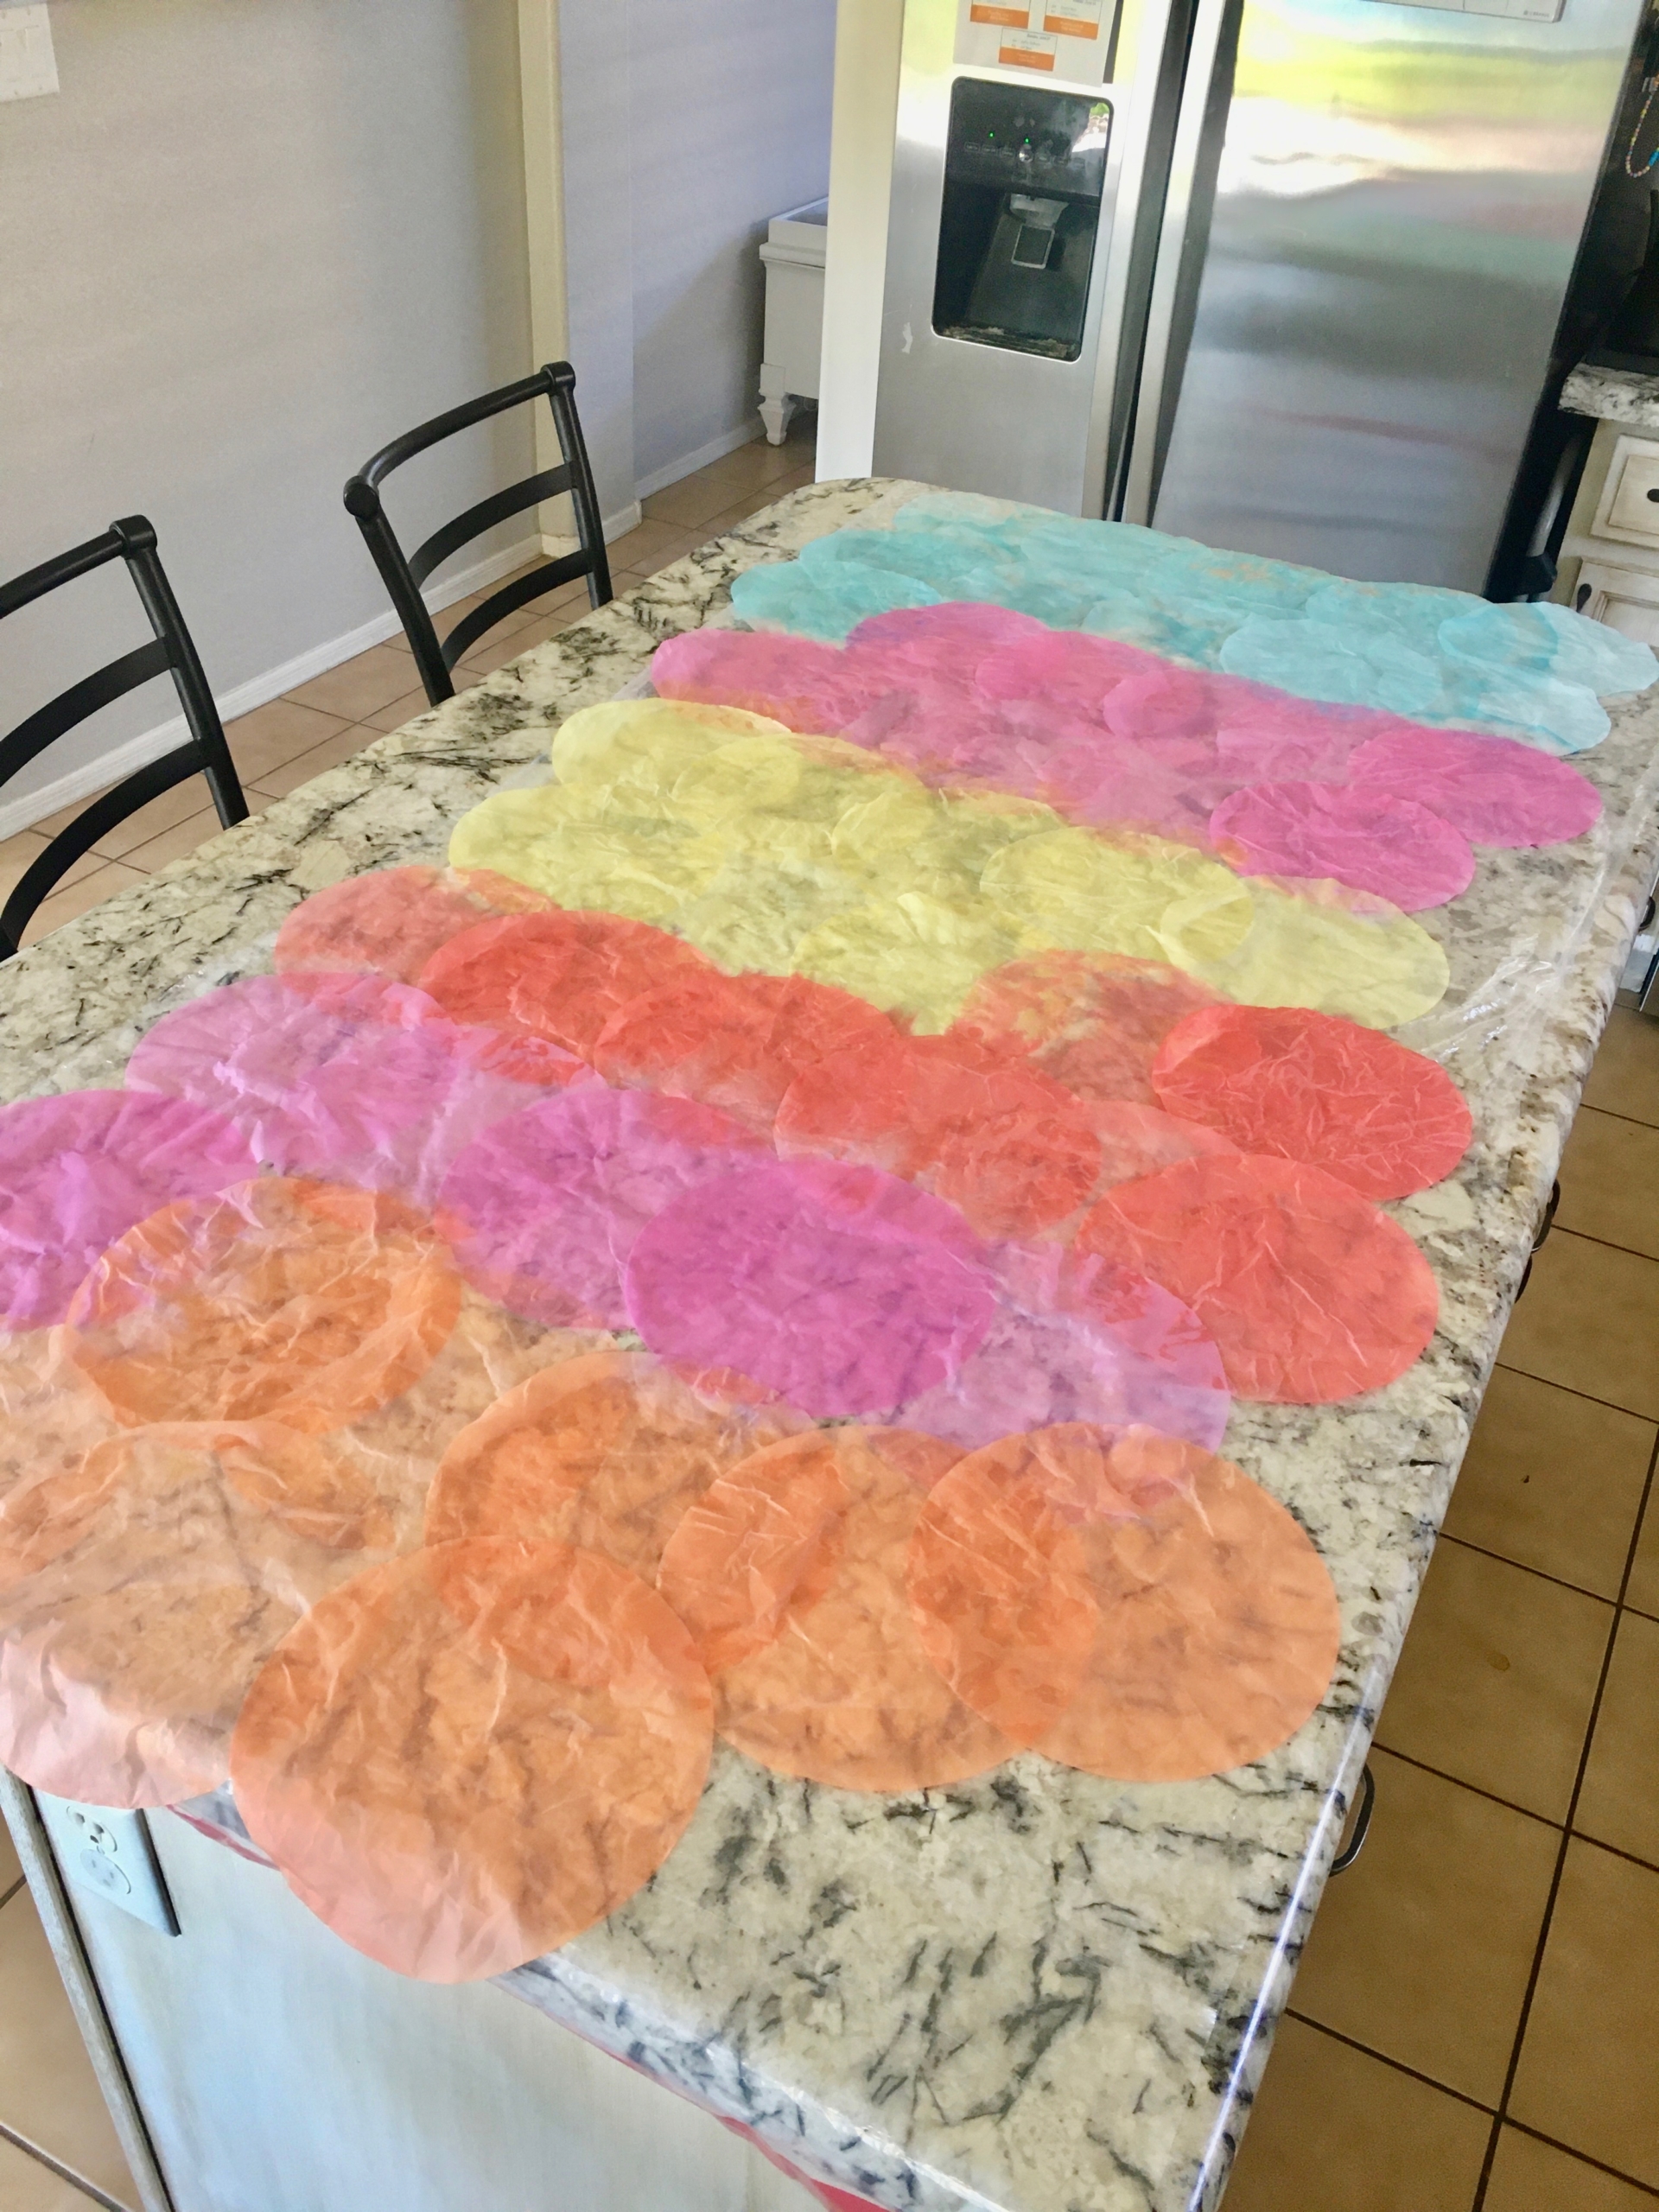

Let them dry completely. This doesn’t take long; coffee filters dry pretty fast!! (Again, if you aren’t satisfied with a color, simply do that one a second time with more food coloring drops.)
Once they are completely dry, they are ready to use in some FUN crafts! I can’t wait to use all these fun colors in my next coffee filter flower craft!
I love all these rainbow colors!
Another budget friendly item to use in kids’ crafts are paper plates!
Check out this post on all these cute paper plate craft ideas:






https://tadalaccess.com/# cialis daily review
difference between sildenafil tadalafil and vardenafil: Tadal Access – is generic cialis available in canada
buy cialis overnight shipping [url=https://tadalaccess.com/#]TadalAccess[/url] cialis back pain
how well does cialis work: TadalAccess – erectile dysfunction tadalafil
https://tadalaccess.com/# cialis free trial voucher
tadalafil 5mg generic from us [url=https://tadalaccess.com/#]Tadal Access[/url] cialis liquid for sale
what is the use of tadalafil tablets: natural alternative to cialis – buying cialis online usa
buy generic cialis 5mg: blue sky peptide tadalafil review – cialis sell
overnight cialis: Tadal Access – cialis for sale in toront ontario
cialis prostate [url=https://tadalaccess.com/#]Tadal Access[/url] over the counter cialis walgreens
https://tadalaccess.com/# cialis cheap
cialis from canada: best price on generic cialis – when to take cialis for best results
cheapest cialis online: cheapest cialis online – cheap t jet 60 cialis online
cialis samples: Tadal Access – cialis dosis
cialis tadalafil 20mg price: best price on generic tadalafil – how long before sex should i take cialis
where to buy tadalafil in singapore [url=https://tadalaccess.com/#]TadalAccess[/url] purchase cialis
https://tadalaccess.com/# cialis black in australia
generic tadalafil canada: cialis dosages – natural alternative to cialis
tadalafil (megalis-macleods) reviews: TadalAccess – cialis las vegas
cialis for sale toronto [url=https://tadalaccess.com/#]best time to take cialis 20mg[/url] cialis substitute
cialis images: TadalAccess – cialis pills for sale
https://tadalaccess.com/# cialis professional review
best research tadalafil 2017 [url=https://tadalaccess.com/#]buy tadalafil cheap online[/url] cialis buy australia online
cialis coupon free trial: TadalAccess – cialis for daily use reviews
snorting cialis: TadalAccess – stockists of cialis
https://tadalaccess.com/# generic cialis super active tadalafil 20mg
tadalafil 10mg side effects [url=https://tadalaccess.com/#]cialis daily[/url] when will generic tadalafil be available
cialis how long: cialis and high blood pressure – cialis how does it work
buy tadalafil reddit: cialis lower blood pressure – how long does cialis take to work 10mg
tadalafil (exilar-sava healthcare) [generic version of cialis] (rx) lowest price [url=https://tadalaccess.com/#]cialis for daily use side effects[/url] cialis 20 mg price costco
safest and most reliable pharmacy to buy cialis: how to get cialis without doctor – cialis for daily use
cialis black in australia: buy generic cialis – cialis tadalafil 20mg kaufen
purchase cialis on line: Tadal Access – what does generic cialis look like
https://tadalaccess.com/# most recommended online pharmacies cialis
cialis coupon rite aid: Tadal Access – cialis coupon rite aid
brand cialis: what is cialis used for – buy generic cialis
us cialis online pharmacy [url=https://tadalaccess.com/#]TadalAccess[/url] buying generic cialis online safe
https://tadalaccess.com/# cialis not working anymore
san antonio cialis doctor: cialis for daily use side effects – over the counter cialis
sildalis sildenafil tadalafil: Tadal Access – cialis pills
canadian pharmacy generic cialis [url=https://tadalaccess.com/#]Tadal Access[/url] canadian pharmacy tadalafil 20mg
https://tadalaccess.com/# cialis trial
when will generic cialis be available in the us: cialis insurance coverage – buy cialis toronto
buy cialis generic online: cheap cialis 5mg – buy cialis generic online 10 mg
how long before sex should i take cialis [url=https://tadalaccess.com/#]cialis logo[/url] cialis for sale brand
https://tadalaccess.com/# original cialis online
find tadalafil: cialis dosage 40 mg – canadian pharmacy cialis 40 mg
cialis generic versus brand name [url=https://tadalaccess.com/#]Tadal Access[/url] cheap cialis dapoxitine cheap online
https://tadalaccess.com/# shelf life of liquid tadalafil
tadalafil eli lilly: tadalafil generic cialis 20mg – pastillas cialis
best place to buy tadalafil online: Tadal Access – cialis overnight deleivery
how long does cialis last 20 mg [url=https://tadalaccess.com/#]Tadal Access[/url] cialis how does it work
when will generic cialis be available in the us: cialis buy online – canadian pharmacy generic cialis
tadalafil generic in usa [url=https://tadalaccess.com/#]cialis free trial offer[/url] buy tadalafil cheap
https://tadalaccess.com/# pastillas cialis
mail order cialis: cialis prostate – cialis san diego
where can i buy tadalafil online: tadalafil generic 20 mg ebay – cialis sales in victoria canada
cialis bodybuilding [url=https://tadalaccess.com/#]san antonio cialis doctor[/url] what to do when cialis stops working
https://tadalaccess.com/# where can i get cialis
cialis erection: Tadal Access – cialis street price
dapoxetine and tadalafil: Tadal Access – can you purchase tadalafil in the us
https://tadalaccess.com/# order cialis soft tabs
how long for cialis to take effect [url=https://tadalaccess.com/#]cialis a domicilio new jersey[/url] canadian pharmacy tadalafil 20mg
what is the cost of cialis: order generic cialis online – cialis cost per pill
cialis company: generic cialis – canada cialis generic
https://tadalaccess.com/# what does cialis cost
cialis tadalafil 20mg tablets: cialis wikipedia – purchase brand cialis
cialis goodrx [url=https://tadalaccess.com/#]cialis medicare[/url] online cialis
https://tadalaccess.com/# what is the active ingredient in cialis
cialis tablet: Tadal Access – where to buy cialis
generic cialis tadalafil 20mg reviews: cialis manufacturer coupon lilly – cialis next day delivery
printable cialis coupon [url=https://tadalaccess.com/#]cialis samples for physicians[/url] tadalafil citrate bodybuilding
https://tadalaccess.com/# is there a generic cialis available
mint pharmaceuticals tadalafil: online pharmacy cialis – cialis for sale in toront ontario
what is cialis tadalafil used for: buying cialis online canadian order – buy cialis in las vegas
https://tadalaccess.com/# cialis website
tadalafil 10mg side effects: TadalAccess – when will generic tadalafil be available
cialis side effect: Tadal Access – where can i buy cialis online
tadalafil prescribing information [url=https://tadalaccess.com/#]TadalAccess[/url] cialis paypal canada
https://tadalaccess.com/# buy cialis free shipping
how long does it take for cialis to start working: Tadal Access – cialis goodrx
cialis is for daily use: canadian online pharmacy no prescription cialis dapoxetine – walgreens cialis prices
shop for cialis [url=https://tadalaccess.com/#]TadalAccess[/url] cialis price costco
https://tadalaccess.com/# cialis stories
cialis soft: cheap cialis generic online – what is cialis used to treat
cheap cialis canada: pictures of cialis pills – cialis effects
https://tadalaccess.com/# cialis generic canada
cialis professional vs cialis super active: cialis by mail – cialis indien bezahlung mit paypal
buy tadalafil cheap: Tadal Access – cialis price walgreens
cialis online without prescription [url=https://tadalaccess.com/#]Tadal Access[/url] best place to buy liquid tadalafil
https://tadalaccess.com/# cialis for daily use cost
what to do when cialis stops working: cialis vs tadalafil – where can i buy cialis online in canada
cialis effectiveness: Tadal Access – tadalafil no prescription forum
https://tadalaccess.com/# ambrisentan and tadalafil combination brands
is there a generic cialis available [url=https://tadalaccess.com/#]Tadal Access[/url] can cialis cause high blood pressure
order cialis online no prescription reviews: cialis package insert – vardenafil tadalafil sildenafil
cialis bestellen deutschland: TadalAccess – when does cialis go off patent
https://tadalaccess.com/# cialis amazon
price of cialis in pakistan: п»їwhat can i take to enhance cialis – side effects of cialis
cialis stopped working [url=https://tadalaccess.com/#]Tadal Access[/url] buy cialis without a prescription
wallmart cialis: TadalAccess – buy cialis online overnight shipping
https://tadalaccess.com/# how long i have to wait to take tadalafil after antifugal
how long does cialis last 20 mg: tadalafil brand name – cialis mechanism of action
is there a generic cialis available in the us [url=https://tadalaccess.com/#]natural alternative to cialis[/url] canadian pharmacy ezzz cialis
cialis before and after: TadalAccess – cialis super active vs regular cialis
https://tadalaccess.com/# taking cialis
canada drug cialis: Tadal Access – buy cialis with american express
cialis generics [url=https://tadalaccess.com/#]cialis canadian purchase[/url] cheapest cialis 20 mg
tadalafil 40 mg india: TadalAccess – cialis generic online
https://tadalaccess.com/# sanofi cialis otc
how many mg of cialis should i take: cialis free trial voucher – buy cialis/canada
brand cialis australia [url=https://tadalaccess.com/#]Tadal Access[/url] online cialis australia
cialis for prostate: cialis dosage reddit – walgreen cialis price
https://tadalaccess.com/# active ingredient in cialis
cialis pills online: Tadal Access – cialis cost per pill
cialis over the counter [url=https://tadalaccess.com/#]TadalAccess[/url] cialis manufacturer
vidalista tadalafil reviews: tadalafil prescribing information – tadalafil generic cialis 20mg
sunrise remedies tadalafil: TadalAccess – how to get cialis for free
https://tadalaccess.com/# which is better cialis or levitra
Amo Health Care [url=https://amohealthcare.store/#]amoxicillin 500 mg tablet[/url] Amo Health Care
https://clomhealth.com/# where to buy clomid pill
Amo Health Care: Amo Health Care – Amo Health Care
Amo Health Care: amoxicillin no prescription – amoxicillin 200 mg tablet
can you buy amoxicillin over the counter in canada [url=https://amohealthcare.store/#]Amo Health Care[/url] Amo Health Care
https://prednihealth.com/# prednisone without prescription.net
buy amoxicillin online without prescription: Amo Health Care – amoxicillin where to get
how to get generic clomid without dr prescription: Clom Health – can i purchase generic clomid
PredniHealth [url=https://prednihealth.shop/#]cheap generic prednisone[/url] prednisone canada prices
https://clomhealth.com/# how to get clomid price
how to buy clomid price: get generic clomid price – cheap clomid without prescription
prednisone 20mg nz: PredniHealth – 2.5 mg prednisone daily
https://amohealthcare.store/# Amo Health Care
generic clomid without dr prescription: buy clomid without rx – how to get clomid price
prednisone online for sale: prednisone 5 mg tablet without a prescription – prednisone 20 mg
Amo Health Care [url=https://amohealthcare.store/#]amoxicillin 500 mg[/url] amoxicillin 500mg buy online canada
https://prednihealth.com/# PredniHealth
can i buy clomid without insurance: can you get clomid pills – order clomid pills
PredniHealth: PredniHealth – PredniHealth
http://prednihealth.com/# PredniHealth
cost of amoxicillin 30 capsules [url=https://amohealthcare.store/#]can you buy amoxicillin over the counter[/url] amoxicillin 500mg price
canadian online pharmacy prednisone: PredniHealth – PredniHealth
PredniHealth: PredniHealth – PredniHealth
https://prednihealth.com/# prednisone 20mg capsule
how to buy generic clomid: Clom Health – buying generic clomid price
over the counter prednisone cheap [url=https://prednihealth.shop/#]average cost of generic prednisone[/url] PredniHealth
where to buy amoxicillin: buy cheap amoxicillin online – can we buy amoxcillin 500mg on ebay without prescription
https://prednihealth.shop/# PredniHealth
doctor-reviewed advice: doctor-reviewed advice – modafinil pharmacy
http://modafinilmd.store/# modafinil pharmacy
modafinil legality: modafinil 2025 – modafinil 2025
order Viagra discreetly [url=https://maxviagramd.shop/#]same-day Viagra shipping[/url] buy generic Viagra online
verified Modafinil vendors: purchase Modafinil without prescription – modafinil pharmacy
secure checkout Viagra: legit Viagra online – fast Viagra delivery
FDA approved generic Cialis [url=http://zipgenericmd.com/#]Cialis without prescription[/url] buy generic Cialis online
modafinil legality: modafinil pharmacy – safe modafinil purchase
discreet shipping: no doctor visit required – order Viagra discreetly
https://maxviagramd.com/# no doctor visit required
discreet shipping ED pills [url=https://zipgenericmd.shop/#]discreet shipping ED pills[/url] discreet shipping ED pills
modafinil pharmacy: legal Modafinil purchase – safe modafinil purchase
generic tadalafil: generic tadalafil – generic tadalafil
https://zipgenericmd.com/# online Cialis pharmacy
generic sildenafil 100mg: legit Viagra online – discreet shipping
buy generic Cialis online: generic tadalafil – reliable online pharmacy Cialis
http://modafinilmd.store/# purchase Modafinil without prescription
best price for Viagra: order Viagra discreetly – buy generic Viagra online
generic tadalafil: discreet shipping ED pills – buy generic Cialis online
generic tadalafil [url=http://zipgenericmd.com/#]secure checkout ED drugs[/url] generic tadalafil
safe modafinil purchase: buy modafinil online – doctor-reviewed advice
cheap Cialis online: reliable online pharmacy Cialis – best price Cialis tablets
modafinil pharmacy: purchase Modafinil without prescription – buy modafinil online
https://modafinilmd.store/# legal Modafinil purchase
Viagra without prescription [url=https://maxviagramd.com/#]best price for Viagra[/url] order Viagra discreetly
verified Modafinil vendors: modafinil pharmacy – modafinil 2025
generic tadalafil: order Cialis online no prescription – secure checkout ED drugs
Viagra without prescription: same-day Viagra shipping – order Viagra discreetly
generic sildenafil 100mg: best price for Viagra – legit Viagra online
http://modafinilmd.store/# safe modafinil purchase
modafinil legality: modafinil legality – verified Modafinil vendors
safe modafinil purchase: safe modafinil purchase – modafinil legality
same-day Viagra shipping: generic sildenafil 100mg – buy generic Viagra online
http://maxviagramd.com/# no doctor visit required
same-day Viagra shipping [url=http://maxviagramd.com/#]order Viagra discreetly[/url] secure checkout Viagra
discreet shipping ED pills: online Cialis pharmacy – affordable ED medication
Cialis without prescription: FDA approved generic Cialis – best price Cialis tablets
https://maxviagramd.shop/# best price for Viagra
modafinil legality: Modafinil for sale – buy modafinil online
buy generic Cialis online: generic tadalafil – FDA approved generic Cialis
safe modafinil purchase: Modafinil for sale – safe modafinil purchase
https://zipgenericmd.shop/# cheap Cialis online
safe modafinil purchase [url=https://modafinilmd.store/#]Modafinil for sale[/url] modafinil pharmacy
best price Cialis tablets: FDA approved generic Cialis – discreet shipping ED pills
fast Viagra delivery: trusted Viagra suppliers – same-day Viagra shipping
http://maxviagramd.com/# trusted Viagra suppliers
vavada вход: vavada – вавада
вавада: вавада официальный сайт – vavada casino
http://vavadavhod.tech/# вавада казино
pin up вход [url=https://pinuprus.pro/#]пин ап вход[/url] пин ап казино официальный сайт
http://pinupaz.top/# pin-up casino giris
pin-up: pin-up – pin up az
pin up az: pinup az – pin up casino
http://vavadavhod.tech/# vavada
вавада зеркало [url=http://vavadavhod.tech/#]вавада[/url] vavada
pin up: pin up casino – pin-up casino giris
http://pinuprus.pro/# pin up вход
вавада казино: вавада – вавада официальный сайт
пин ап казино: пин ап казино – пинап казино
http://pinupaz.top/# pin up casino
pin up casino [url=http://pinupaz.top/#]pinup az[/url] pin up
пин ап казино: пин ап казино официальный сайт – pin up вход
http://pinupaz.top/# pin up casino
пин ап казино официальный сайт [url=http://pinuprus.pro/#]pin up вход[/url] пин ап казино
http://vavadavhod.tech/# вавада зеркало
pin up casino: pin up az – pin up az
pin up вход: пин ап казино официальный сайт – пин ап казино
pin-up [url=https://pinupaz.top/#]pin-up casino giris[/url] pin up az
https://pinupaz.top/# pin-up casino giris
вавада официальный сайт: vavada – вавада официальный сайт
vavada: vavada вход – вавада казино
pinup az [url=http://pinupaz.top/#]pinup az[/url] pinup az
pin up az: pin-up casino giris – pin up casino
pin up az: pin up az – pin-up casino giris
http://vavadavhod.tech/# вавада официальный сайт
вавада официальный сайт: вавада казино – вавада зеркало
vavada: вавада – вавада зеркало
http://vavadavhod.tech/# вавада зеркало
пин ап зеркало: pin up вход – пин ап казино
https://vavadavhod.tech/# вавада официальный сайт
pin up azerbaycan: pin up casino – pin up az
пинап казино: пин ап казино официальный сайт – пинап казино
пин ап зеркало [url=http://pinuprus.pro/#]пин ап вход[/url] pin up вход
https://vavadavhod.tech/# вавада
pin up casino: pin up – pin up az
pin up: pin up azerbaycan – pin-up casino giris
http://vavadavhod.tech/# вавада официальный сайт
пинап казино: пин ап вход – пин ап казино
pinup az: pin up az – pin-up
vavada: вавада официальный сайт – вавада зеркало
http://pinupaz.top/# pin up az
пин ап вход [url=http://pinuprus.pro/#]пинап казино[/url] пин ап вход
пин ап вход: пин ап казино официальный сайт – пинап казино
пин ап вход: пин ап казино – пин ап казино
vavada вход [url=https://vavadavhod.tech/#]vavada casino[/url] вавада официальный сайт
вавада: vavada casino – vavada casino
пин ап казино: пин ап казино официальный сайт – pin up вход
http://pinuprus.pro/# пин ап зеркало
pin up [url=http://pinupaz.top/#]pin-up[/url] pin-up
pinup az: pin up azerbaycan – pin up casino
вавада казино: вавада официальный сайт – вавада
https://pinupaz.top/# pin-up
вавада казино [url=https://vavadavhod.tech/#]вавада официальный сайт[/url] вавада казино
pin up az: pin-up casino giris – pin-up casino giris
вавада казино: вавада зеркало – вавада зеркало
пин ап вход: пин ап вход – пин ап казино
http://vavadavhod.tech/# вавада официальный сайт
pin-up: pin-up casino giris – pin-up
pin up вход [url=http://pinuprus.pro/#]пин ап вход[/url] пин ап казино
https://pinuprus.pro/# пинап казино
pin-up: pin-up – pin up
vavada: вавада зеркало – вавада зеркало
vavada casino [url=https://vavadavhod.tech/#]вавада официальный сайт[/url] вавада
https://pinuprus.pro/# пин ап зеркало
пин ап вход: пинап казино – pin up вход
пин ап зеркало: pin up вход – пин ап зеркало
vavada [url=http://vavadavhod.tech/#]вавада зеркало[/url] vavada
http://vavadavhod.tech/# vavada
pin up вход: пинап казино – пин ап вход
pin up вход [url=https://pinuprus.pro/#]pin up вход[/url] пин ап казино официальный сайт
pin up azerbaycan: pin up azerbaycan – pin-up casino giris
https://vavadavhod.tech/# вавада
пин ап казино: пин ап вход – пин ап вход
http://vavadavhod.tech/# vavada casino
pin up вход [url=https://pinuprus.pro/#]пин ап зеркало[/url] пин ап вход
pin up az: pin up az – pin up azerbaycan
пин ап казино: пин ап казино – пинап казино
https://pinupaz.top/# pin up az
pin up вход [url=https://pinuprus.pro/#]пинап казино[/url] пин ап вход
вавада казино: вавада зеркало – вавада официальный сайт
пинап казино: пин ап казино – пин ап казино
вавада: вавада зеркало – вавада
вавада: vavada casino – vavada
pin up az: pin up casino – pin up
pinup az [url=http://pinupaz.top/#]pin up azerbaycan[/url] pinup az
pin-up casino giris: pin up – pin up casino
pin up: pin up casino – pin-up casino giris
https://pinuprus.pro/# пин ап казино официальный сайт
пин ап казино: пинап казино – пин ап казино официальный сайт
https://pinuprus.pro/# пин ап зеркало
pinup az: pin up casino – pinup az
пинап казино: пин ап зеркало – pin up вход
pin-up: pin-up – pin up casino
пин ап вход [url=https://pinuprus.pro/#]пин ап казино официальный сайт[/url] пин ап казино
https://pinuprus.pro/# пин ап казино
вавада официальный сайт: vavada – vavada
вавада официальный сайт: vavada – vavada вход
pin-up: pin-up casino giris – pin up azerbaycan
pin up azerbaycan [url=http://pinupaz.top/#]pinup az[/url] pin up azerbaycan
pinup az: pin-up – pin up
вавада официальный сайт: вавада – vavada вход
https://vavadavhod.tech/# вавада
вавада зеркало: вавада официальный сайт – vavada
пин ап вход: пин ап зеркало – пин ап вход
pin up вход: пинап казино – пинап казино
http://pinuprus.pro/# pin up вход
pin up az [url=http://pinupaz.top/#]pin up azerbaycan[/url] pinup az
пин ап вход: пин ап вход – pin up вход
pin up вход: пин ап казино официальный сайт – pin up вход
https://pinuprus.pro/# pin up вход
пин ап зеркало [url=https://pinuprus.pro/#]пинап казино[/url] пин ап зеркало
вавада официальный сайт: vavada вход – vavada вход
пин ап казино официальный сайт: пин ап казино официальный сайт – пин ап зеркало
http://pinupaz.top/# pin-up casino giris
pin-up: pin up az – pin up casino
вавада официальный сайт: вавада зеркало – vavada casino
http://pinupaz.top/# pin up casino
pin-up: pin-up – pin up az
https://pinuprus.pro/# пин ап вход
vavada casino: vavada casino – вавада официальный сайт
pin up вход: пин ап казино официальный сайт – пин ап зеркало
vavada [url=http://vavadavhod.tech/#]vavada вход[/url] вавада официальный сайт
http://pinuprus.pro/# пин ап зеркало
вавада зеркало: vavada – вавада
вавада зеркало: vavada casino – вавада зеркало
purple pharmacy mexico price list [url=https://rxexpressmexico.com/#]mexico pharmacy order online[/url] mexico pharmacy order online
indian pharmacy paypal: medicine courier from India to USA – indian pharmacy online shopping
canadian drug: Buy medicine from Canada – canada pharmacy online legit
MedicineFromIndia [url=https://medicinefromindia.com/#]MedicineFromIndia[/url] Medicine From India
https://rxexpressmexico.shop/# RxExpressMexico
mexican online pharmacy: Rx Express Mexico – mexico pharmacies prescription drugs
indian pharmacy: Medicine From India – indian pharmacy online
https://medicinefromindia.com/# MedicineFromIndia
indian pharmacy online shopping [url=http://medicinefromindia.com/#]indian pharmacy[/url] indian pharmacy online
reputable canadian online pharmacies: Generic drugs from Canada – canadian pharmacy 24 com
best canadian online pharmacy: Express Rx Canada – canadian pharmacy sarasota
https://rxexpressmexico.com/# mexico pharmacies prescription drugs
Medicine From India [url=http://medicinefromindia.com/#]indian pharmacy[/url] indian pharmacy online shopping
RxExpressMexico: mexican rx online – mexican online pharmacy
medicine courier from India to USA: Medicine From India – medicine courier from India to USA
https://rxexpressmexico.shop/# mexico pharmacies prescription drugs
indian pharmacy: indian pharmacy online shopping – medicine courier from India to USA
canadian online drugs [url=https://expressrxcanada.com/#]Canadian pharmacy shipping to USA[/url] canadian neighbor pharmacy
canadianpharmacyworld com: Generic drugs from Canada – canadian pharmacy meds reviews
https://rxexpressmexico.com/# mexican online pharmacy
canadian pharmacy store: Buy medicine from Canada – pet meds without vet prescription canada
canadian neighbor pharmacy [url=https://expressrxcanada.shop/#]ExpressRxCanada[/url] canadian pharmacies
Rx Express Mexico: mexico pharmacies prescription drugs – mexican online pharmacy
https://medicinefromindia.com/# Medicine From India
my canadian pharmacy: Buy medicine from Canada – best canadian pharmacy online
Rx Express Mexico [url=https://rxexpressmexico.com/#]best online pharmacies in mexico[/url] mexico drug stores pharmacies
legitimate canadian pharmacy: ExpressRxCanada – best canadian online pharmacy
https://expressrxcanada.com/# onlinepharmaciescanada com
buy medicines online in india: Medicine From India – indian pharmacy online shopping
Rx Express Mexico: Rx Express Mexico – mexico drug stores pharmacies
mexican rx online [url=https://rxexpressmexico.shop/#]buying prescription drugs in mexico online[/url] mexico pharmacy order online
https://medicinefromindia.com/# indian pharmacy online shopping
pharmacie en ligne france livraison belgique: Pharmacie en ligne France – Achat mГ©dicament en ligne fiable pharmafst.com
https://tadalmed.com/# Tadalafil sans ordonnance en ligne
Tadalafil achat en ligne: Pharmacie en ligne Cialis sans ordonnance – Tadalafil sans ordonnance en ligne tadalmed.shop
vente de mГ©dicament en ligne [url=http://pharmafst.com/#]pharmacie en ligne[/url] п»їpharmacie en ligne france pharmafst.shop
Pharmacie sans ordonnance: Livraison rapide – pharmacies en ligne certifiГ©es pharmafst.com
http://pharmafst.com/# Pharmacie sans ordonnance
acheter mГ©dicament en ligne sans ordonnance: Livraison rapide – pharmacie en ligne france livraison internationale pharmafst.com
http://pharmafst.com/# pharmacie en ligne sans ordonnance
http://kamagraprix.com/# kamagra 100mg prix
http://kamagraprix.com/# Kamagra pharmacie en ligne
Tadalafil sans ordonnance en ligne: Pharmacie en ligne Cialis sans ordonnance – Tadalafil achat en ligne tadalmed.shop
kamagra 100mg prix: achat kamagra – Acheter Kamagra site fiable
cialis prix: Pharmacie en ligne Cialis sans ordonnance – Acheter Viagra Cialis sans ordonnance tadalmed.shop
kamagra livraison 24h: kamagra livraison 24h – Acheter Kamagra site fiable
Tadalafil achat en ligne [url=https://tadalmed.com/#]Cialis en ligne[/url] Tadalafil sans ordonnance en ligne tadalmed.com
https://kamagraprix.com/# kamagra oral jelly
Tadalafil sans ordonnance en ligne: cialis generique – Cialis sans ordonnance 24h tadalmed.shop
I don’t think the title of your article matches the content lol. Just kidding, mainly because I had some doubts after reading the article.
pharmacie en ligne avec ordonnance: Medicaments en ligne livres en 24h – acheter mГ©dicament en ligne sans ordonnance pharmafst.com
https://pharmafst.shop/# pharmacie en ligne
acheter kamagra site fiable [url=https://kamagraprix.shop/#]kamagra en ligne[/url] Kamagra Oral Jelly pas cher
п»їpharmacie en ligne france: Meilleure pharmacie en ligne – pharmacie en ligne pharmafst.com
kamagra gel: Kamagra pharmacie en ligne – kamagra en ligne
pharmacie en ligne france pas cher: Medicaments en ligne livres en 24h – pharmacie en ligne france livraison internationale pharmafst.com
Achat Cialis en ligne fiable: Cialis generique prix – Cialis sans ordonnance 24h tadalmed.shop
http://pharmafst.com/# Pharmacie Internationale en ligne
kamagra livraison 24h [url=https://kamagraprix.shop/#]Kamagra Oral Jelly pas cher[/url] kamagra gel
pharmacies en ligne certifiГ©es: pharmacie en ligne pas cher – pharmacie en ligne france livraison belgique pharmafst.com
Cialis sans ordonnance 24h: Cialis sans ordonnance 24h – Cialis sans ordonnance 24h tadalmed.shop
https://pharmafst.com/# pharmacie en ligne avec ordonnance
kamagra en ligne: kamagra livraison 24h – kamagra livraison 24h
achat kamagra: kamagra pas cher – kamagra livraison 24h
http://kamagraprix.com/# Achetez vos kamagra medicaments
pharmacie en ligne pas cher: Pharmacies en ligne certifiees – pharmacie en ligne livraison europe pharmafst.com
kamagra en ligne: kamagra en ligne – kamagra pas cher
http://pharmafst.com/# pharmacie en ligne
kamagra pas cher: Kamagra Oral Jelly pas cher – Acheter Kamagra site fiable
trouver un mГ©dicament en pharmacie [url=https://pharmafst.shop/#]Livraison rapide[/url] pharmacie en ligne pas cher pharmafst.shop
acheter mГ©dicament en ligne sans ordonnance: Meilleure pharmacie en ligne – Pharmacie sans ordonnance pharmafst.com
Achat mГ©dicament en ligne fiable: Livraison rapide – vente de mГ©dicament en ligne pharmafst.com
Kamagra Oral Jelly pas cher: kamagra livraison 24h – Acheter Kamagra site fiable
767207 280381This internet site is my intake , real good layout and perfect subject material . 693696