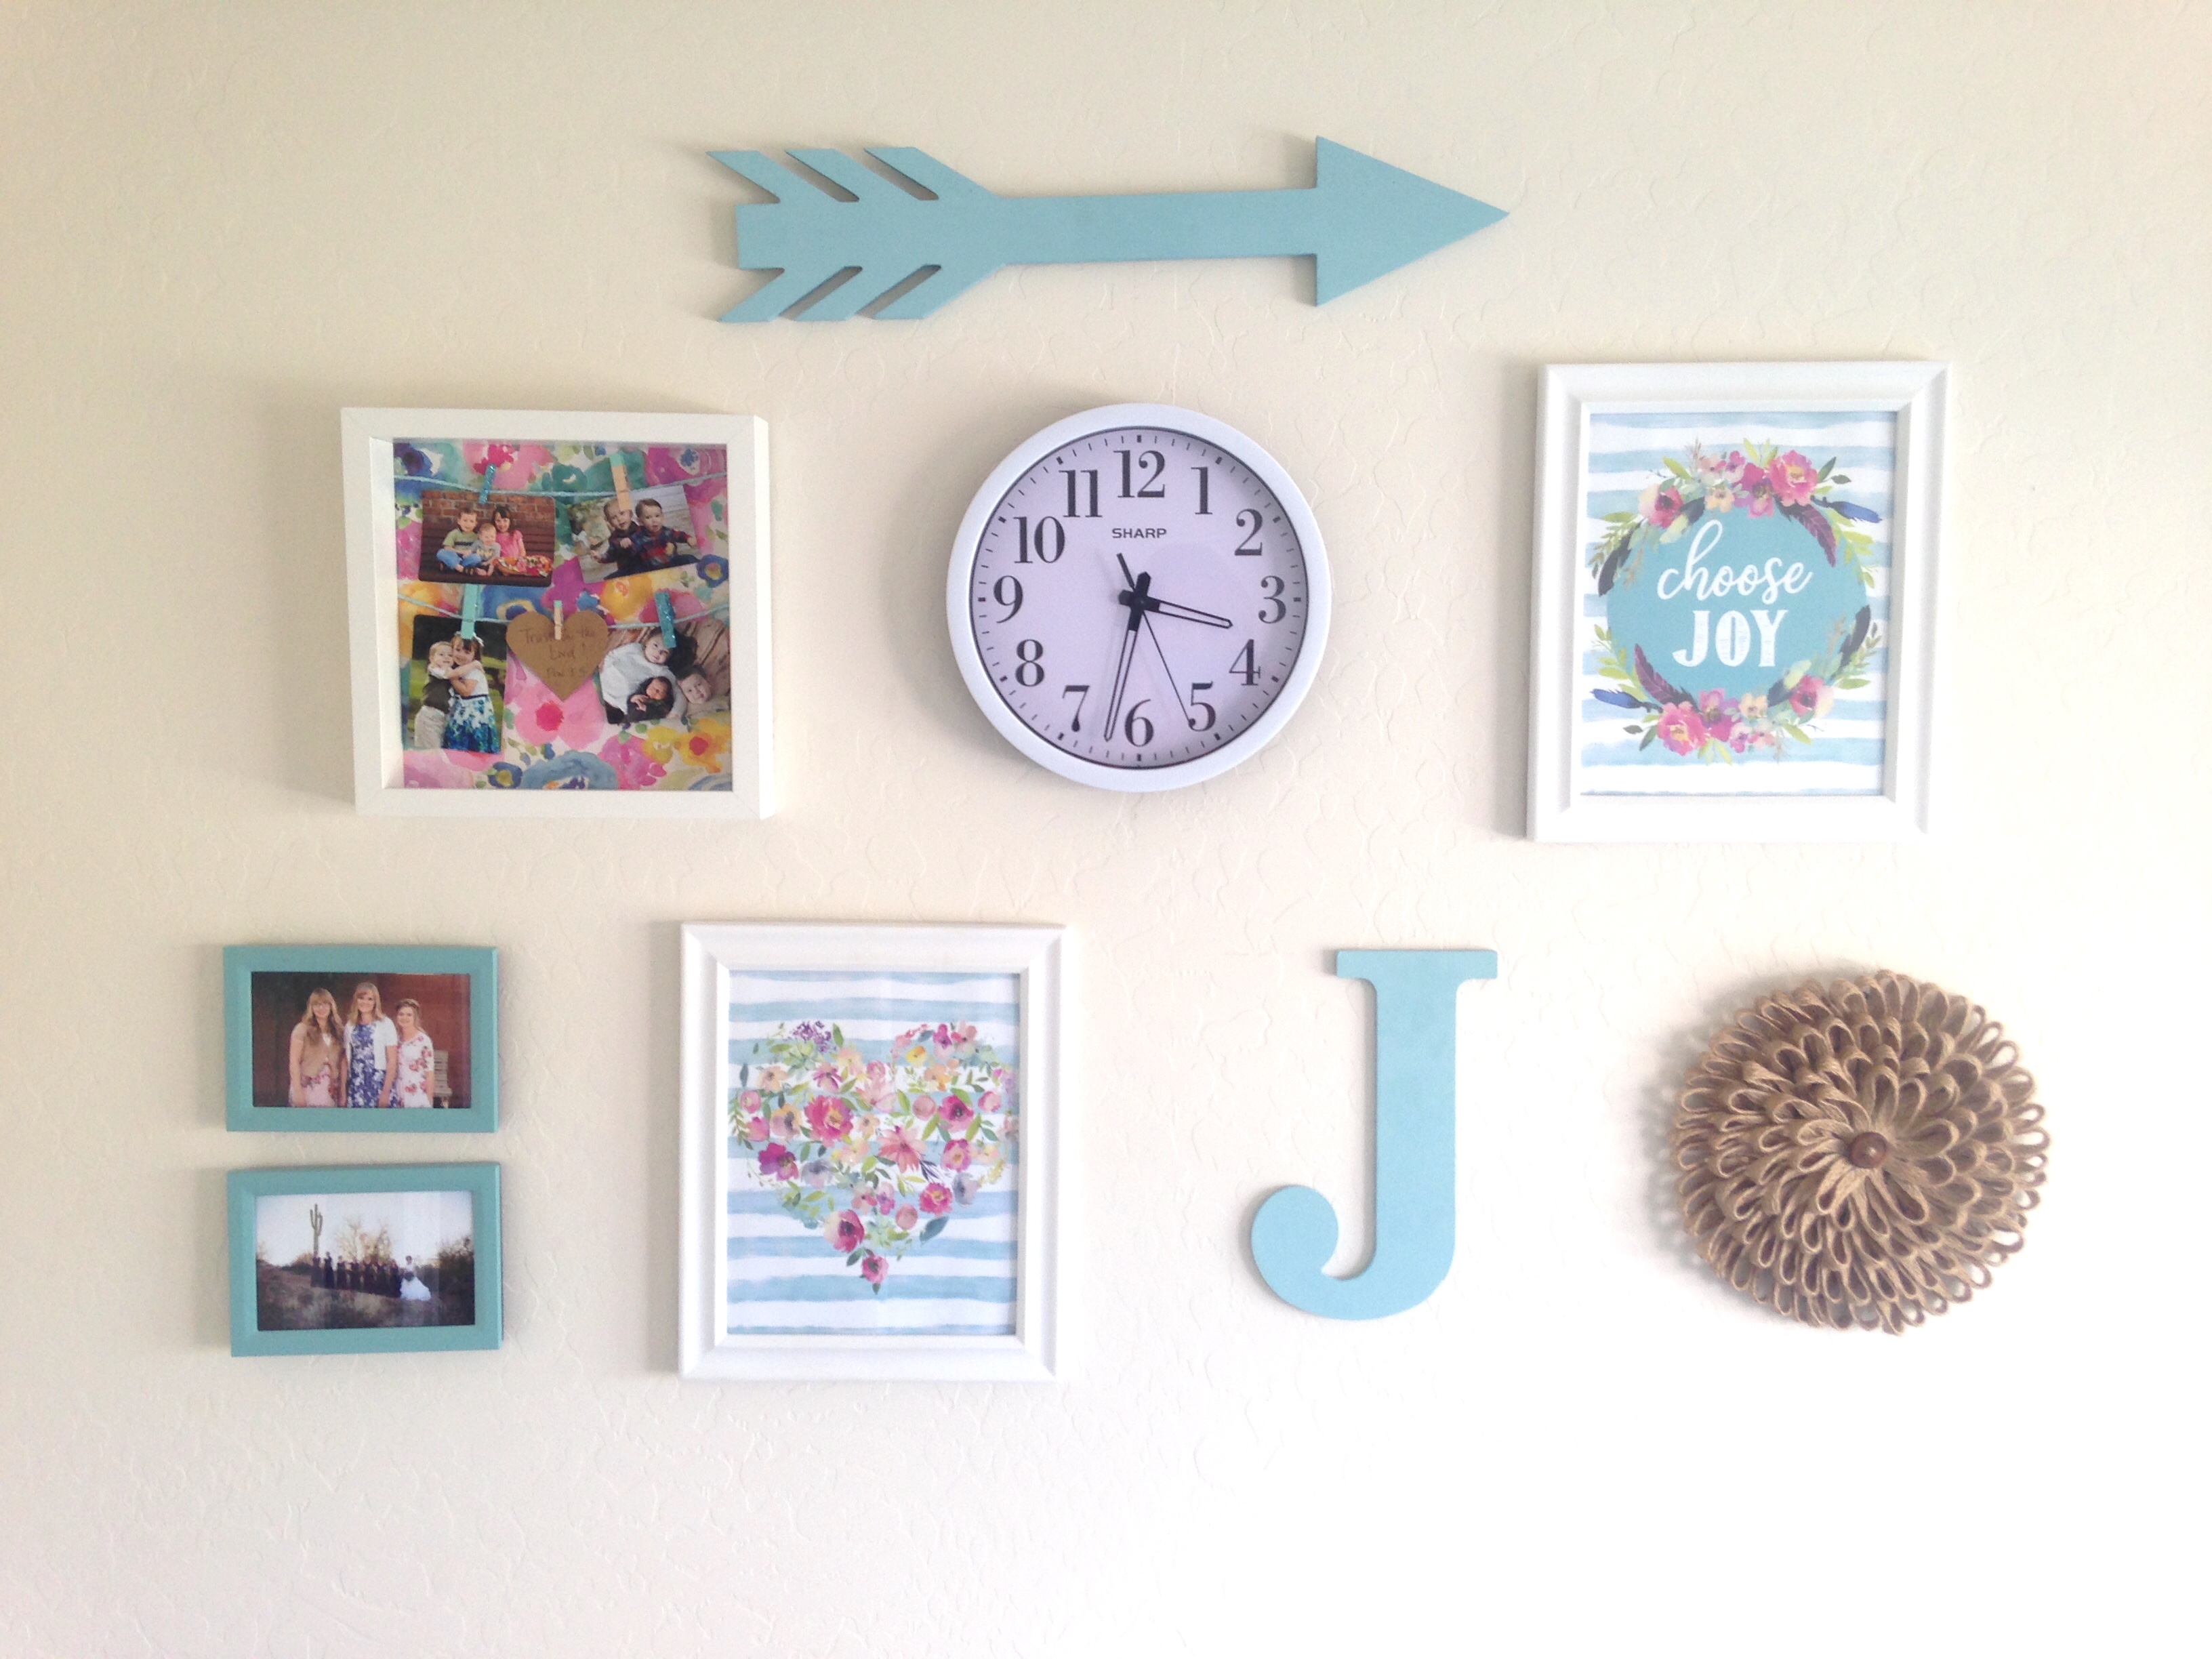
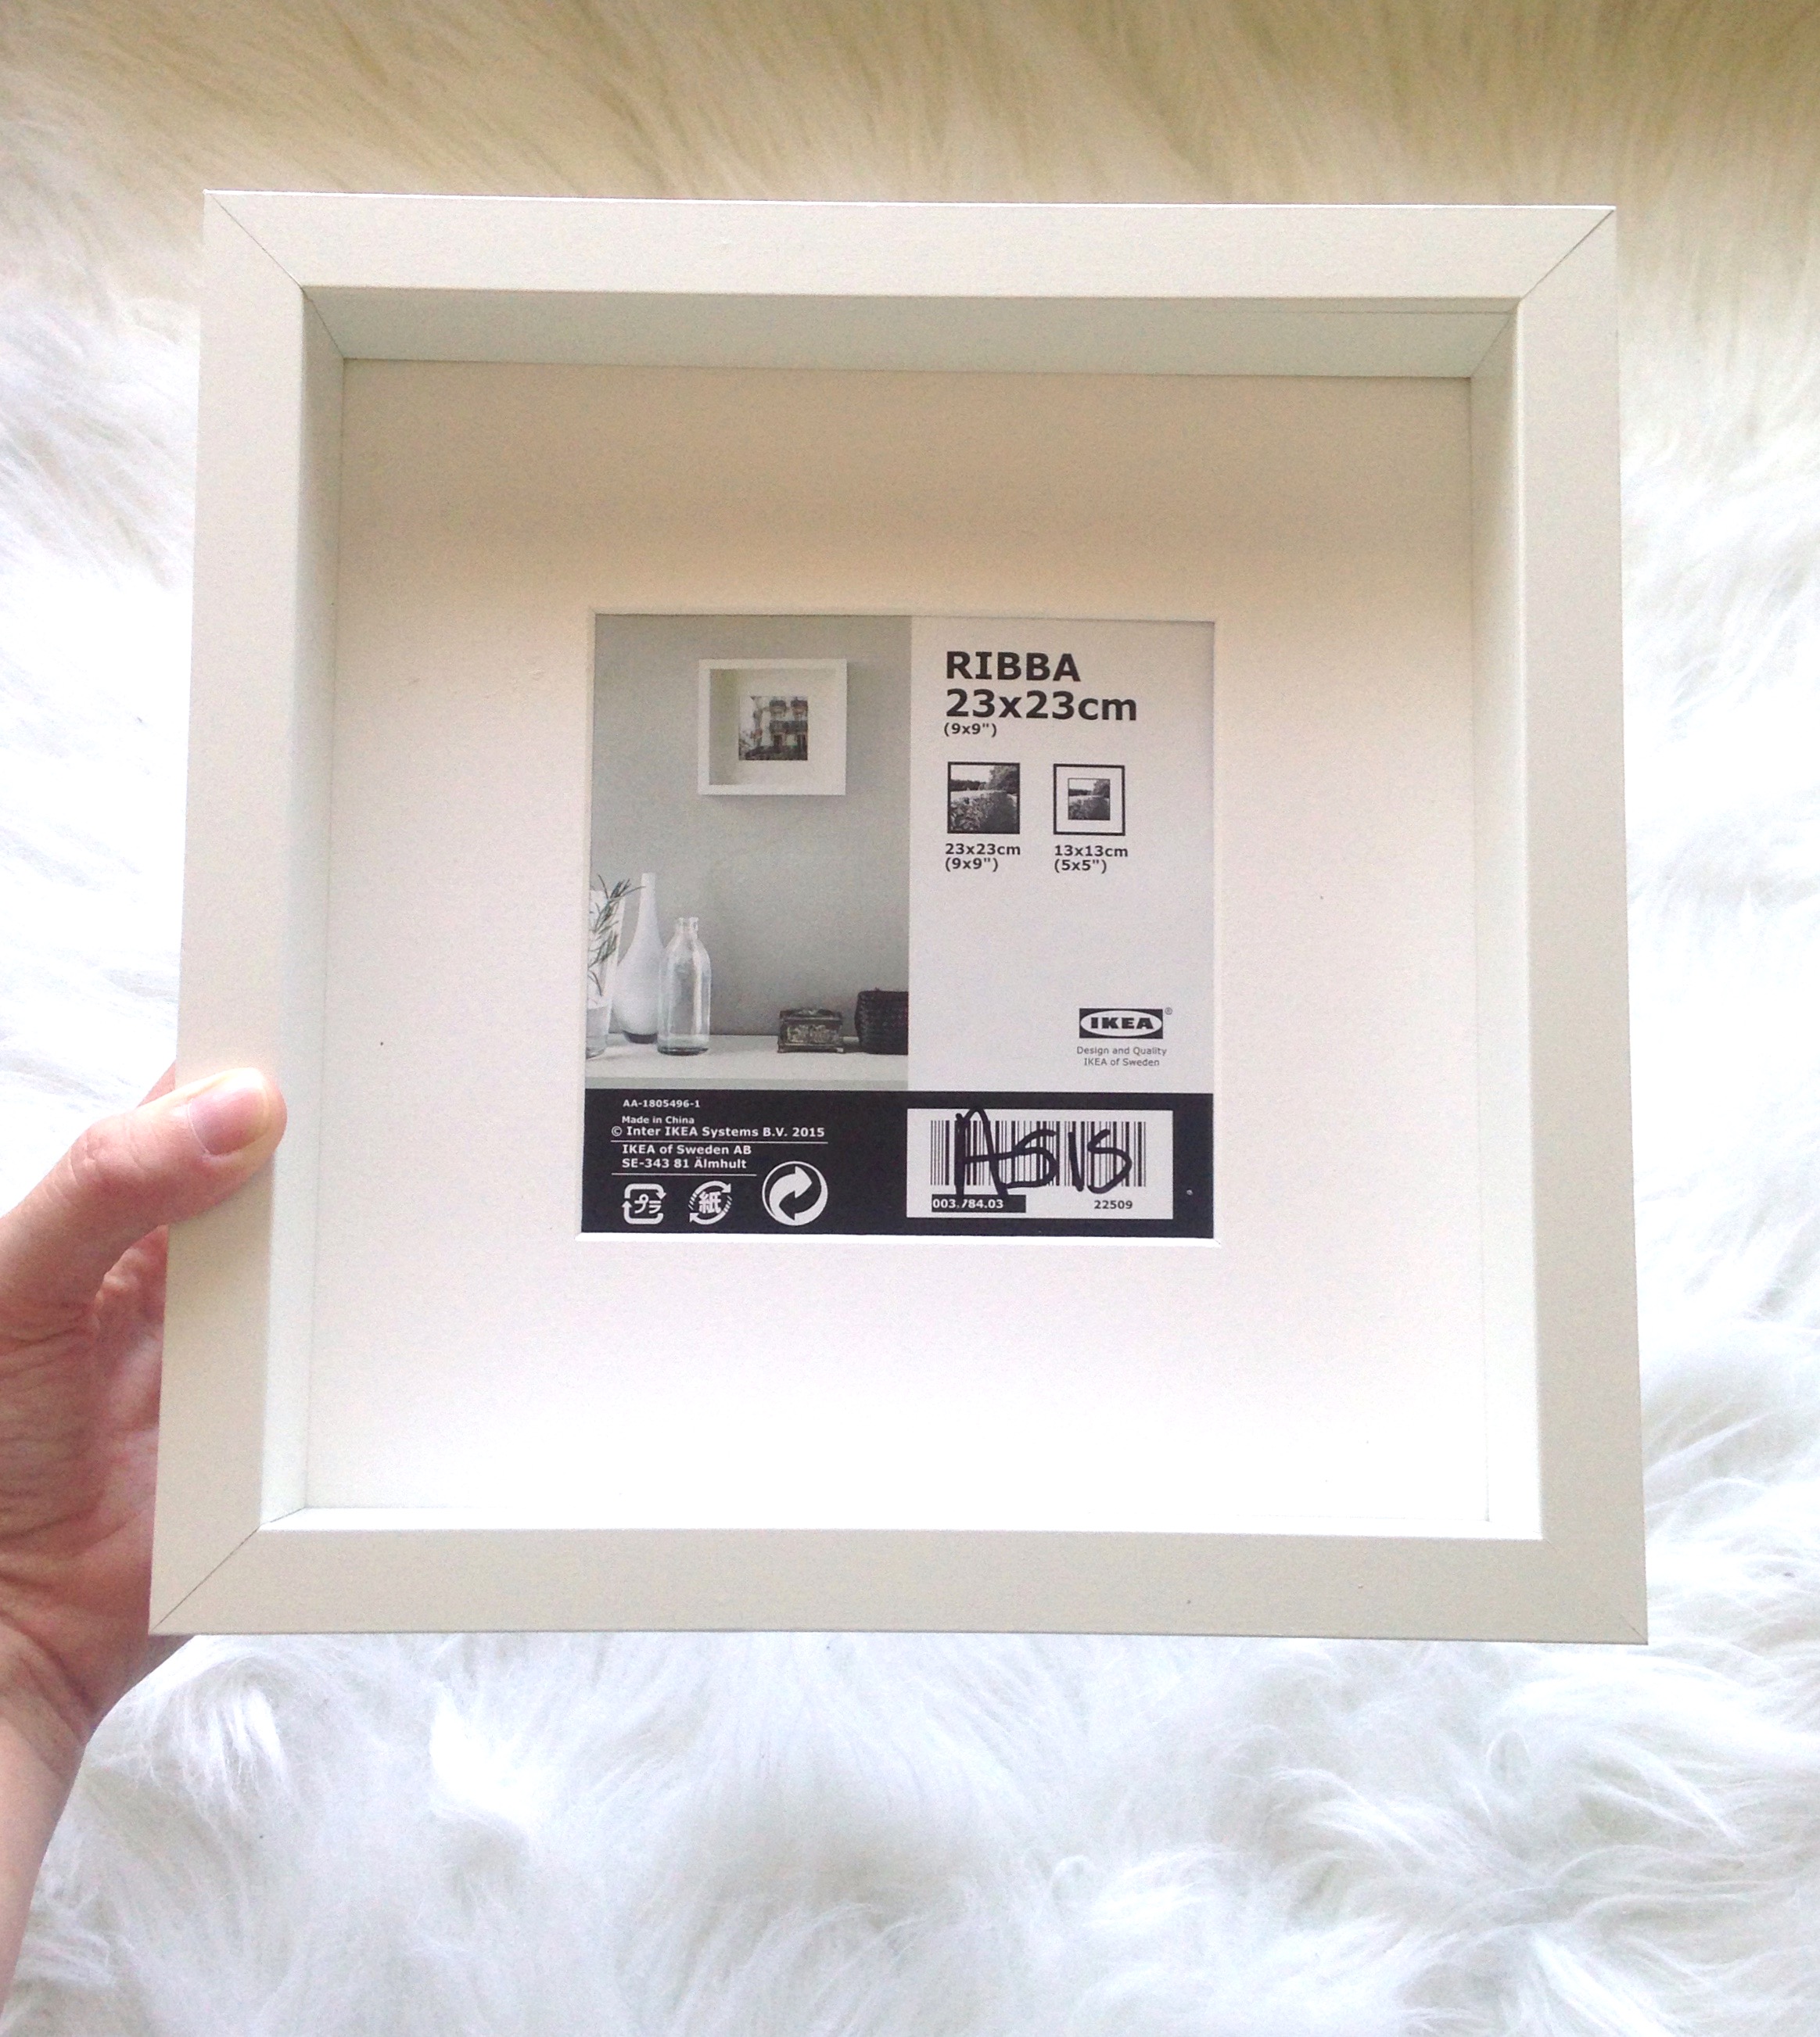
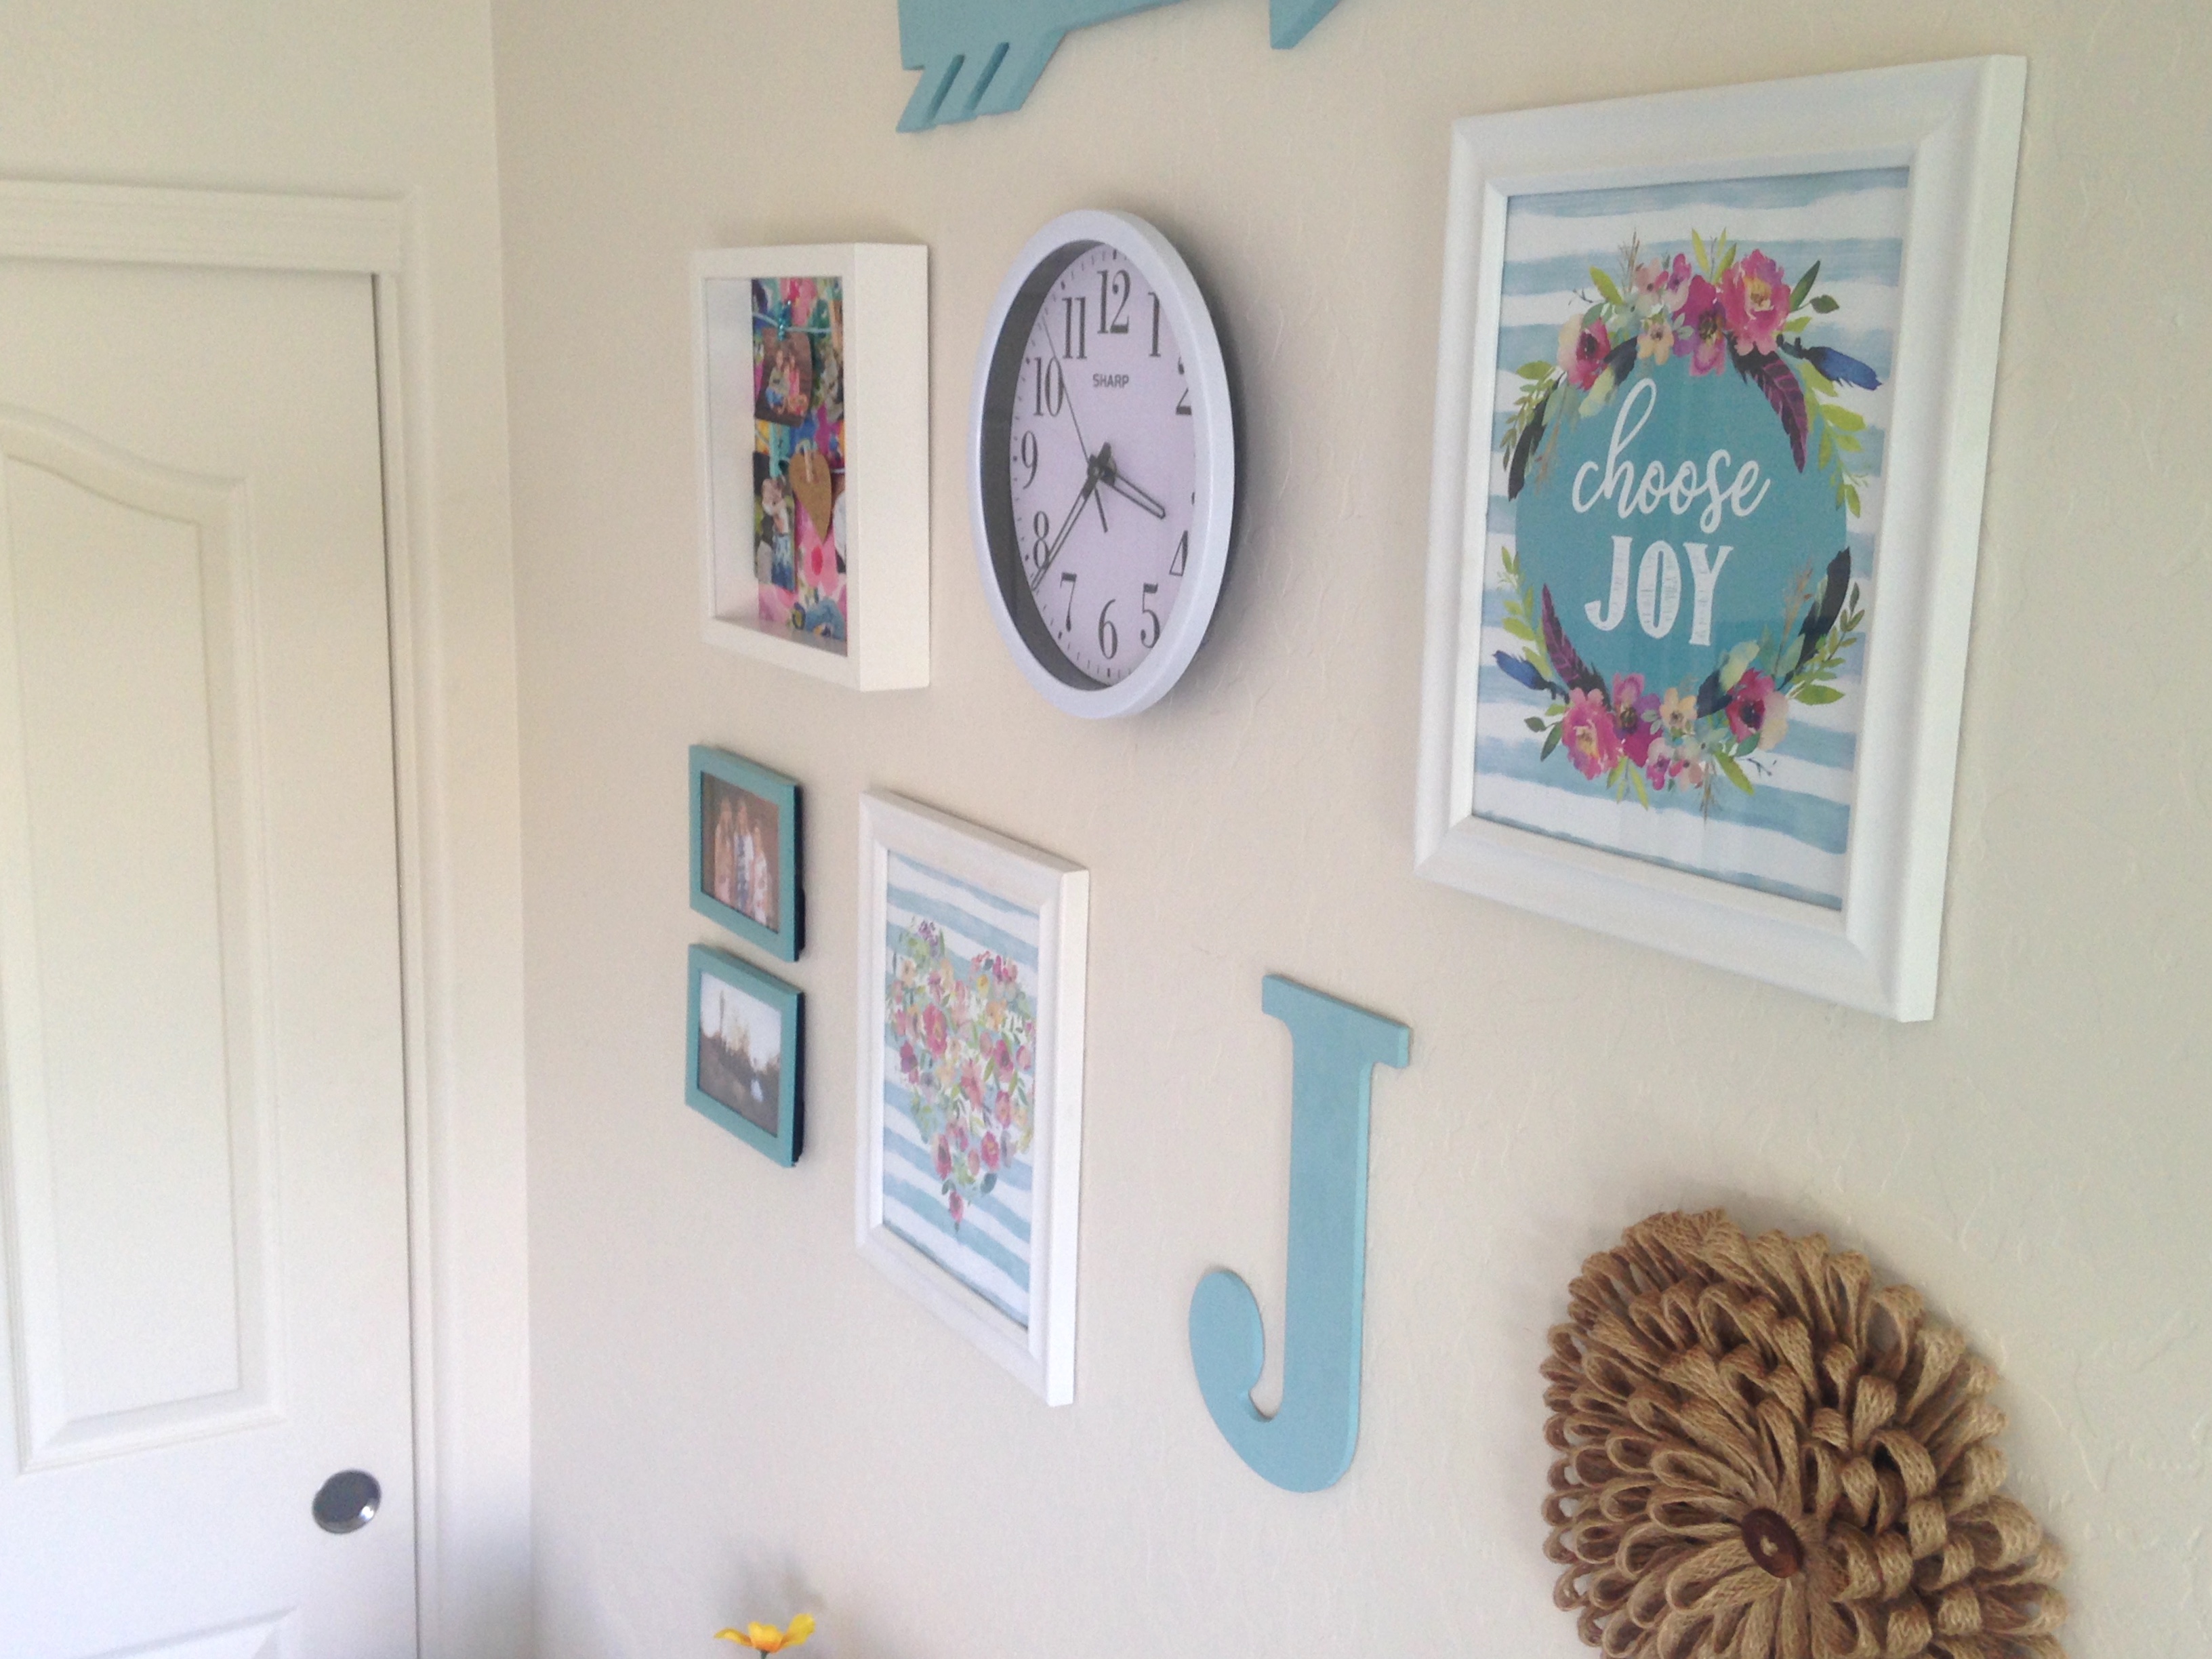
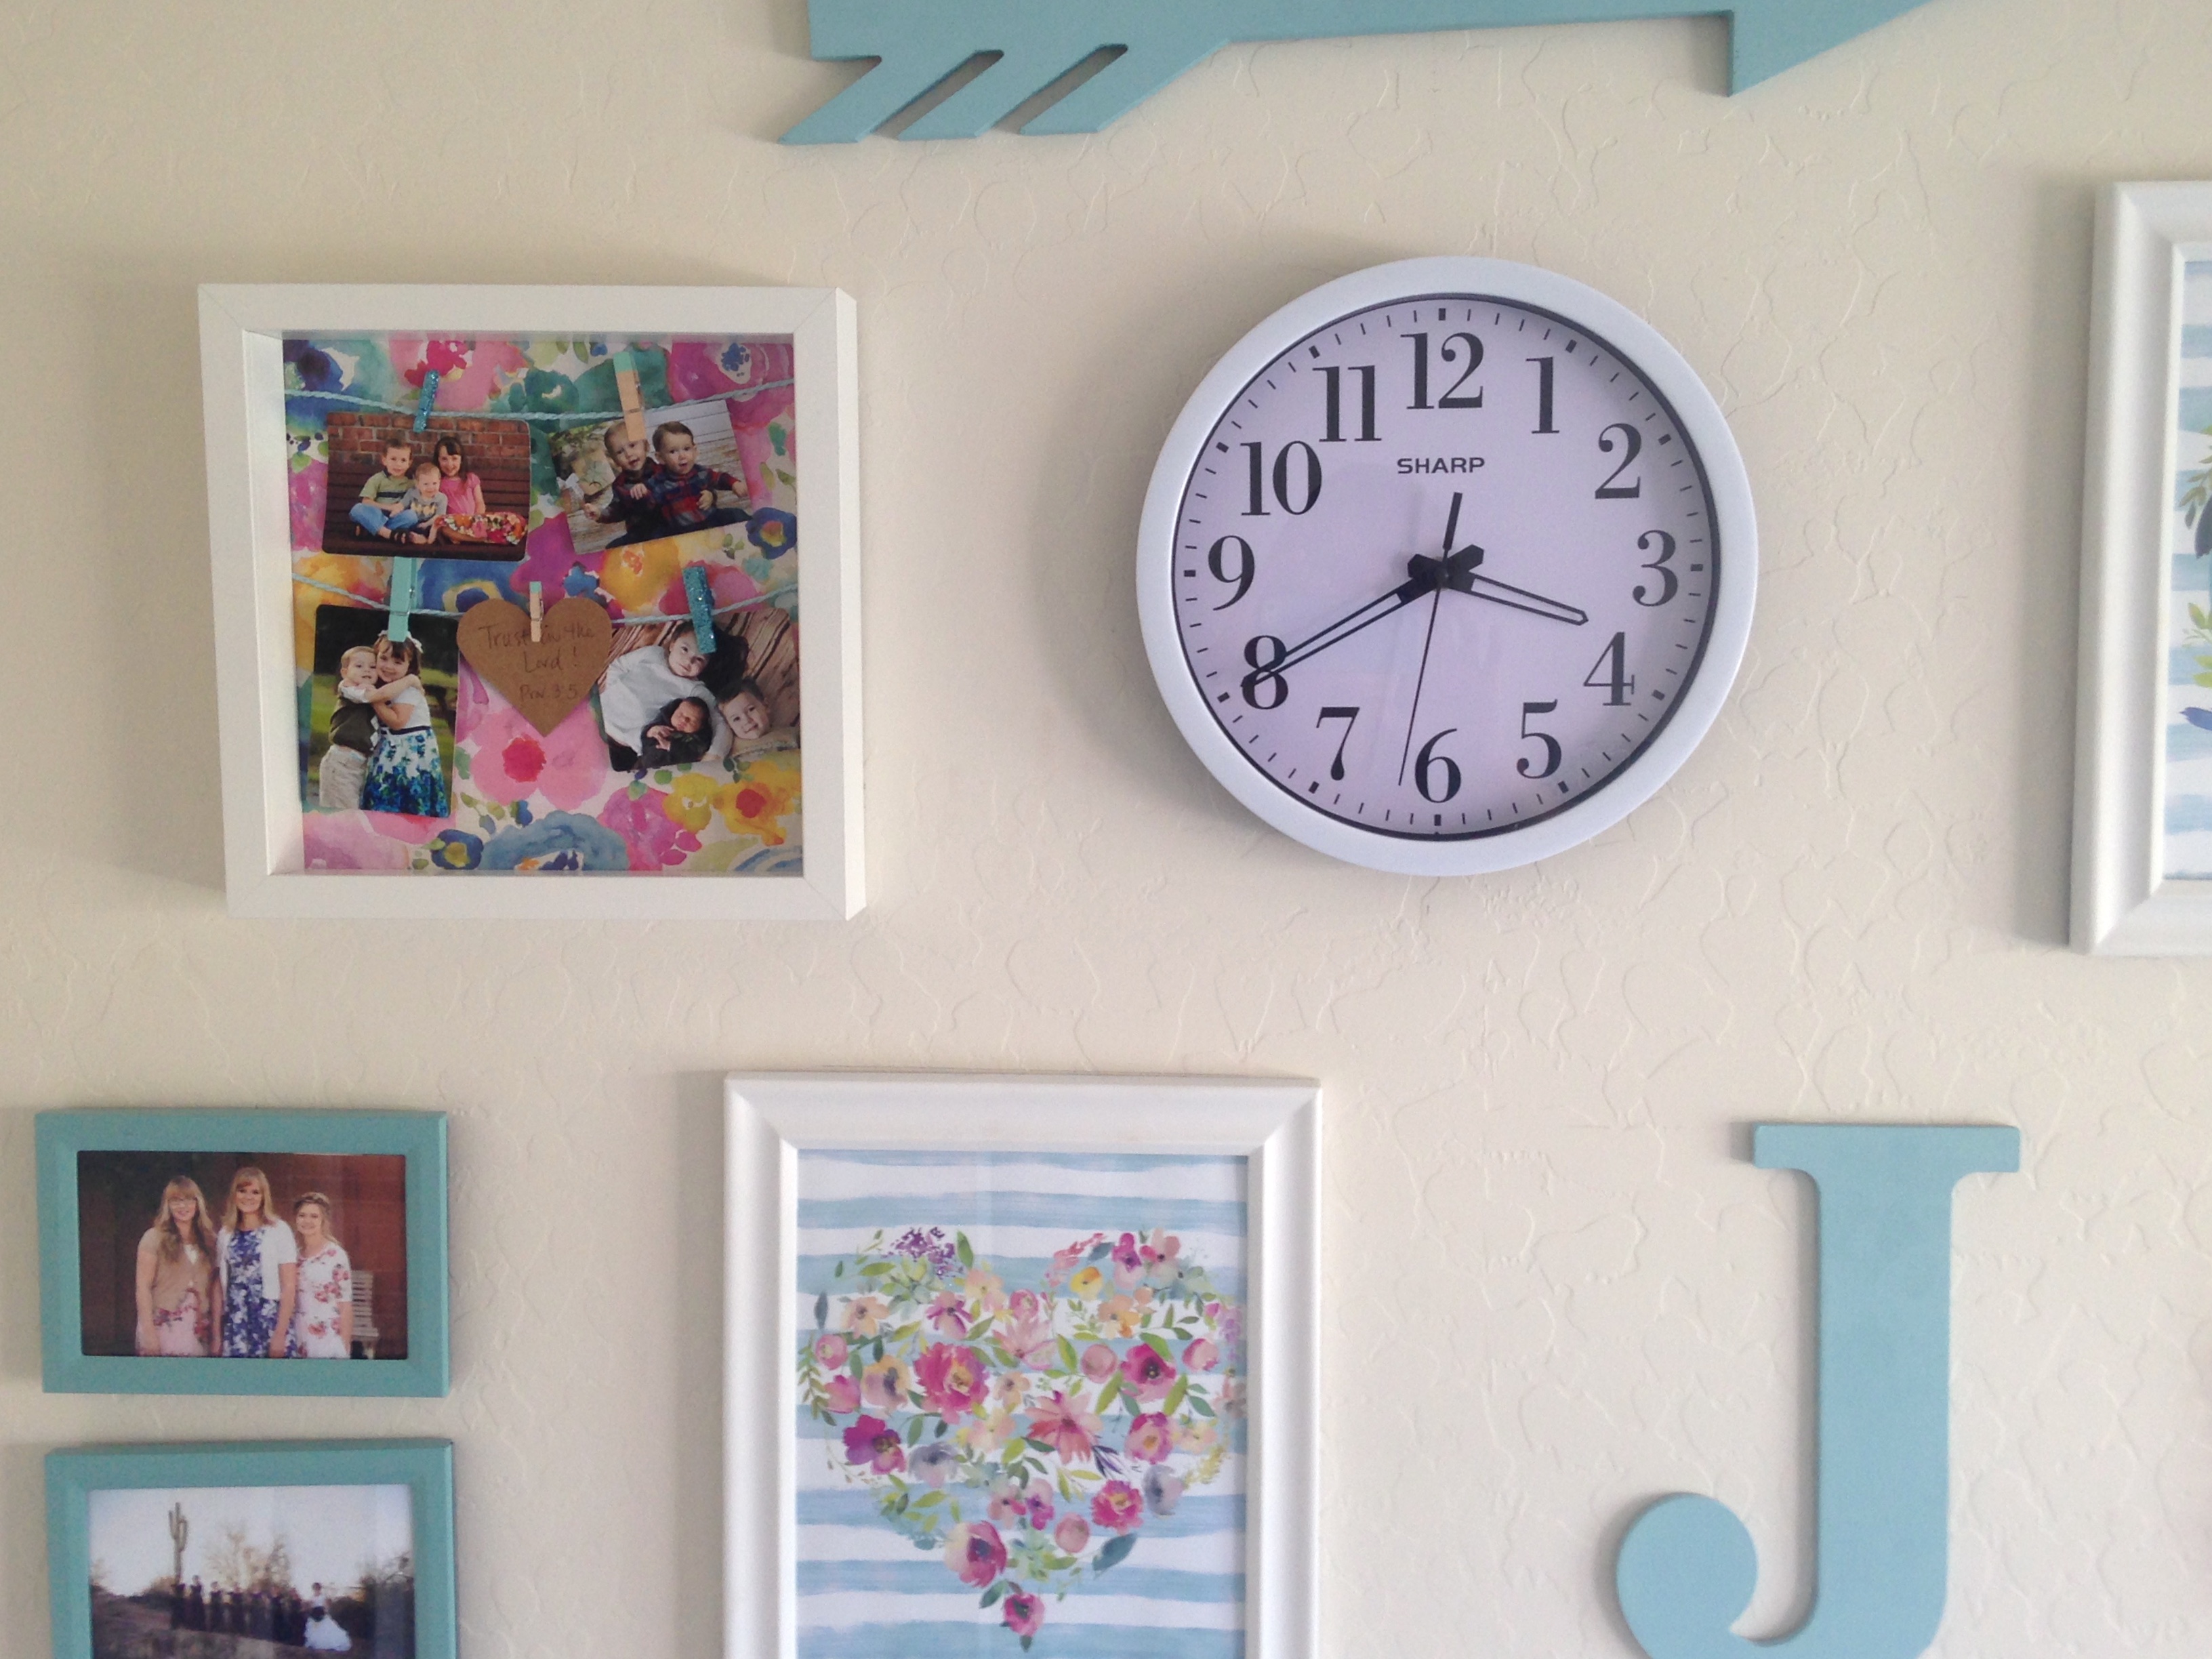
Anyone else love shopping at IKEA? I don’t get the chance to very often, but when I do, I just want to spend hours there looking at all the cute stuff and latest trends! My mind just starts going and going with how I could use or decorate with their products. It’s definitely a shopping experience! Of course, you need to ALWAYS, ALWAYS, ALWAYS check out what’s in the clearance room. (psssttt, you do know where that is located, right?! 😜) I’ve seen some really great finds with some really amazing discounts! When I found this IKEA Ribba frame in the clearance room, I knew I could do something diy with it. And, it was only $2 compared to the normal $10 just because it was missing its piece of glass.
This IKEA Ribba Frame Makeover Can Be Made in Minutes!
So, here’s what I did–
And, believe me, when I say, it only took minutes to make! You don’t need any special crafting skills or tools to make this project!
I started with
– an IKEA Ribba Frame
– a piece of scrapbook paper (thanks to everyone’s vote on our IG story. This was the winner!)
– some cute paper rope, but baker’s twine will work just as well!
– Hobby Lobby’s cute colorful clothespins
Start by disassembling the frame. You’ll notice there is a smaller frame inside the larger frame.
And you won’t need the photo mat, so you can just pitch it, or even better, save it for another project. 🙌🏻
Using the back as your guide, cut your scrapbook paper. Any scrapbook paper would be cute– florals, stripes, chevron, polka dots . . . so many endless options!
Glue the scrapbook paper to the back piece of the frame. I used a glue stick, but this glue would be even better!
Now, take your twine or string and just play around with how you want it. Adjust it as needed. I like to tape it to the back with masking tape that way I can change it around later if I want to put taller pics at the top and shorter pics at the bottom or vice versa. It might look a little crazy 😝, but it’s the back and won’t be seen anyway! Plus, I love that it’s not permanent. I can adjust from time to time.
Put the smaller frame back in the larger frame and your back piece back on.
Then, push down your little metal tabs to hold it all in.
Add some cute clothespins and hang your pictures or decorations.
p.s. I do believe I have some super cute nieces and nephews! 😉
Check out some other easy diy projects:
Do-It-Yourself Chic Rustic Pumpkins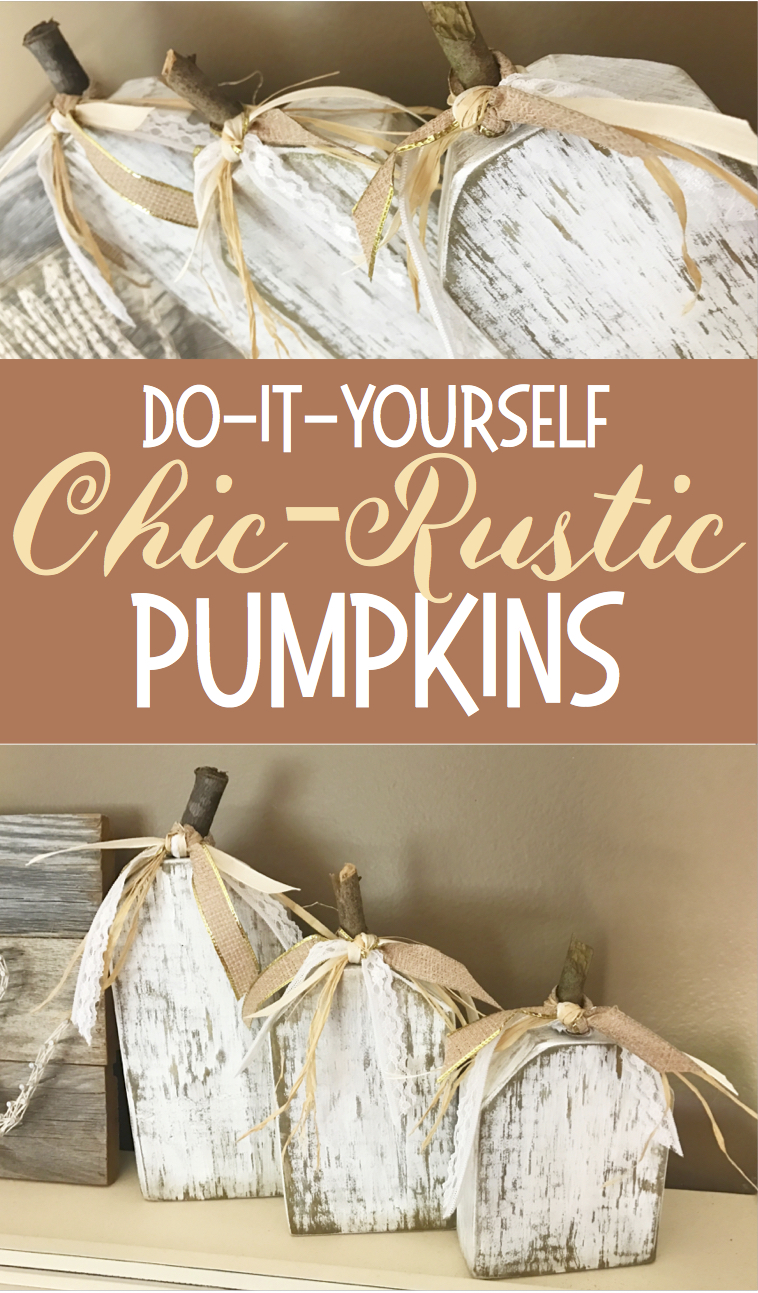
Succulent Planter Made With Recycled Candle Jars
DIY Pallet Farmhouse Mailbox