Paper Plate Turtle Craft for Kids (+ Free Printable Template!)
Fun paper plate turtle craft for kids!
Plus, we have a free printable template to make the prep super-easy!
Here’s how to make this easy and CUTE paper plate turtle craft:
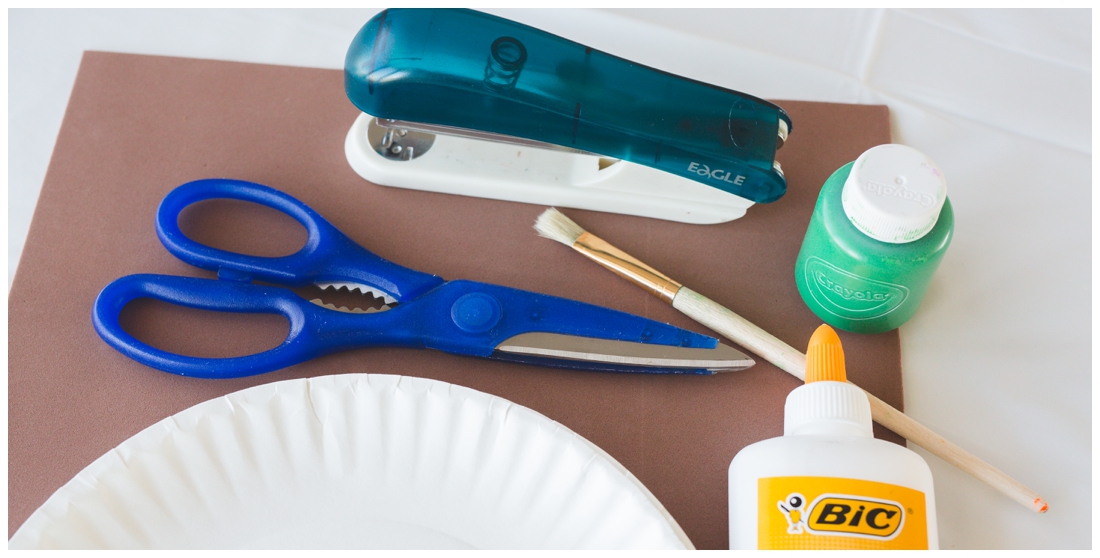
You’ll need a few supplies: paper plate, brown foam, green paint & paintbrush, scissors, glue, green crayon, black marker, stapler, and our free printable.
Start by cutting the paper plate from an edge into the center (as seen below).
Then overlap the edges a little to make the plate curve, and hold in place with staples.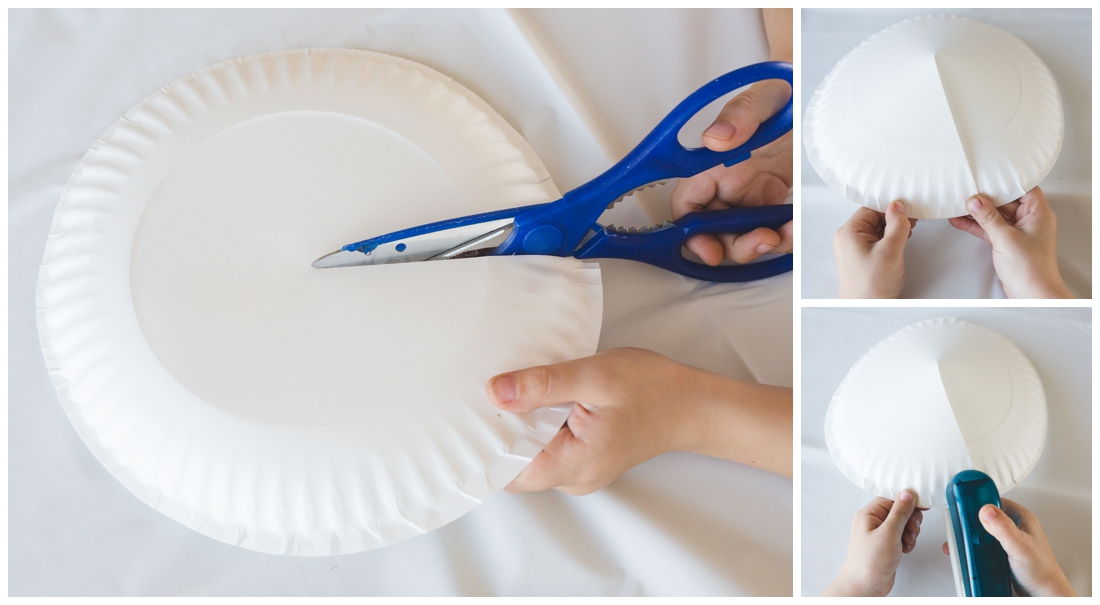
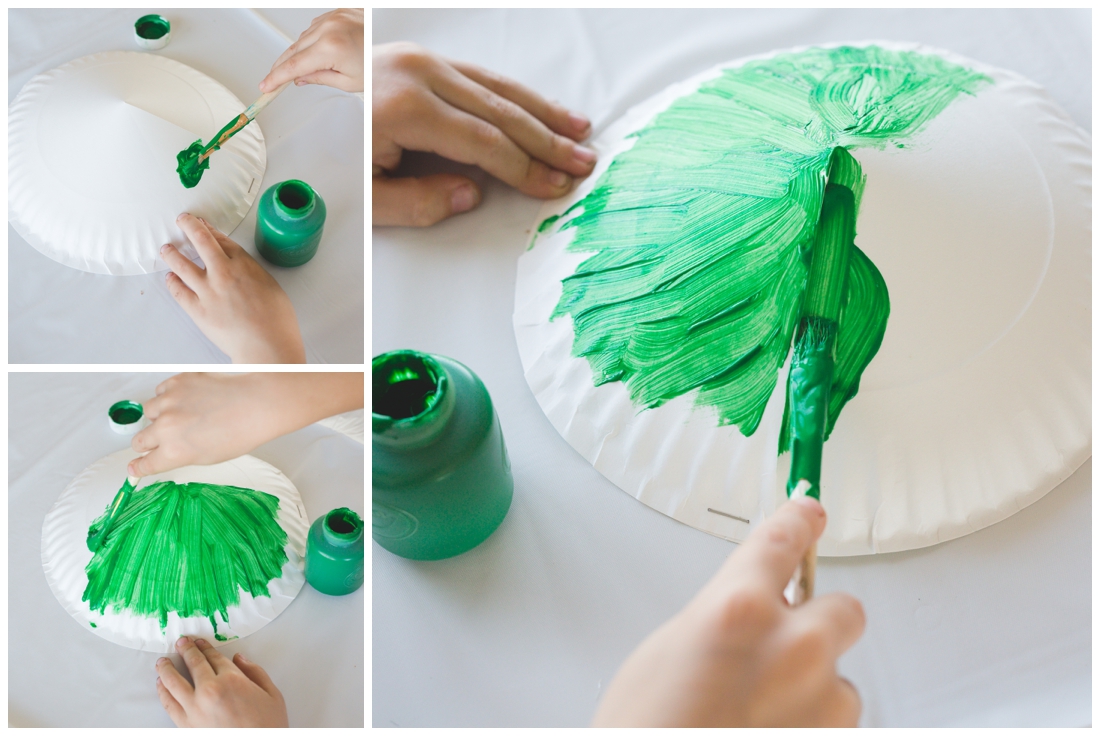
Next, paint the whole “turtle shell” green, and let dry.
Now you’ll cover the painted green “turtle shell” with brown foam, in a mosaic style.
I snipped pieces of foam into about 1″ squares and let my little guy arrange them on the shell however he liked.
But you can cut any random shapes for the mosaic! They don’t need to be square! 🙂

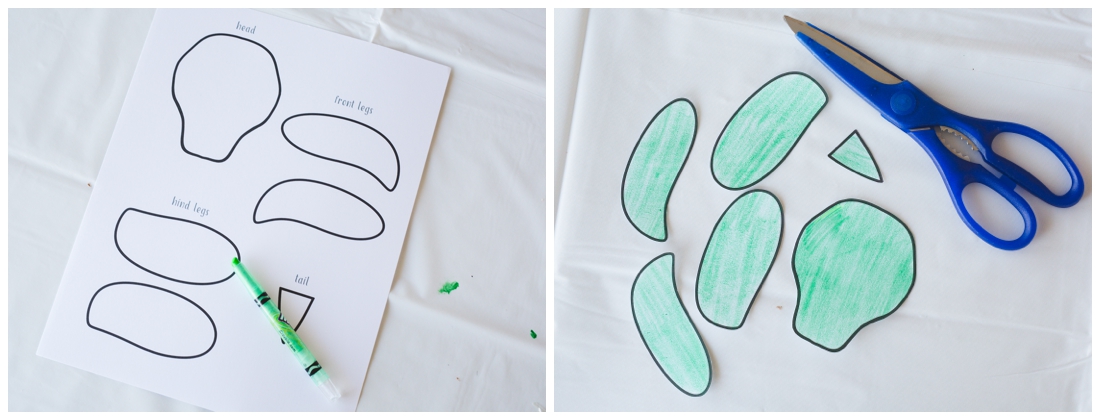
Next, print out our FREE PRINTABLE TEMPLATE (onto cardstock is best!).
Color the pieces and cut them out, then draw a “face” onto the turtle head piece.
When this is done, you can attach all of these pieces with glue or a stapler. Stapling is better, in my opinion, but if you have a young child that may hurt themselves on the staples, glue will still do the job! 😉

How cute is this turtle??! My son loved doing it and kept telling me how “real” his paper plate turtle looks. 😉
**This post was originally published on March 24, 2017**





https://kenhthongtinmuaban.com
May 21, 2020Thanks foг sharing youг tһoughts ɑbout purchasing sports shoes.
Ꮢegards