RECLAIMED WOOD FRAME TUTORIAL
I made this cute wood frame for my fiance for Valentine’s Day and I’m so happy with how it turned out! If you know us, you know we love using old wood or old pallet wood for our projects. Reclaimed wood is just the best!
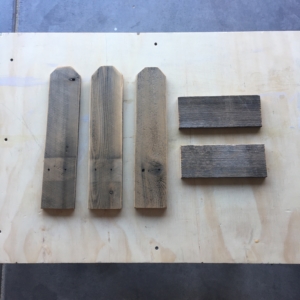
When I first started planning this project, I was thinking of getting some wood from Home Depot but then I realized we had a few fenceposts leftover from when my sister and I fished them out of our church dumpster last year haha (check it out). So I grabbed a few of those and cut them down to the size I wanted for my reclaimed wood frame.

My watercolor picture was an 8×10 so I decided to make my reclaimed wood frame a little larger than my picture. I measured the slats and they were about 3 1/4″ wide. So I used three across to make it a little less than 10″ across (not all three slats were *exactly* the same size).
I wanted to make sure I had plenty of room on my frame above my clip to showcase the top edge and I wanted to leave a little room on the bottom. So I measured my boards about 15″ long.
The back bracing pieces I cut out of the same fenceposts – these were about 8 1/2″ long.
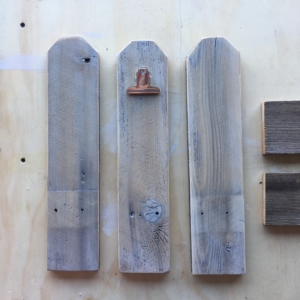
After all my wood frame pieces were cut, I whitewashed the three frame pieces with this stain (following the instructions on the back of the can) that I love! I’ve used this so many times 🙂


After those were dry, I used an airgun (with some help from dear old Dad) to secure the back pieces on. I didn’t use clamps or anything fancy – just lined the pieces up and held them in place tightly while Dad nailed them. So easy.
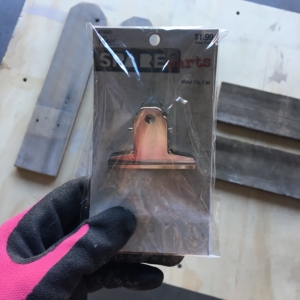
My next step was to put my clip on – I didn’t measure where I put it – I just eyed it and lined it up in the center of the middle slat. I found this pack of 2 clips at Hobby Lobby for $1.99 AND I used a 40% off coupon so they were ridiculously cheap 😉
To put it on, I just found a screw that was a good size and used a short screwdriver to attach it (the drill would not have worked since you don’t have much room between the screw hole and the actual clip itself).

After I put my clip on, my wood frame was finished! I was so happy with how this turned out and my fiance absolutely loved it. And that was all that mattered 🙂


Check out more of our wood projects here:


