Simple Paint Stick Flag
With the 4th of July just around the corner, I needed a quick, but cute decoration for my front door! This Paint Stick Flag came together in just one afternoon and since I had several basic supplies on hand, was literally one of the cheapest crafts I’ve ever made.
PAINT STICK FLAG
Supplies:
9 paint sticks
14 craft sticks
red, white, and blue acrylic paint
twine
hot glue gun and sticks
drill
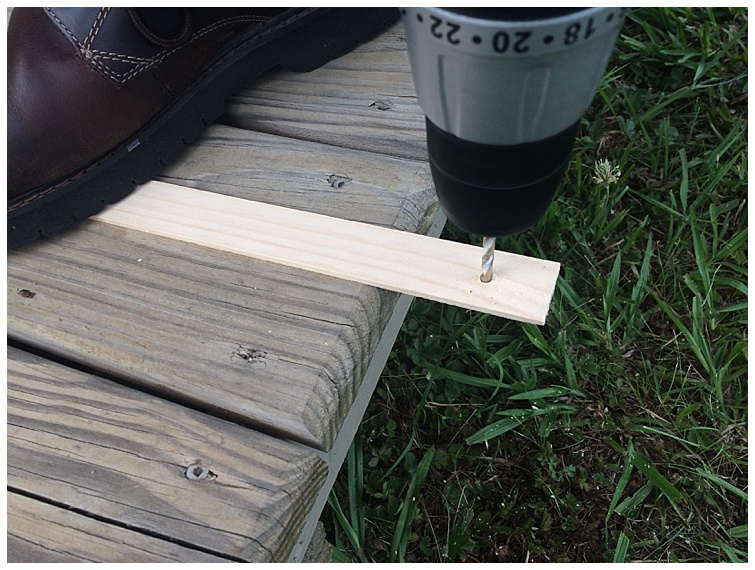
Start by drilling holes in your paint sticks large enough for 2 strands of your twine to fit through.
I marked dots about 1″ from the ends of the sticks, to make drilling the holes simpler.
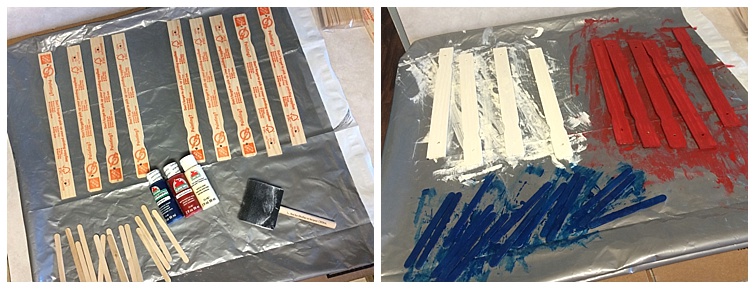
Now you are ready to paint! You will need 5 red sticks, 4 white sticks, and 14 blue craft sticks.
I did 2 coats on each side, so this step takes a little bit of time.
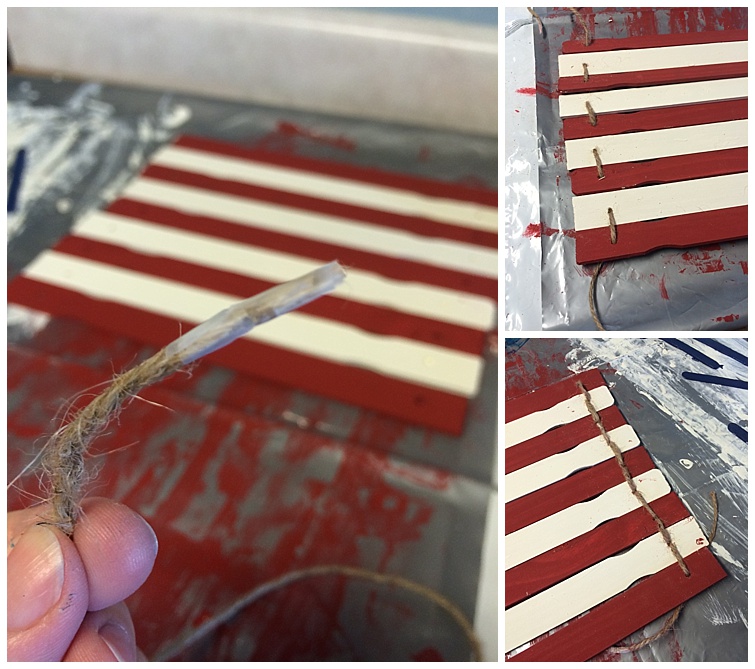
When they are dry, arrange your sticks in the correct order and begin weaving the twine in and out to hold them together. Once you get up one side, weave back through to the other end and knot it off on the back side. I tightly wrapped one end of the twine in scotch tape to make it easier to push through the drill holes.
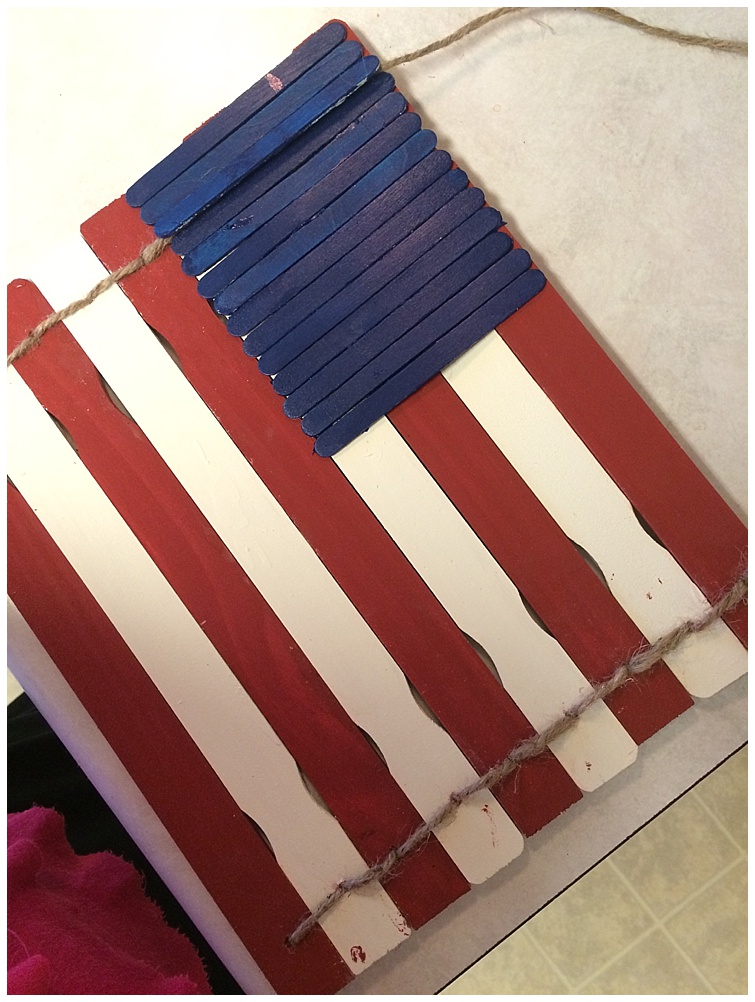
Once you have weaved twine through both sides and added another piece of twine for hanging it, attach your blue craft sticks with hot glue.
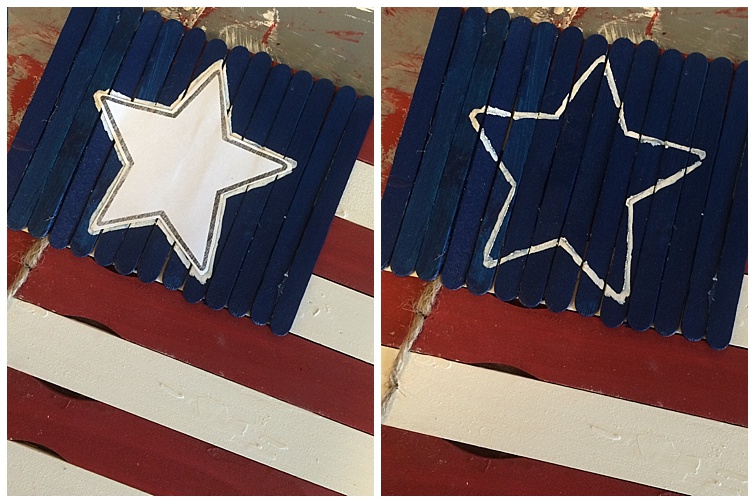
For my star shape, I found one online and printed it the size I needed to fit on the craft sticks. Trace around it, and paint it white. This took 4-5 coats since I was painting white onto dark blue paint.
Once it is dry, you are ready to hang you Simple Paint Stick Flag on your door and show your patriotic spirit!
