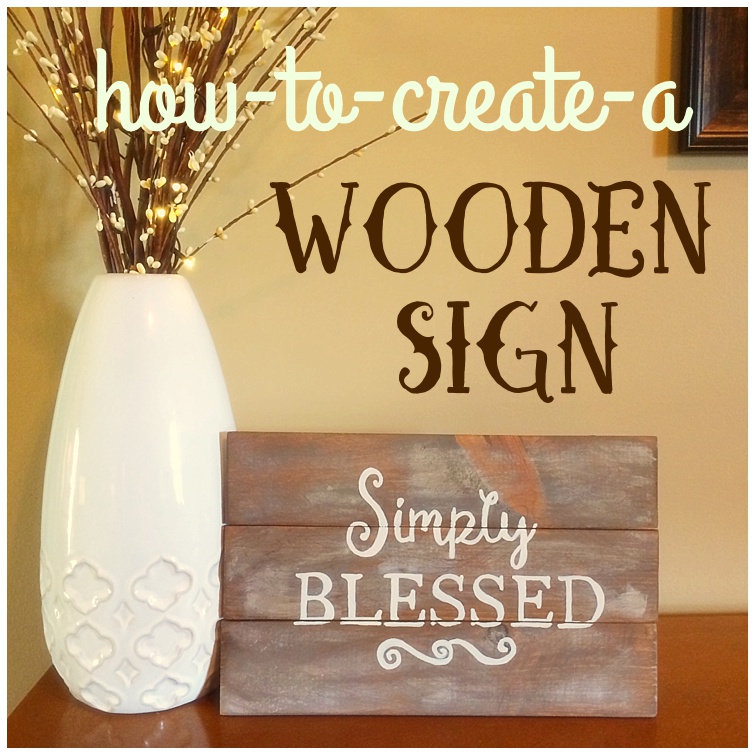
Simply Blessed wooden sign
I’ve had so much fun making small wood projects as of late! They are extremely popular right now, and it’s nice to know I can make a wooden sign, exactly what I want, at a very affordable cost.
Simply Blessed Wooden Sign
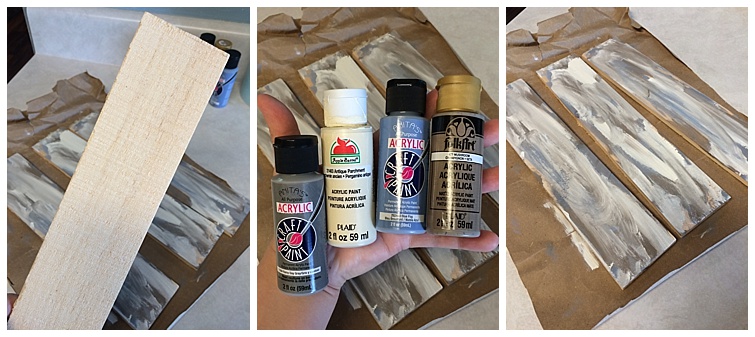
I started with a small package of wood from Hobby Lobby. The pack had 4 pieces of rustic wood, about 3 1/2″ x 12″. It was $5, but I used a 40% off coupon… great price!!! Get your wood and make sure it is the size that you need it to be.
PAINTING
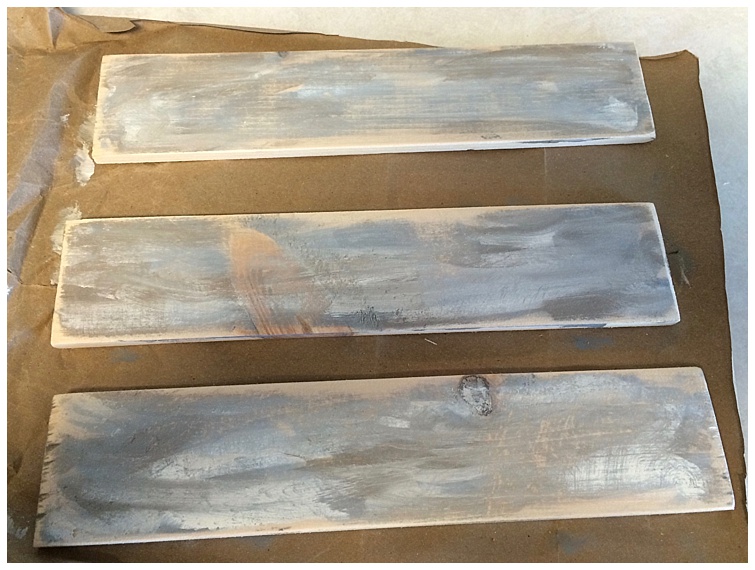
To get the wood to the rustic look that I wanted, I first painted my 3 pieces of wood with some acrylic paint. You do not need to make sure every bit is covered. This is a very messy looking step, just slop some color on those wood pieces. I used 4 different colors, gray, tan, cream, and blue.
SANDING
Once it is dry, you can begin sanding it. I love my husband’s little palm sander and use it all the time! Very handy. I like to especially make certain that the edges are sanded well. Be sure to knock off the rough edge, because when we stain in the next step, it’ll especially look beautiful if the edges take in the stain well.
STAINING
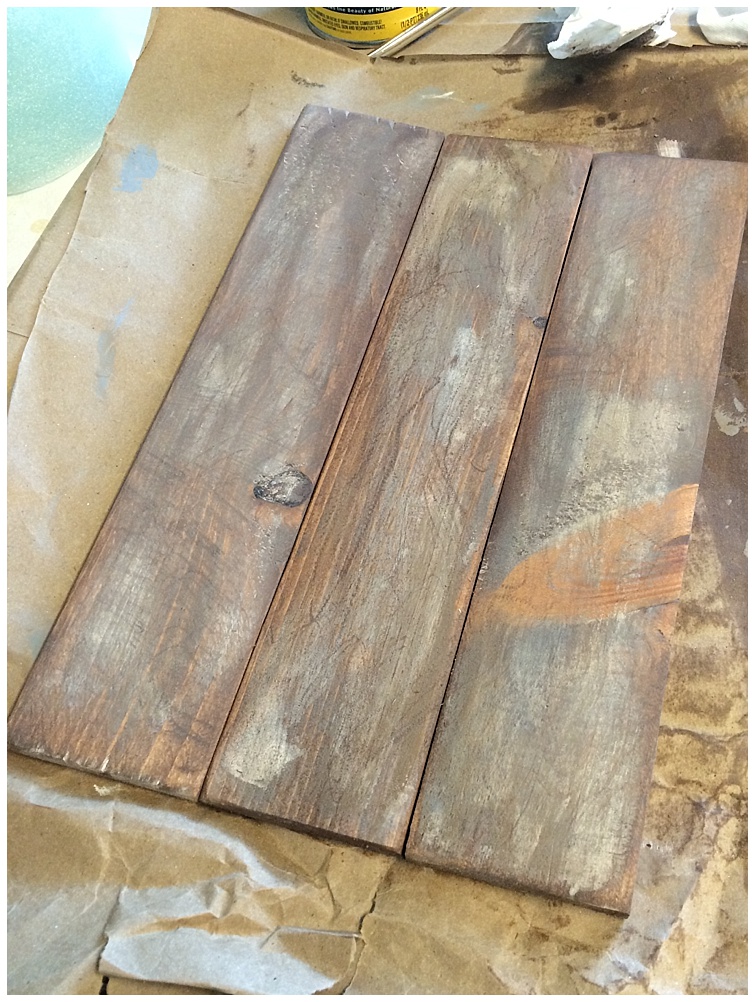
Wipe your wood clean and then it is time to stain! I used a walnut finish because it is what I happened to have on hand. I wiped the stain on and immediately wiped it dry with a clean cloth. Repeat as many times as you would like to get the desired look. Now you will need to let it dry several hours or overnight.
ADDING TEXT
I used a program on my computer to design my text. Be sure to consider the finished size of your project to determine your font size and also consider thicker fonts as you will need to be able to cut them out to make a sort of stencil. This was a fun part for me!
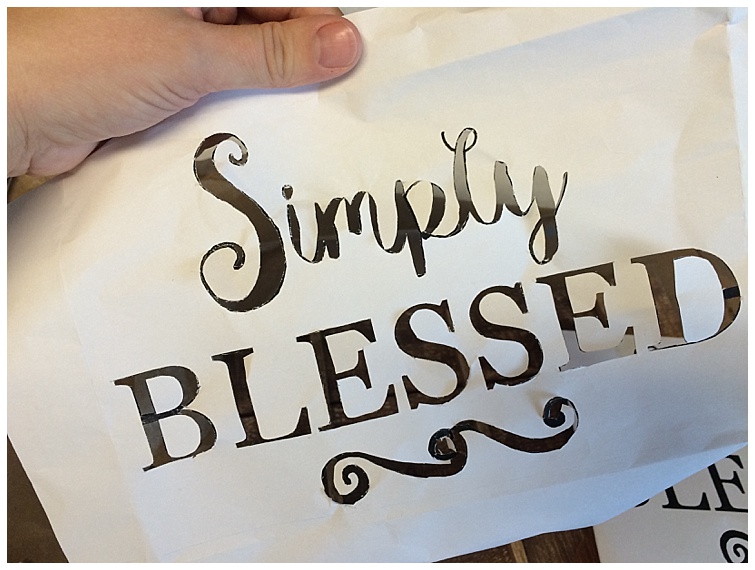
Once you have your design printed, using small sharp scissors, cut out your words to form a stencil. Like this. This is certainly the most time consuming part, but so neat to be able to get that exact font look on your finished project!
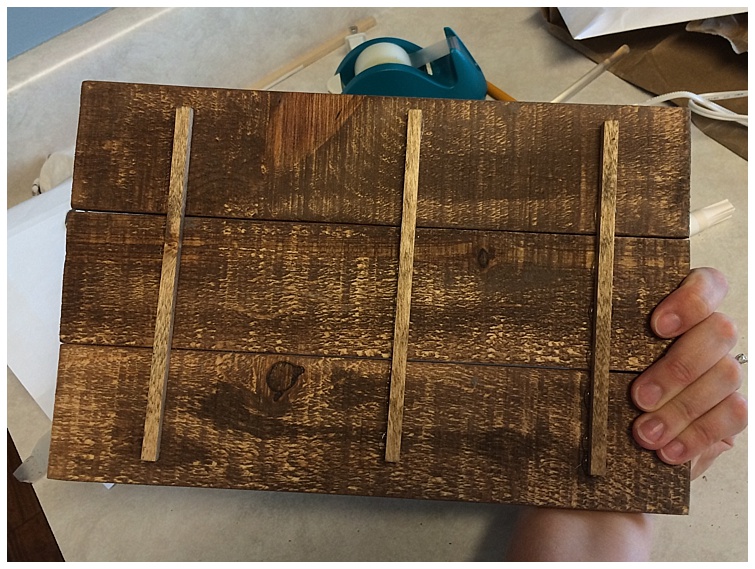
To connect the 3 wooden slat pieces, I stained a square dowel rod and cut 3 pieces a little shorter than the height of my project. I lined up my slats and attached the dowel rods with hot glue. Now my wooden sign was ready to add text to.
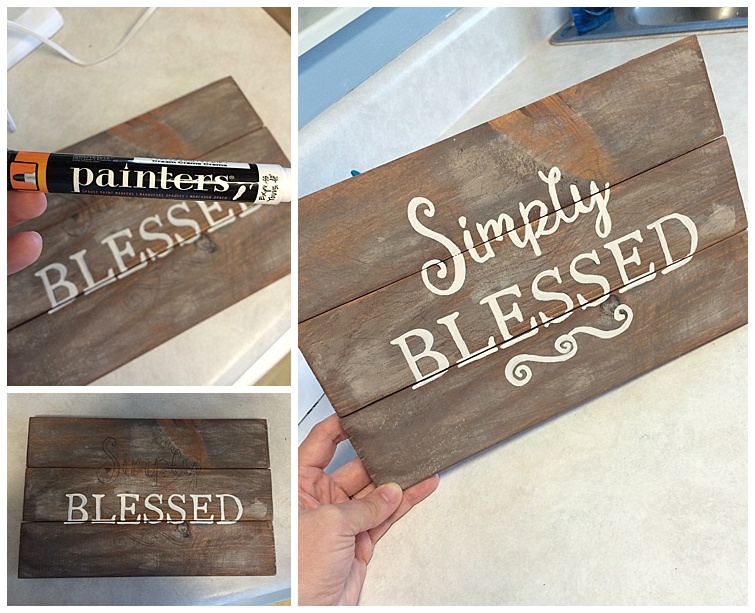
Tape your stencil you created onto your sign and trace the words on with a pencil. Take your time and be as detailed as you can. Once you remove the stencil, you should to be able to clearly see your text.
This is the paint marker I used. Works very well! carefully, draw your text onto your wooden sign. I did 2-3 coats with the paint marker to get the text as bright as I could.
Once it is dry, your project is finished! Your wooden sign is ready for display!


Emily Walker
August 30, 2016Love the vase!! Where’d you get it?
Amy
November 1, 2016Just want to say that you girls thoroughly inspire me. Decided to try to paint a sign myself. Had some pallet wood, paint , and a saying. Keep up the good work.