Stars & Stripes Mason Jars
Stars & Stripes Mason Jars
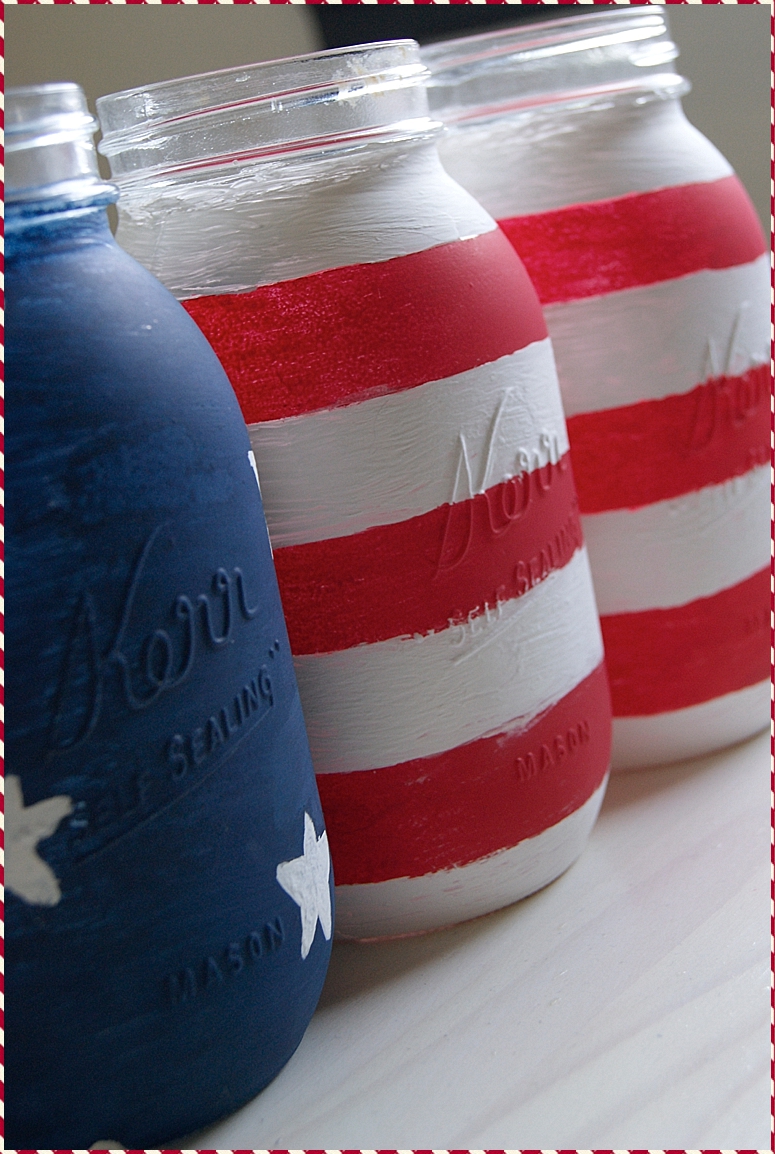
The Fourth of July is coming up and you need to get ready for your patriotic party! These super cute “Stars & Stripes Mason Jars” are a breeze to make and would be perfect for holding utensils at a summer picnic, displaying some wildflowers, or holding sparklers for your Americana celebration!
You will need –
- 3 mason jars
- masking tape
- red, white, and blue acrylic paint
- paintbrushes
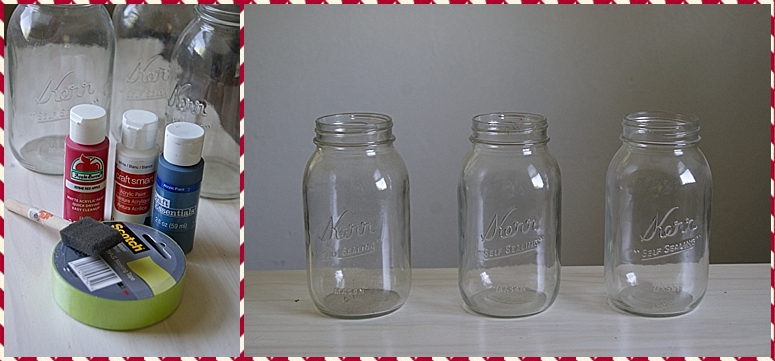
Always start by making sure your jars are good and clean and dry. You don’t want any dust or water under the paint.
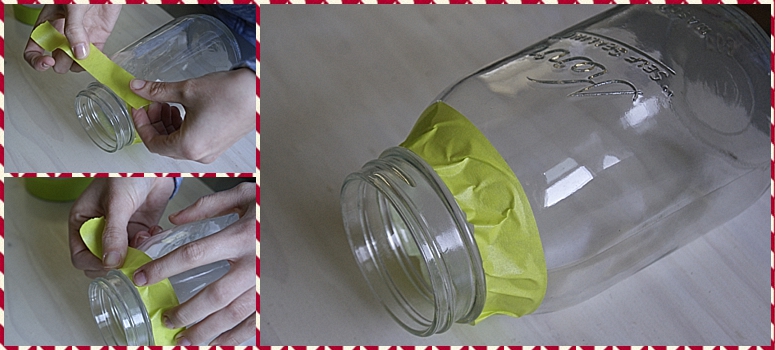
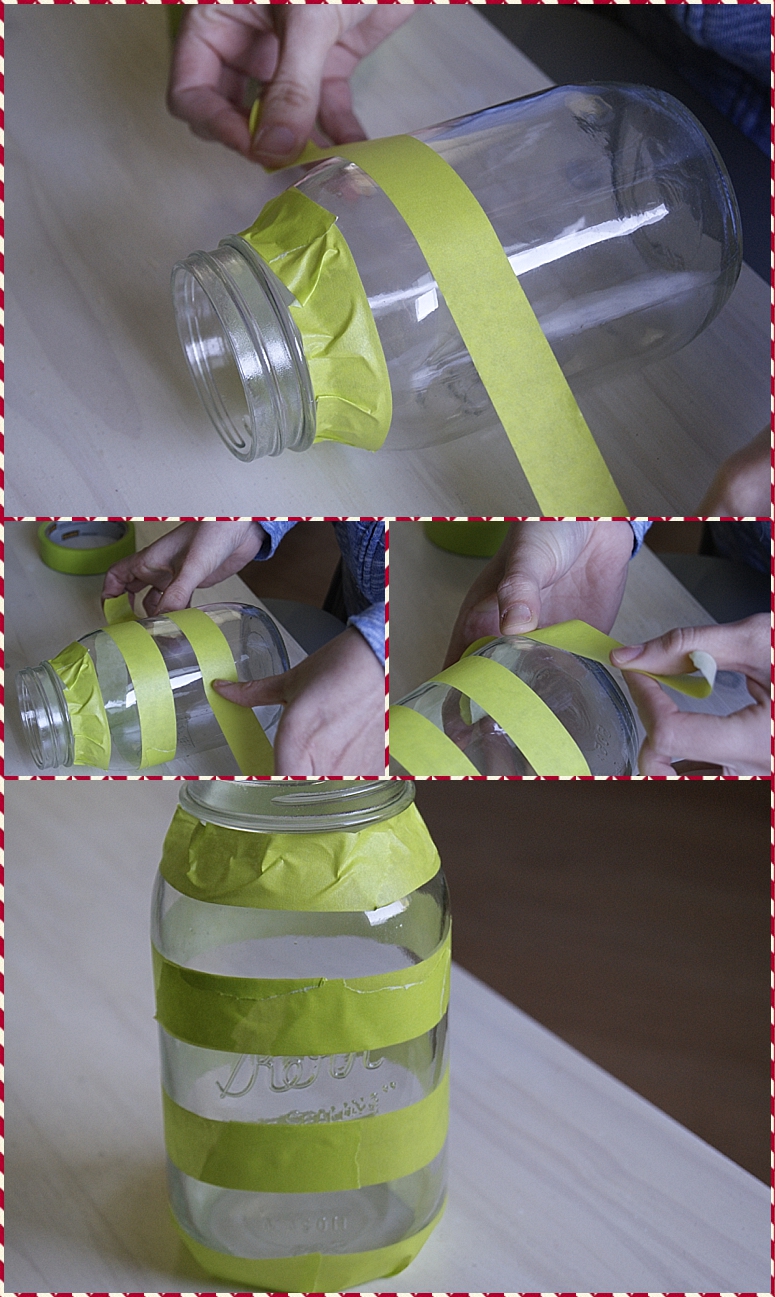
Next, tape off the stripes, one by one, on only two of the jars. For the top stripe, I had to adjust the tape in some spots to make it straight on the bottom – you’ll notice it’s not perfectly even and flat. The same goes for the bottom stripe around the base of the jar.
For the rest of the stripes, I left a masking tape width apart between the stripes. I wanted to leave the rims of mine unpainted – I think I have some raffia lying around I could use to tie around the top in a cute bow!
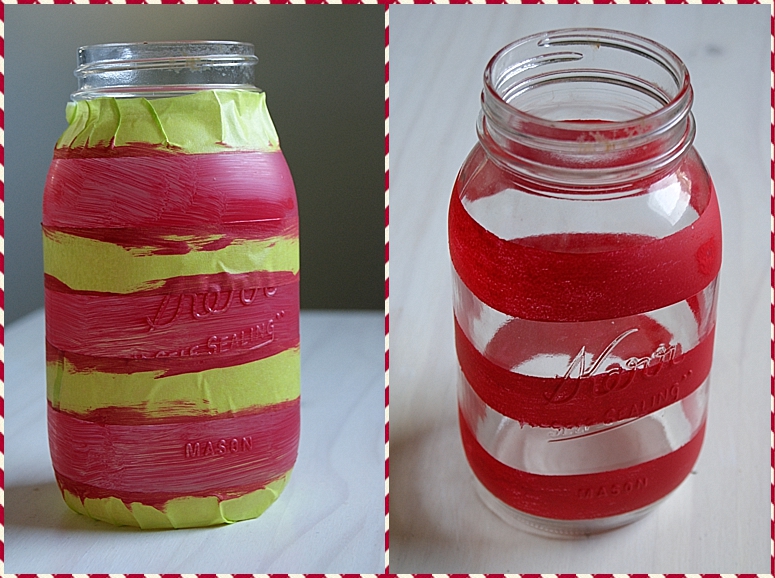
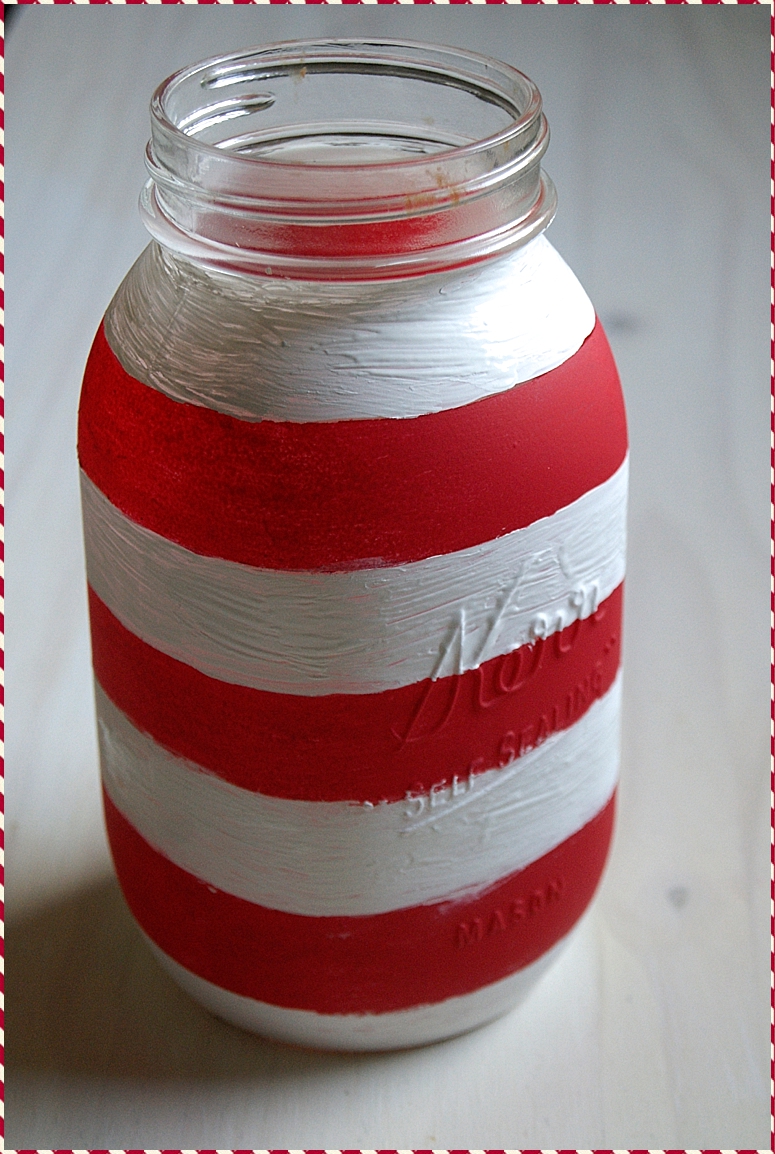
Next, using a foam brush, paint the stripes red. You may need to apply a second coat. Wait for the stripes to dry before removing the tape. Slowly and carefully peel off the tape to reveal the beautiful red stripes. If you need to, use a small brush and clean up the edges – with the tape, tho, you shouldn’t have to do much cleaning up 🙂
Now, you could tape off the red stripes to paint your white stripes or just use a brush and carefully paint between the red lines. I didn’t tape off because I wanted to get a rustic look to my jars (for some reason whenever I think “Americana” I think rustic) – I used a dry brush and painted streaks of white. I let the first coat dry then went back and streaked a little more 🙂
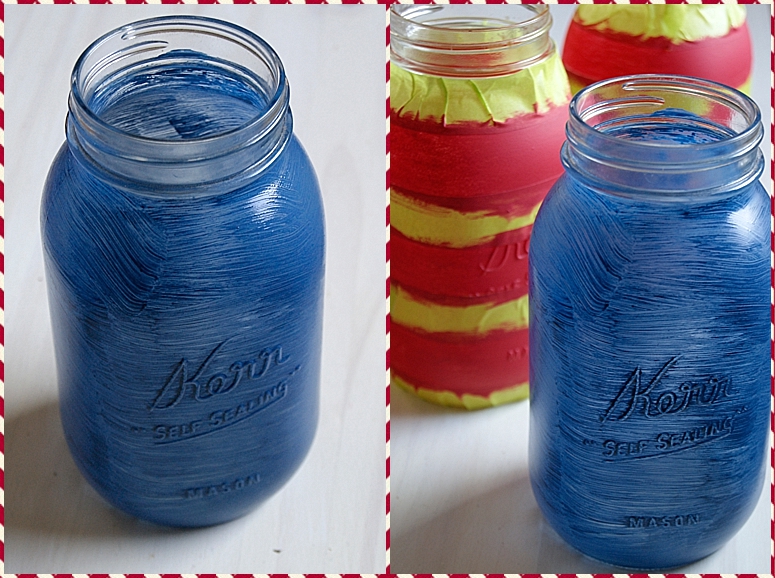
Now, onto the blue jar with stars. Paint the whole jar blue, leaving the rim unfinished, like the other two. I did two coats on mine – on the second coat, I didn’t paint evenly to stick with the rustic feel.
After it has dried, using either a mini cookie cutter to stencil on the stars, or drawing freehand, pencil on however many stars you wish 🙂 I chose to hand-paint my stars on. Using a small brush, paint the stars white. Or, if you don’t feel like you have a steady enough hand to paint inside the lines, you could use a star sponge, dip it in the white paint, and sponge them on the jar. Whatever you want . . .
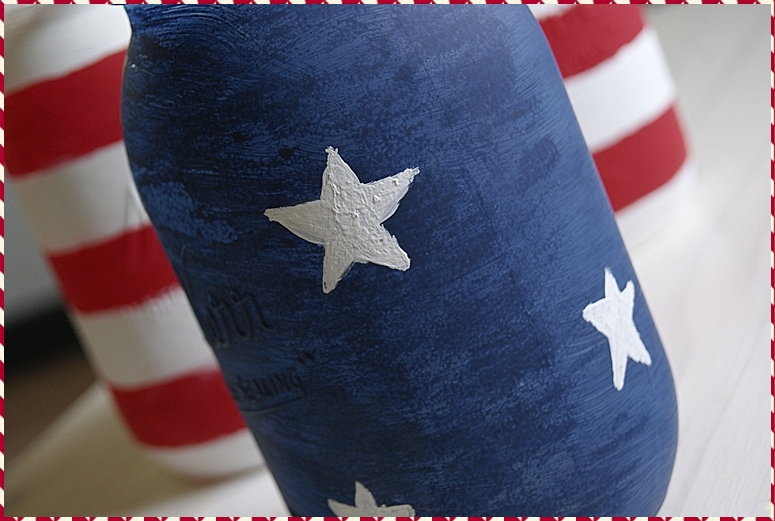
Wait for the stars to dry . . . and you’re finished painting! Finish off the rims however you want! I think I’ll display my jars on my front porch with some flowers in them 🙂 I think a bunch of baby’s breath would look really cute!




1 Comment