
Yarn Wrapped Christmas Trees
Christmas time is here and I LOVE it! This simple, diy Christmas craft was an idea we came up with after a sisters’ trip to TJ Maxx. We came across some cute yarn wrapped Christmas trees while out shopping, and we knew we could easily make our own for a fraction of the cost!
These diy Christmas trees would be a fun project to do for a ladies’ craft night! Or you could make these for a handmade Christmas gift idea. Who wouldn’t like receiving a cute set of these?
What’s so great about this craft is that the options really are endless! We were going for a neutral look and chose this yarn color, but you could do any color combinations to match your Christmas decor! Just make sure you choose a super bulky yarn! Or go for another totally different look with some ribbon or trim. 🙂


YARN WRAPPED CHRISTMAS TREES . . . .
an easy, diy craft for the holidays!

HERE’S WHAT YOU NEED:
-
styrofoam cones (we used this size for the small, and this size for the large)
-
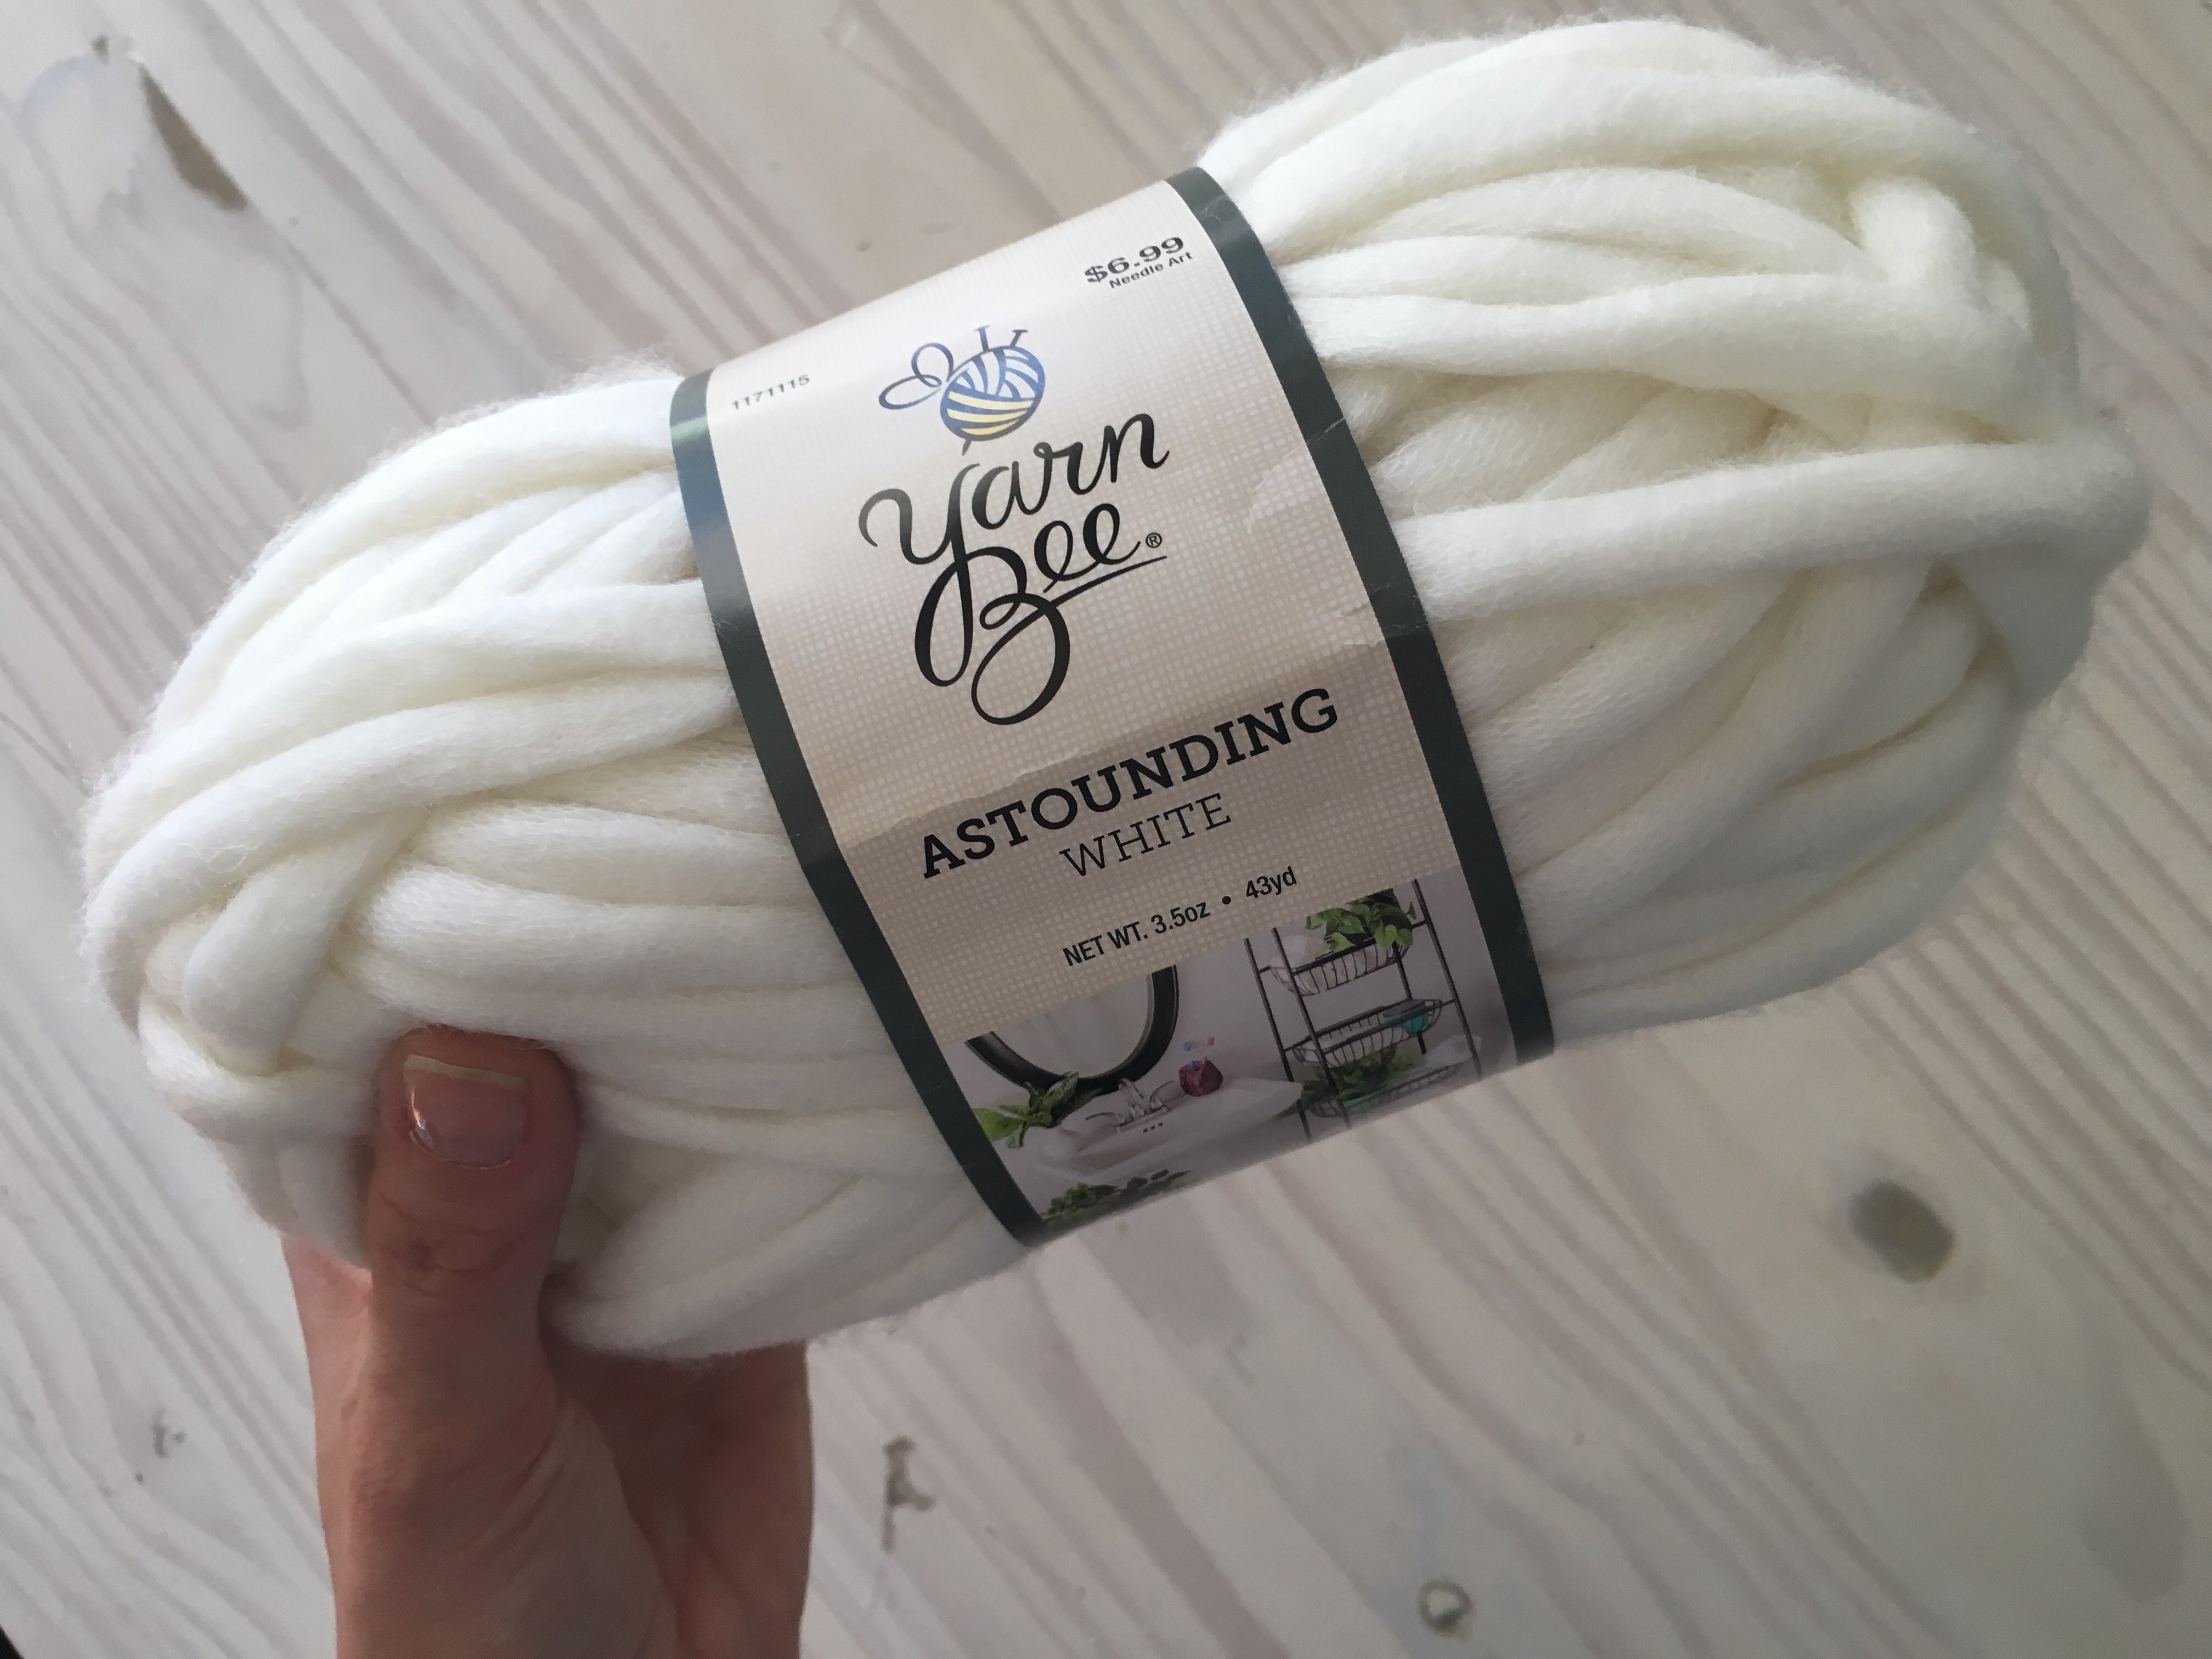
a super bulky yarn (we chose a yarn weight of 6)
-
hot glue gun
-
pearls (optional)

This yarn from Hobby Lobby is really nice! I highly recommend it for this project. And, it comes in several color options!
To start, put a dab of hot glue and position the end of the yarn on the cone. You’ll want to make sure it’s secured well, since it’s the start of the whole thing.

Put more hot glue down and and start wrapping. Your first line of yarn needs to cover up the styrofoam cone. So, make sure it’s positioned where no cone will show.

Keep adding hot glue and wrap!

Wrap, making sure each line of yarn is snug against the other.


Here’s what to do when you get to the top of the cone to end it off.

Put a dab of glue down, and coil it nicely on the top.

Cut the yarn.

Put a dab of glue in the center and hide that yarn tail in the center.


Add little pearls if desired!
These yarn cones come in a variety of sizes, so if you want tiny ones like these or ones as large as these, your options are endless! How cute would tiny ones be as ornaments?!
HERE’S WHAT WE DID TO GET A DIFFERENT LOOK ON ONE OF THE YARN TREES
WRAP THE TREE IN YARN LIKE NORMAL FIRST.
THEN, TAKE THE END OF THE YARN AND POSITION THE END OF THE YARN AT THE BOTTOM, AS SHOWN, AND GLUE.


RANDOMLY WRAP AROUND! SECURE WITH HOT GLUE WHERE NEEDED.


OPTIONAL- HOT GLUE PEARLS ON WHERE DESIRED

THESE TREES WOULD LOOK CUTE ON PALLET SHELVES LIKE THESE:

TRY THESE OTHER FUN, DIY CHRISTMAS CRAFTS


Rask Apotek [url=https://raskapotek.shop/#]Rask Apotek[/url] Rask Apotek
https://papafarma.com/# Papa Farma
alun apotek [url=https://raskapotek.shop/#]Rask Apotek[/url] sildenafil apotek
https://svenskapharma.shop/# Svenska Pharma
Papa Farma: rhinomer marca blanca – Papa Farma
borax pulver apotek: Svenska Pharma – Svenska Pharma
https://svenskapharma.shop/# ägglossningstest apotek
väteperoxid apotek [url=https://svenskapharma.com/#]handstöd apotek[/url] apotek handkräm
EFarmaciaIt: fluconazolo crema uomo – EFarmaciaIt
http://efarmaciait.com/# sito farmacia sconti
celestone inyectable cuando hace efecto [url=https://papafarma.shop/#]Papa Farma[/url] Papa Farma
Svenska Pharma: Г¤gglossningstest apotek – billiga och bra sminkborstar
Rask Apotek: psyllium husk apotek – sovepiller apotek
https://raskapotek.shop/# Rask Apotek
mexican mail order pharmacies: Meds From Mexico – medication from mexico pharmacy
Meds From Mexico: Meds From Mexico – mexico drug stores pharmacies
https://canadapharmglobal.shop/# canadian family pharmacy
purple pharmacy mexico price list [url=http://medsfrommexico.com/#]medicine in mexico pharmacies[/url] Meds From Mexico
canadian pharmacy mall: Canada Pharm Global – canadian pharmacy prices
best online pharmacy india: best india pharmacy – reputable indian pharmacies
https://canadapharmglobal.com/# canadian pharmacy ltd
top 10 online pharmacy in india [url=http://indiapharmglobal.com/#]cheapest online pharmacy india[/url] India Pharm Global
mexican drugstore online: medication from mexico pharmacy – Meds From Mexico
https://medsfrommexico.shop/# Meds From Mexico
India Pharm Global: п»їlegitimate online pharmacies india – indian pharmacy
https://indiapharmglobal.com/# reputable indian online pharmacy
India Pharm Global [url=https://indiapharmglobal.com/#]India Pharm Global[/url] best online pharmacy india
canadian drug: Canada Pharm Global – canada ed drugs
http://indiapharmglobal.com/# Online medicine home delivery
medicine in mexico pharmacies: Meds From Mexico – Meds From Mexico
top 10 pharmacies in india [url=https://indiapharmglobal.com/#]India Pharm Global[/url] Online medicine home delivery
http://indiapharmglobal.com/# reputable indian online pharmacy
Meds From Mexico: Meds From Mexico – Meds From Mexico
mexico drug stores pharmacies: buying prescription drugs in mexico – Meds From Mexico
http://canadapharmglobal.com/# legal canadian pharmacy online
prescription drugs canada buy online [url=https://canadapharmglobal.shop/#]buying drugs from canada[/url] canadian pharmacy world
http://canadapharmglobal.com/# real canadian pharmacy
Meds From Mexico: Meds From Mexico – Meds From Mexico
https://indiapharmglobal.shop/# top 10 pharmacies in india
indian pharmacies safe [url=https://indiapharmglobal.shop/#]indian pharmacy[/url] mail order pharmacy india
canadian online pharmacy reviews: Canada Pharm Global – best mail order pharmacy canada
canadian pharmacy no rx needed: Canada Pharm Global – canadian pharmacy king
https://medsfrommexico.shop/# Meds From Mexico
https://medsfrommexico.com/# Meds From Mexico
п»їlegitimate online pharmacies india [url=https://indiapharmglobal.shop/#]indian pharmacy paypal[/url] indian pharmacy
India Pharm Global: cheapest online pharmacy india – India Pharm Global
canada rx pharmacy: Canada Pharm Global – legit canadian online pharmacy
http://canadapharmglobal.com/# rate canadian pharmacies
India Pharm Global [url=http://indiapharmglobal.com/#]India Pharm Global[/url] India Pharm Global
Affordable cholesterol-lowering pills: CrestorPharm – Best price for Crestor online USA
https://semaglupharm.com/# semaglutide price
Crestor Pharm: Crestor Pharm – CrestorPharm
prednisone 4 mg daily [url=http://prednipharm.com/#]average price of prednisone[/url] Predni Pharm
20mg lipitor: LipiPharm – No RX Lipitor online
http://semaglupharm.com/# rybelsus savings
Semaglu Pharm: Semaglu Pharm – Semaglu Pharm
PredniPharm [url=https://prednipharm.com/#]Predni Pharm[/url] prednisone 10 mg
https://semaglupharm.com/# rybelsus.
generic prednisone otc: prednisone uk price – Predni Pharm
Semaglu Pharm [url=https://semaglupharm.com/#]SemagluPharm[/url] Semaglu Pharm
http://semaglupharm.com/# SemagluPharm
54 prednisone: PredniPharm – prednisone 5 mg tablet
Regards, Great information!
Here is my page – http://WWW.Jic-Magic.com/question/can-you-really-find-%ed%8f%89%ed%83%9d%ec%b6%9c%ec%9e%a5%eb%a7%88%ec%82%ac%ec%a7%80-on-the-internet/
Semaglu Pharm: Order Rybelsus discreetly – No prescription diabetes meds online
http://semaglupharm.com/# Where to buy Semaglutide legally
Lipi Pharm: Lipi Pharm – lipitor for weight loss
Crestor Pharm: CrestorPharm – Crestor Pharm
CrestorPharm [url=http://crestorpharm.com/#]CrestorPharm[/url] rosuvastatin and anxiety
https://semaglupharm.com/# cost of rybelsus
FDA-approved generic statins online: LipiPharm – LipiPharm
CrestorPharm: atorvastatin to crestor conversion – CrestorPharm
http://semaglupharm.com/# Semaglu Pharm
SemagluPharm [url=http://semaglupharm.com/#]SemagluPharm[/url] Online pharmacy Rybelsus
LipiPharm: Order cholesterol medication online – USA-based pharmacy Lipitor delivery
http://semaglupharm.com/# SemagluPharm
CrestorPharm: Rosuvastatin tablets without doctor approval – why was crestor taken off the market
can i take rybelsus every other day for weight loss [url=http://semaglupharm.com/#]Online pharmacy Rybelsus[/url] SemagluPharm
rosuvastatin 10mg: Crestor Pharm – Crestor Pharm
https://semaglupharm.com/# Semaglu Pharm
semaglutide and cancer: FDA-approved Rybelsus alternative – Order Rybelsus discreetly
Order cholesterol medication online [url=https://lipipharm.com/#]pronounce atorvastatin[/url] 20 mg atorvastatin
https://semaglupharm.com/# SemagluPharm
rybelsus over the counter: rybelsus 3mg tab – Semaglu Pharm
Lipi Pharm [url=http://lipipharm.com/#]lipitor sex drive[/url] Order cholesterol medication online
https://semaglupharm.shop/# SemagluPharm
Crestor Pharm: rosuvastatin and kidney function – Crestor Pharm
CrestorPharm: Rosuvastatin tablets without doctor approval – Crestor 10mg / 20mg / 40mg online
prednisone 20mg nz [url=http://prednipharm.com/#]how to buy prednisone online[/url] average cost of generic prednisone
http://semaglupharm.com/# does aetna cover rybelsus
PredniPharm: prednisone uk over the counter – PredniPharm
Predni Pharm: buy generic prednisone online – how to buy prednisone online
https://semaglupharm.shop/# No prescription diabetes meds online
SemagluPharm: Semaglu Pharm – Semaglu Pharm
Affordable Rybelsus price: Semaglu Pharm – Semaglu Pharm
https://semaglupharm.com/# what supplements not to take with semaglutide
Great info With thanks.
Here is my web blog; http://Sl860.com/comment/html/?207407.html
https://semaglupharm.com/# can you drink on semaglutide
You’ve made your stand extremely nicely..
Feel free to surf to my website … http://Www.Ntep2008.com/index.php?name=webboard&file=read&id=343766
Cheers, Lots of information.
Feel free to surf to my blog post http://Www.Pottomall.com/bbs/board.php?bo_table=free&wr_id=4346895
Reliable knowledge Thanks a lot.
Also visit my blog post … https://sun-clinic.co.il/he/question/how-to-gain-%ed%83%80%ec%9d%b4-%eb%a7%88%ec%82%ac%ec%a7%80/
Seriously many of fantastic advice!
Also visit my web page http://dtyzwmw.com/comment/html/?7244.html
With thanks. I appreciate this.
Take a look at my website … http://www.jic-magic.com/question/can-sex-sell-%ea%b4%91%ec%a3%bc%ec%b6%9c%ec%9e%a5%ec%95%88%eb%a7%88/
Thank you for your sharing. I am worried that I lack creative ideas. It is your article that makes me full of hope. Thank you. But, I have a question, can you help me?
Good stuff, Thanks!
Feel free to visit my web page: http://Www.macstudio.co.kr/?document_srl=2912348
Thank you, I enjoy it.
my homepage :: https://Azena.co.nz/bbs/board.php?bo_table=free&wr_id=2215115
Many thanks, Fantastic stuff.
My homepage; http://the-good.kr/bbs/board.php?bo_table=free&wr_id=3324760
Hello there! This is my first visit to your blog!
We are a collection of volunteers and starting a new project
in a community in the same niche. Your blog provided us useful information to work on. You have done a wonderful job!
Here is my page; 오늘 가능한 오산출장안마 업체 추천
141529 931060Great artical, I unfortunately had some problems printing this artcle out, The print formating looks a little screwed over, something you might want to look into. 933699
The article provides practical tips and thought-provoking ideas. Thanks for sharing your expertise with us.
I appreciate the uniqueness and creativity in your writing.
Pingback: DIY Felt Christmas Trees (with free printable template!) - Six Clever Sisters